


Get our recipes in your inbox! Sign up
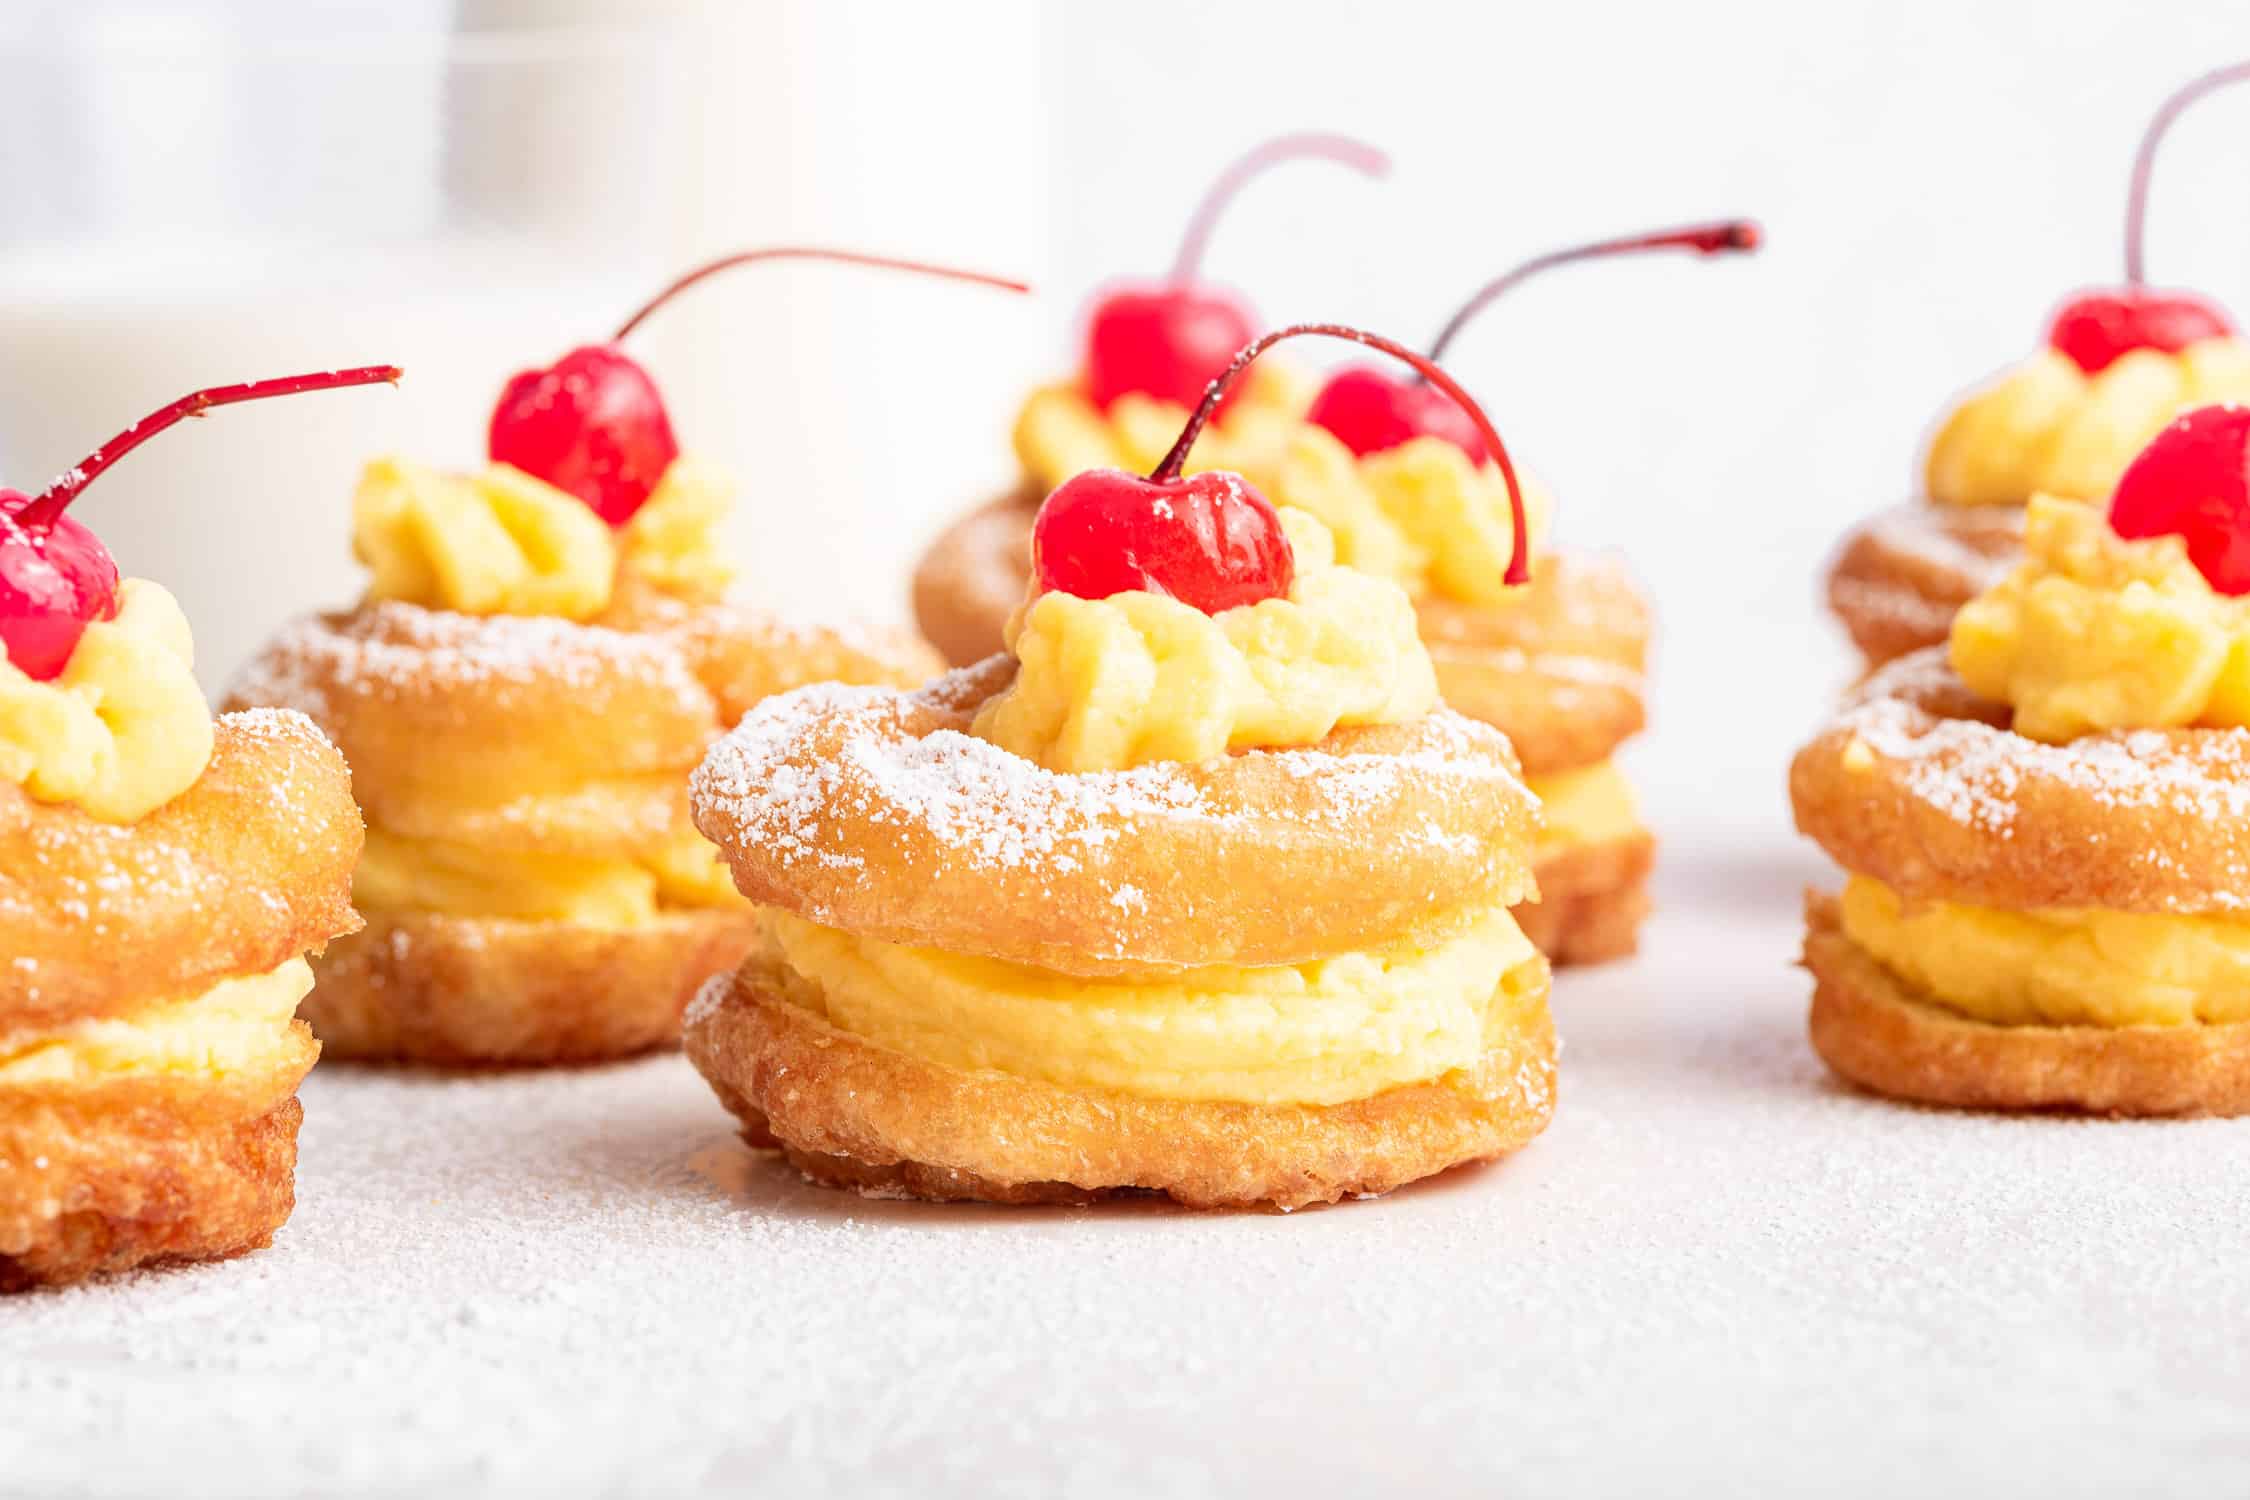
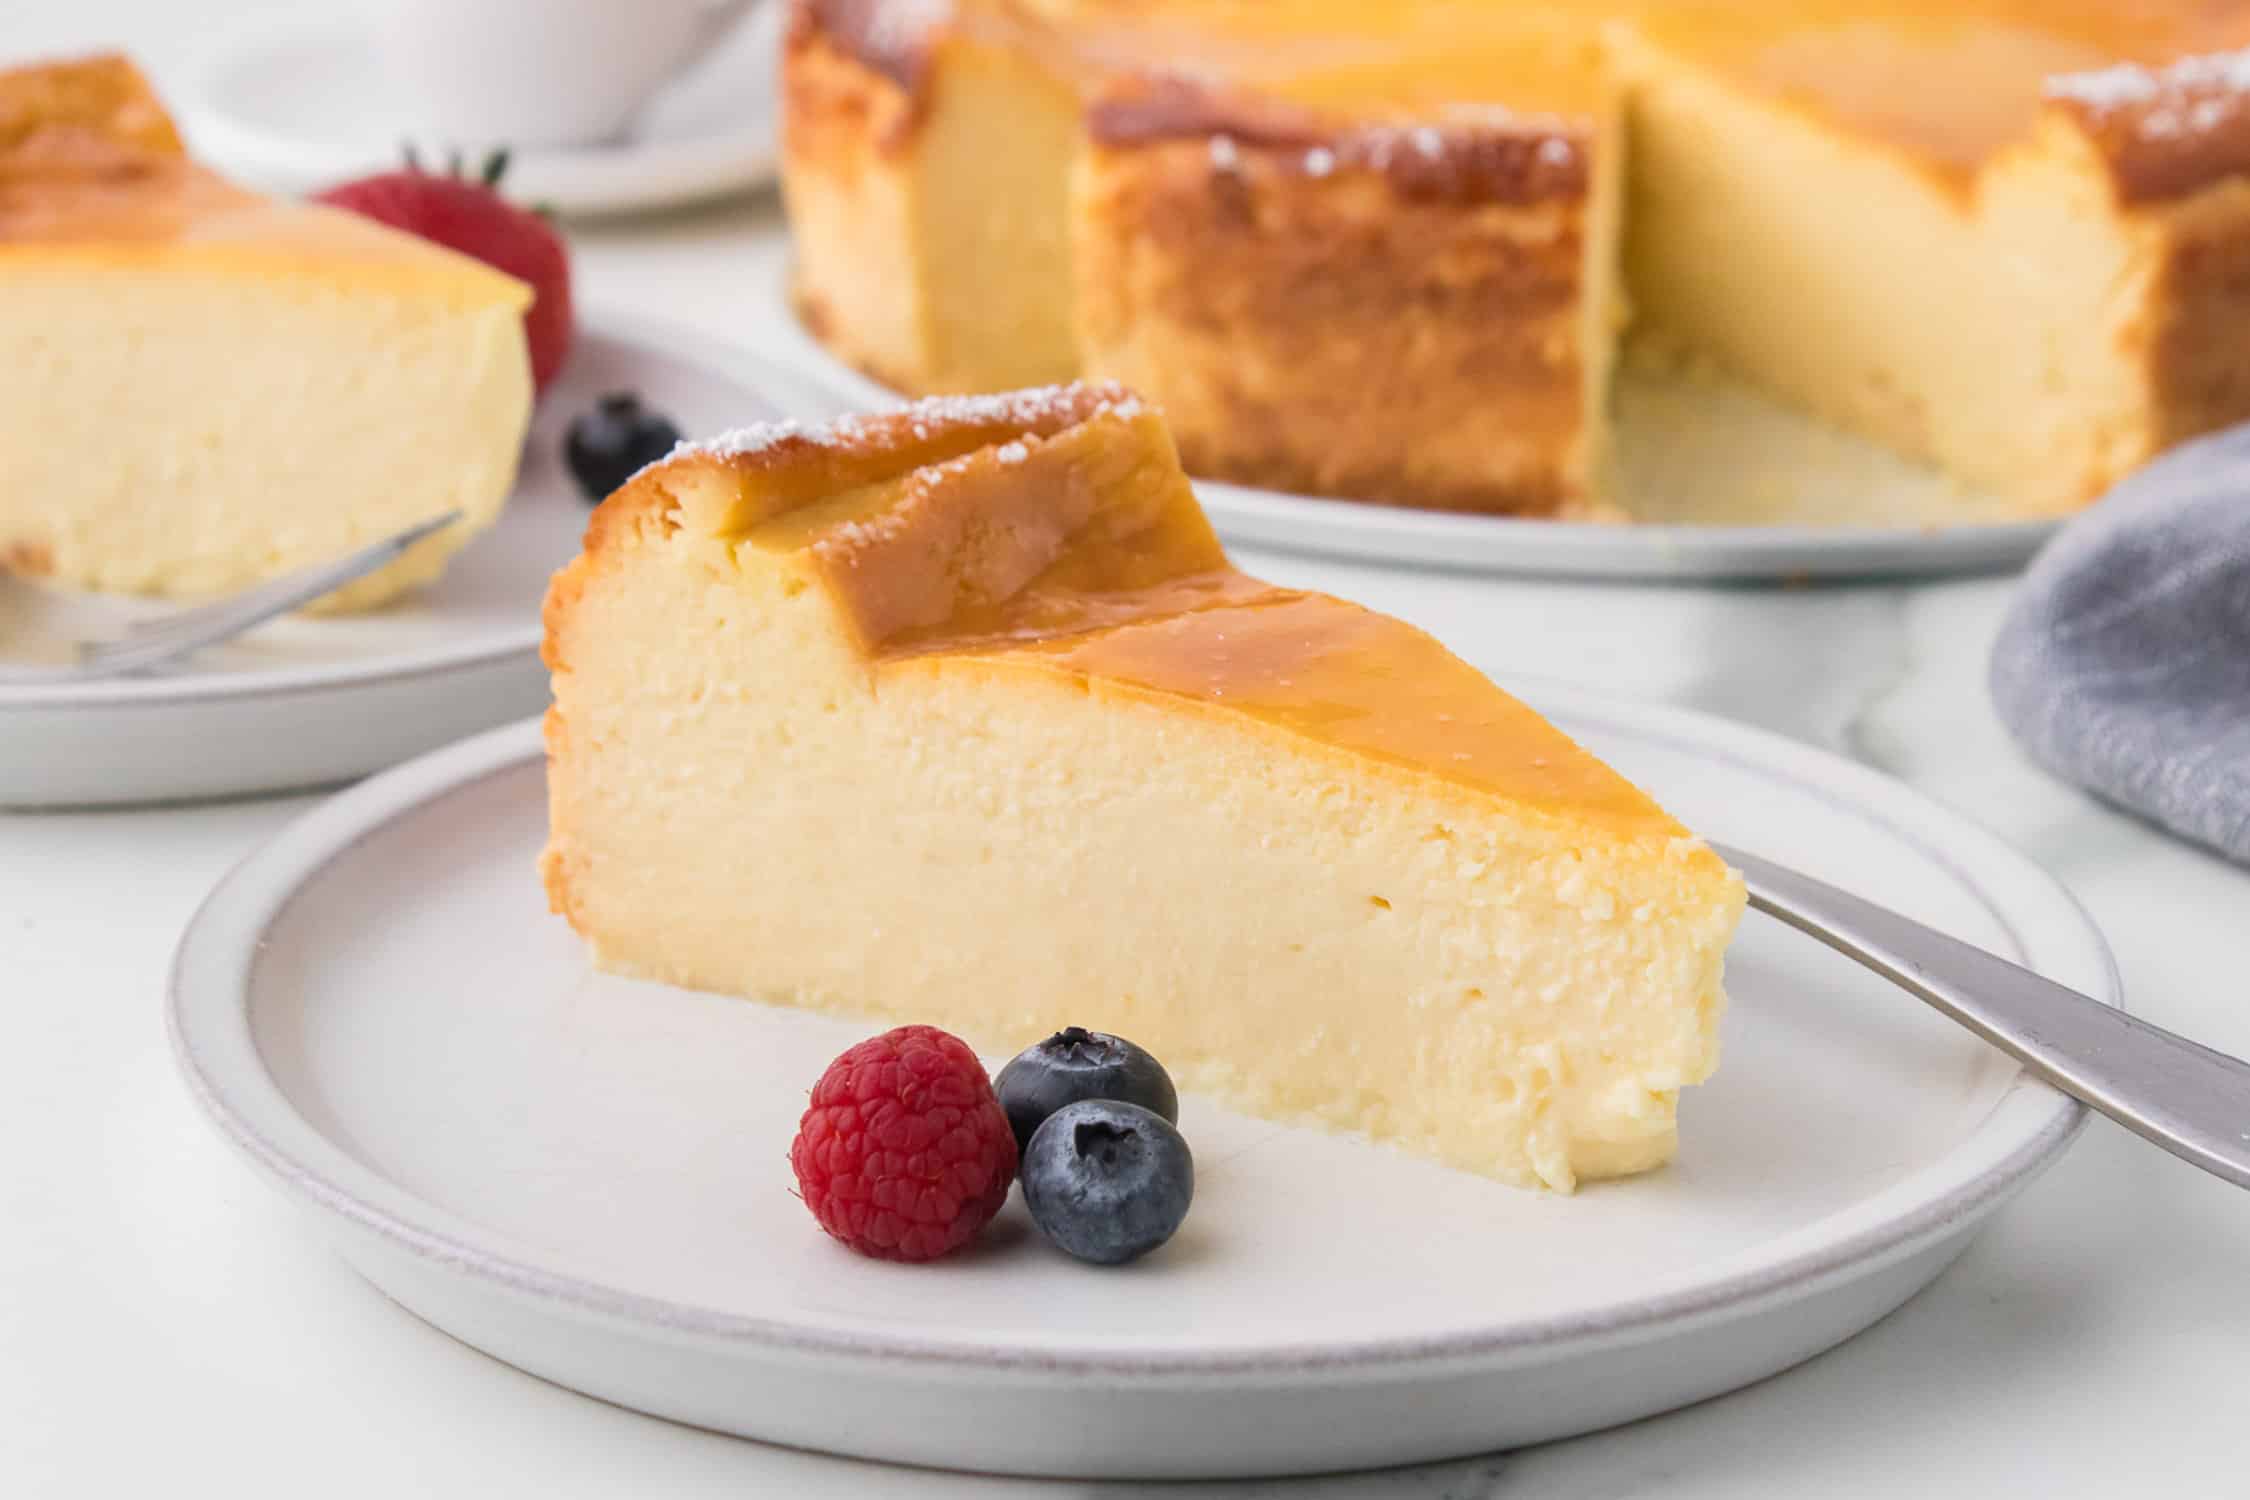
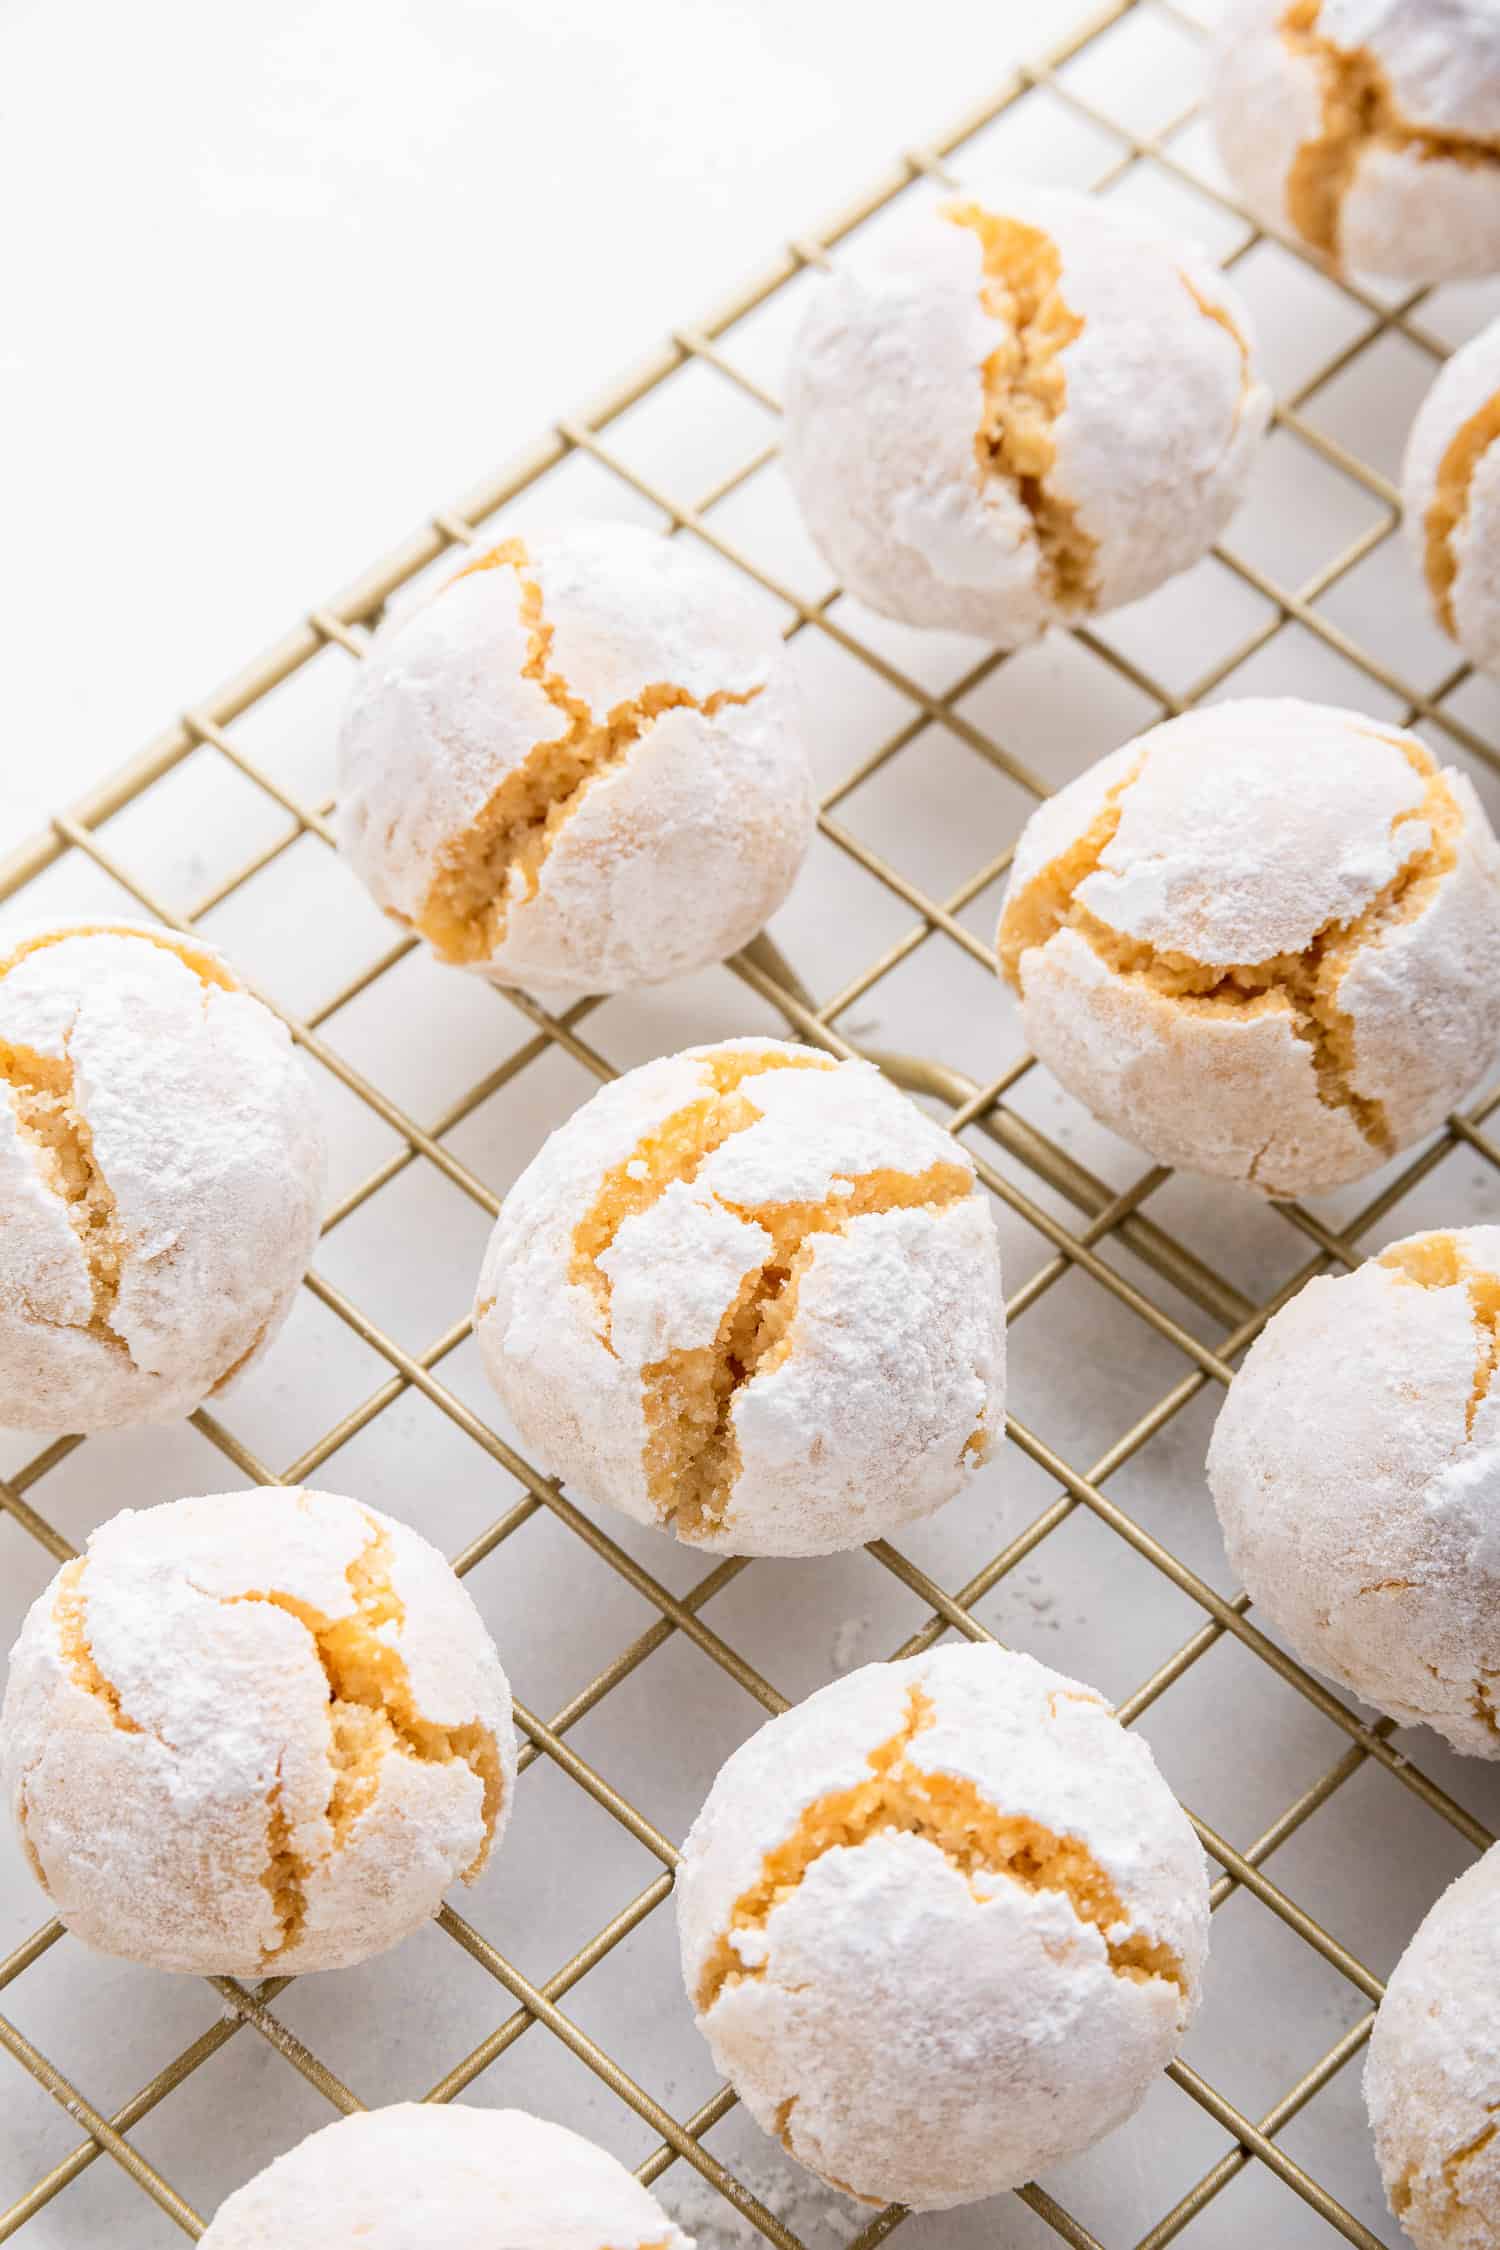
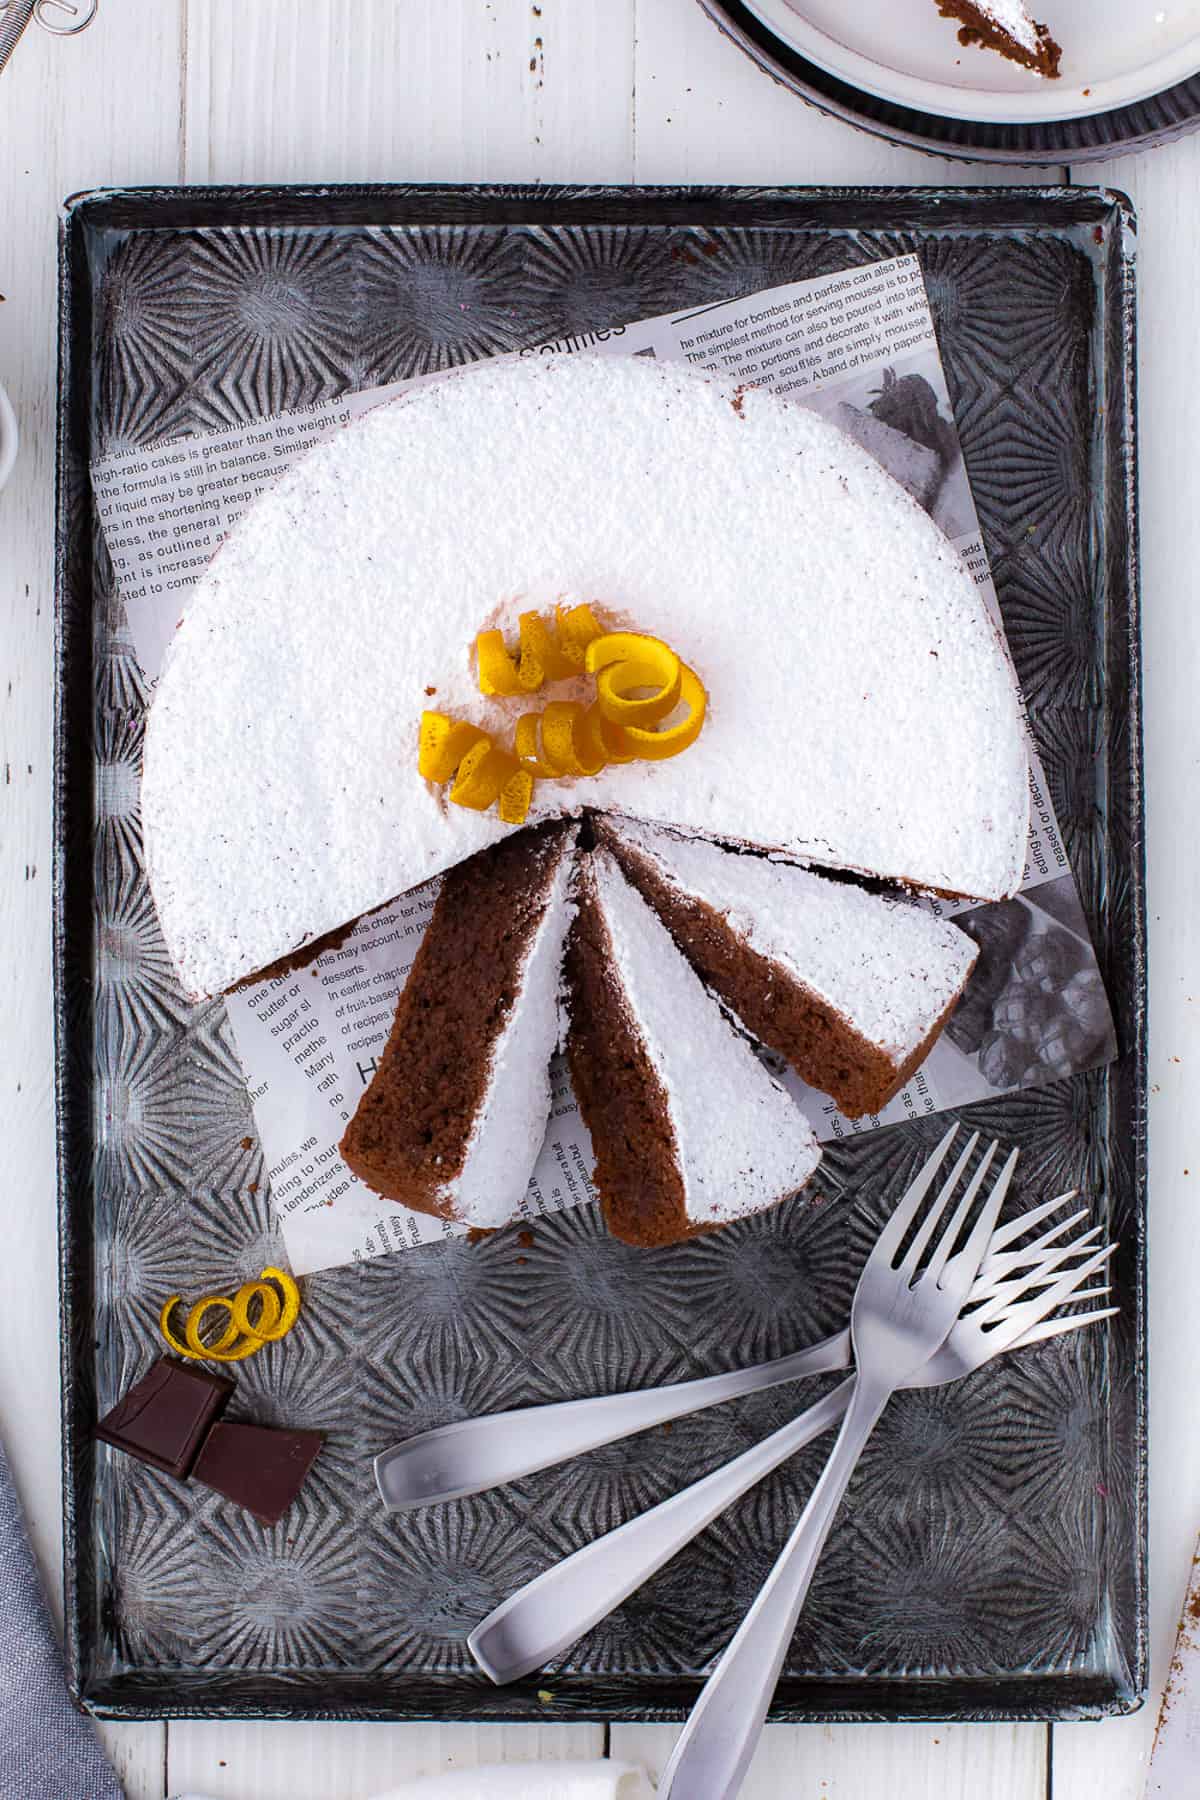
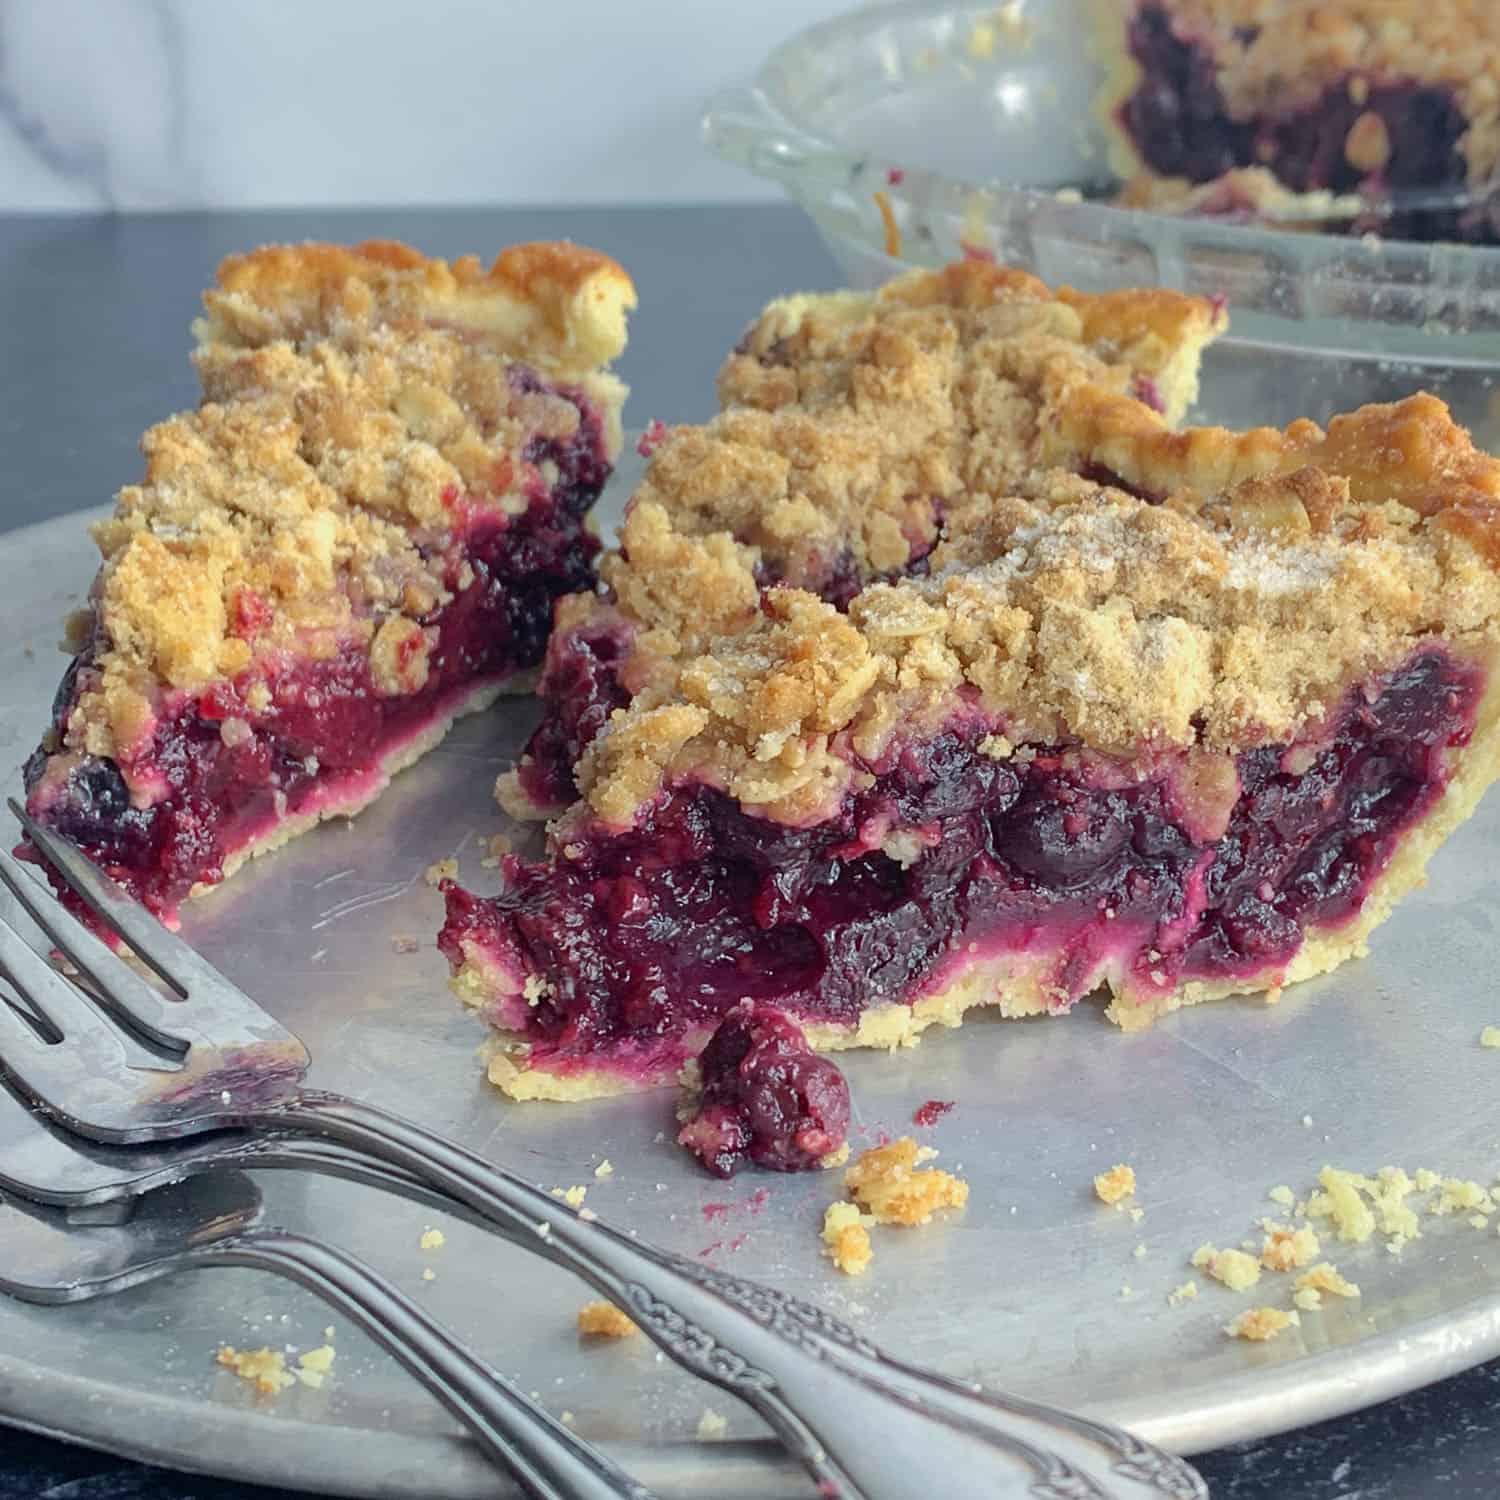
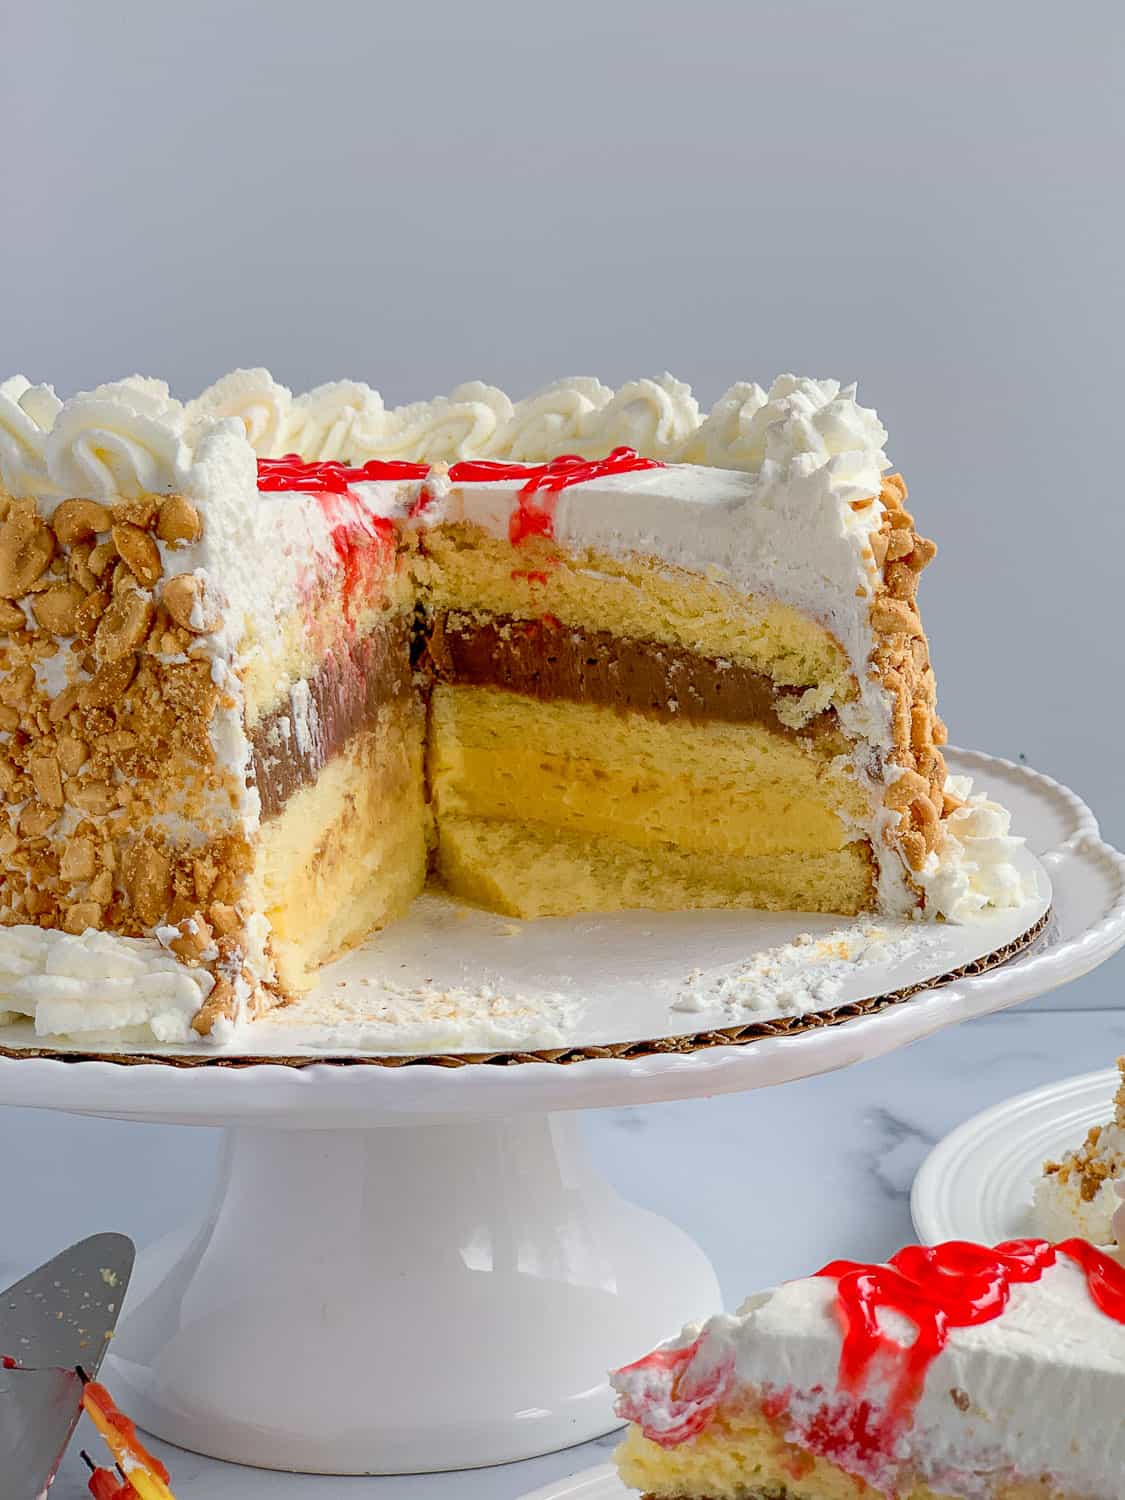
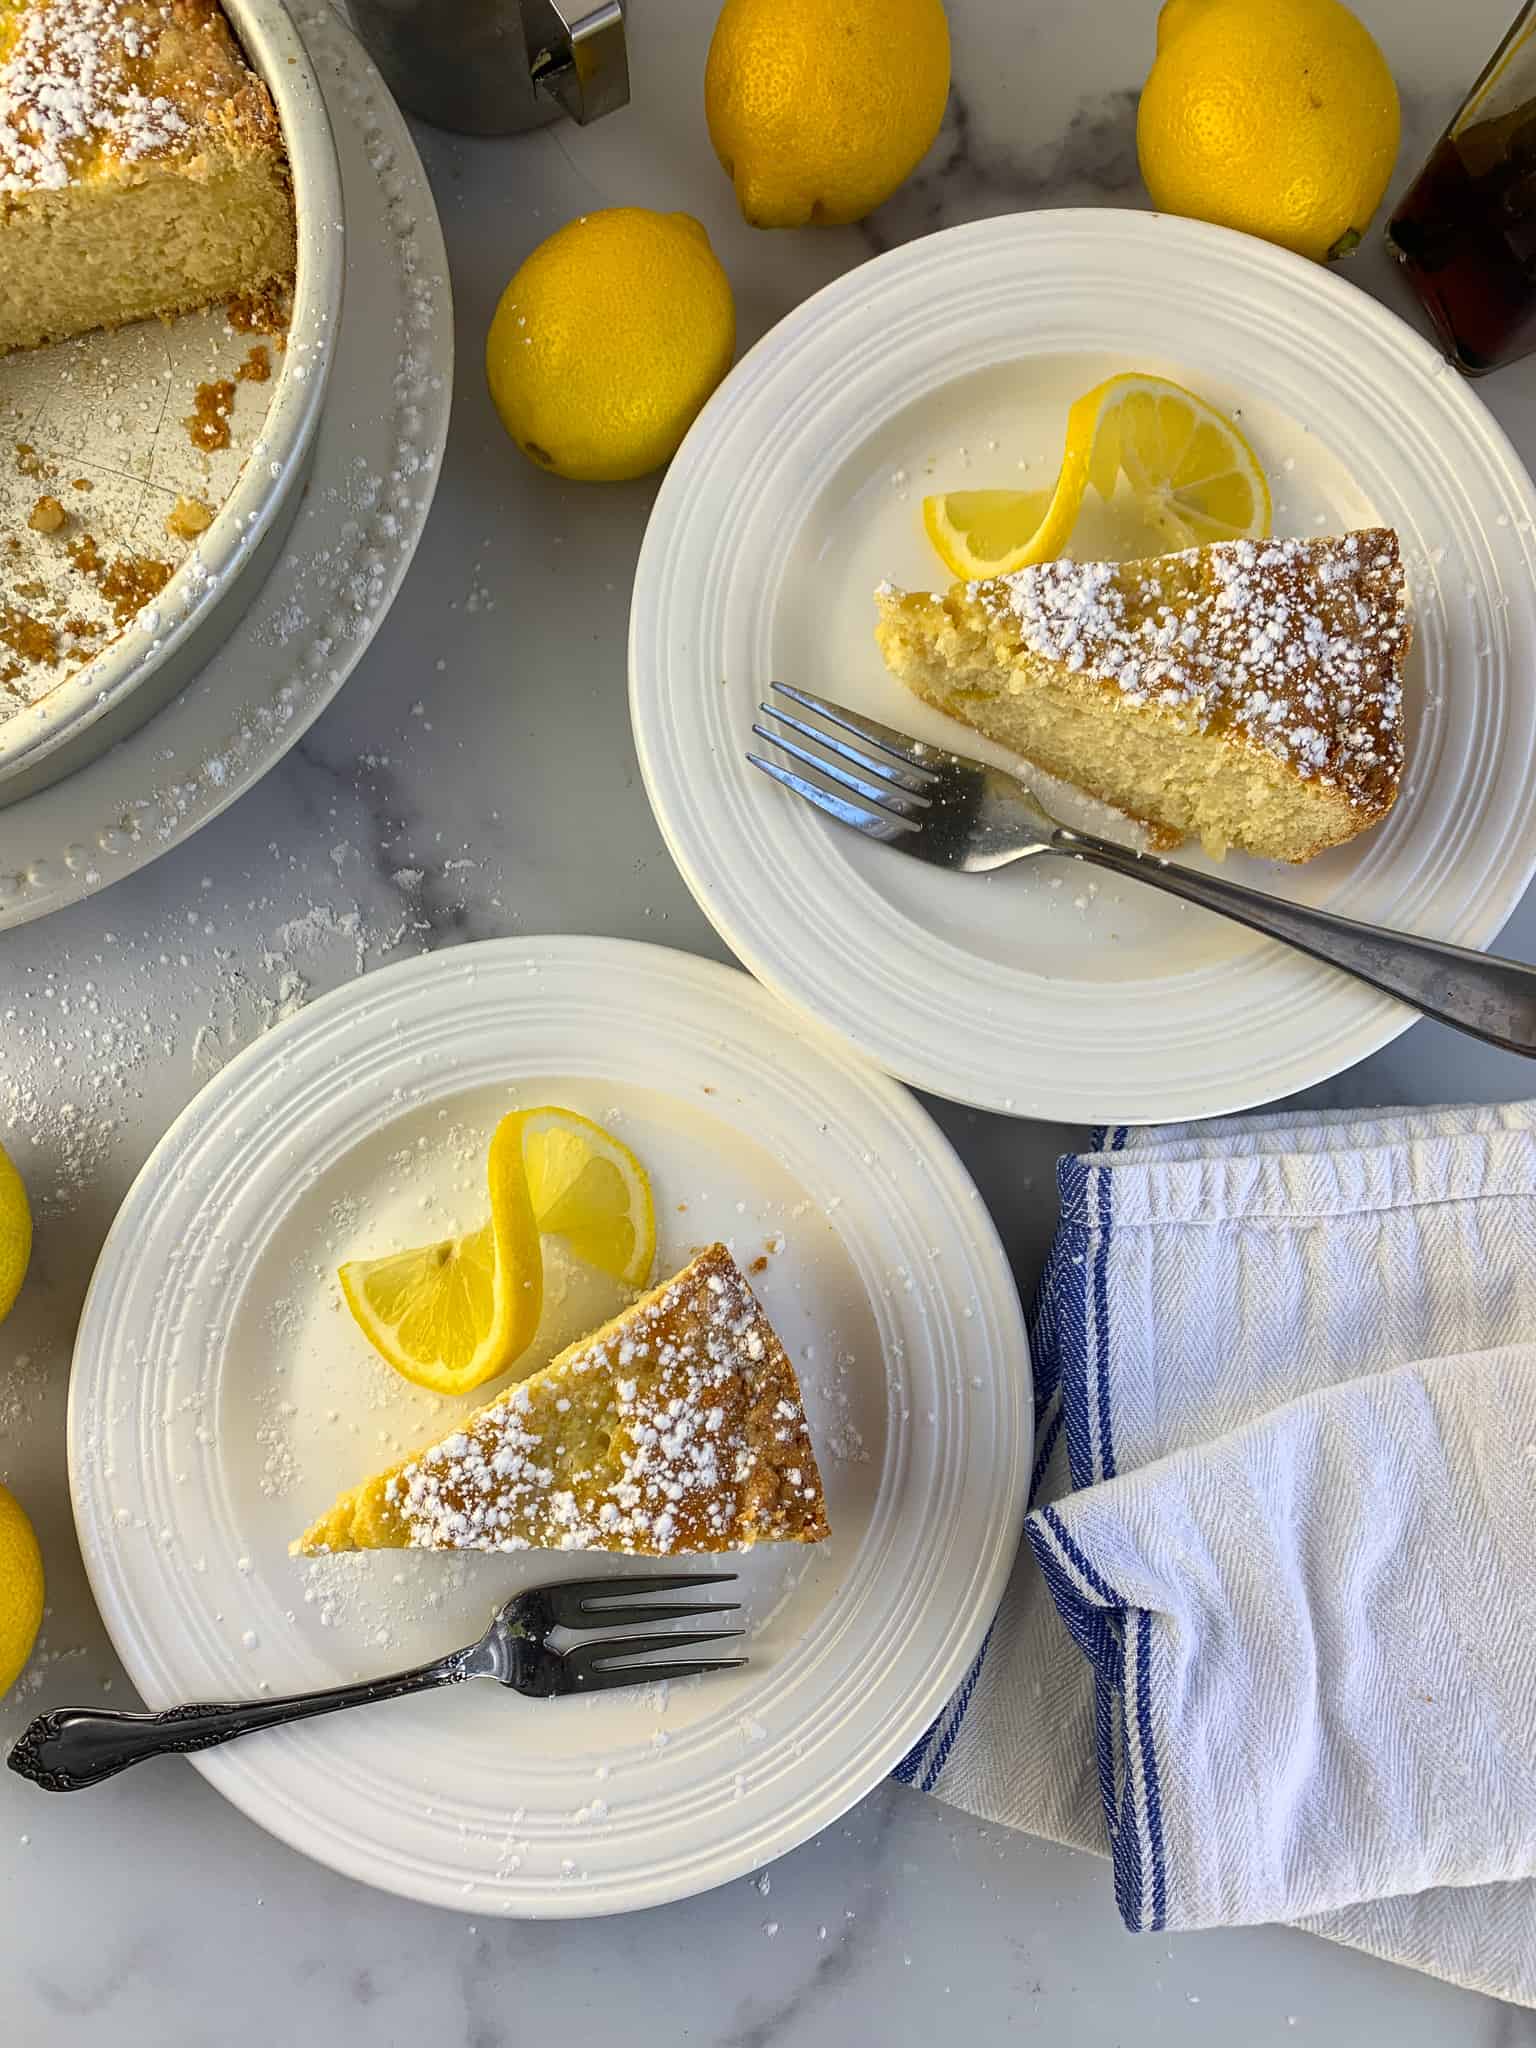
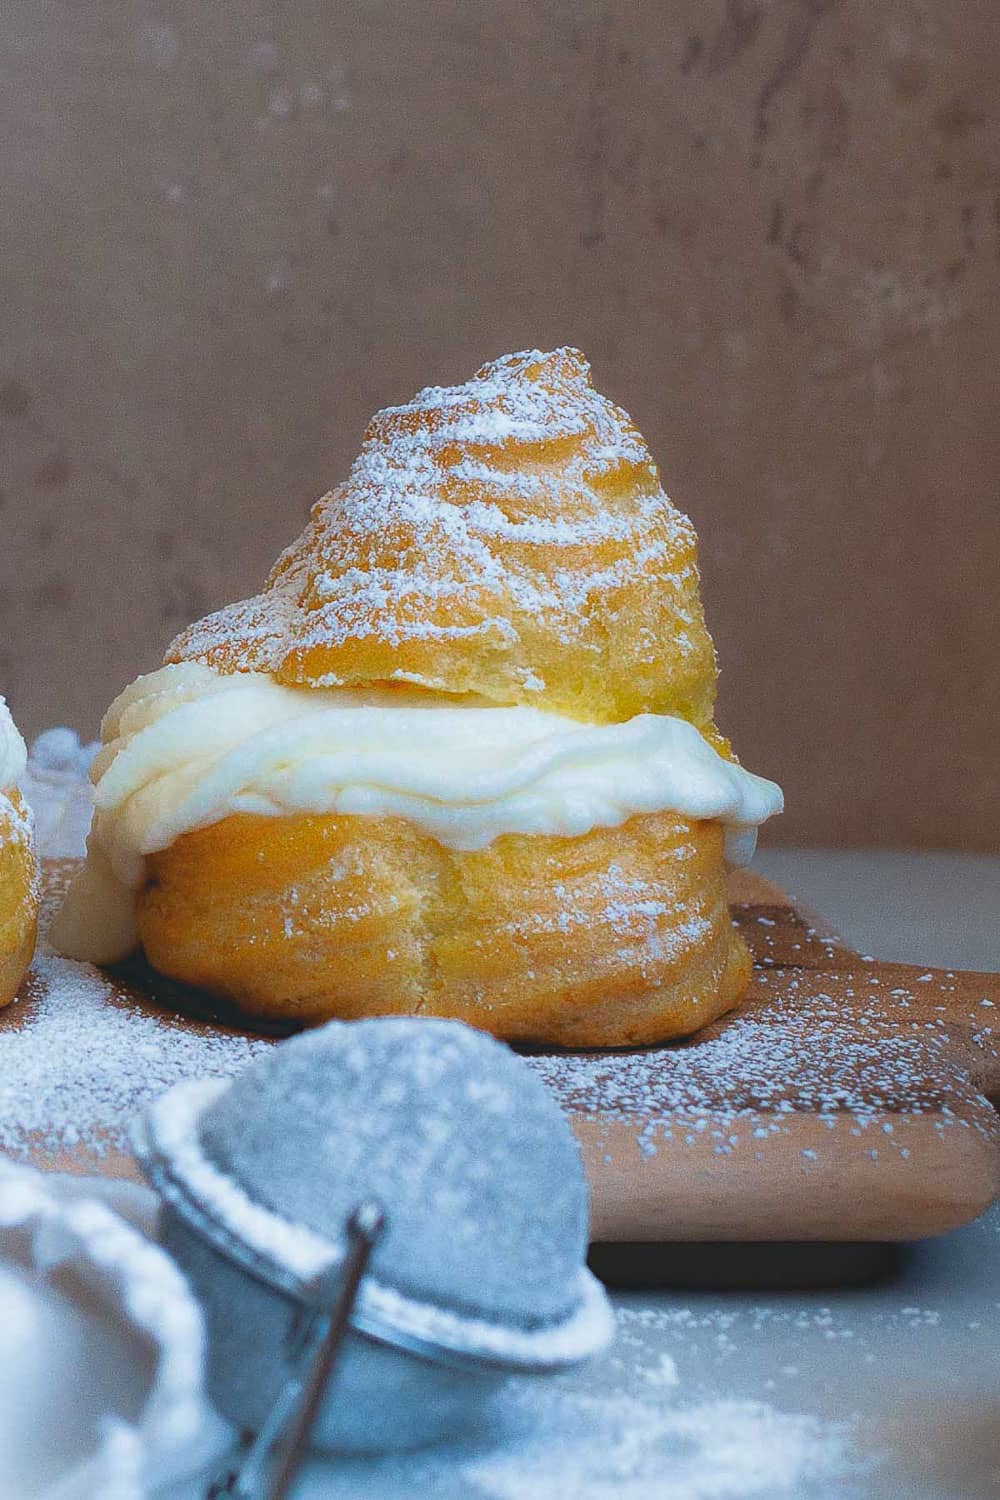
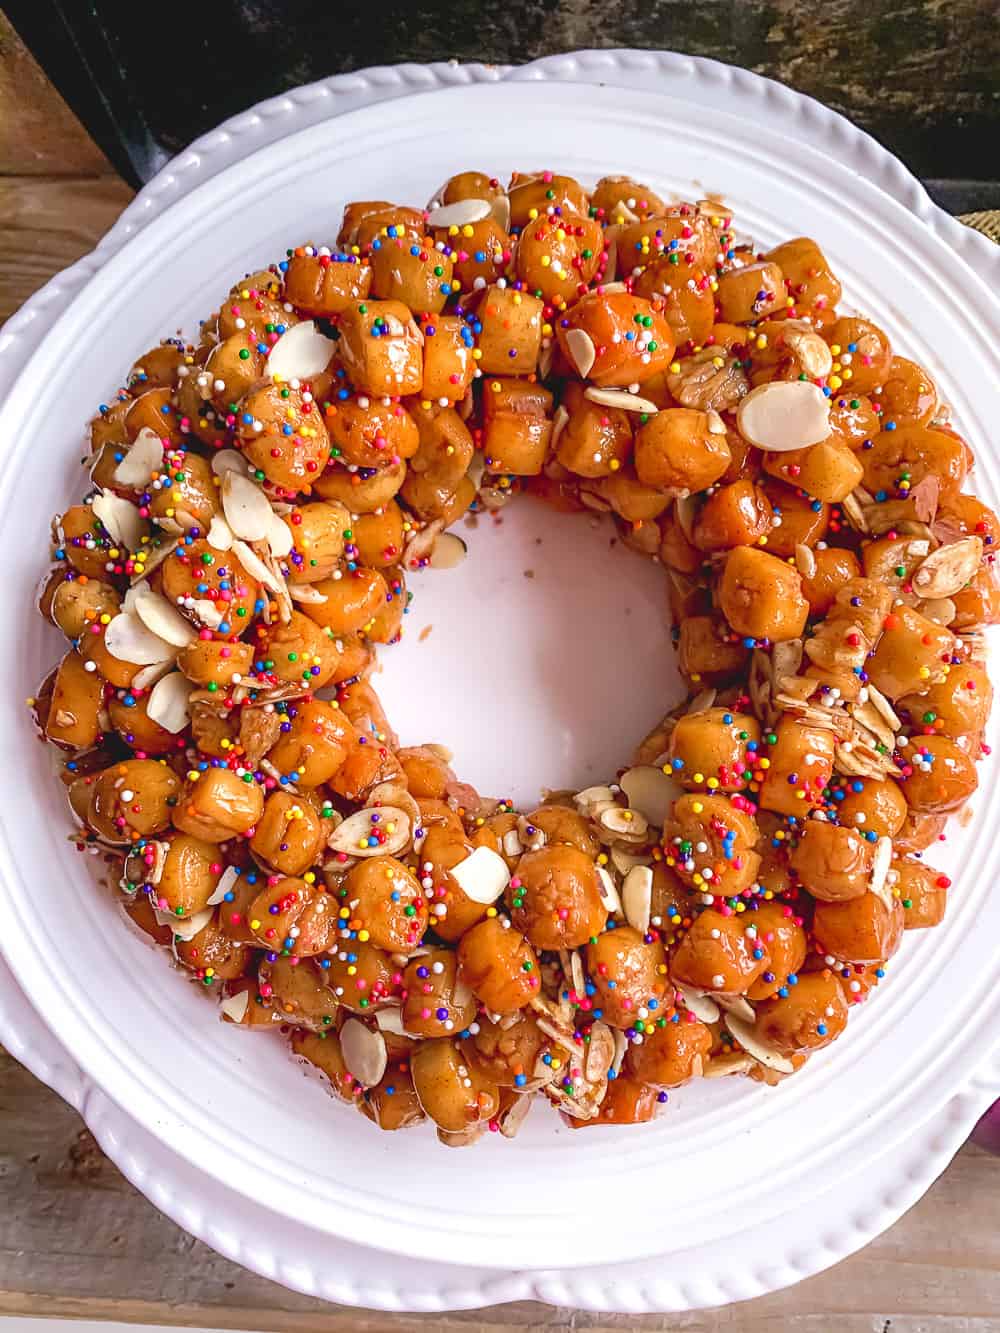
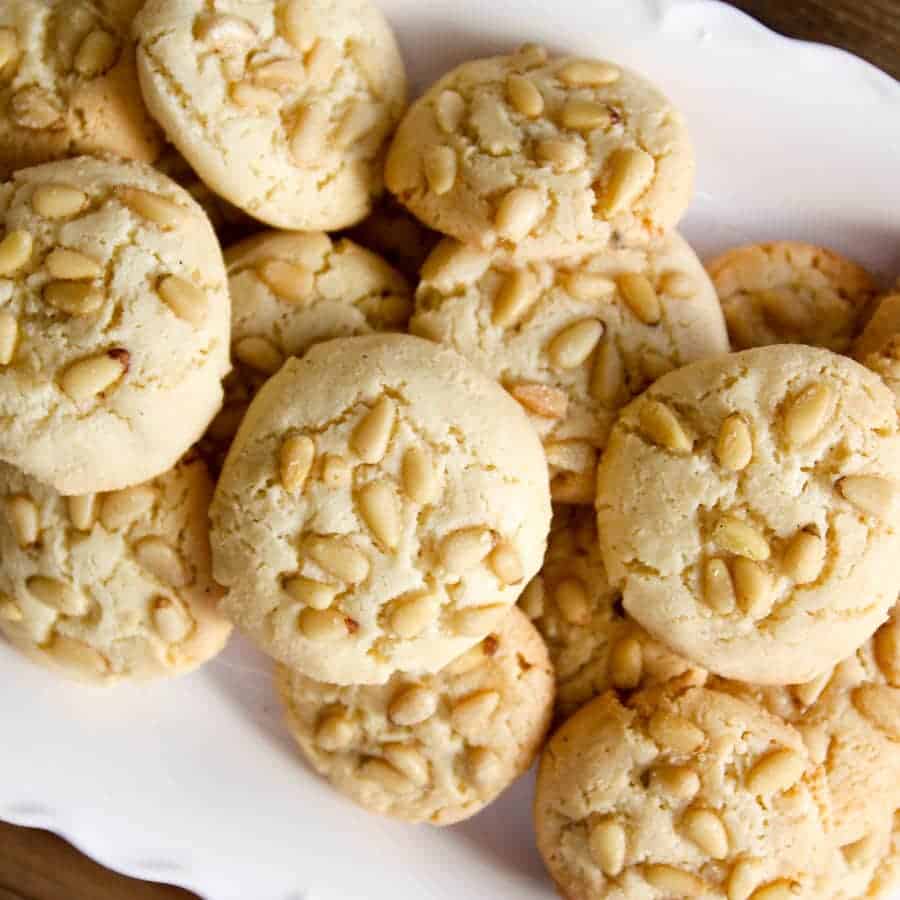
Browse our assortment of Italian-inspired and other desserts. From the creamy richness of Italian Ricotta Cheesecake, the airy delight of Cream Puffs with Vanilla Ricotta, and the nutty charm of Pignoli Cookies, there’s a sweet treat for every palate. More elaborate creations like the layered Italian Rum Cake and festive Struffoli, bring the flavors of Italy right into your kitchen.