Chocolate Hazelnut Torte
This post may contain affiliate links. For more information, please see our disclosure policy.
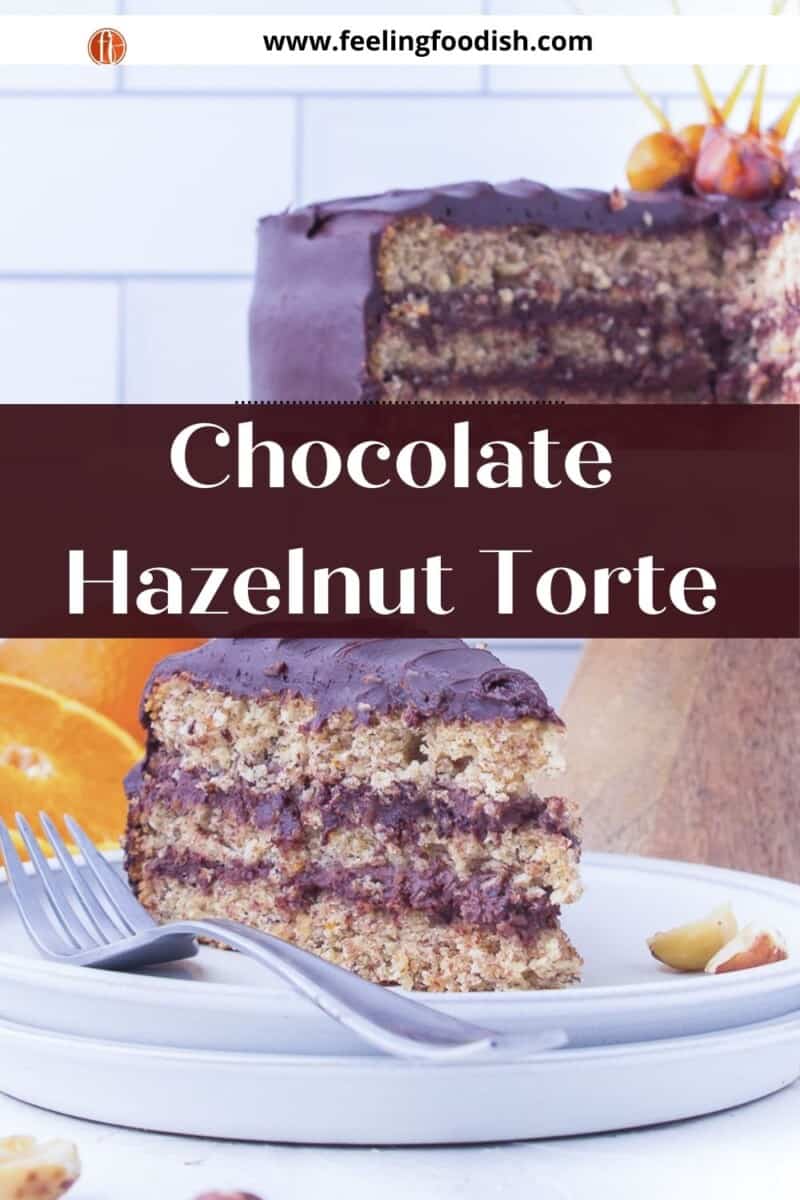
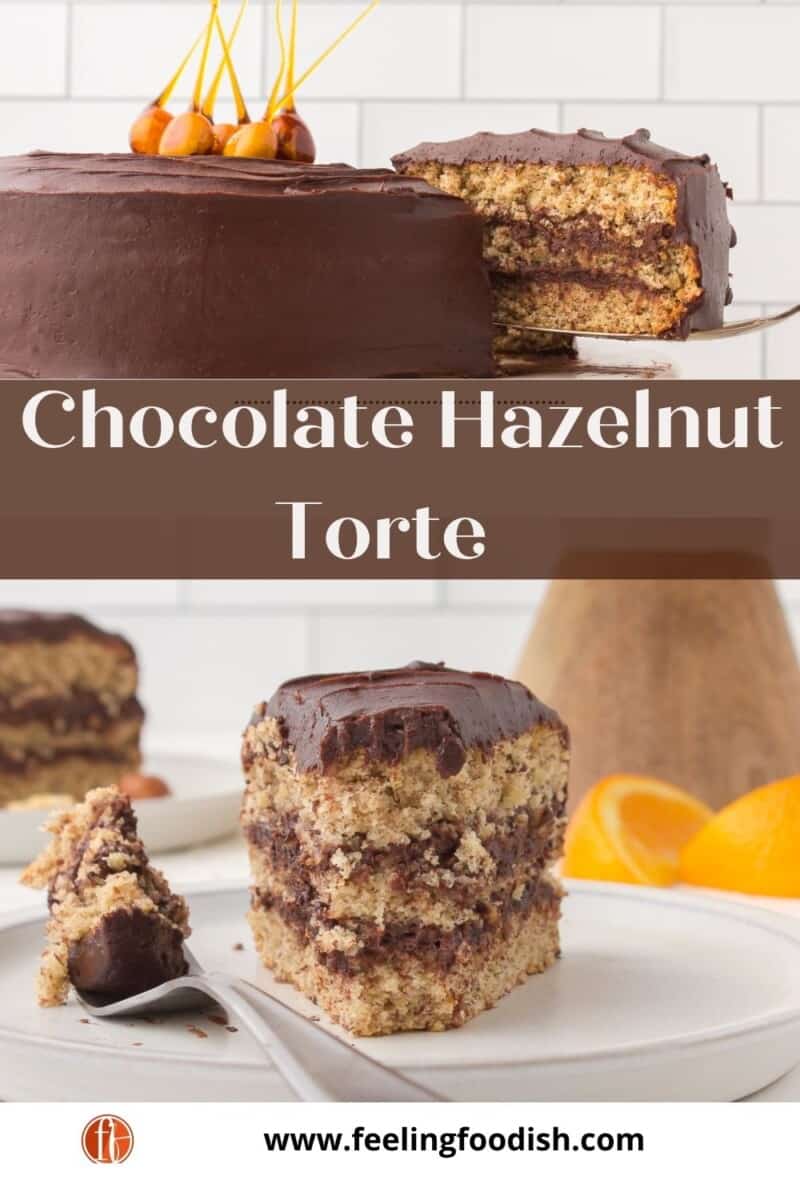
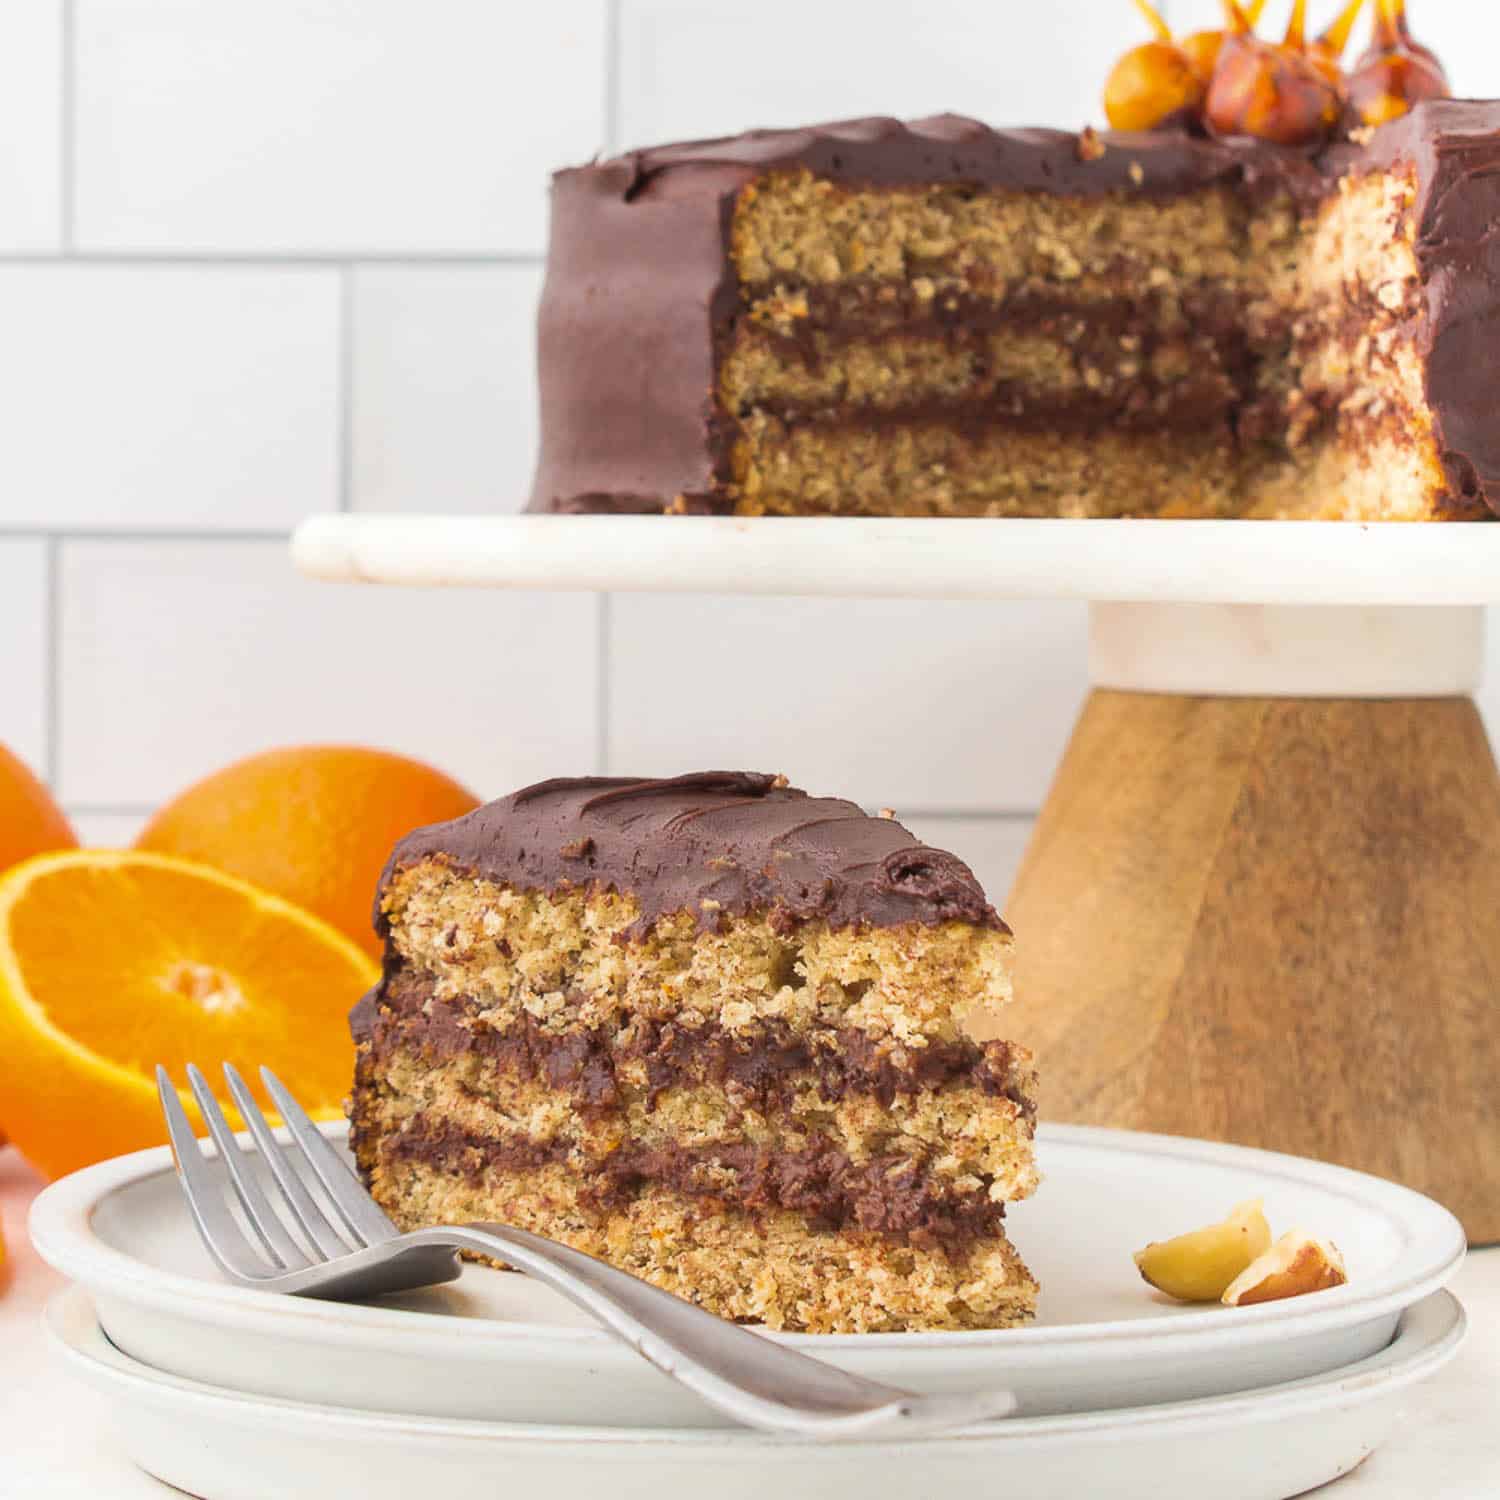
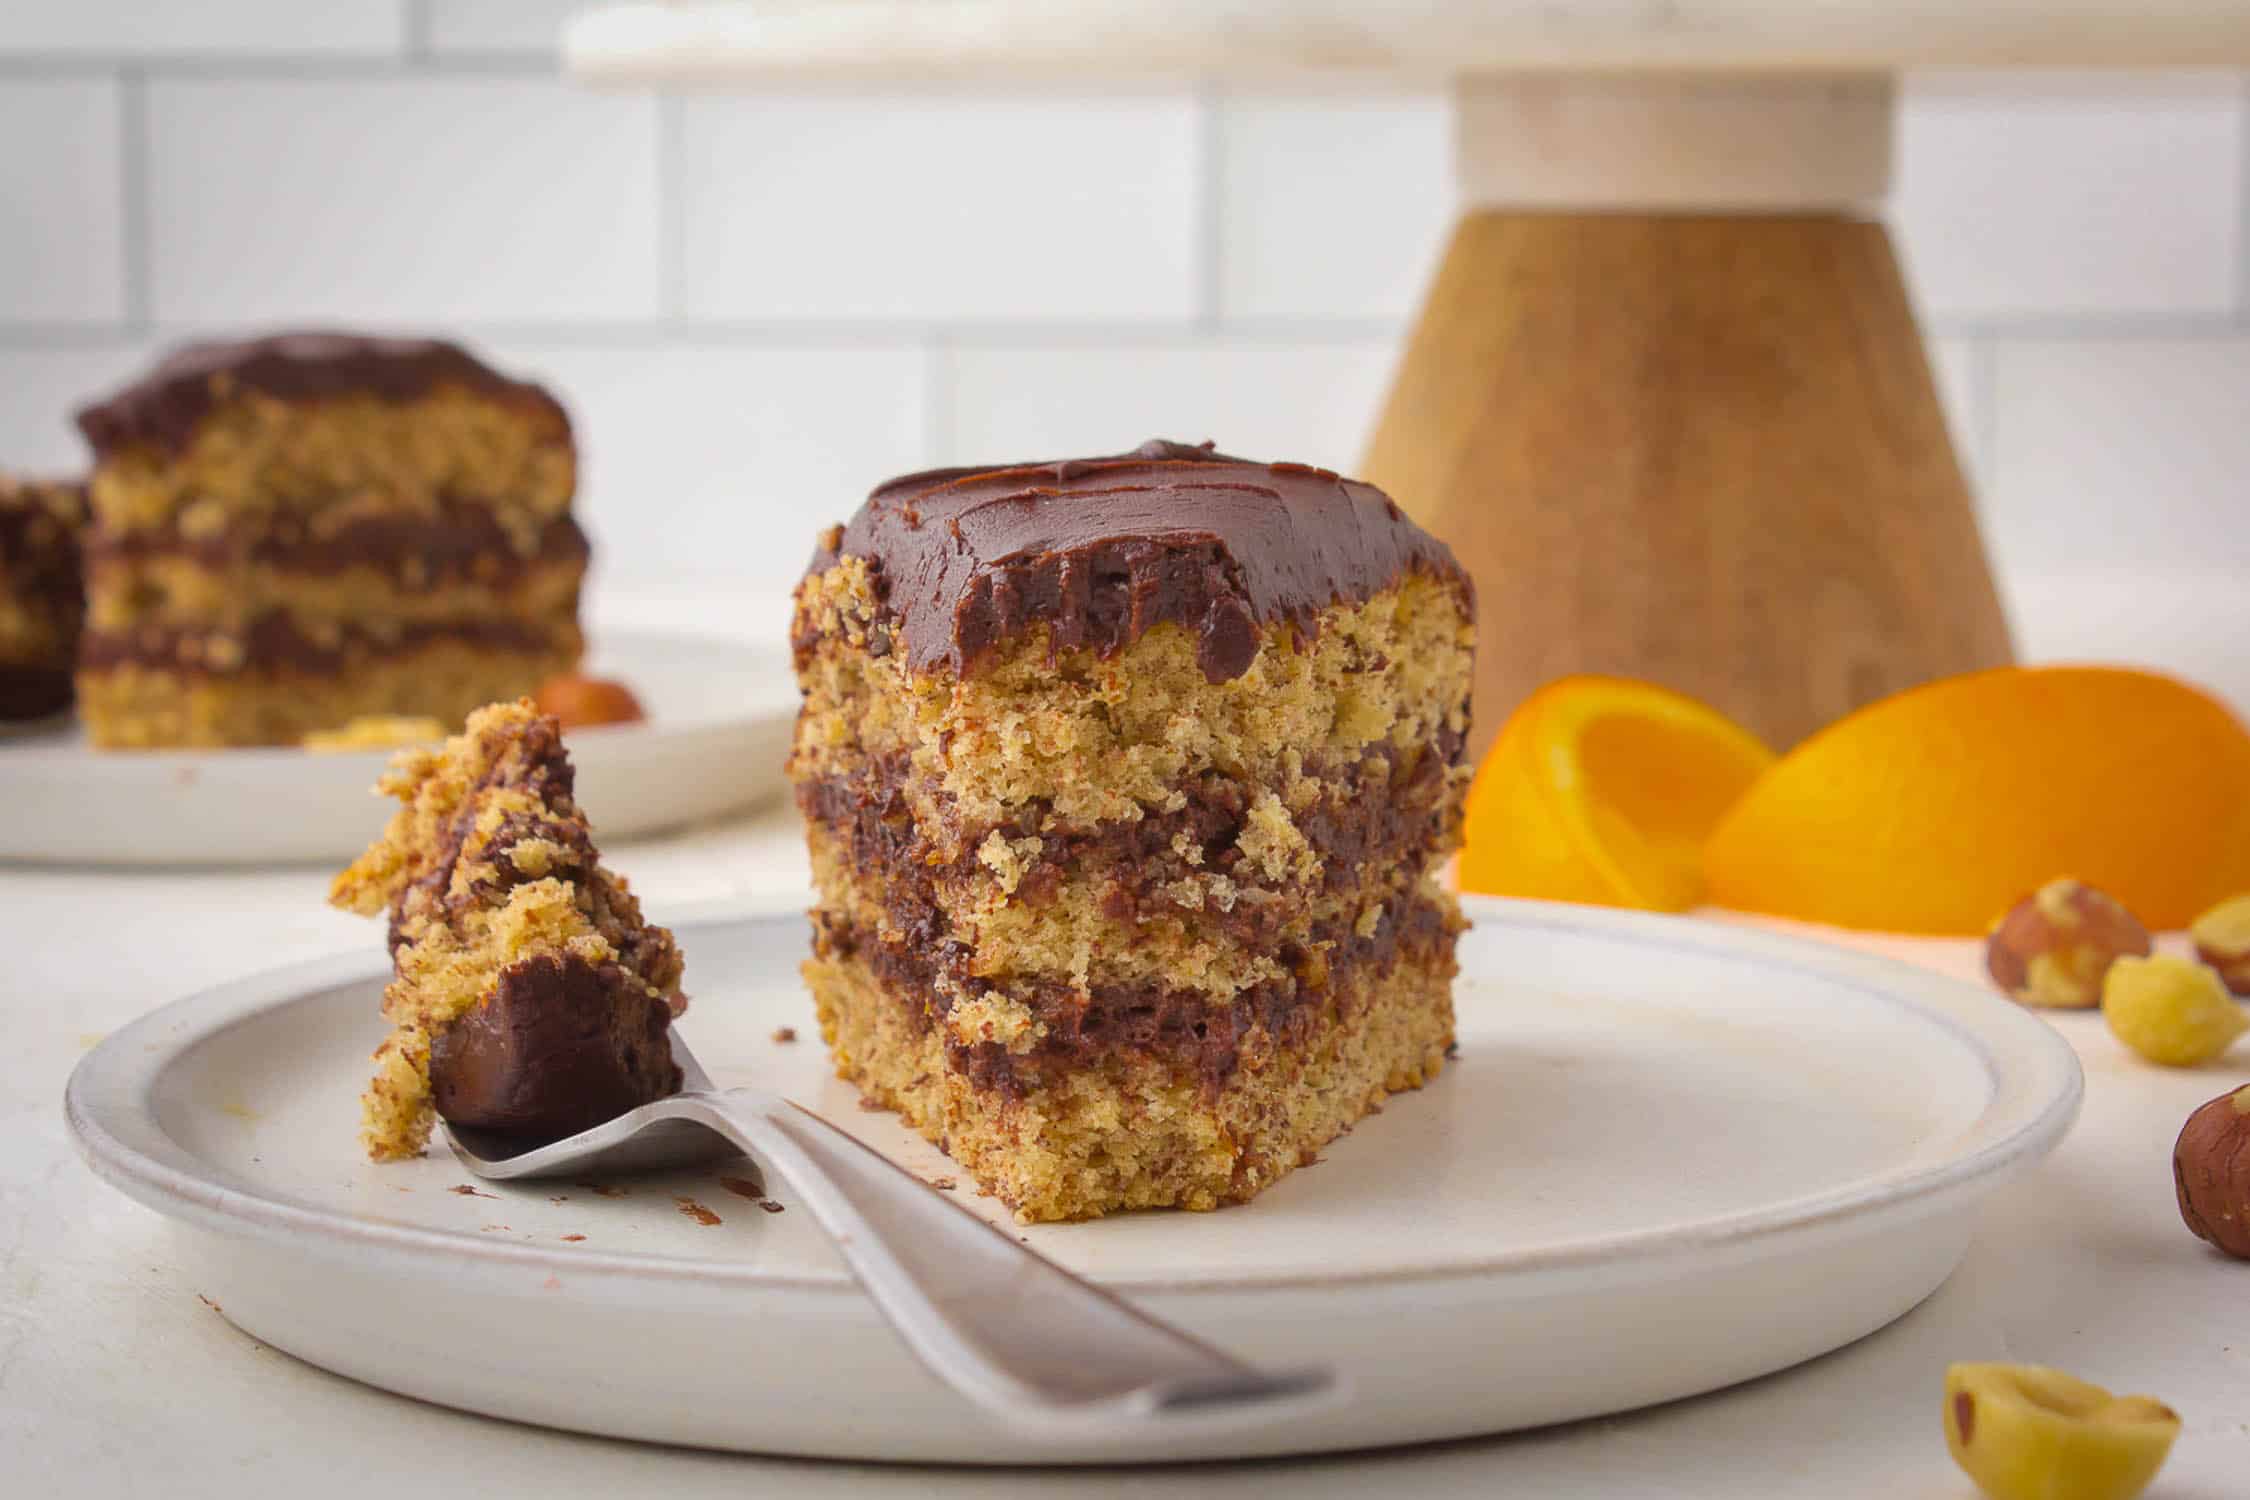
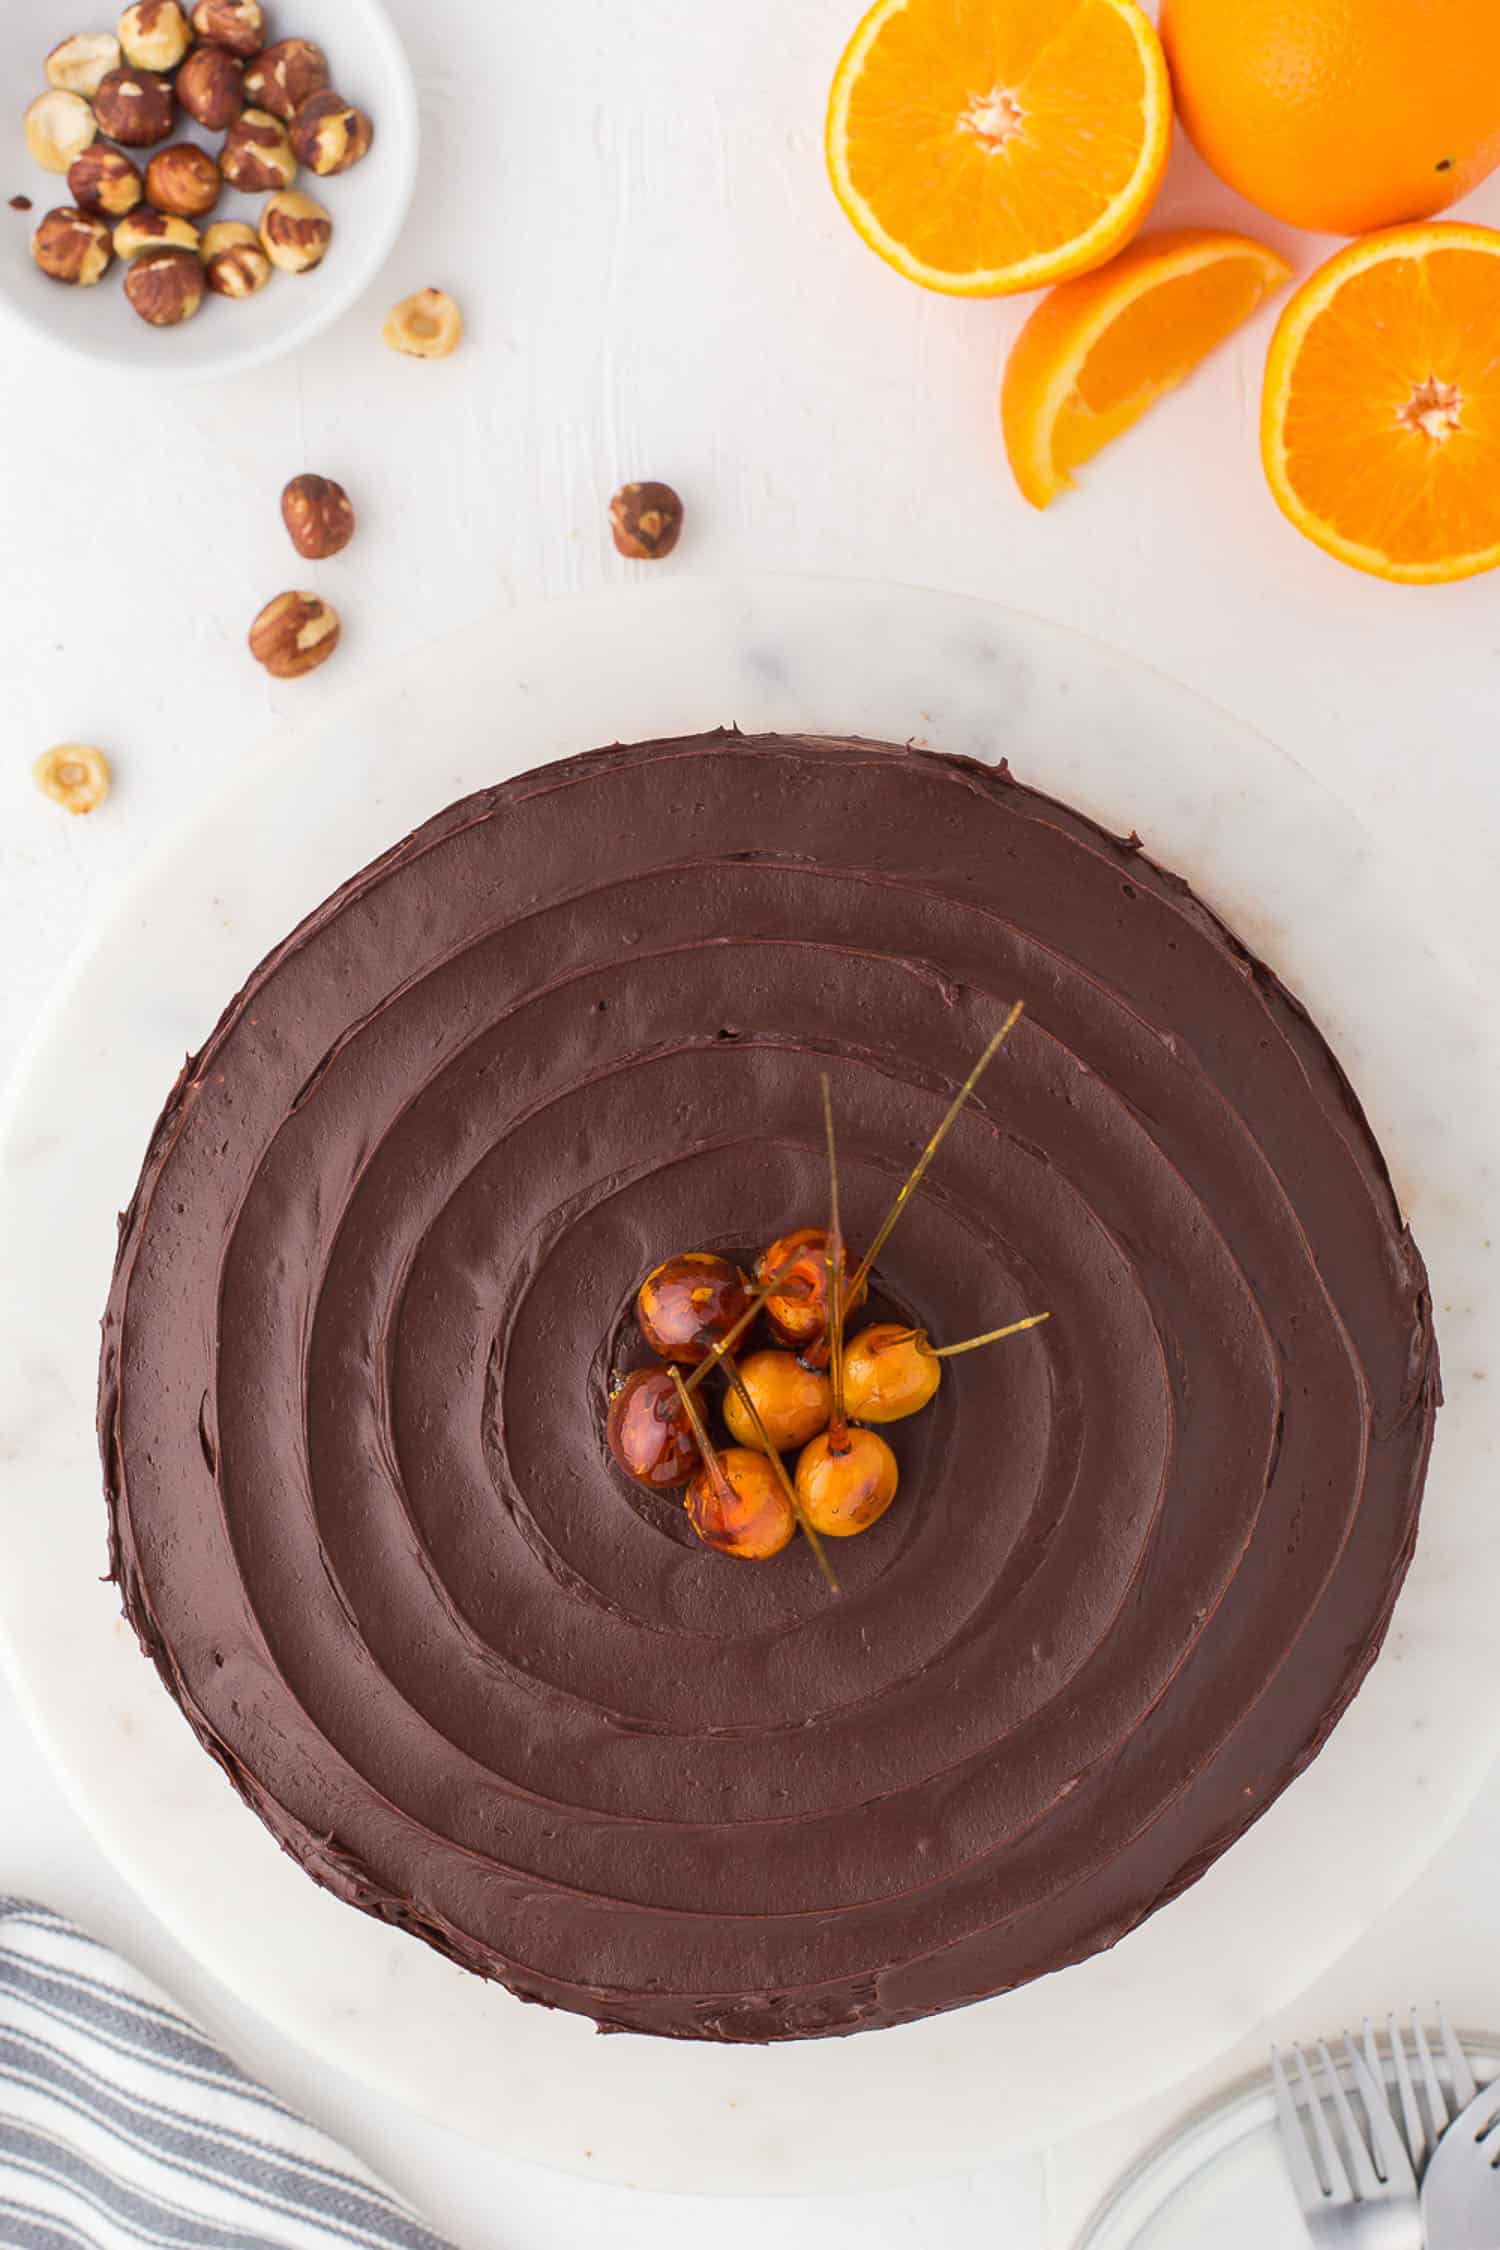
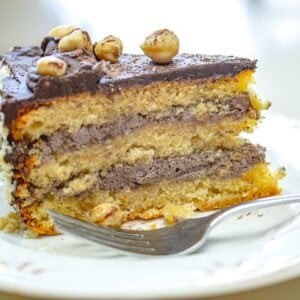
This scrumptious hazelnut torte is like a cozy hug for your taste buds! With zesty orange, warm cinnamon, and the perfect amount of sweetness, this torte is perfect for any occasion. Imagine digging into layers of fluffy chocolate filling and creamy buttercream, topped with a sprinkle of nuts for pure dessert bliss!
Jump to:
The Backstory
This recipe is from the files – it’s easily 20 years old at this point in time. I made it for coworkers during a contest where I challenged a fellow coworker to a “bake off”. It was a fun idea at the time to add some fun (and treats) to the workplace.
We served both cakes (blinded) and then everyone voted for their favorite at the end of the day, and the chocolate hazelnut torte won!
It’s really a special cake, and I’m so happy to have found the recipe because I thought I lost the recipe. And, by the way, I must say if you’re a fan of chocolate hazelnut, this chocolate babka can be made with Nutella is a must try!
What is a Torte?
I didn’t know what a torte was until I got curious after making this awesome chocolate hazelnut torte. At first, I found that a torte was defined as a rich, multi-layered cake filled with buttercream, jams, or whipped creams and is traditionally baked in a springform pan.
Okay, doesn’t sound too different than a regular ole cake? The torte is defined as a multilayered cake filled with buttercream, jam, fruit, whipped cream, mousse, and commonly baked in a springform pan. Of note, the torte may be made with either no flour or a very low percentage of flour. This chocolate hazelnut torte uses only 1/2 cup of flour, so it definitely fits the definition.
When to Make Chocolate Torte
A chocolate hazelnut torte is an amazing dessert that can be enjoyed on various occasions. Here are a few suggestions on when to make it:
Special Celebrations: The chocolate hazelnut torte is perfect for birthdays, anniversaries, or any special occasions. It’s an indulgent treat that will impress your guests and make the celebration even more memorable.
Holiday Festivities: The rich flavors of chocolate and hazelnut make this torte an excellent choice for holiday gatherings. Whether it’s Christmas, Thanksgiving, or any festive occasion, the torte adds a touch of decadence to the dessert table.
Dinner Parties: If you’re hosting a dinner party, surprising your guests with a homemade chocolate hazelnut torte is sure to be a hit. It’s a sophisticated dessert that showcases your baking skills and leaves a lasting impression.
Family Gatherings: When your family gets together for a special meal, the chocolate hazelnut torte can be a wonderful finale to the feast. It’s a crowd-pleaser that brings everyone together to enjoy a slice of pure indulgence.
Personal Treat: Who says you need a specific occasion? If you’re craving a delicious dessert for yourself or want to pamper your loved ones, go ahead and make the chocolate hazelnut torte. Treat yourself to a slice of heaven whenever you desire.
Remember, making a chocolate hazelnut torte requires some preparation and baking time, so plan accordingly to ensure it’s ready for your chosen occasion.
Ingredients
The ingredients are shown below for each major item in the torte: The layers, the filling, and the frosting.
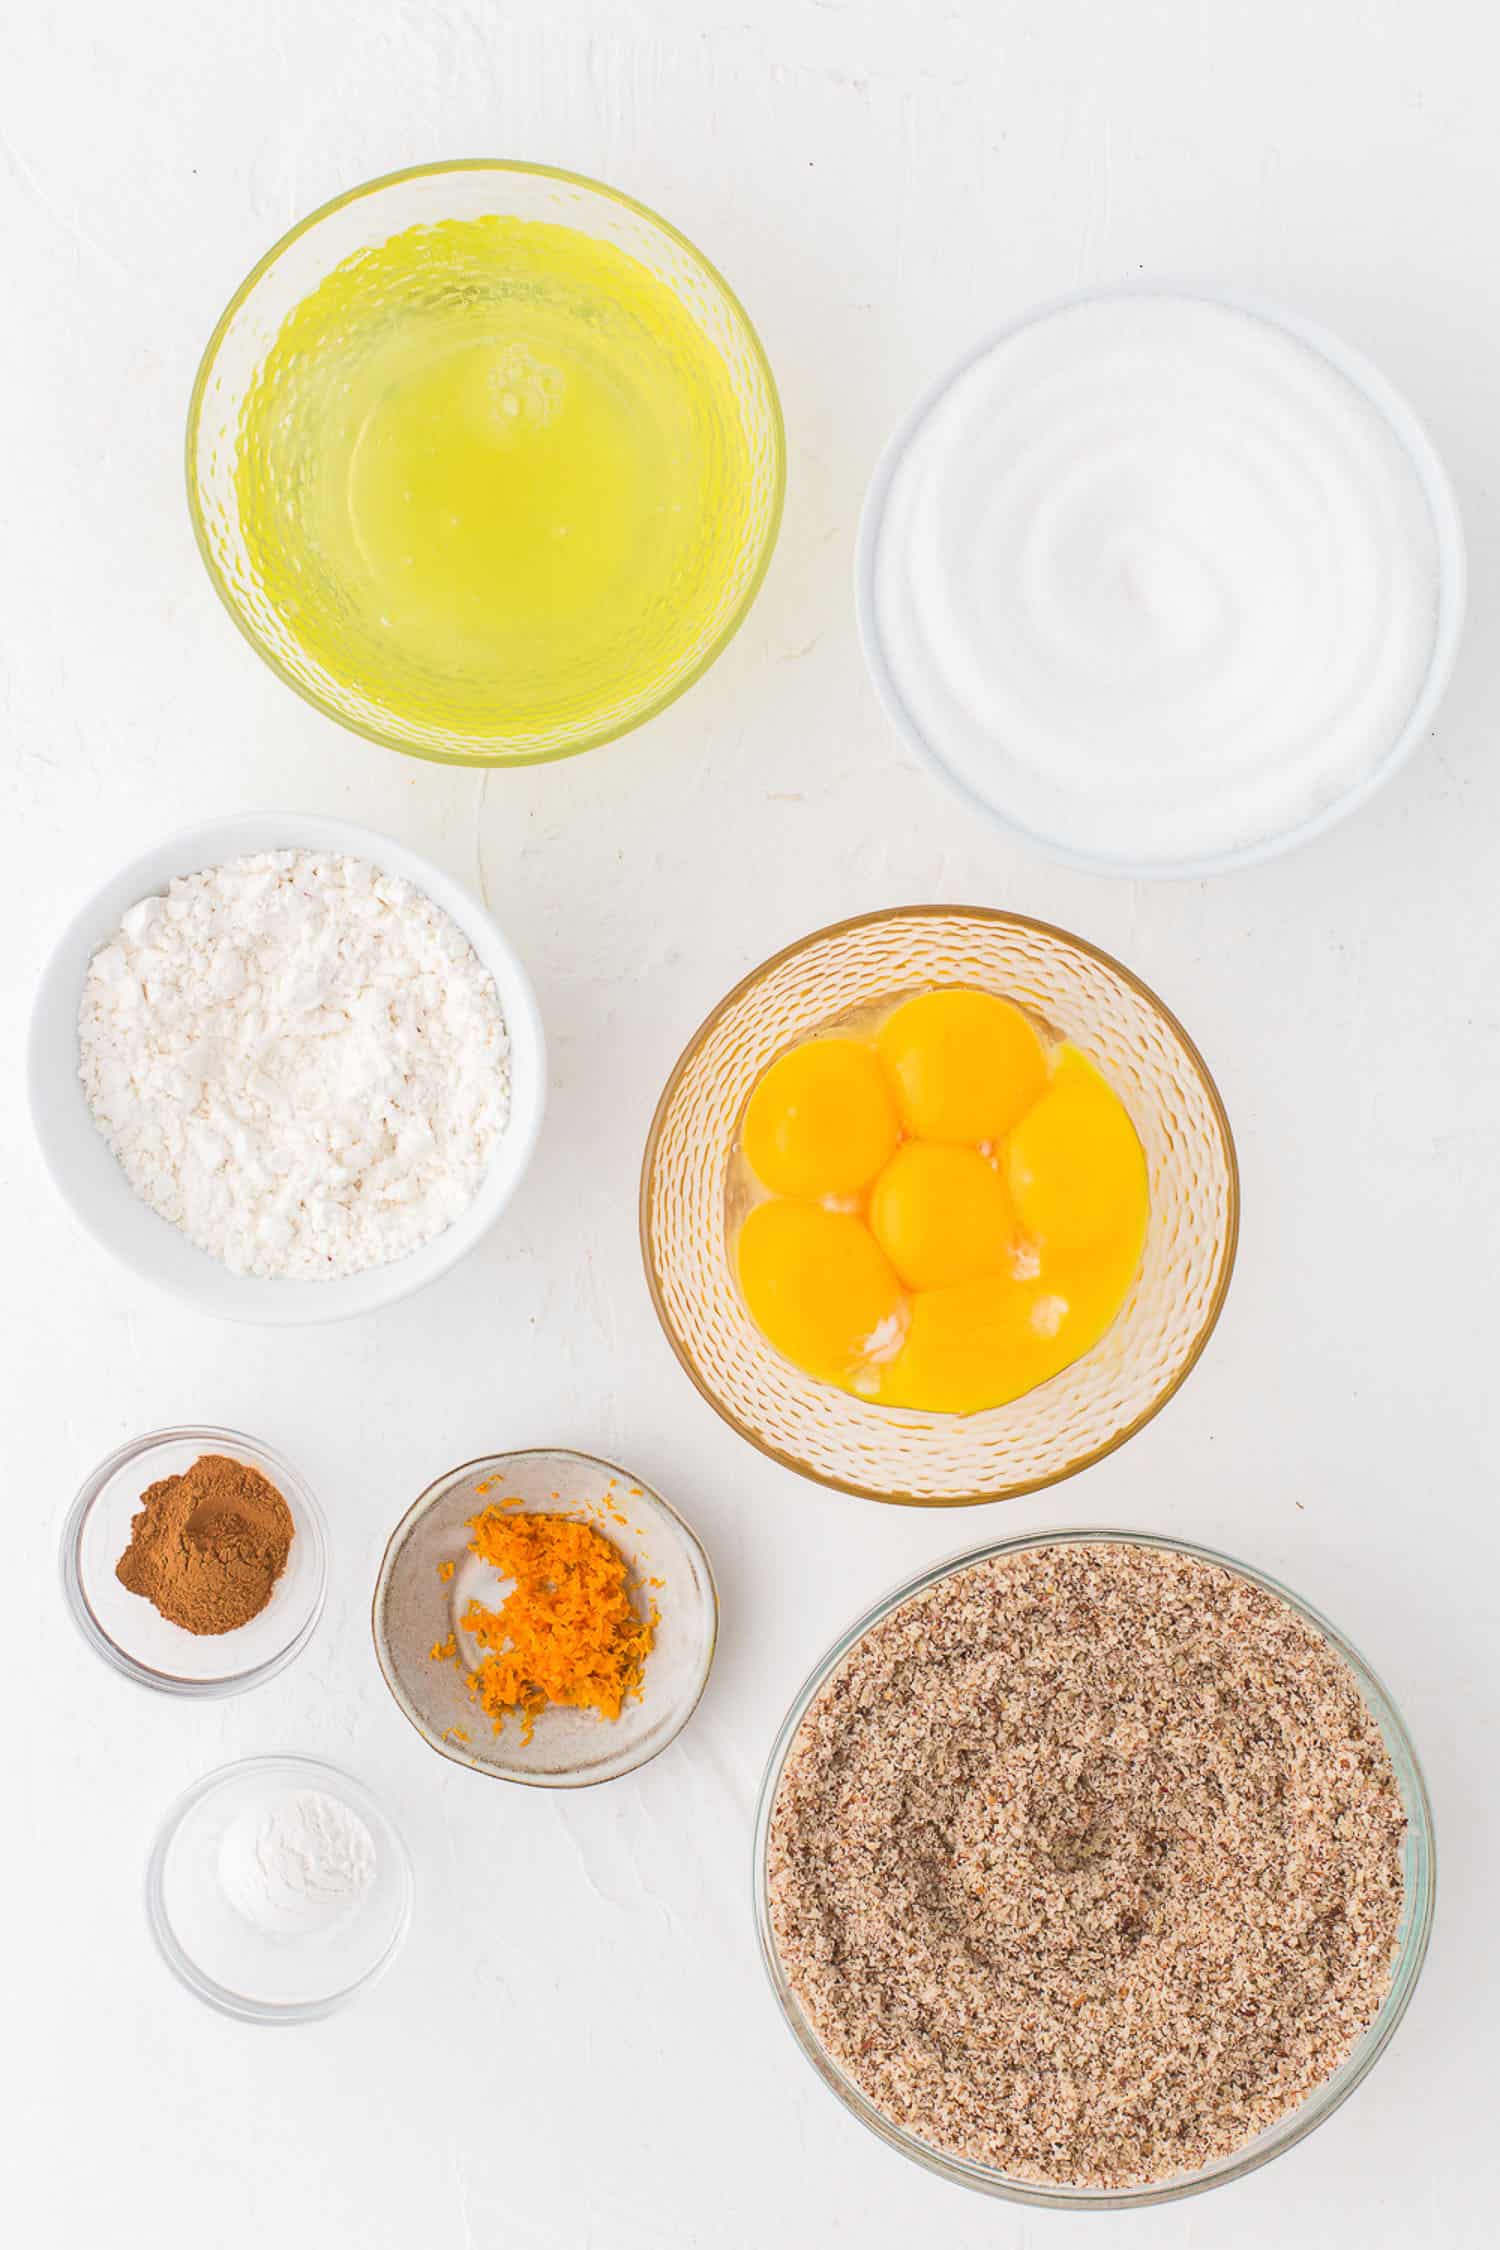
For the torte layers
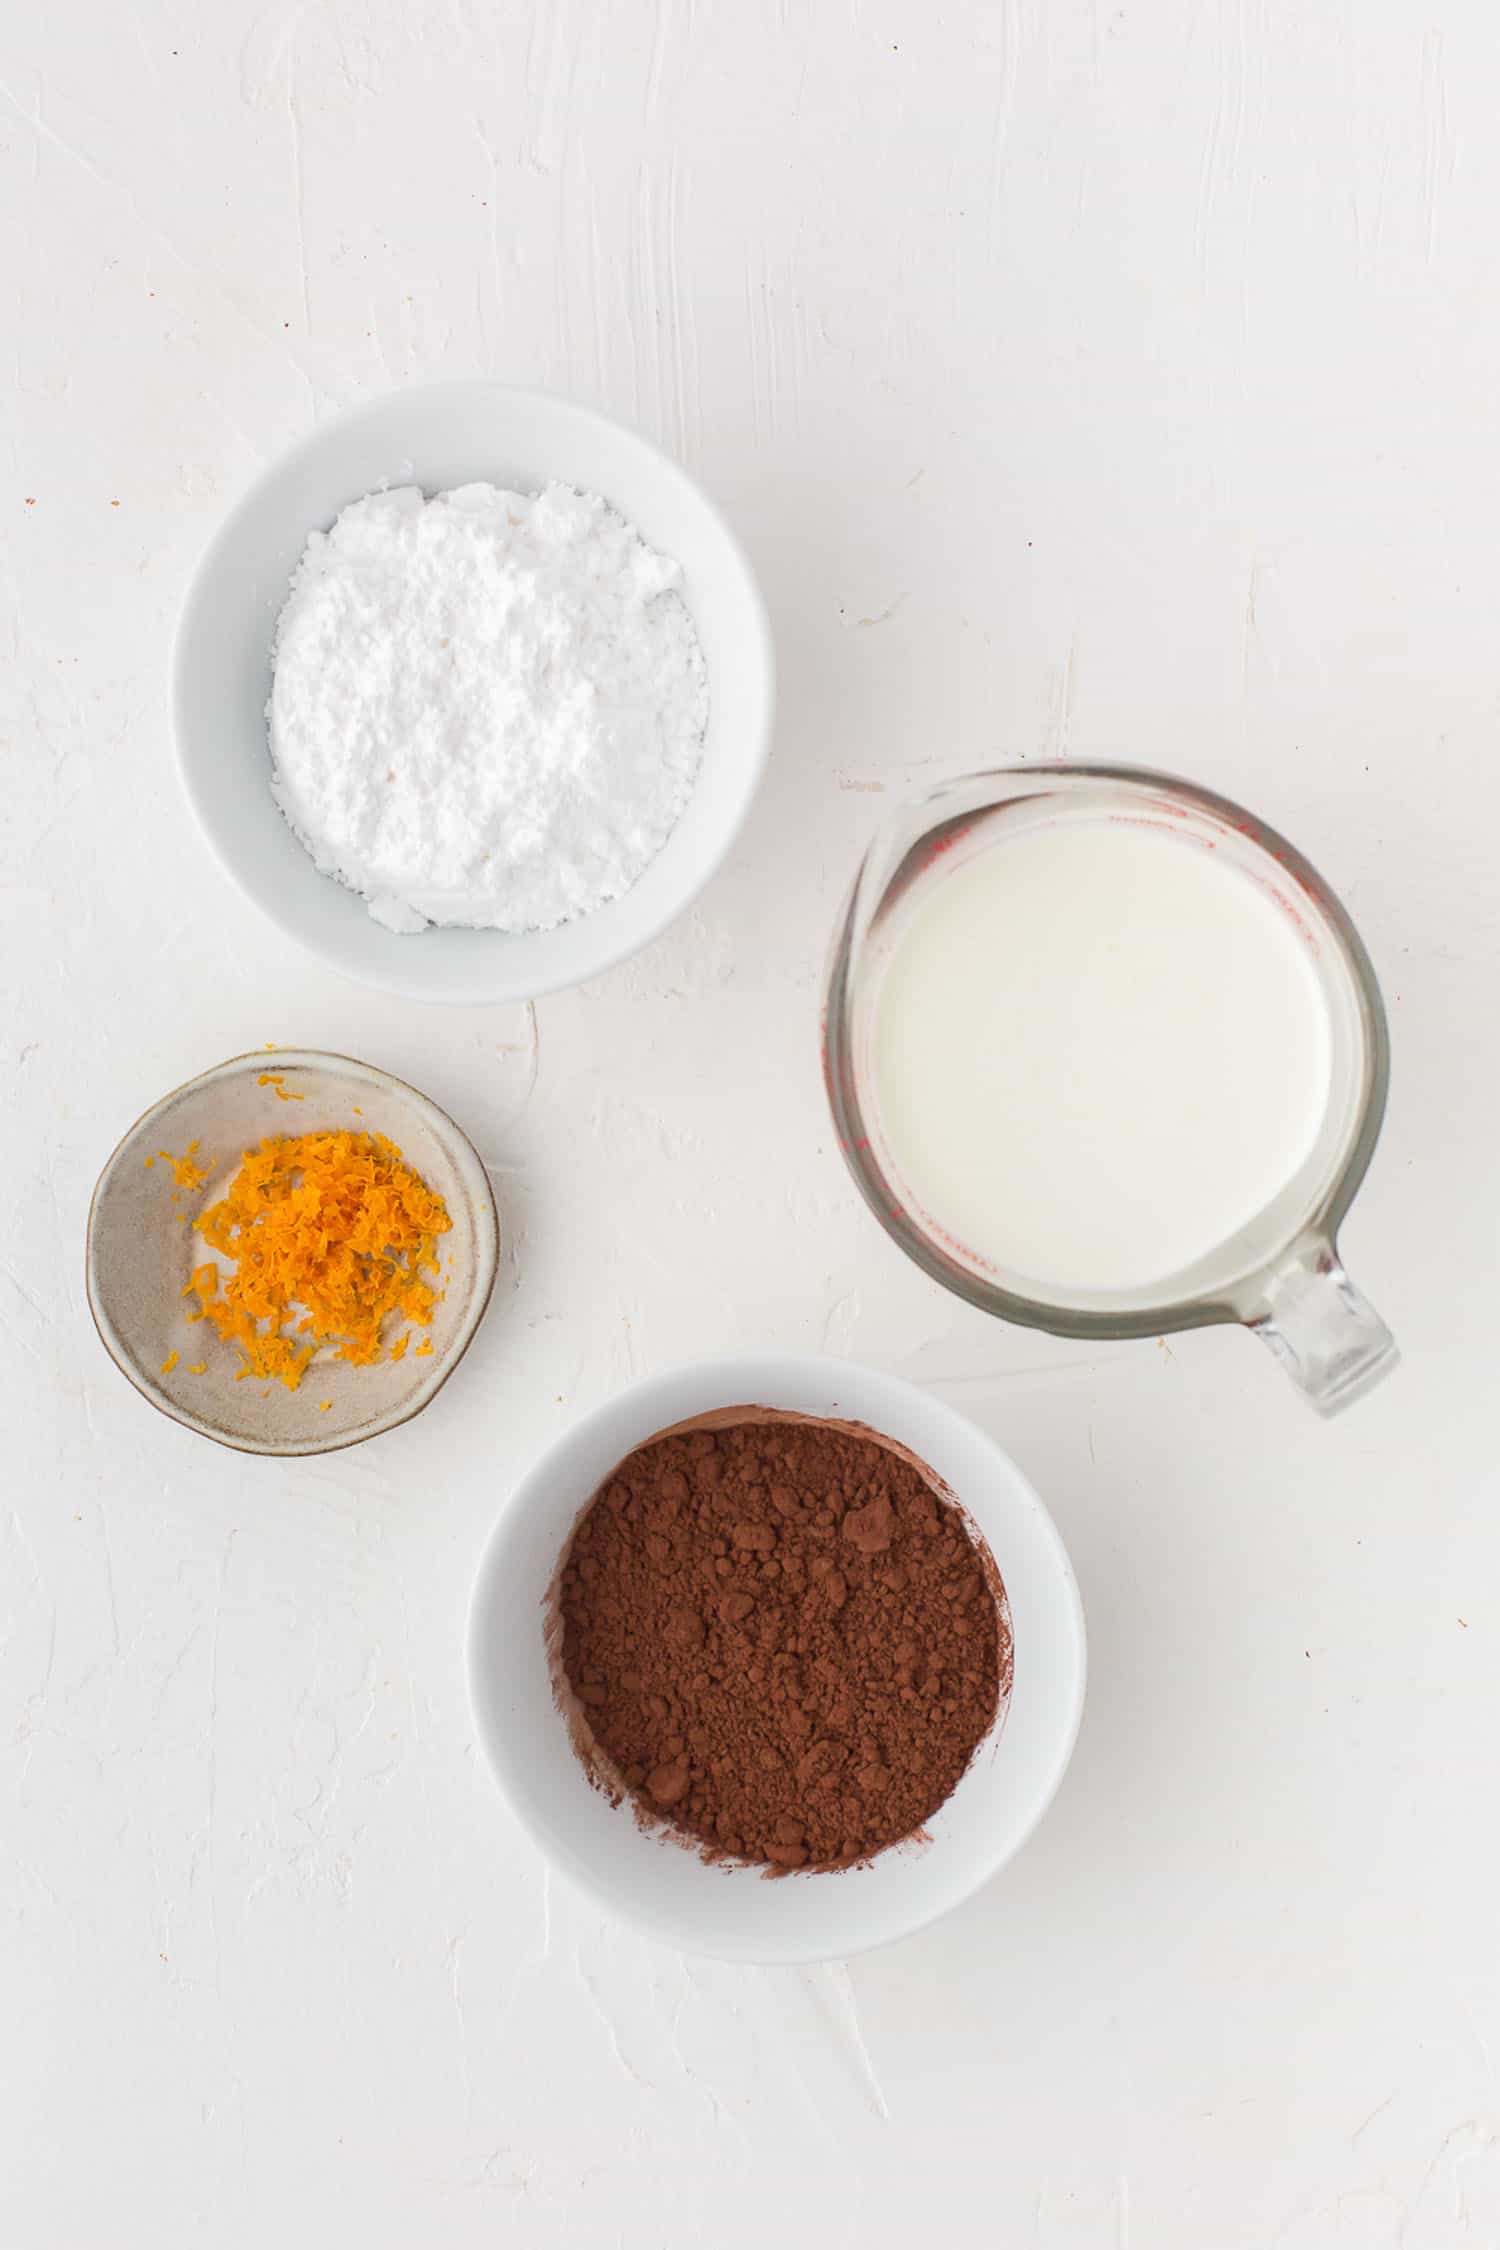
For the Filling
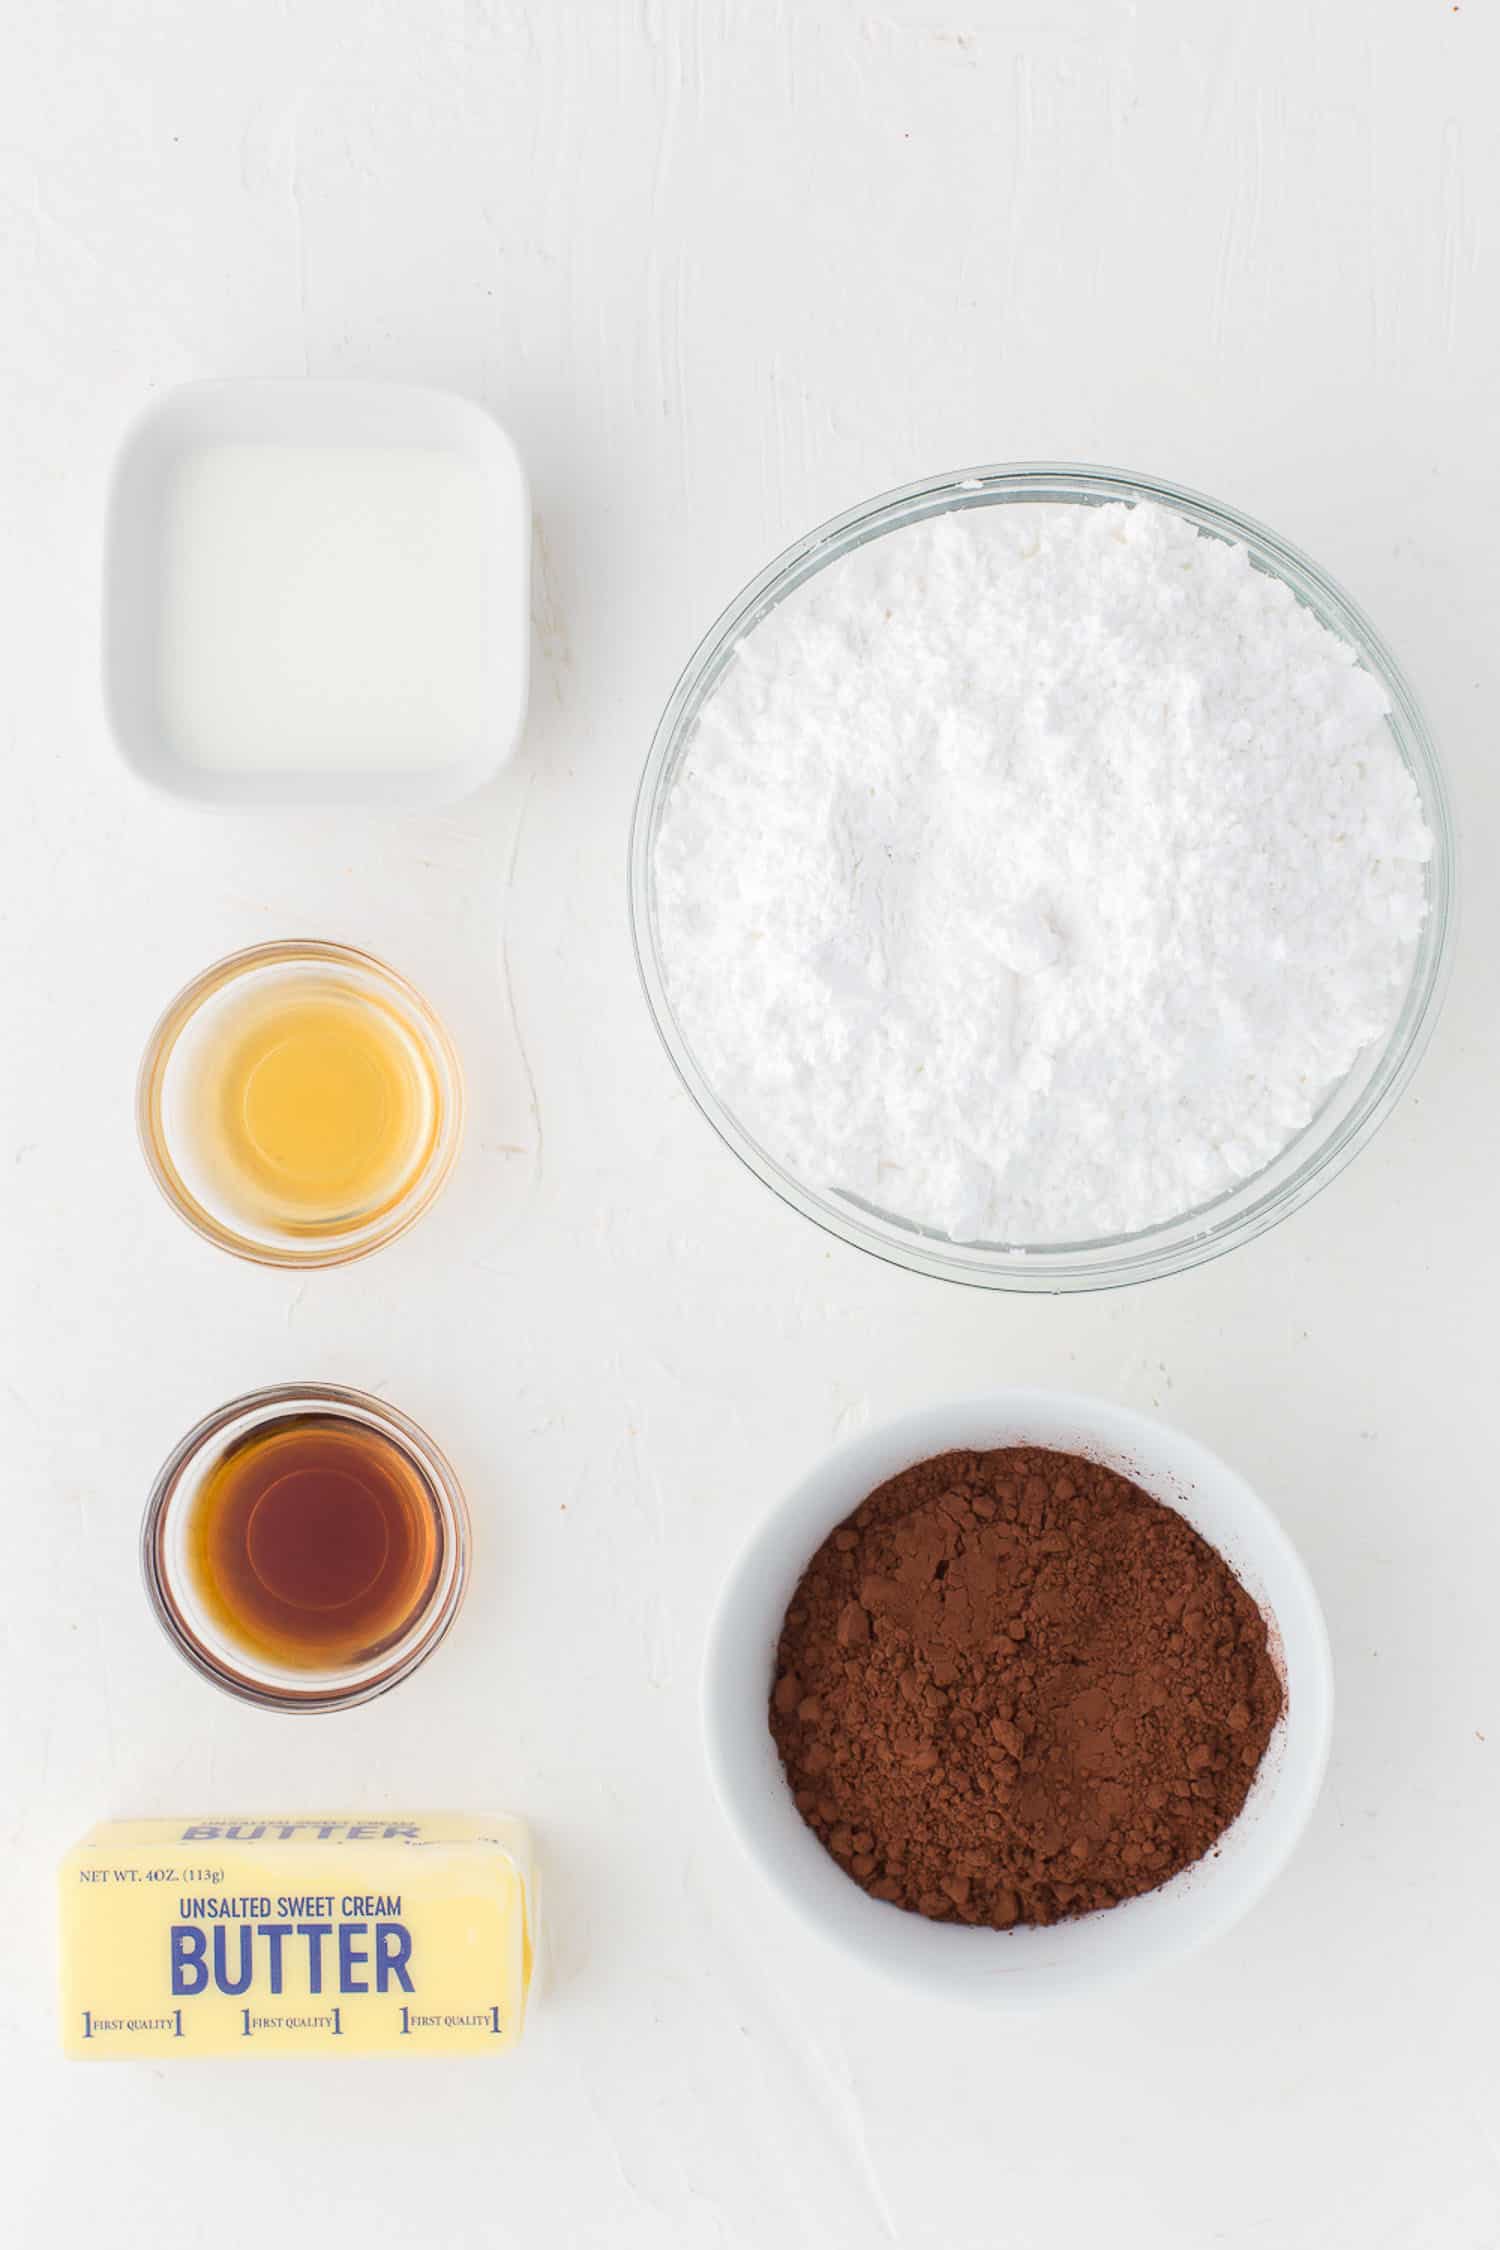
For the Frosting
Method: Making the Layers
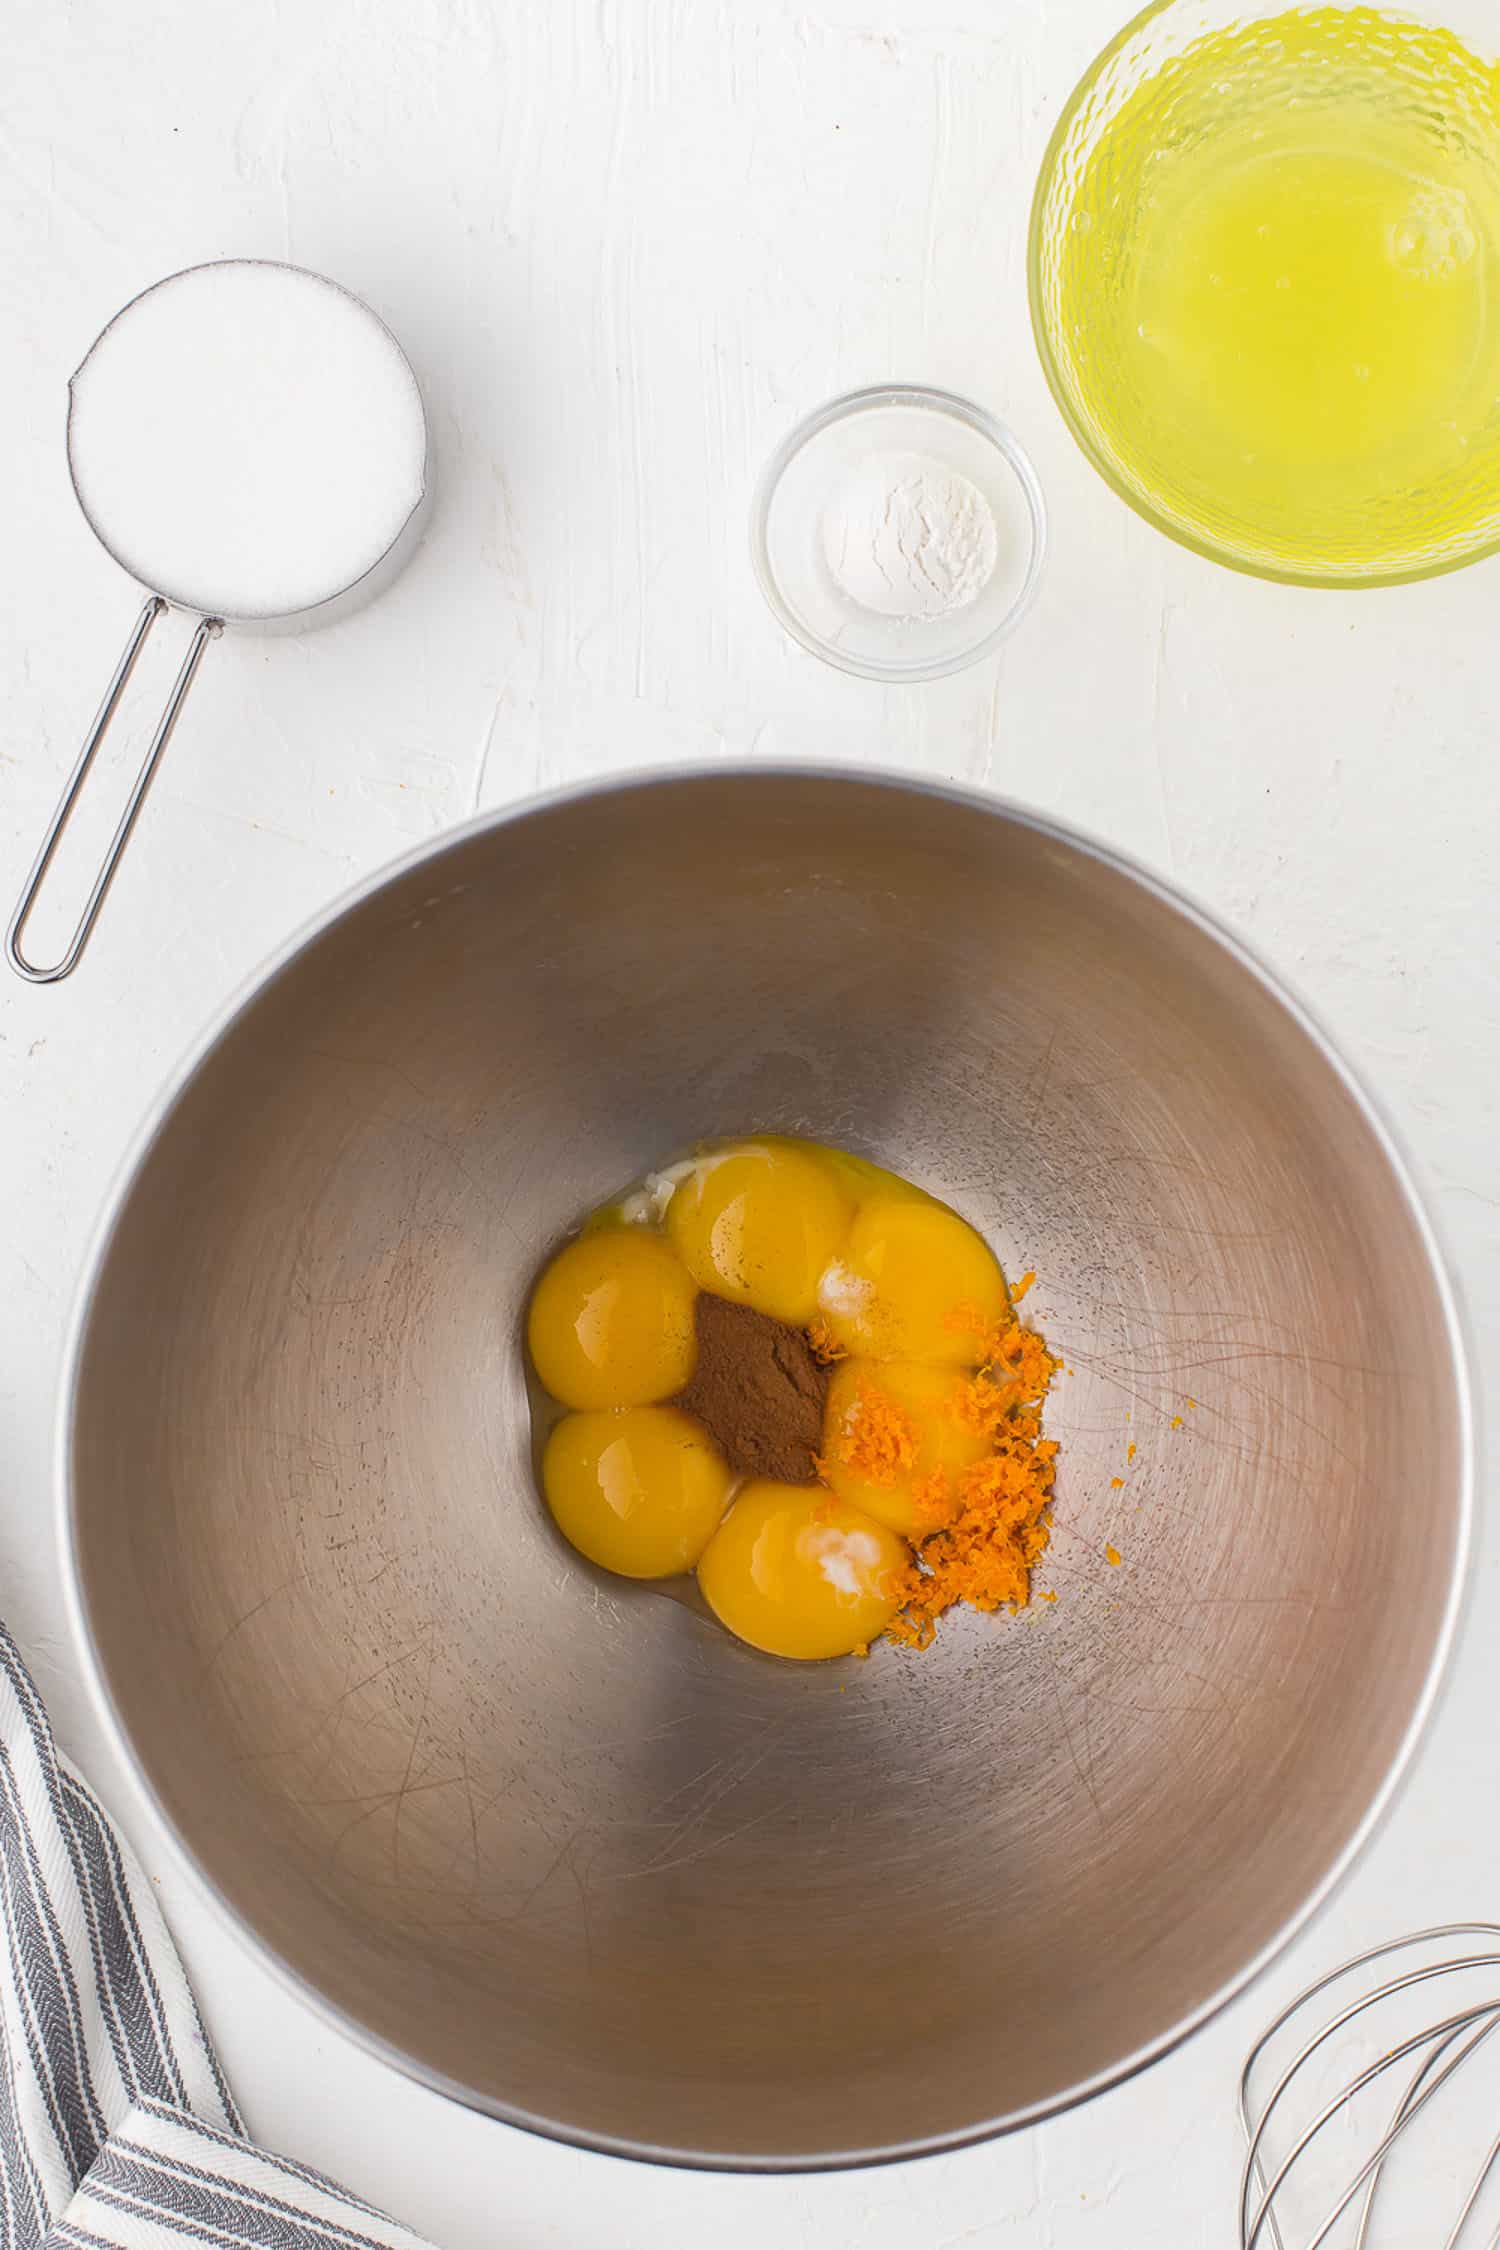
Preheat oven to 325 degrees. Grease and line a 9 x 3-inch springform pan. In a standing mixer, beat egg yolks, orange zest, and cinnamon until light and thick. Gradually beat in sugar.
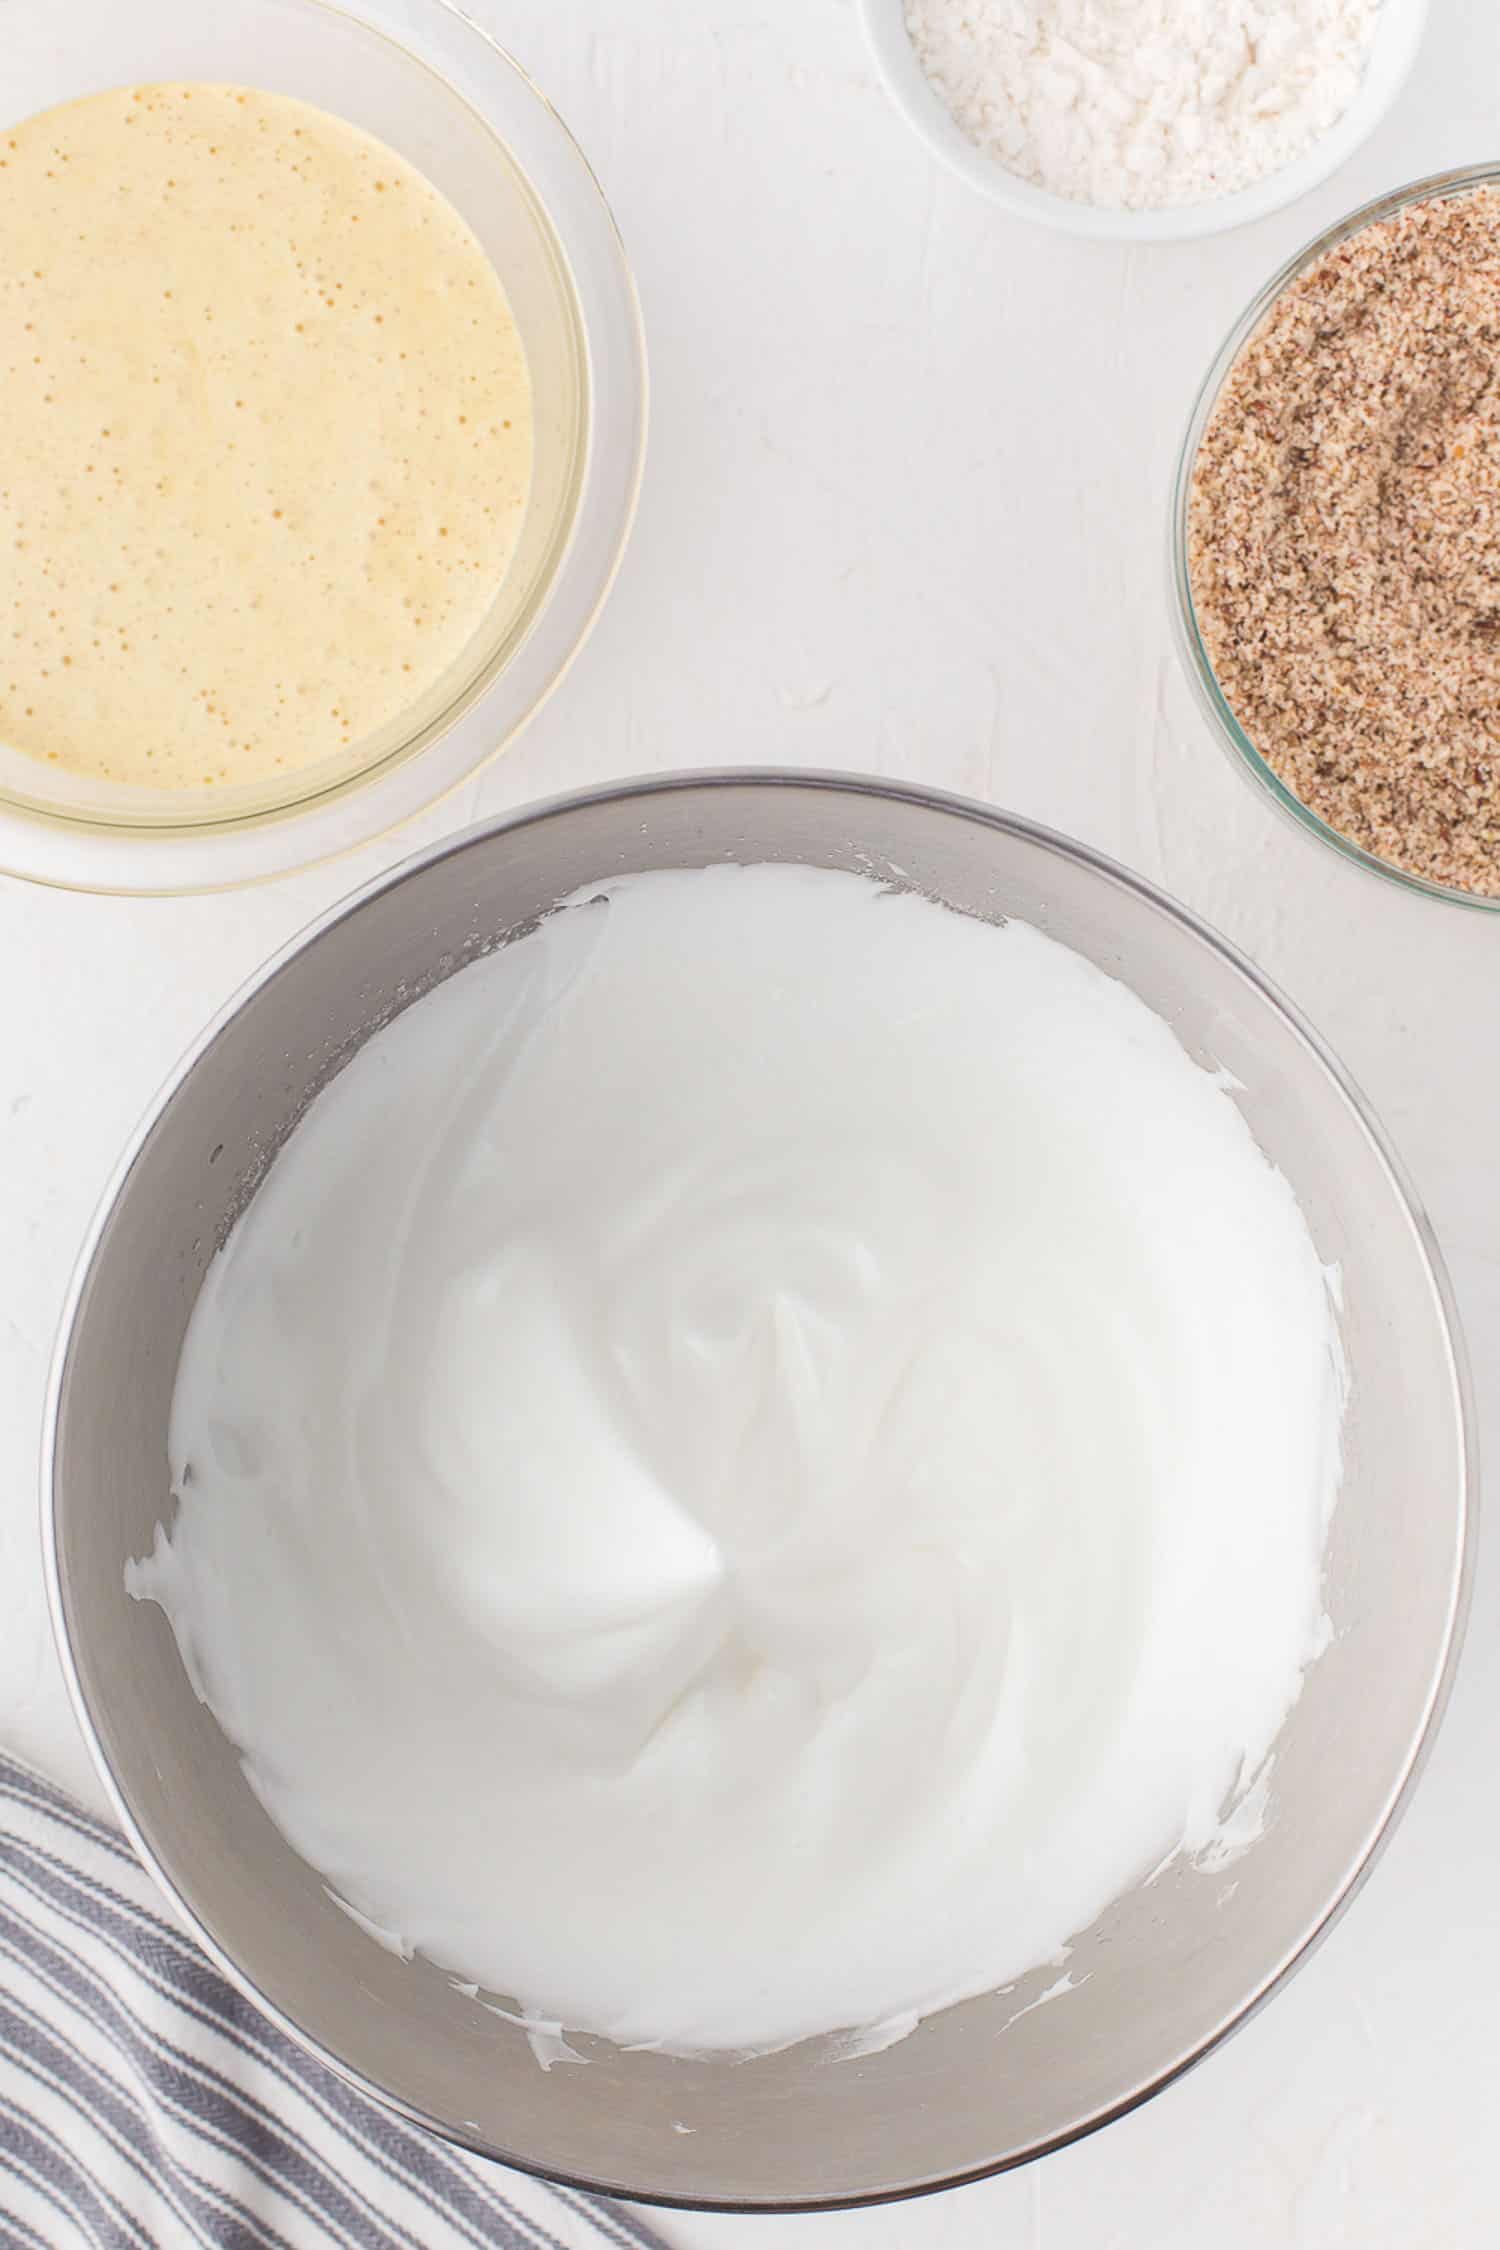
In a separate bowl, beat egg whites with cream of tartar until stiff peaks form.
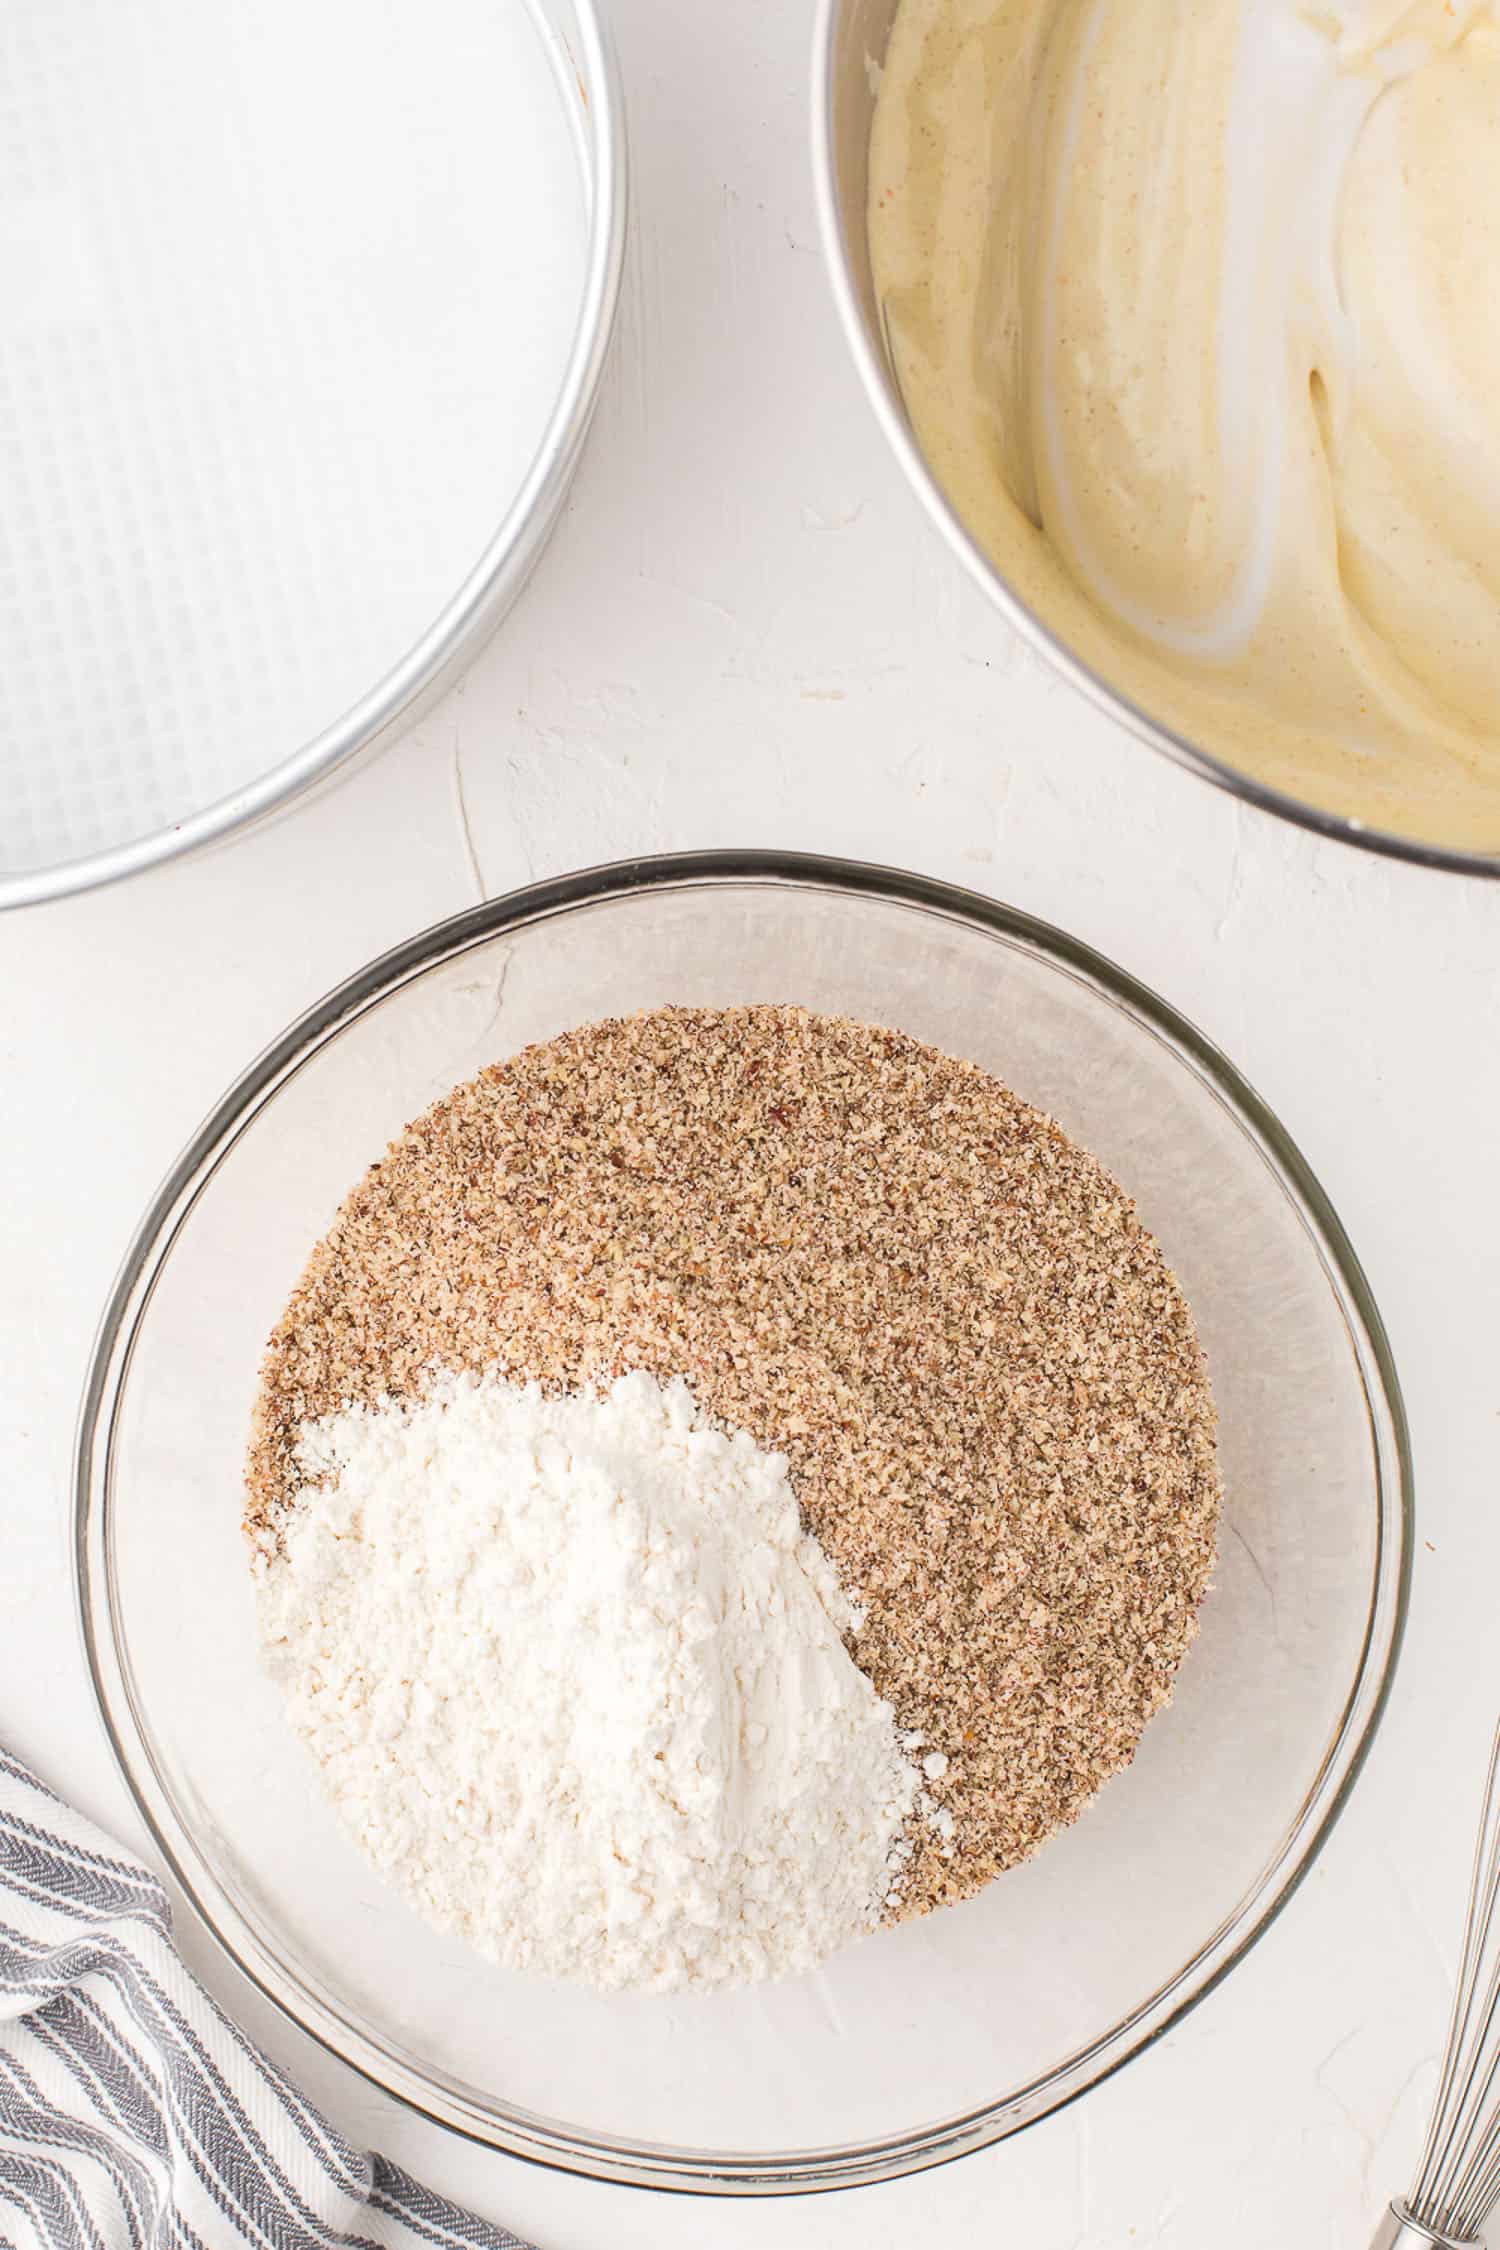
Fold egg yolk mixture into egg whites. Fold in ground hazelnuts and flour.
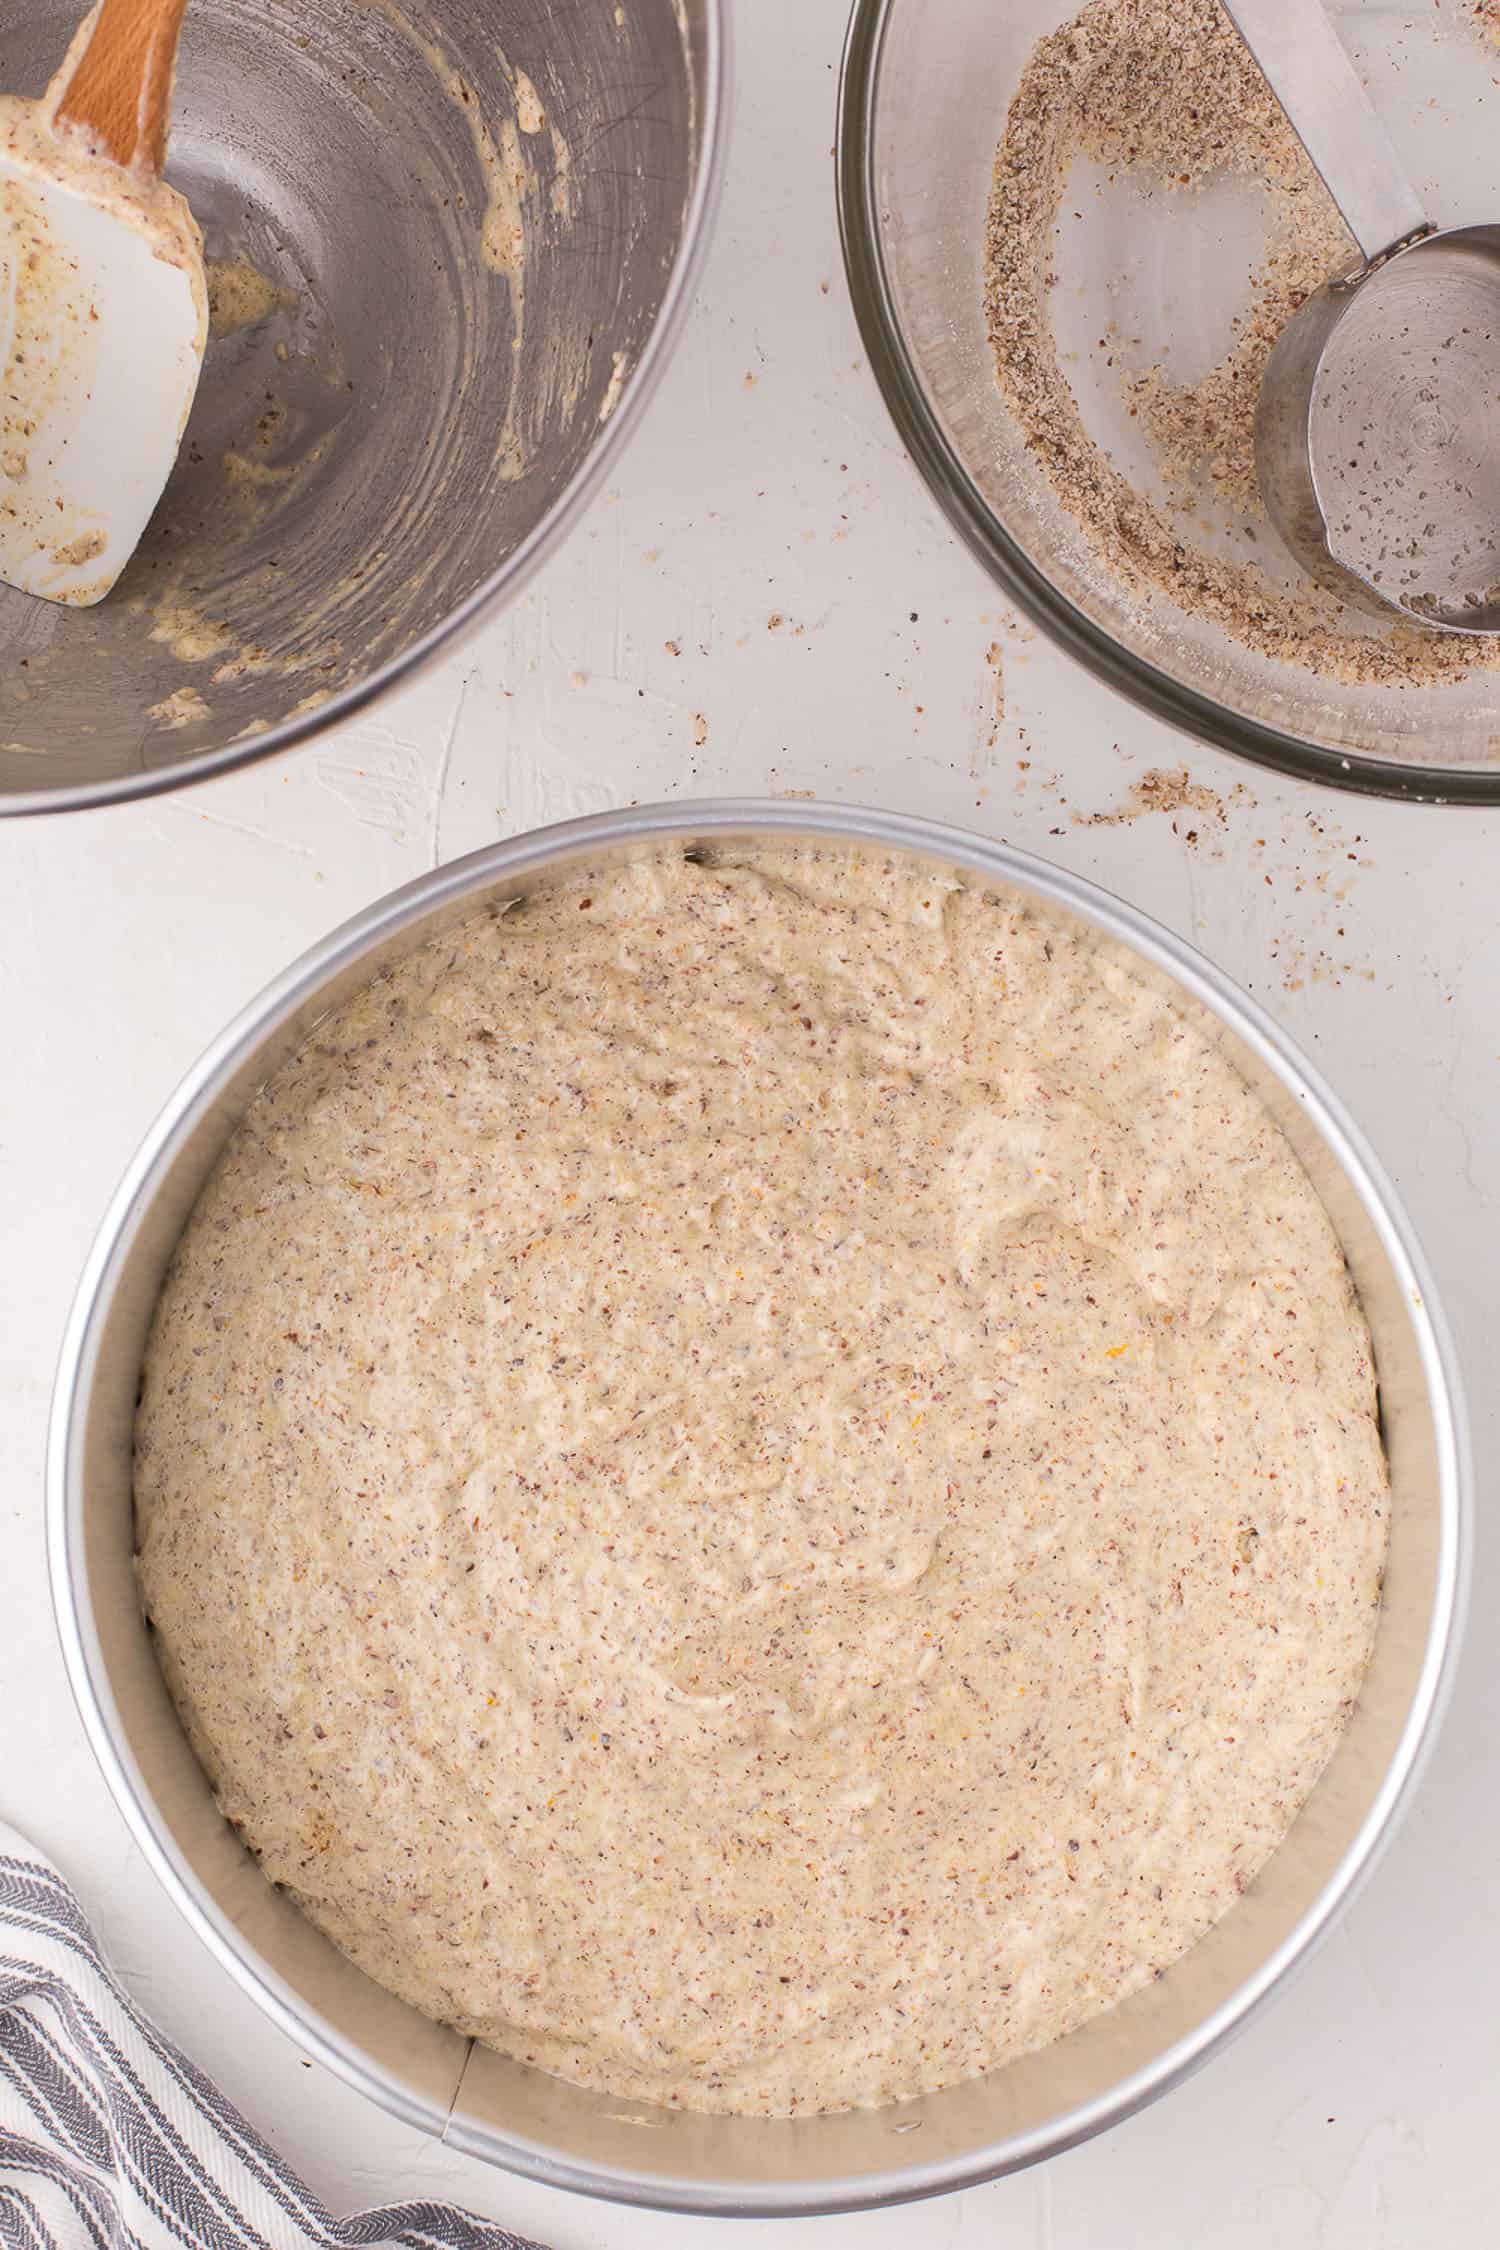
Spread batter in pan and bake for 45-50 minutes. Cool, remove from pan, and refrigerate for 4 hours before slicing.

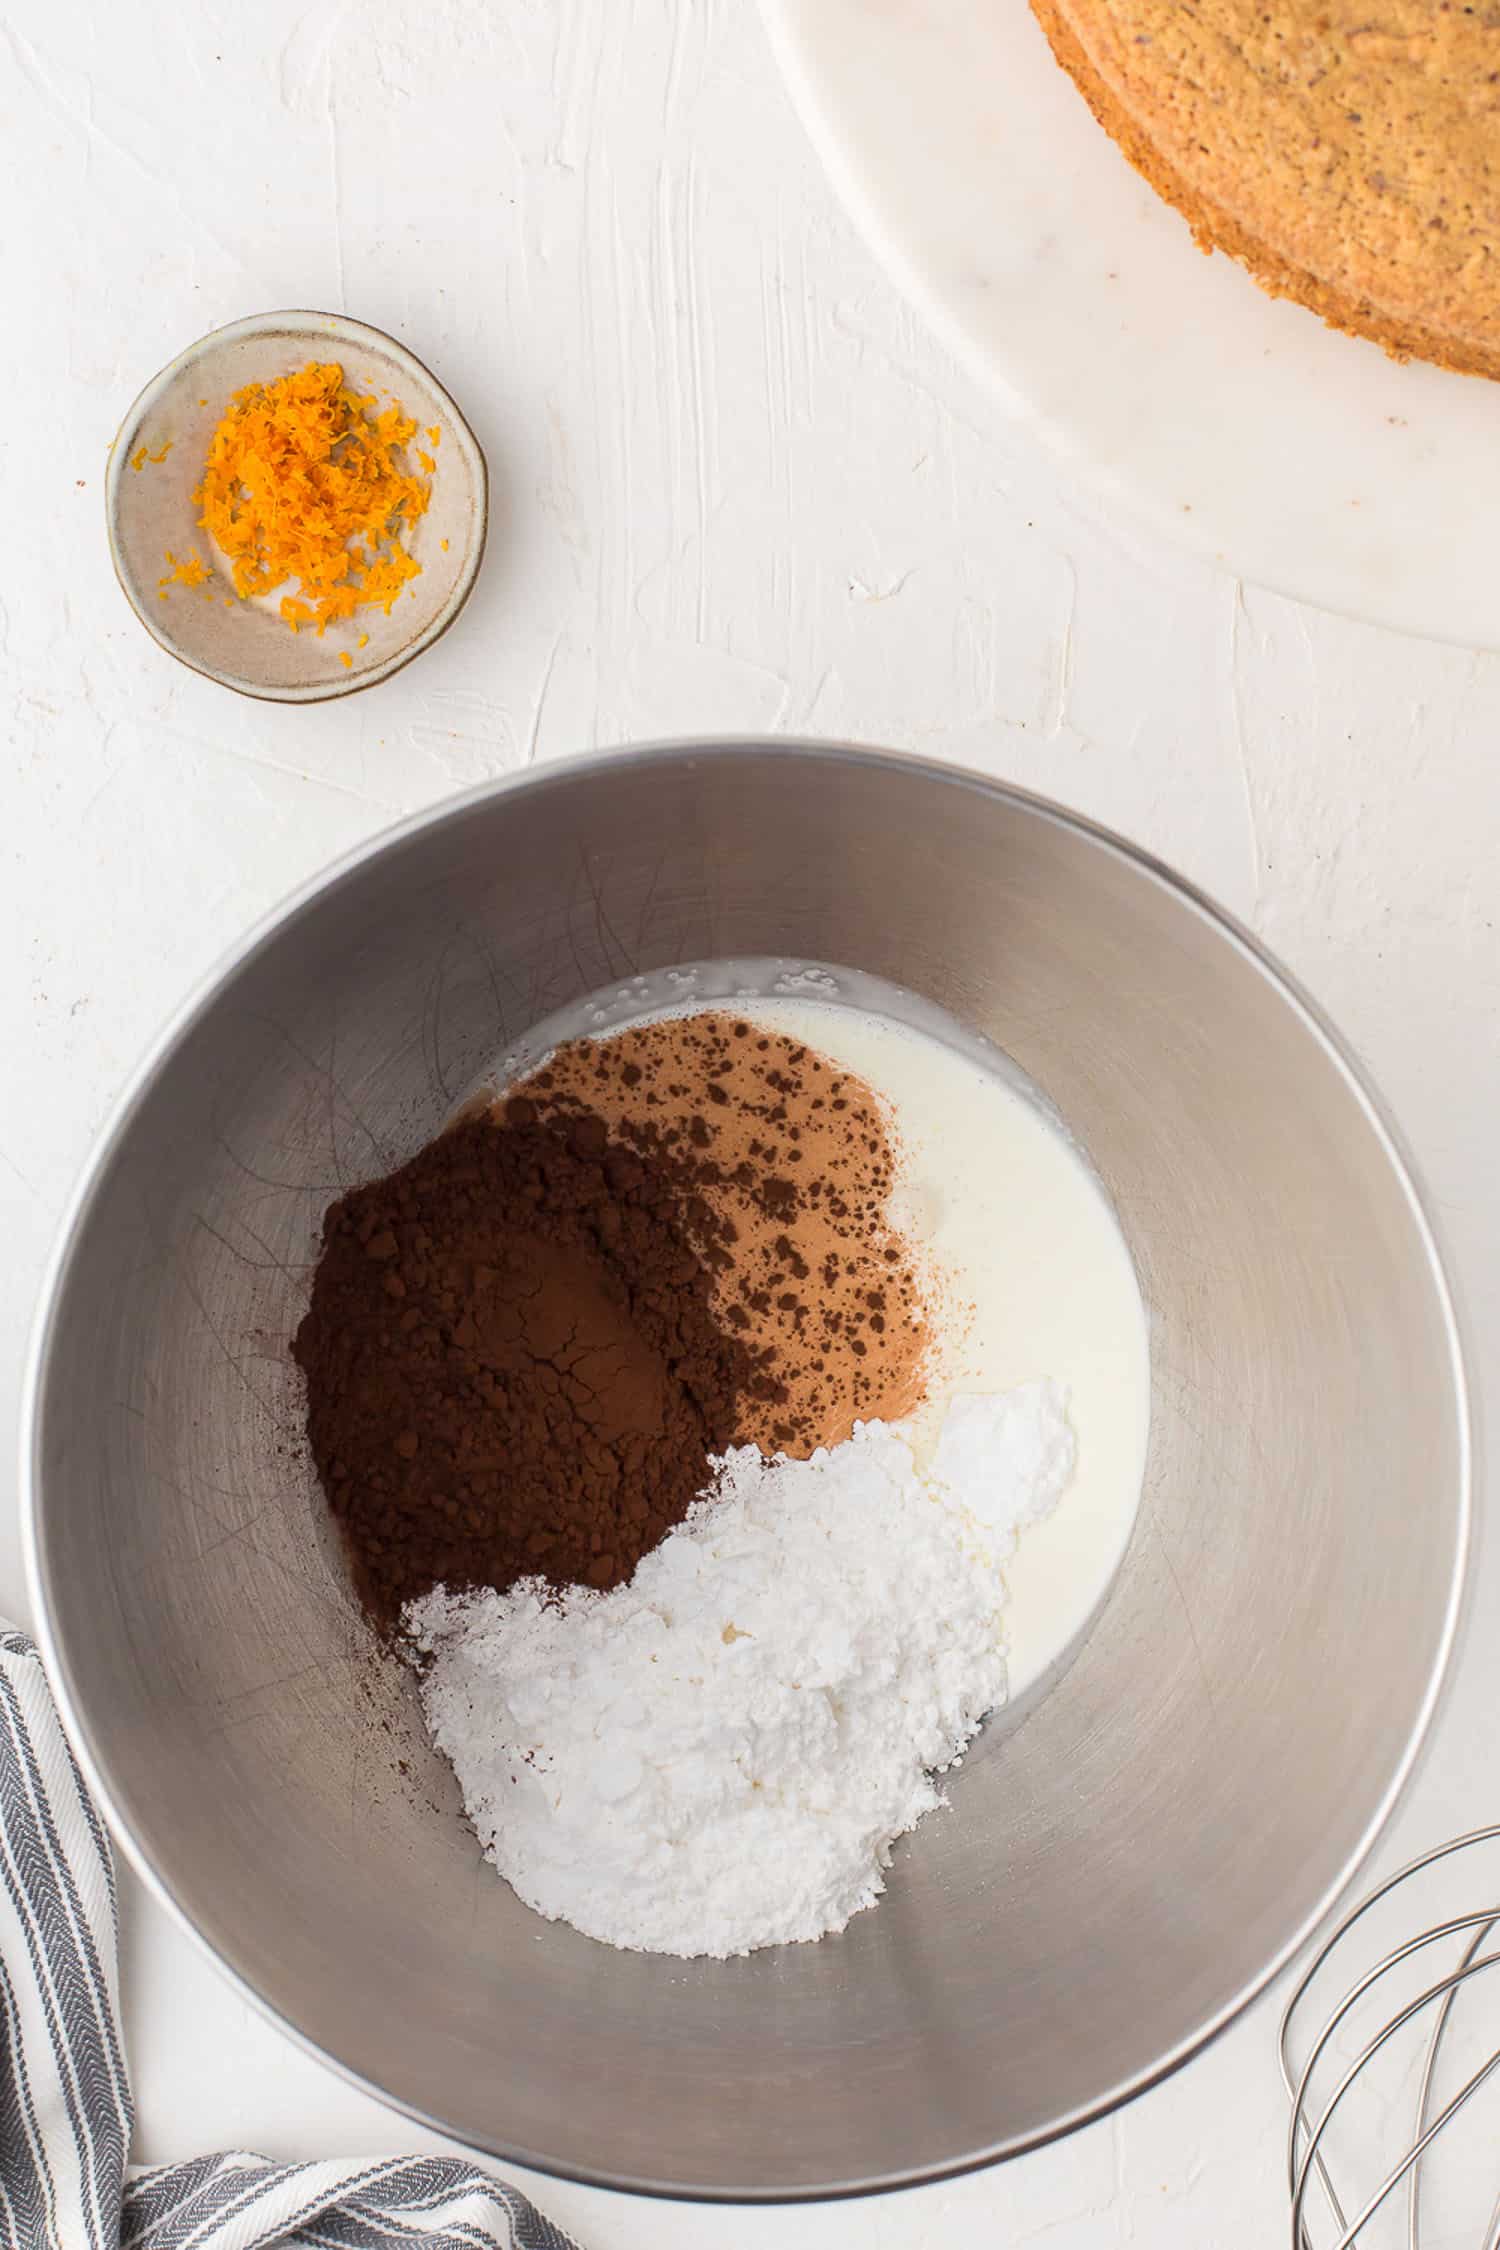
How to Make the Filling
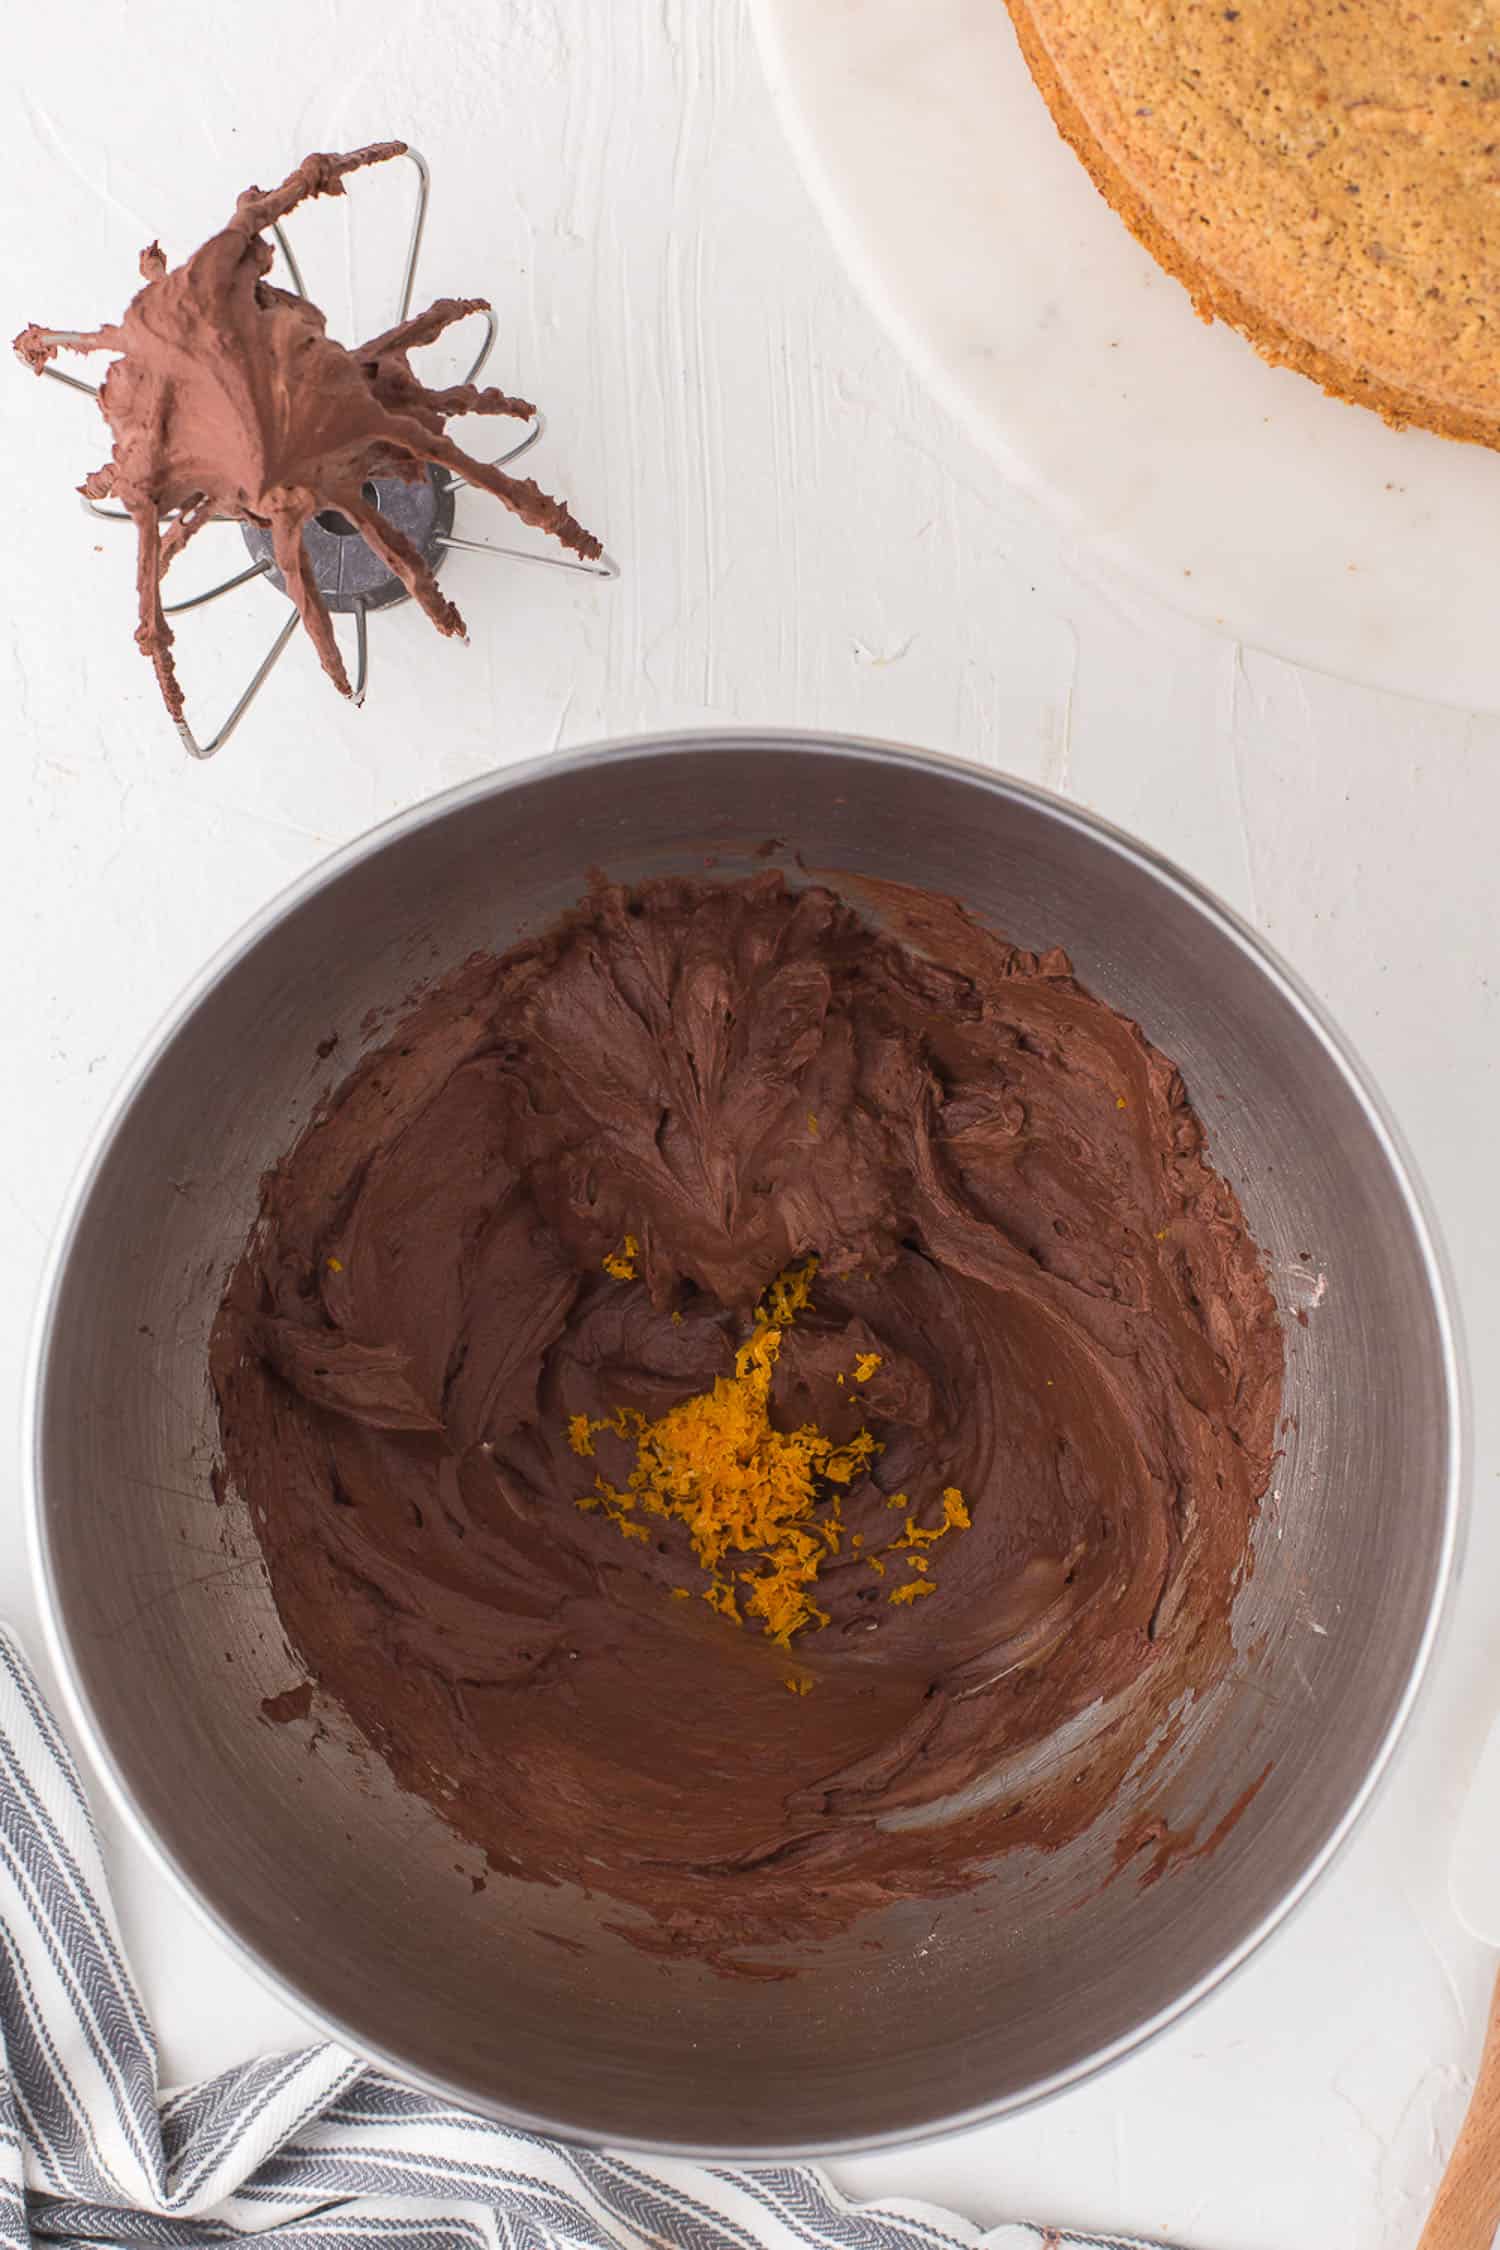
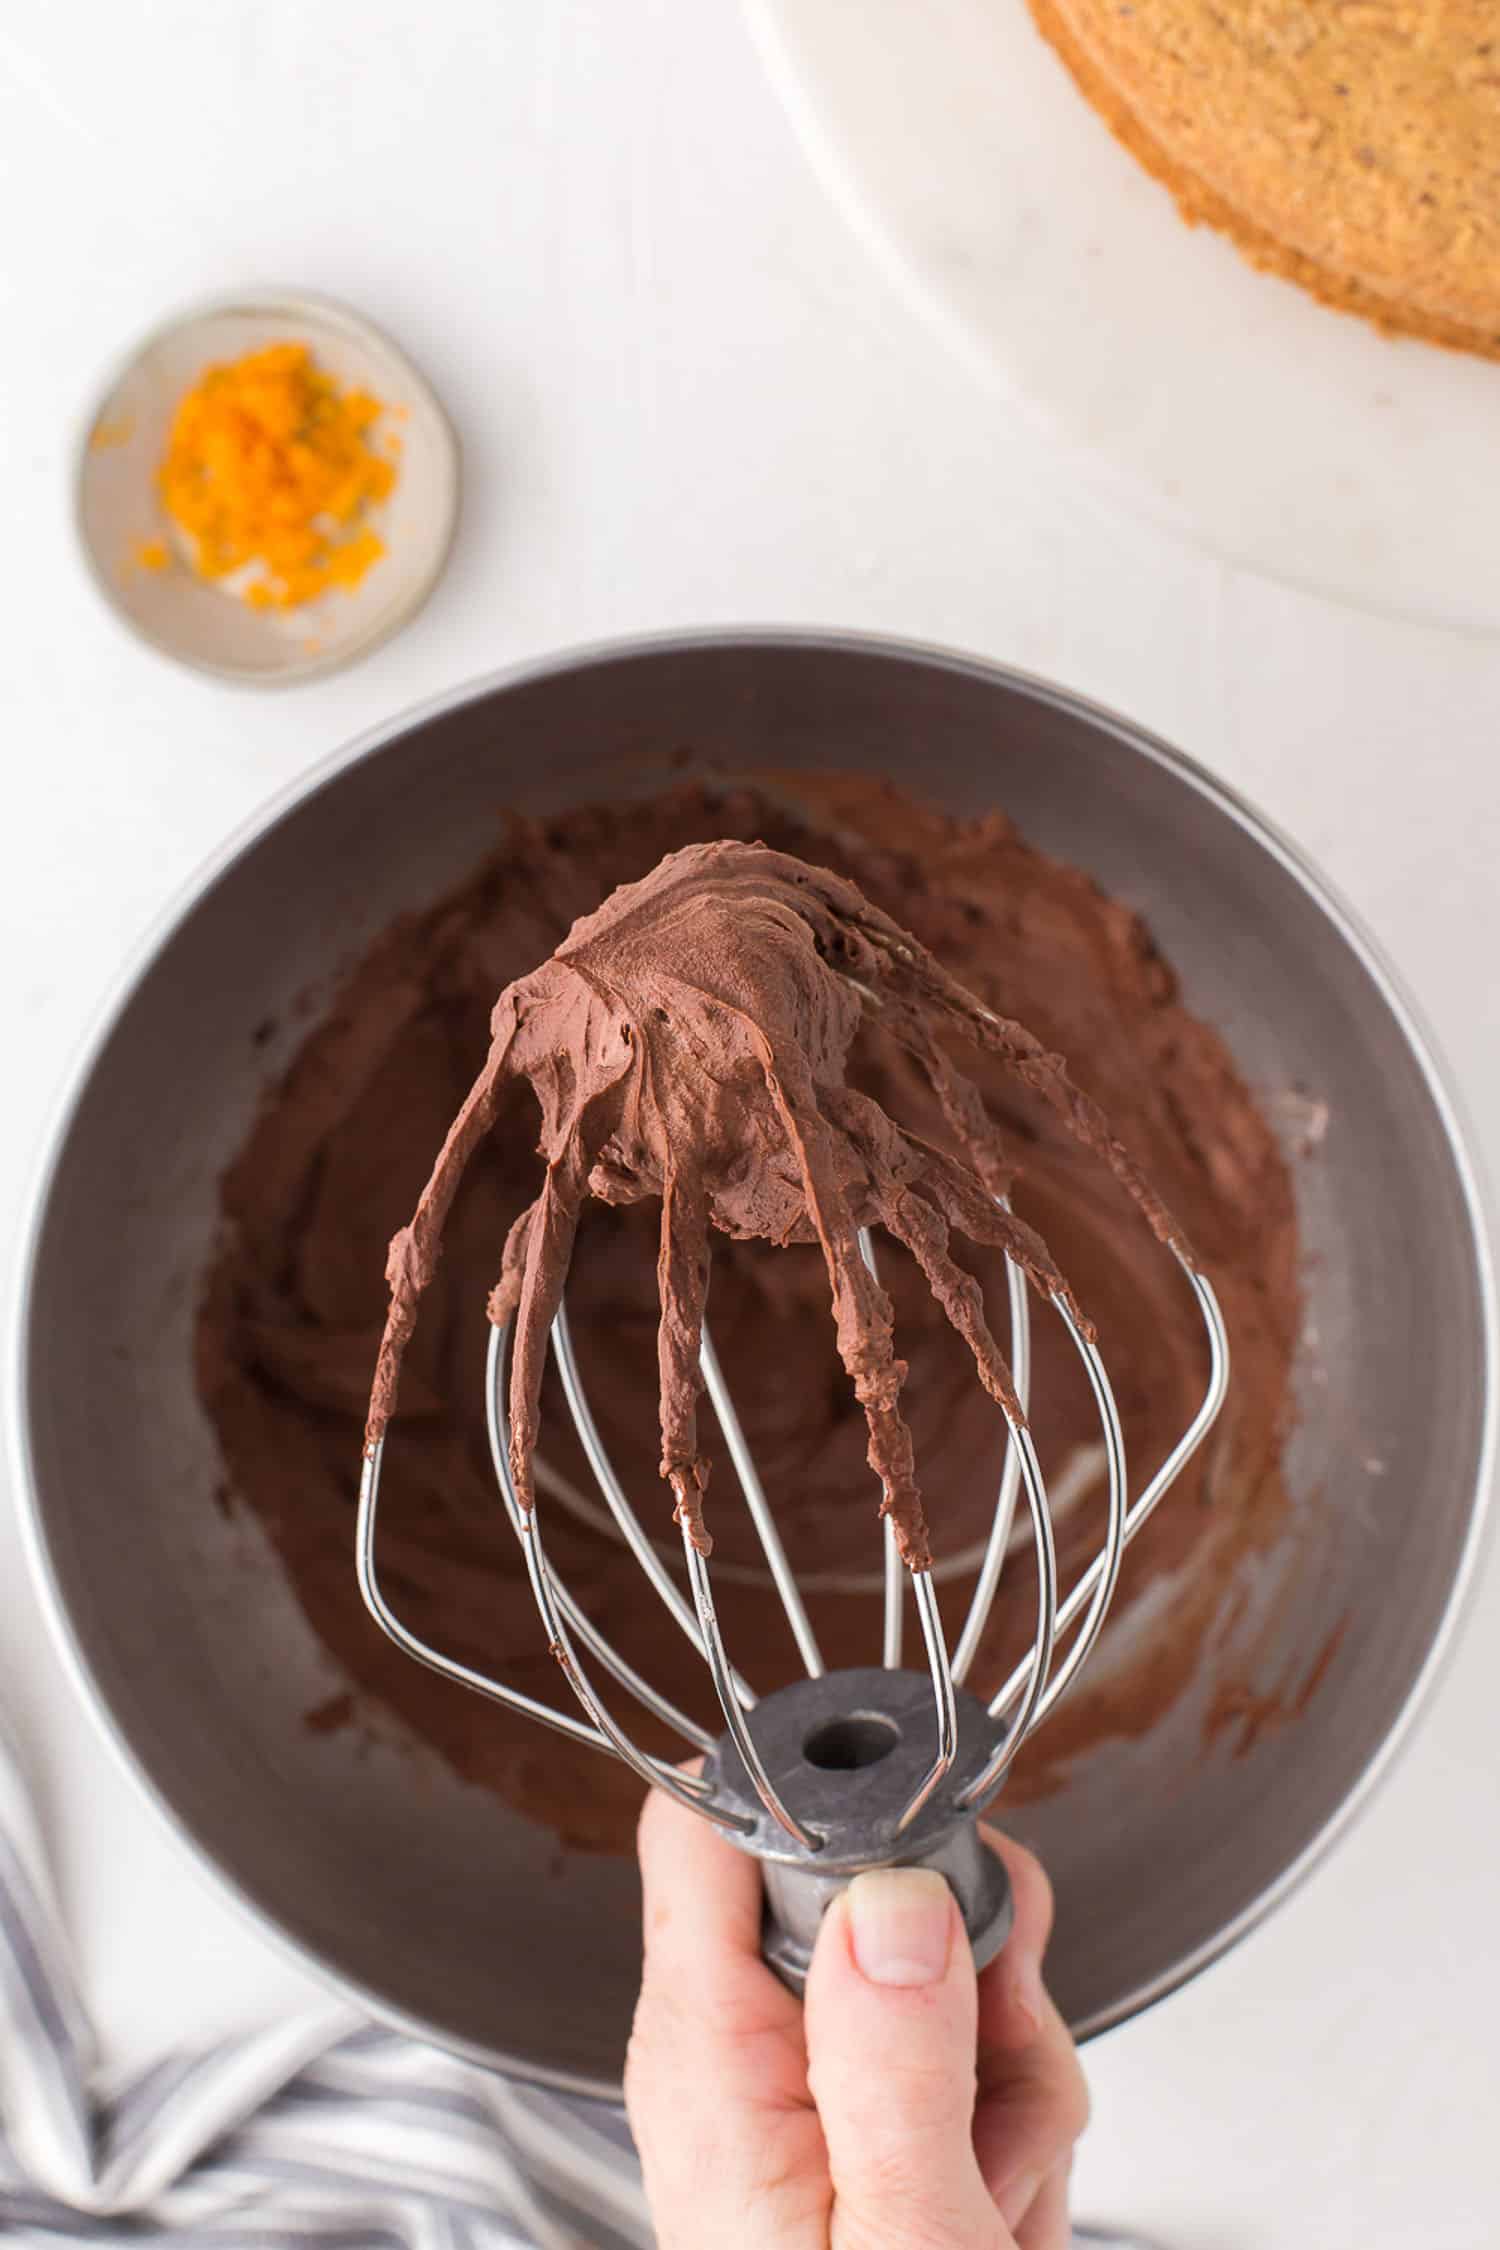
Beat whipping cream, powdered sugar, and cocoa in a chilled bowel until stiff. Fold in orange zest.
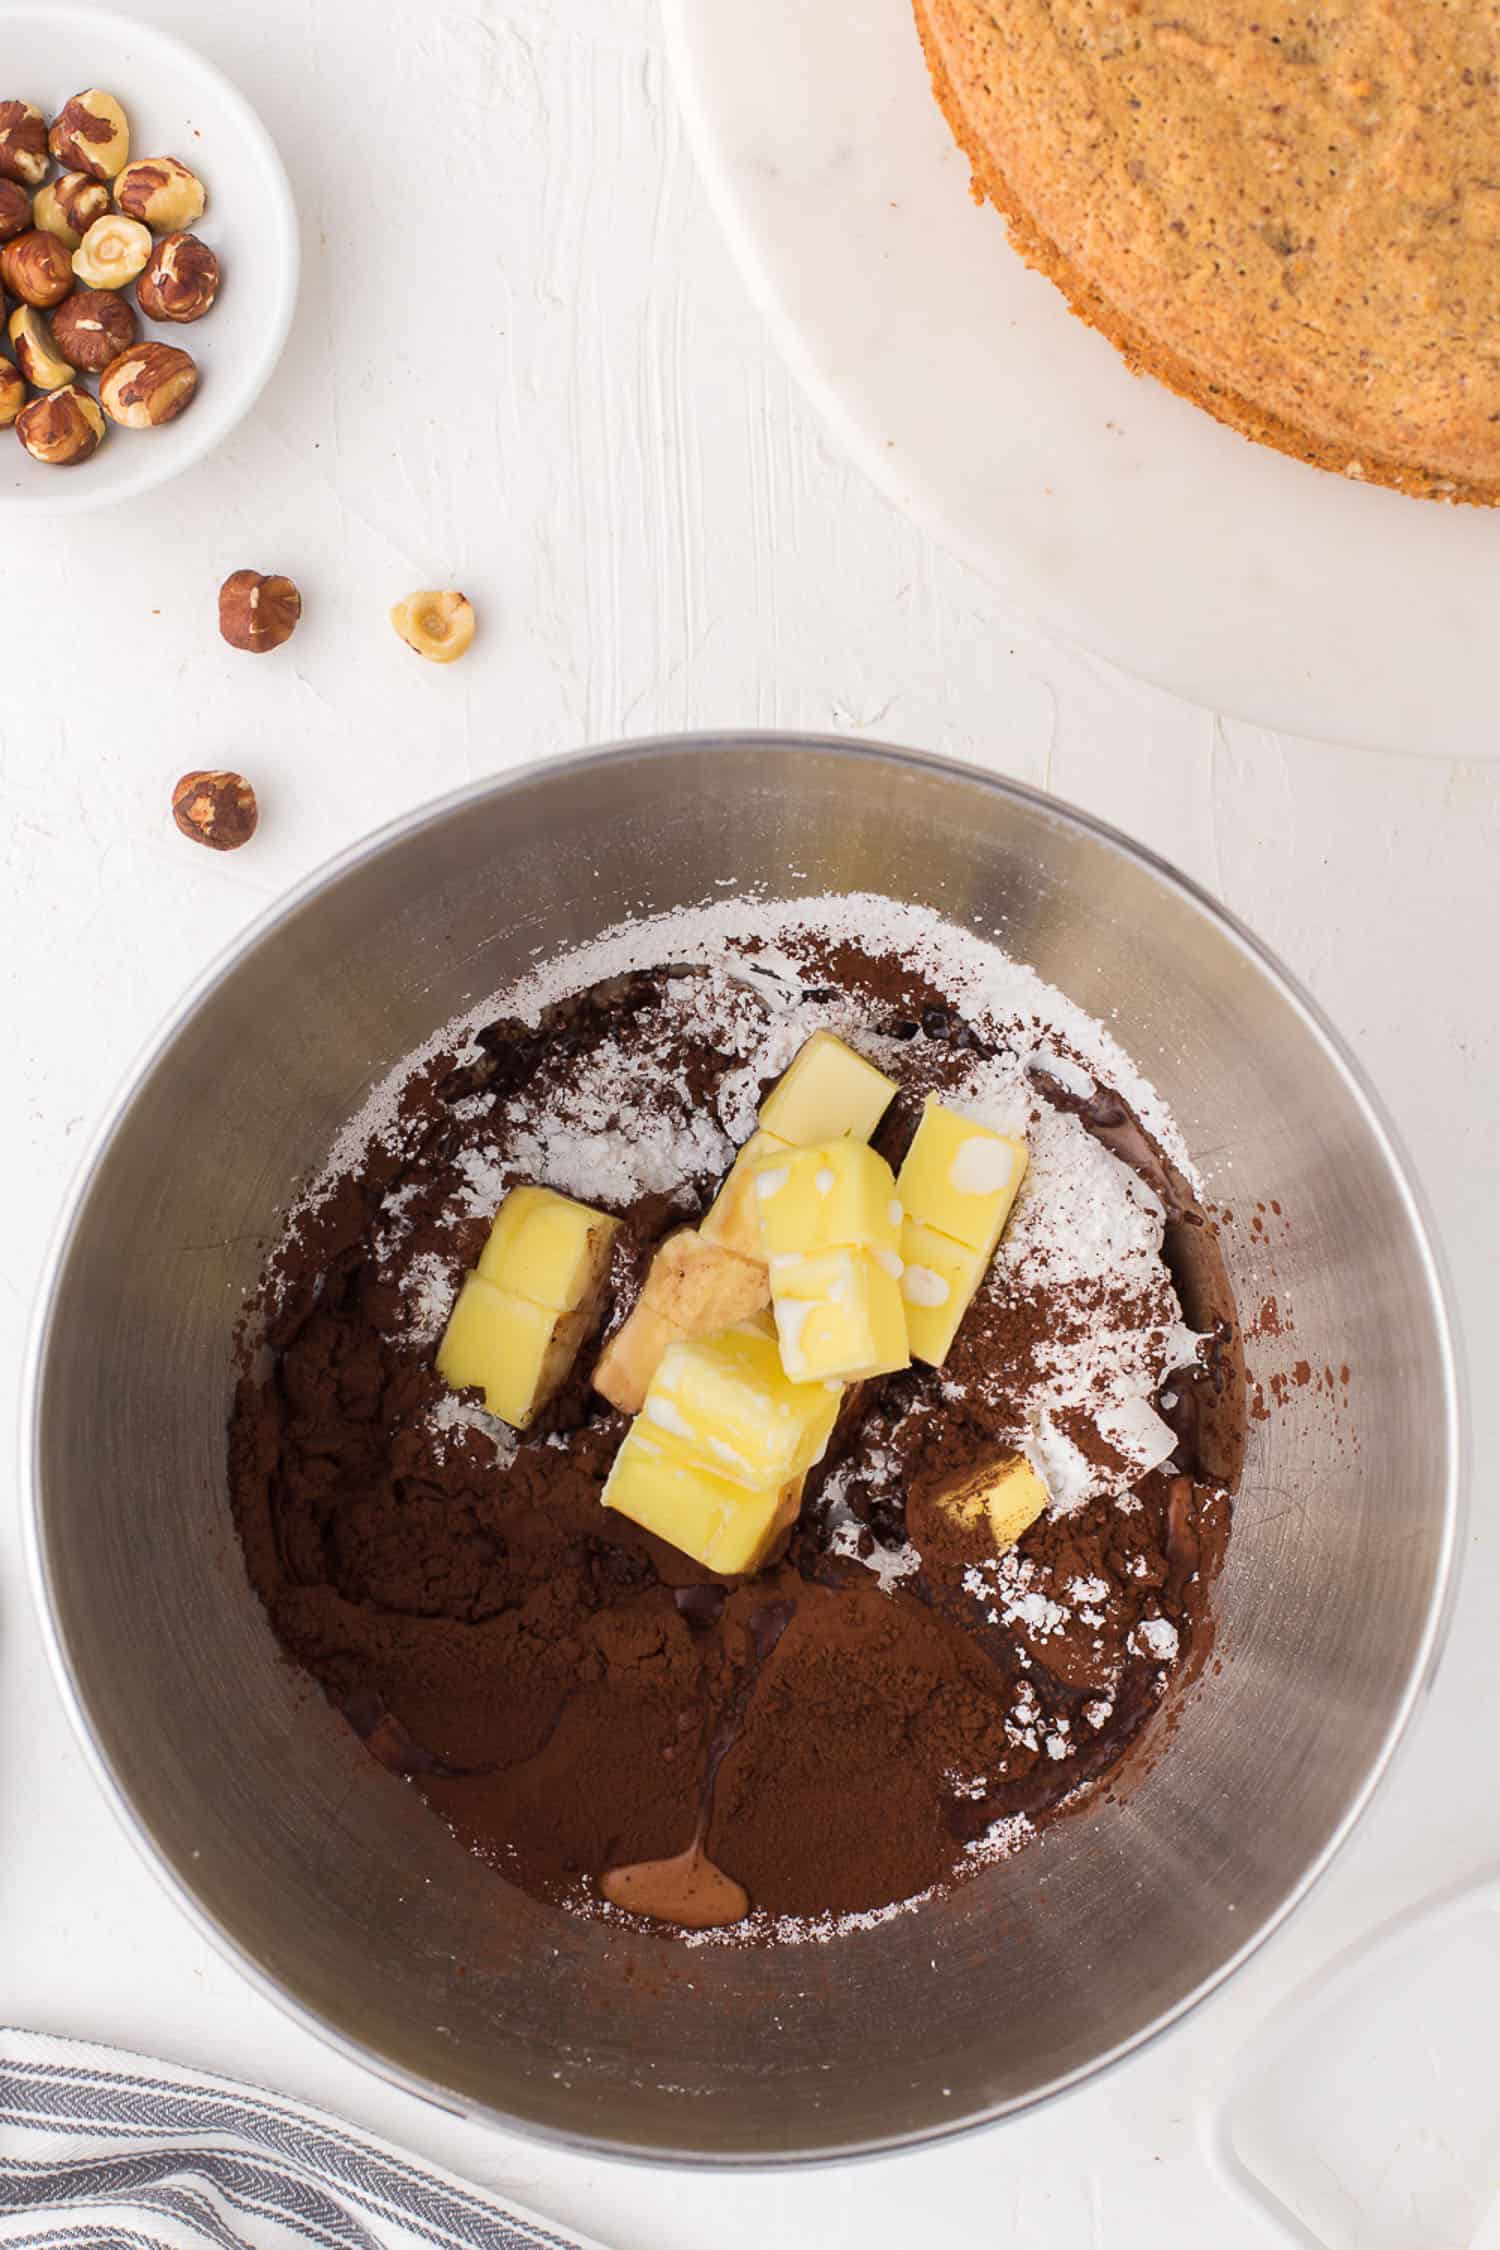
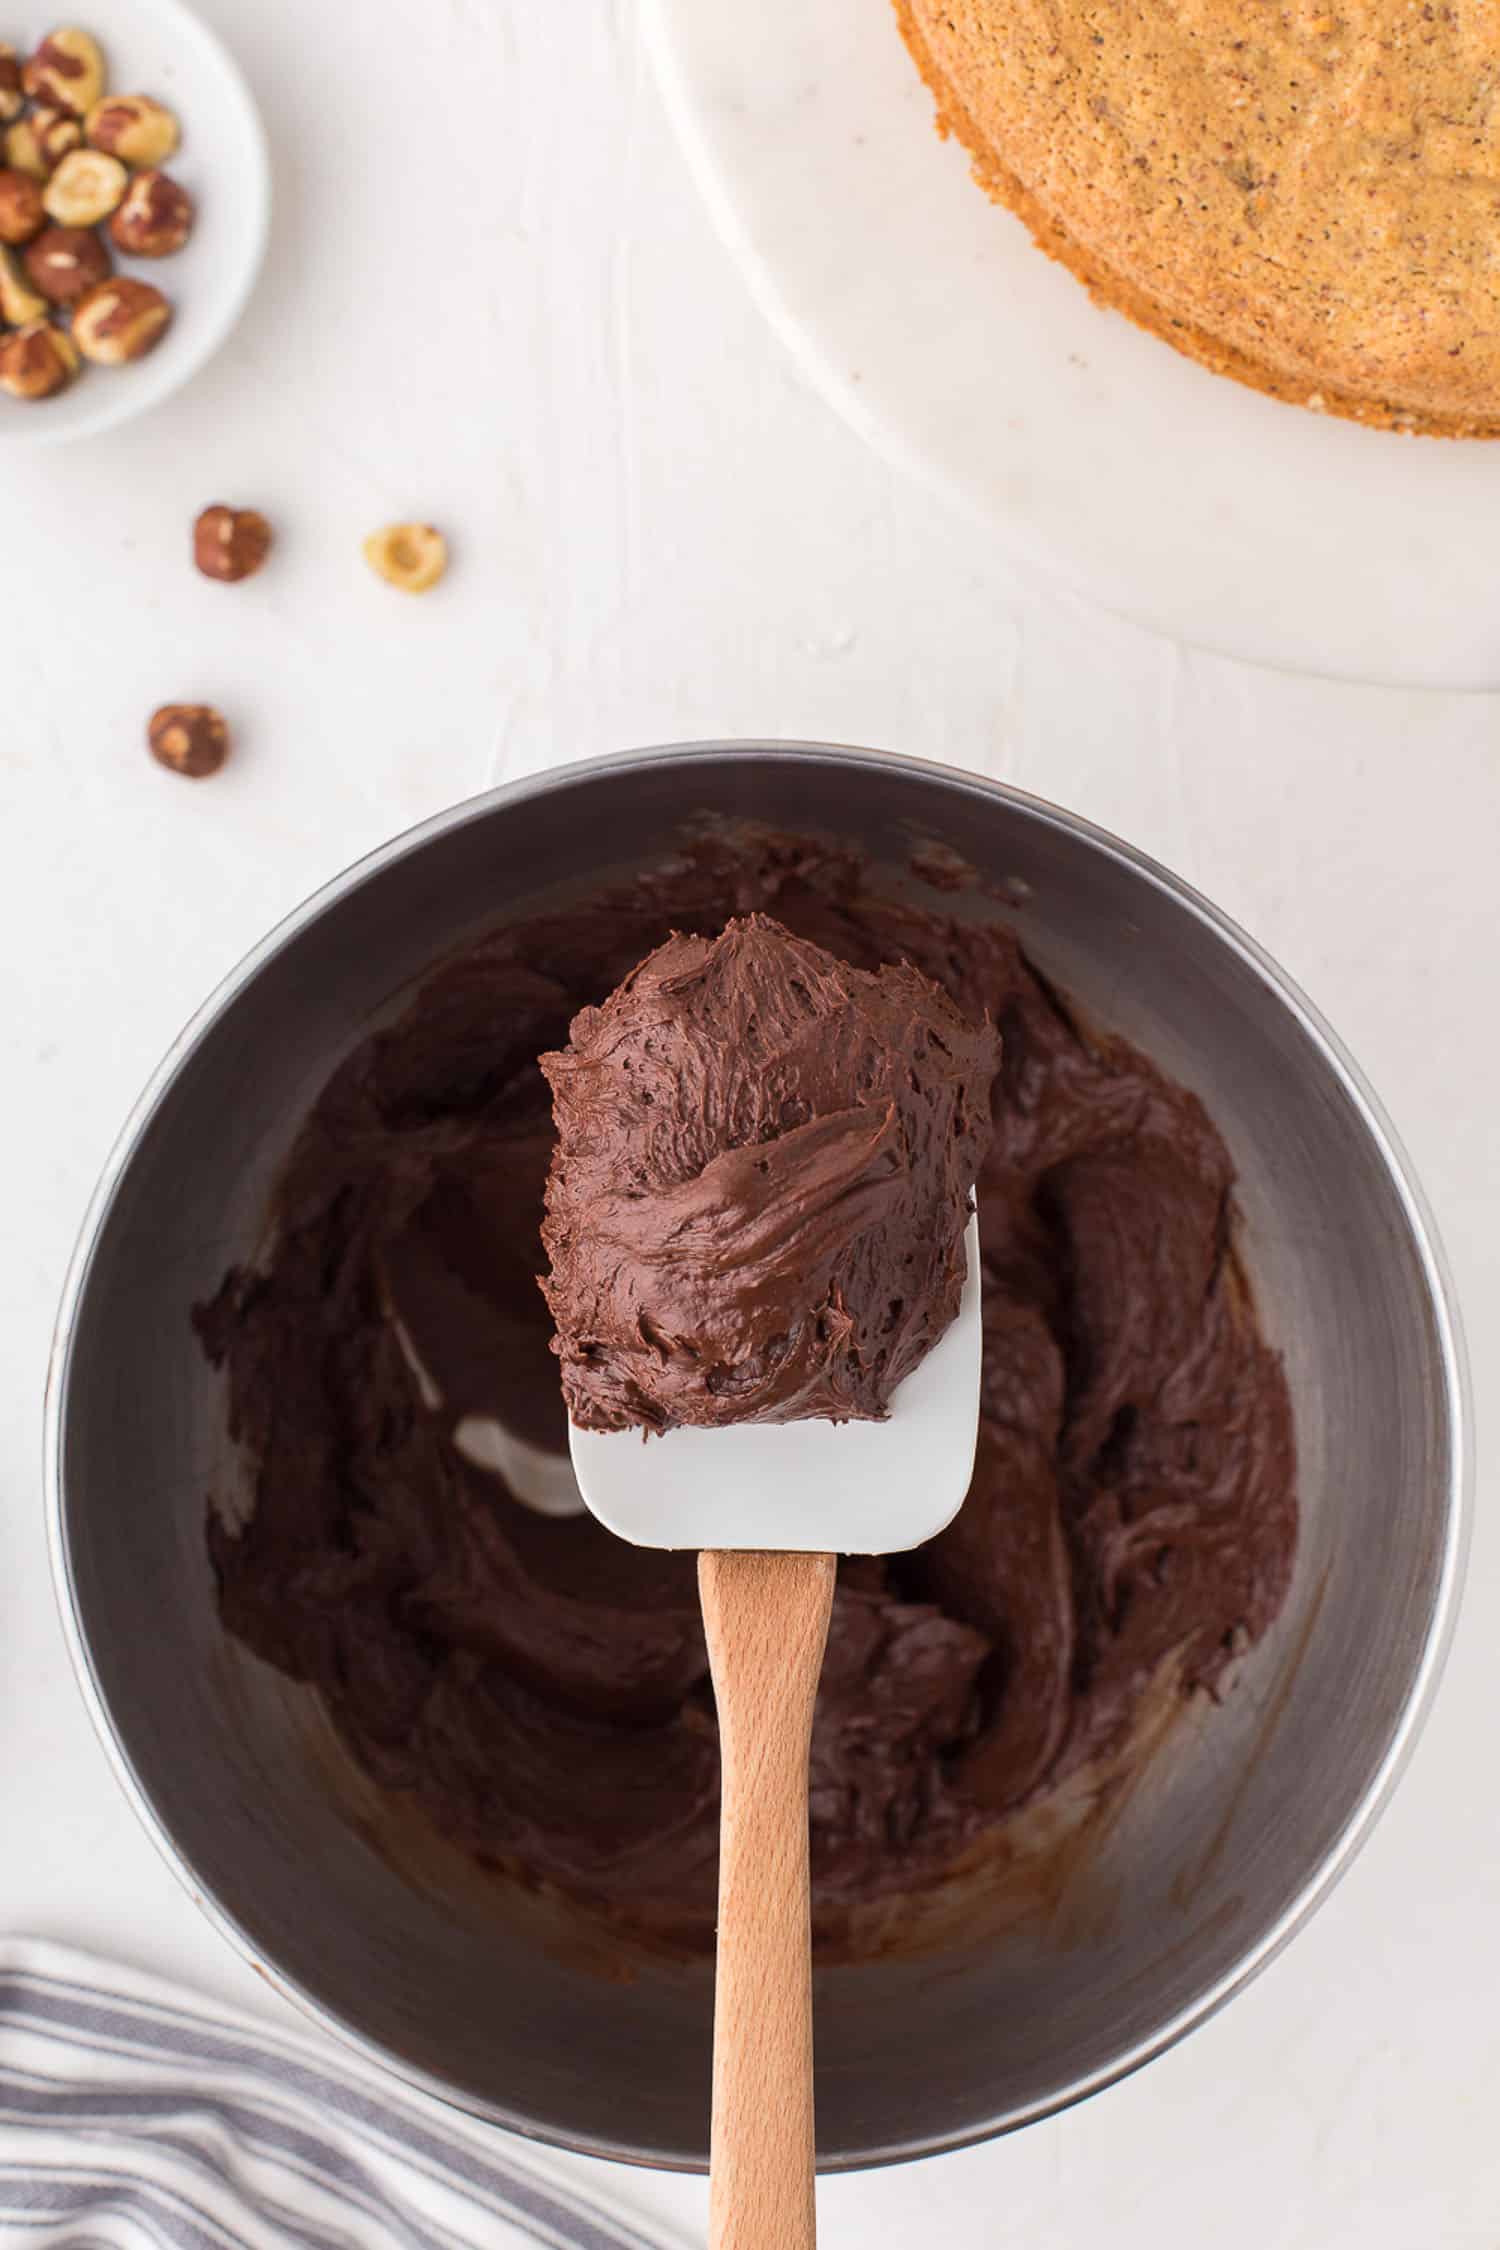
How to Make the Frosting
Beat butter with sugar, cocoa powder, vanilla, brandy if using, and the milk (adding the slowly) until the mixture reaches spreading consistency.
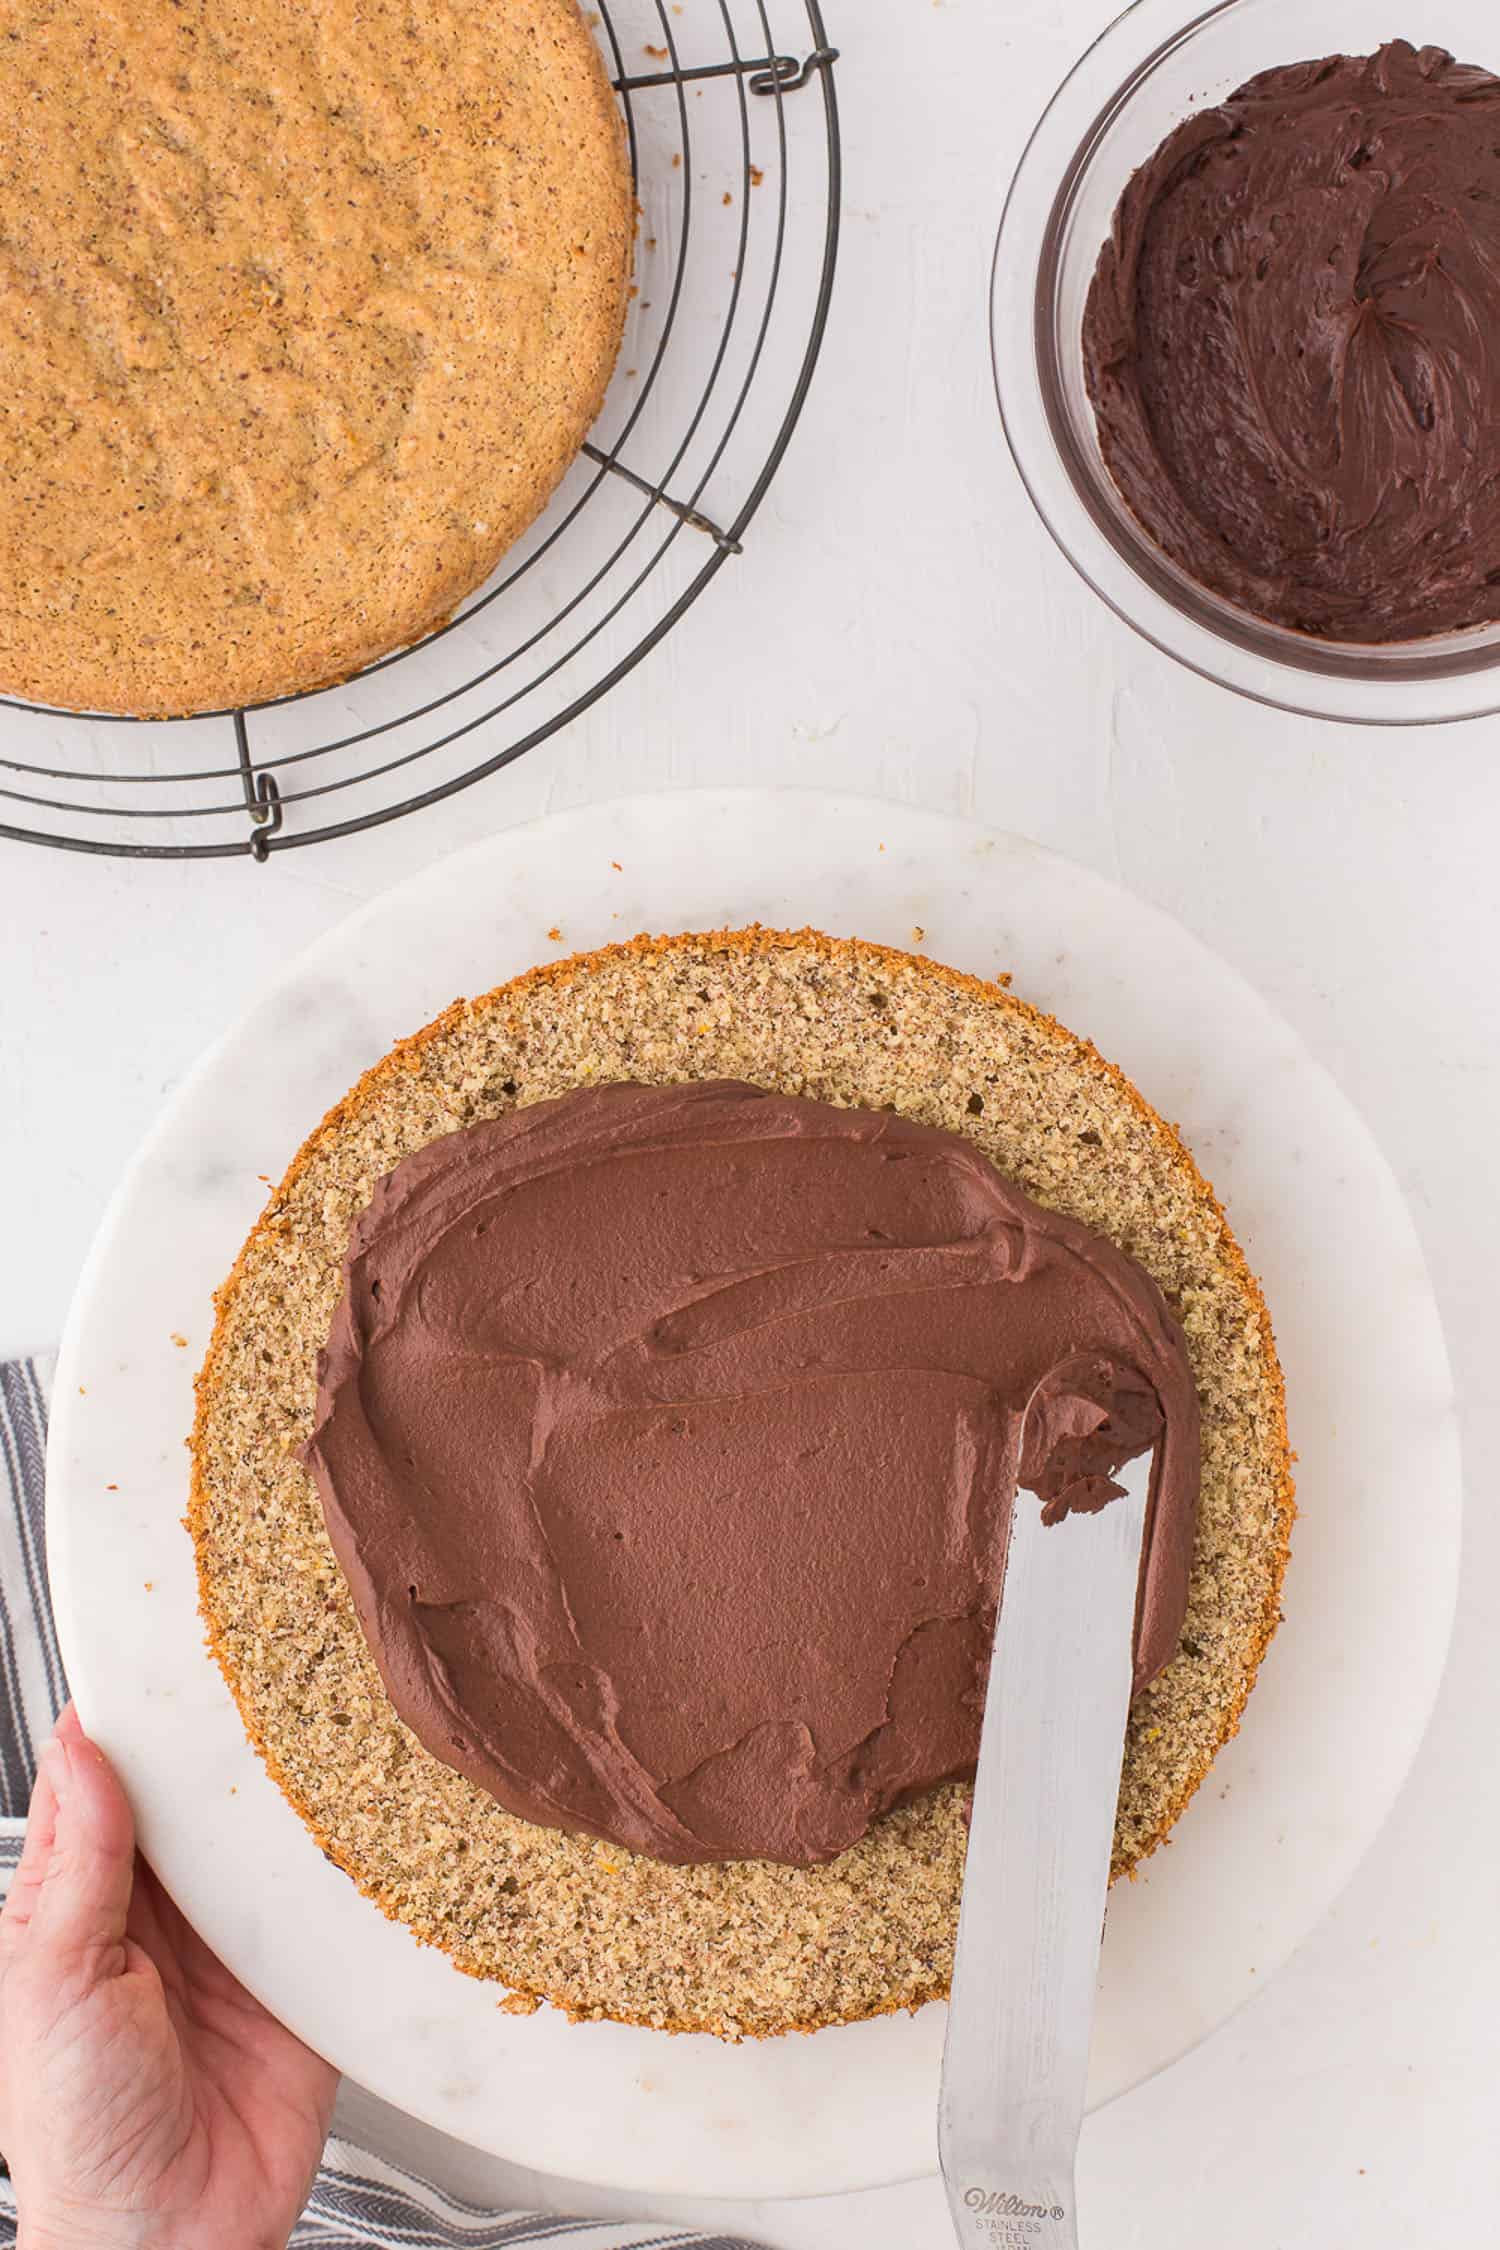
Assembling the Torte
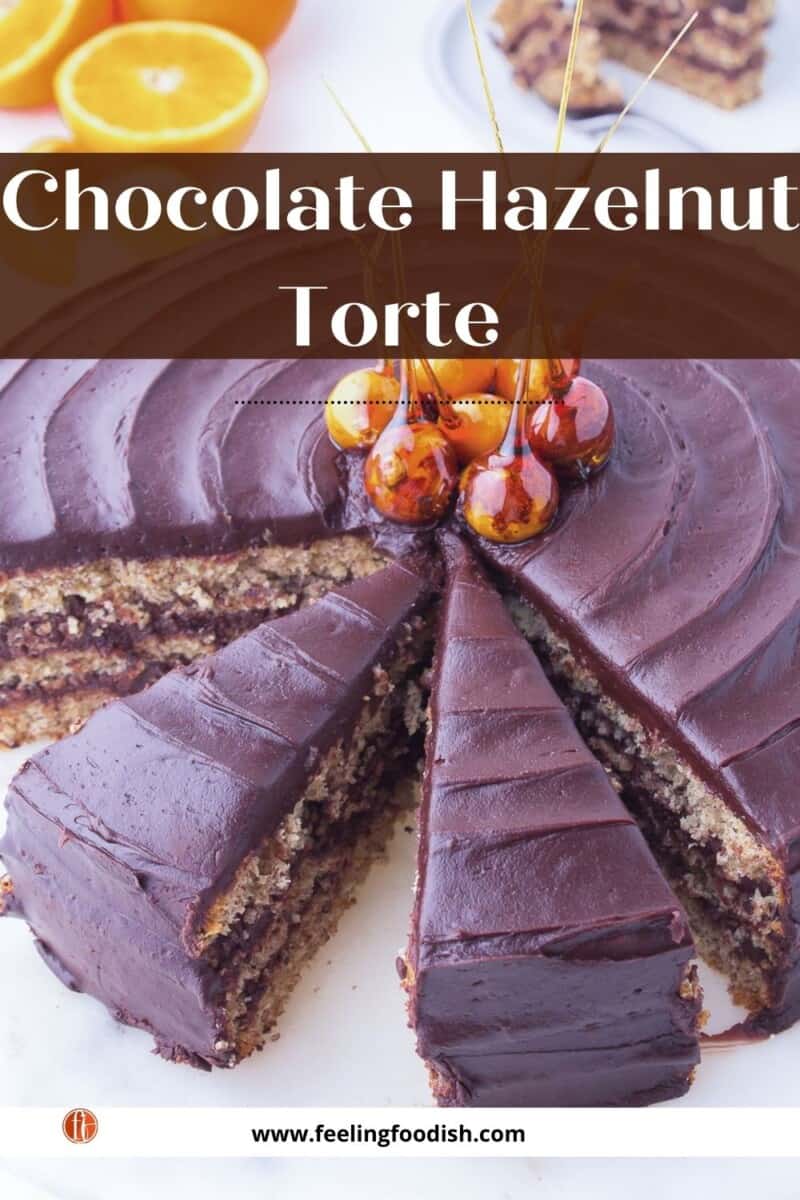
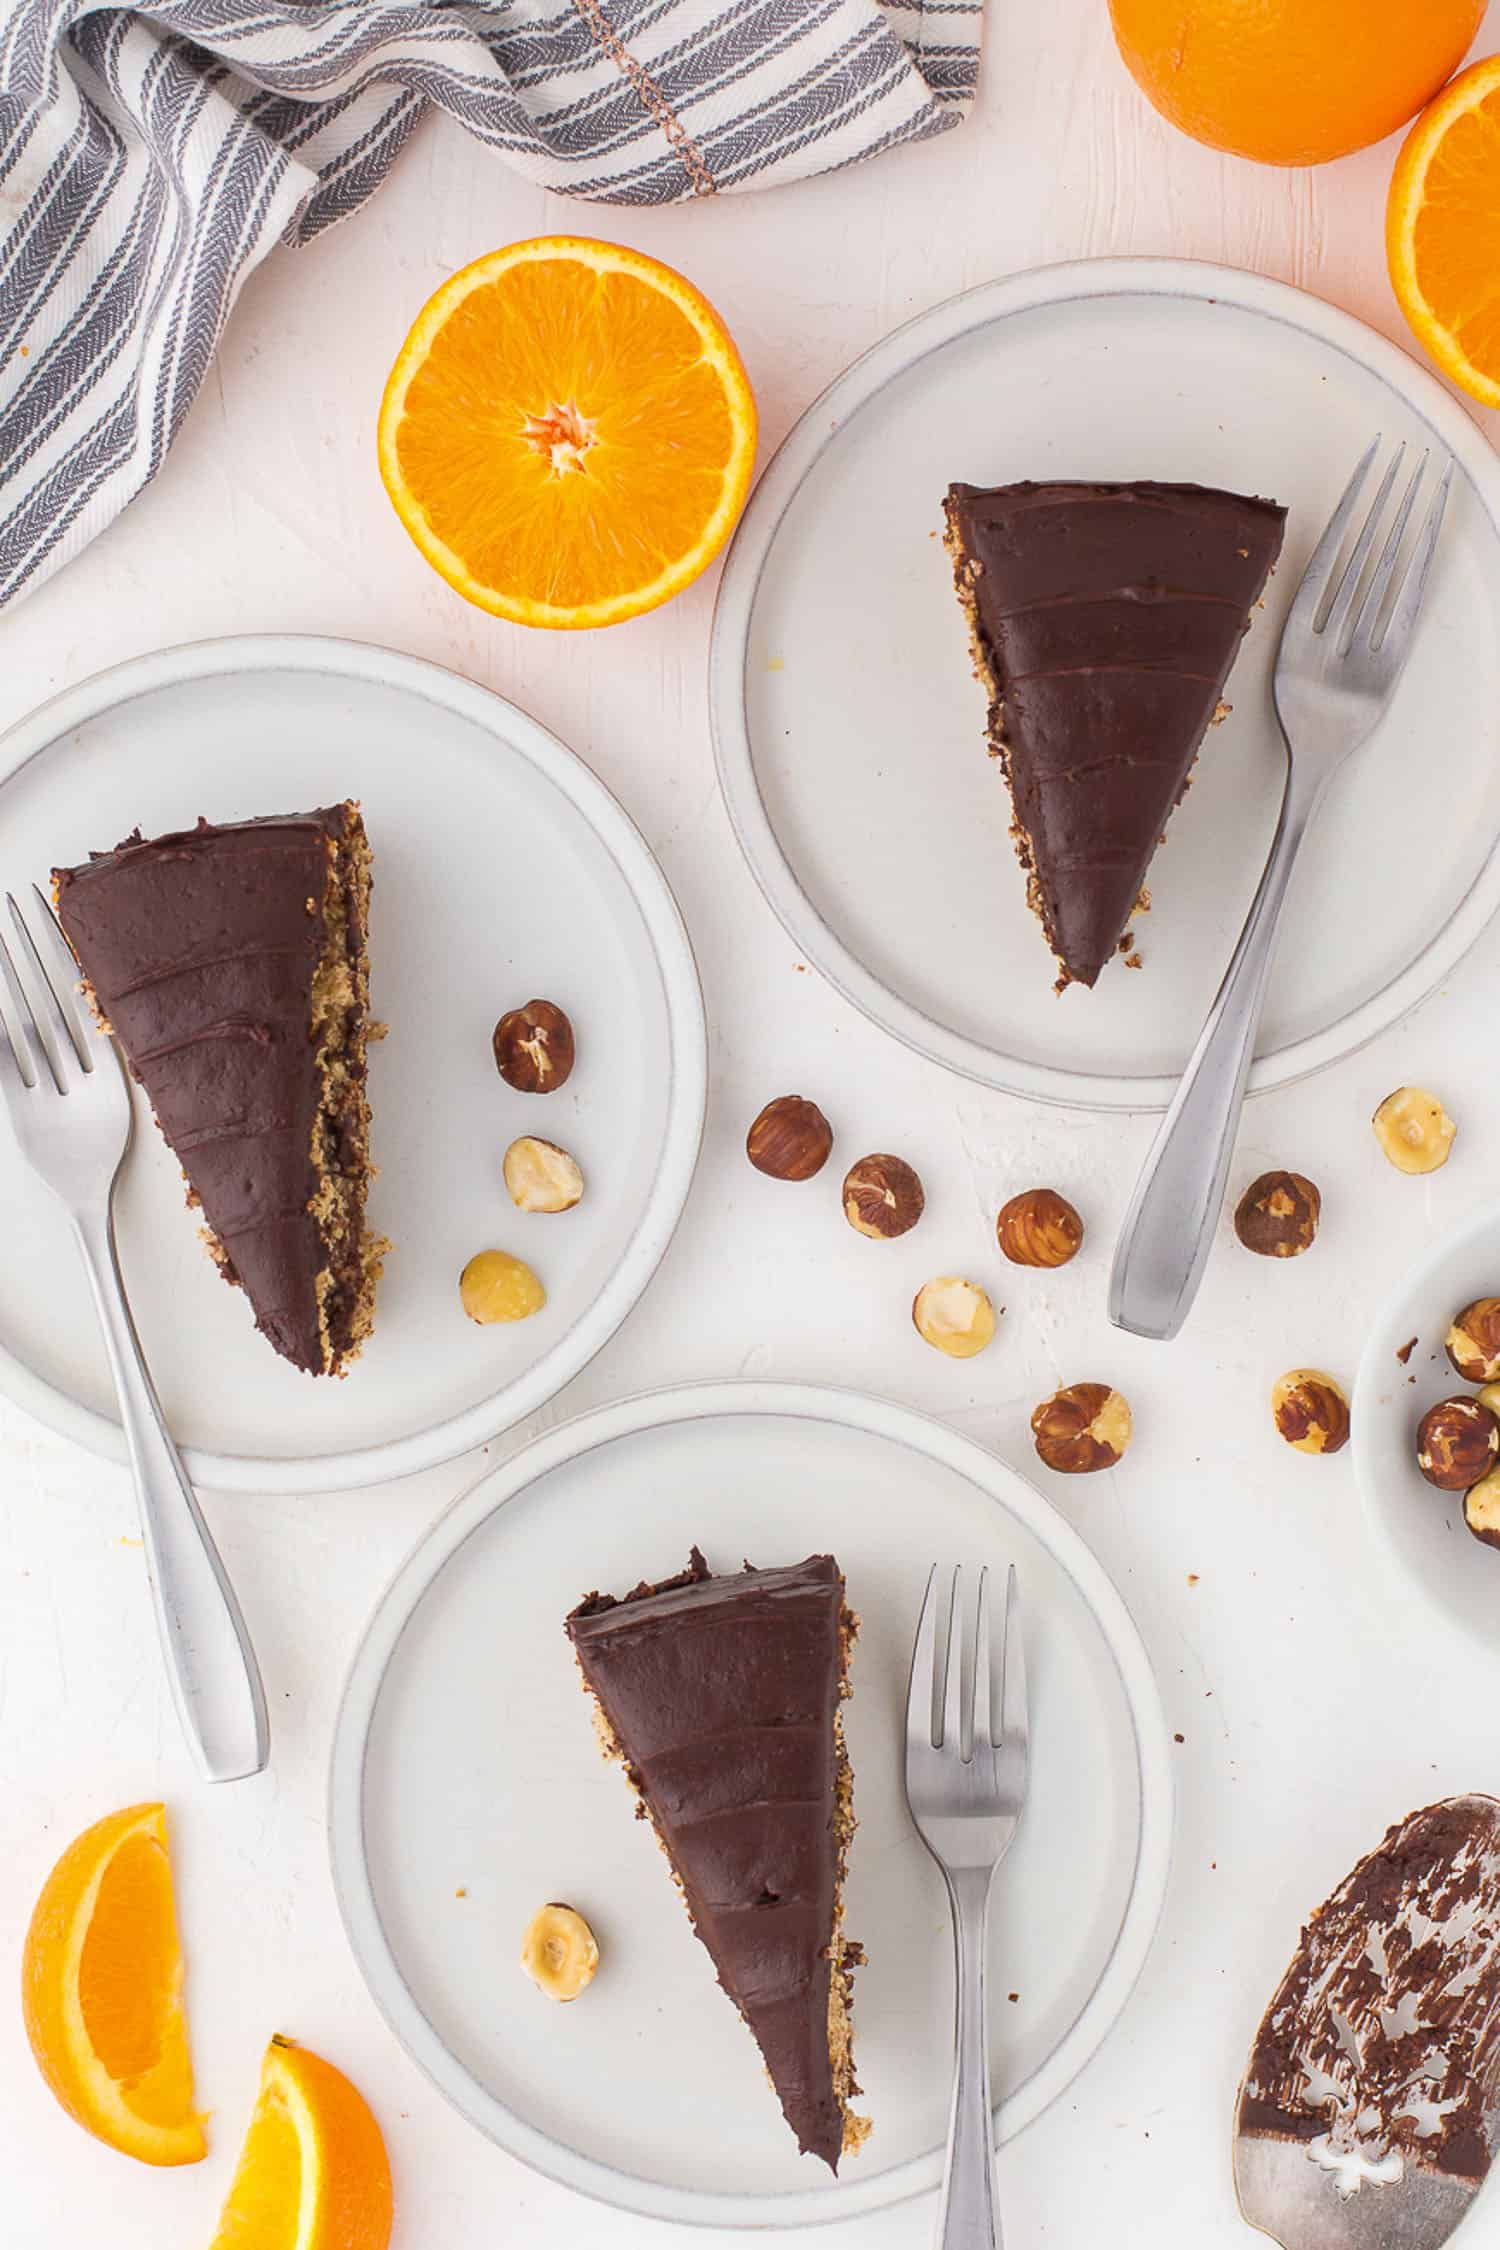
Slice the cake into three layers, each approximately 1/2 inch thick. Spread the filling between each layer, then frost the top and sides of the cake with the buttercream. Decorate the sides with chopped or ground nuts and add reserved frosting and extra nuts on top, if desired.
FAQs
Absolutely! Pre-ground hazelnut meal/flour works perfectly fine and saves you the effort of grinding them yourself. Just make sure it’s finely ground for a smooth texture.
If you prefer a less sweet torte, you can reduce the total amount of granulated sugar used. Instead of 1 cup, you can try using 1/2 cup plus 2 tablespoons of sugar. Adjust it according to your taste preferences.
Of course! The brandy is optional and can be omitted if you prefer. If you want to add a different flavor, you can experiment with alternatives like rum extract or even a flavored syrup that complements chocolate well.
To decorate the sides, you can either roll the cake gently in additional ground nuts, pressing them lightly to adhere. Alternatively, you can sprinkle chopped nuts onto the sides, gently patting them to stick to the buttercream. Get creative and make it look beautiful!
While hazelnuts provide a distinct flavor, you can experiment with other nuts if desired. Almonds or walnuts would be good alternatives. Make sure to finely grind them to achieve a similar texture.
Absolutely! If brandy isn’t your thing, you can substitute it with other spirits like rum, whisky, or even a liqueur that pairs well with chocolate. Adjust the quantity based on your preference and the strength of the chosen alcohol.
When whipping the egg whites, make sure your mixing bowl and beaters are completely clean and free from any grease. Even a tiny amount of grease can prevent the whites from whipping properly. Adding cream of tartar to the whites before beating can also help stabilize them and achieve a better volume.
Make Ahead
This torte can be prepared ahead of time. Once baked and cooled, you can wrap it tightly in plastic wrap or store it in an airtight container.
It should stay fresh for a few days in the refrigerator. Just make sure to add the decoration right before serving to keep the nuts crunchy.
Storage and Freezing
To properly store your torte, follow these instructions:
- Allow the torte to cool completely before storing. This will help retain its texture and prevent condensation.
- Once cooled, wrap the torte tightly in plastic wrap or place it in an airtight container to protect it from drying out and absorbing odors from the refrigerator.
- Store the torte in the refrigerator to maintain its freshness. The cool temperature will help preserve it for a longer period.
- It’s best to place a layer of parchment paper or plastic wrap on top before covering it to prevent any damage.
- If you need to store the torte for an extended period, it can be frozen. Wrap it tightly in plastic wrap, followed by aluminum foil, and place it in a freezer-safe container or bag. Thaw the torte in the refrigerator when ready to serve.
- When ready to enjoy, bring the torte to room temperature for about 30 minutes before serving. This will allow the flavors to develop fully and the texture to soften.
📖 Recipe
Chocolate Hazelnut Torte
Click the heart icon ♡ above to save a recipe. To find your saved recipes later, click the heart icon on the right side of the screen near the search icon and select My Favorites.
Equipment
- 9 inch springform baking pan
Ingredients
For the Torte
- 6 eggs separated
- 1 tablespoon orange zest
- 3/4 teaspoon ground cinnamon
- 1 cup granulated sugar divided (UPDATE: now we reduced to a total of 1/2 cup plus 2 tablespoons for less sweet torte)
- 1 teaspoon cream of tarter
- 3 cups finely ground hazelnuts* or hazelnut meal/flour (ie, preground)
- 1/2 cup all purpose flour
For the Filling
- 1 cup heavy whipping cream chilled
- 1/2 cup powdered sugar
- 1/4 cup cocoa powder
- 2 teaspoons orange zest
For the Chocolate Buttercream*
- 1/2 cup butter softened
- 1/2 cup cocoa
- 3 cups powdered sugar
- 1 tablespoon brandy (optional)
- 2 teaspoons vanilla
- 3 tablespoons milk up to 6 tablespoons
For Decorating the Cake
- Additional ground nuts or chopped nuts to decorate sides of cake or candied hazelnuts (see NOTE) to top torte
Instructions
For the torte
- Heat oven to 325 degrees
- Grease bottom of springform pan, sized 9 x 3 inches
- Line bottom of pan with parchment paper and grease generously
- In standing mixer on high speed, beat egg yolks, 1 tablespoon orange zest, and cinnamon until very thick and light colored (about 6 minutes)
- Gradually beat in 1/2 of the sugar, 1 tablespoon at a time. Set aside and wash beaters
- In a clean bowl, beat egg whites and cream of tarter on high speed until soft peaks form
- Gradually beat in remaining, 1 tablespoon at a time.
- Continue beating until stiff peaks form
- Fold egg yolk mixture into egg white mixture
- Mix 3 cups ground hazelnuts with 1/2 cup flour
- Fold nut-flour mixture into the batter a little at a time (in three parts)
- Spread into pan and bake for 45 to 50 minutes or until cake tester comes out clean.
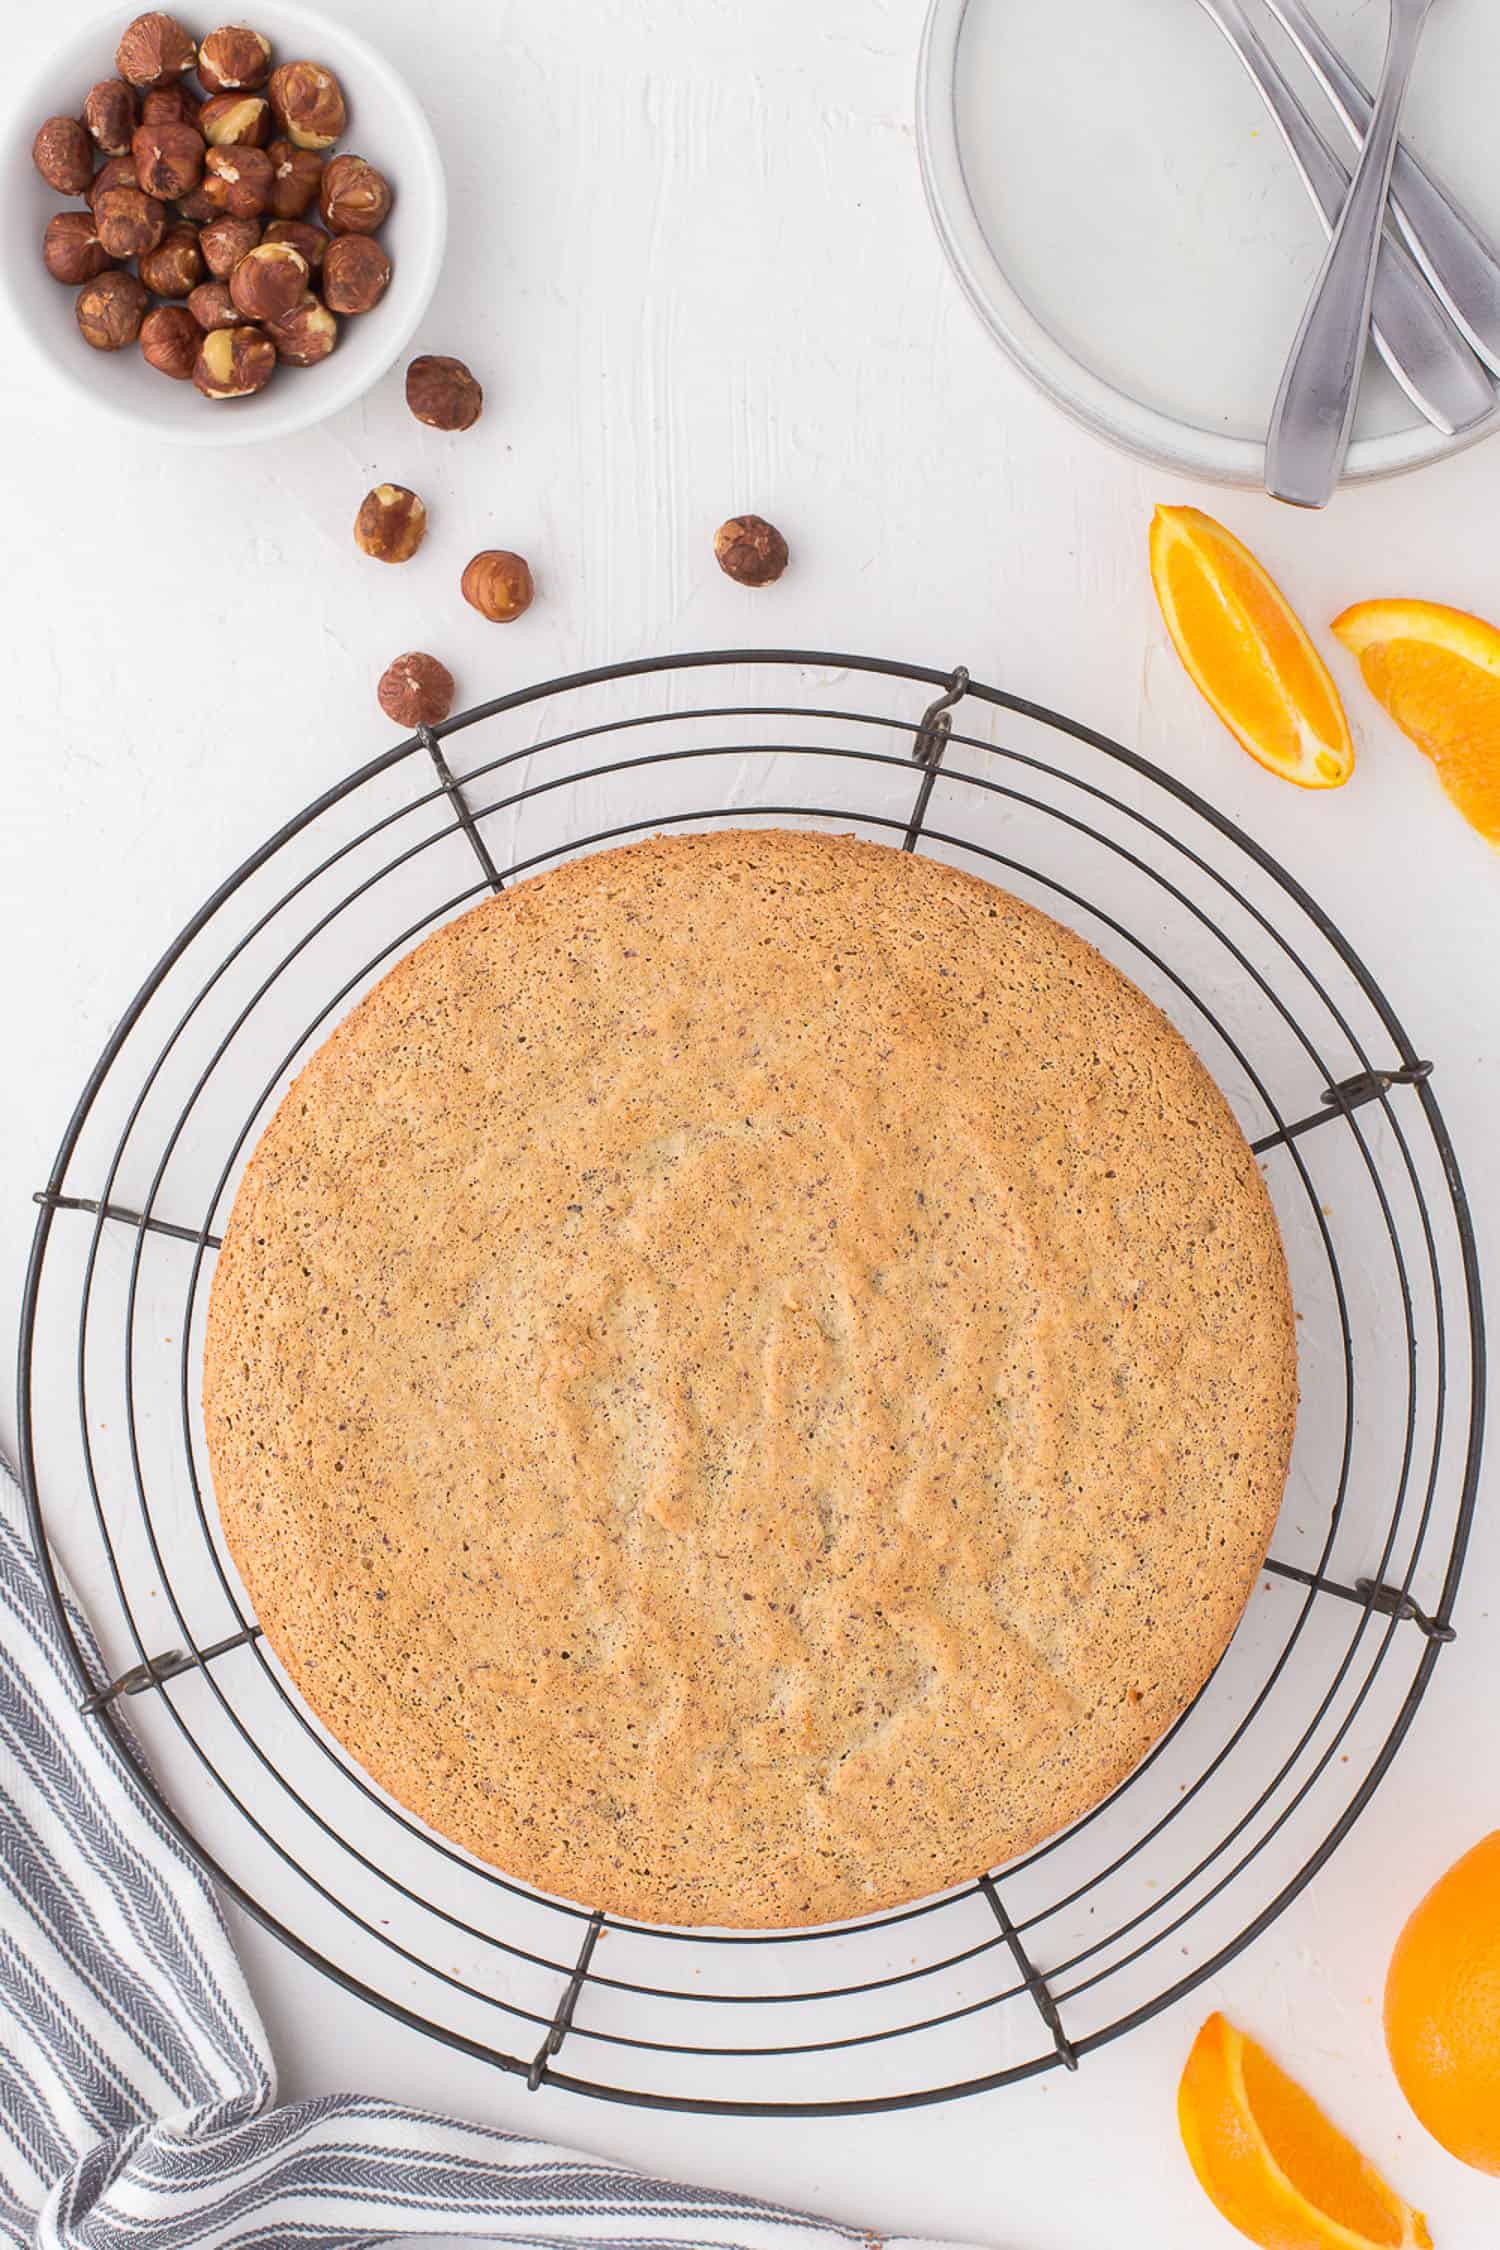
- Cool on wire rack for 15 minutes
- Loosen cake from pan and remove
- Invert cake onto wire rack and cool cake completely
- Wrap in plastic wrap and refrigerate for at least 4 hours to make slicing easier
Chocolate Filling
- Beat whipping cream, powdered sugar, and cocoa in a chilled bowel until stiff
- Fold in orange zest
Chocolate Buttercream Frosting
- Beat butter with remaining ingredients until the mixture reaches spreading consistency.
- Reserve 1/2 cup for decorating
To Assemble Torte
- Slice cake into 3 layers (should be ~1/2 inch each layer)
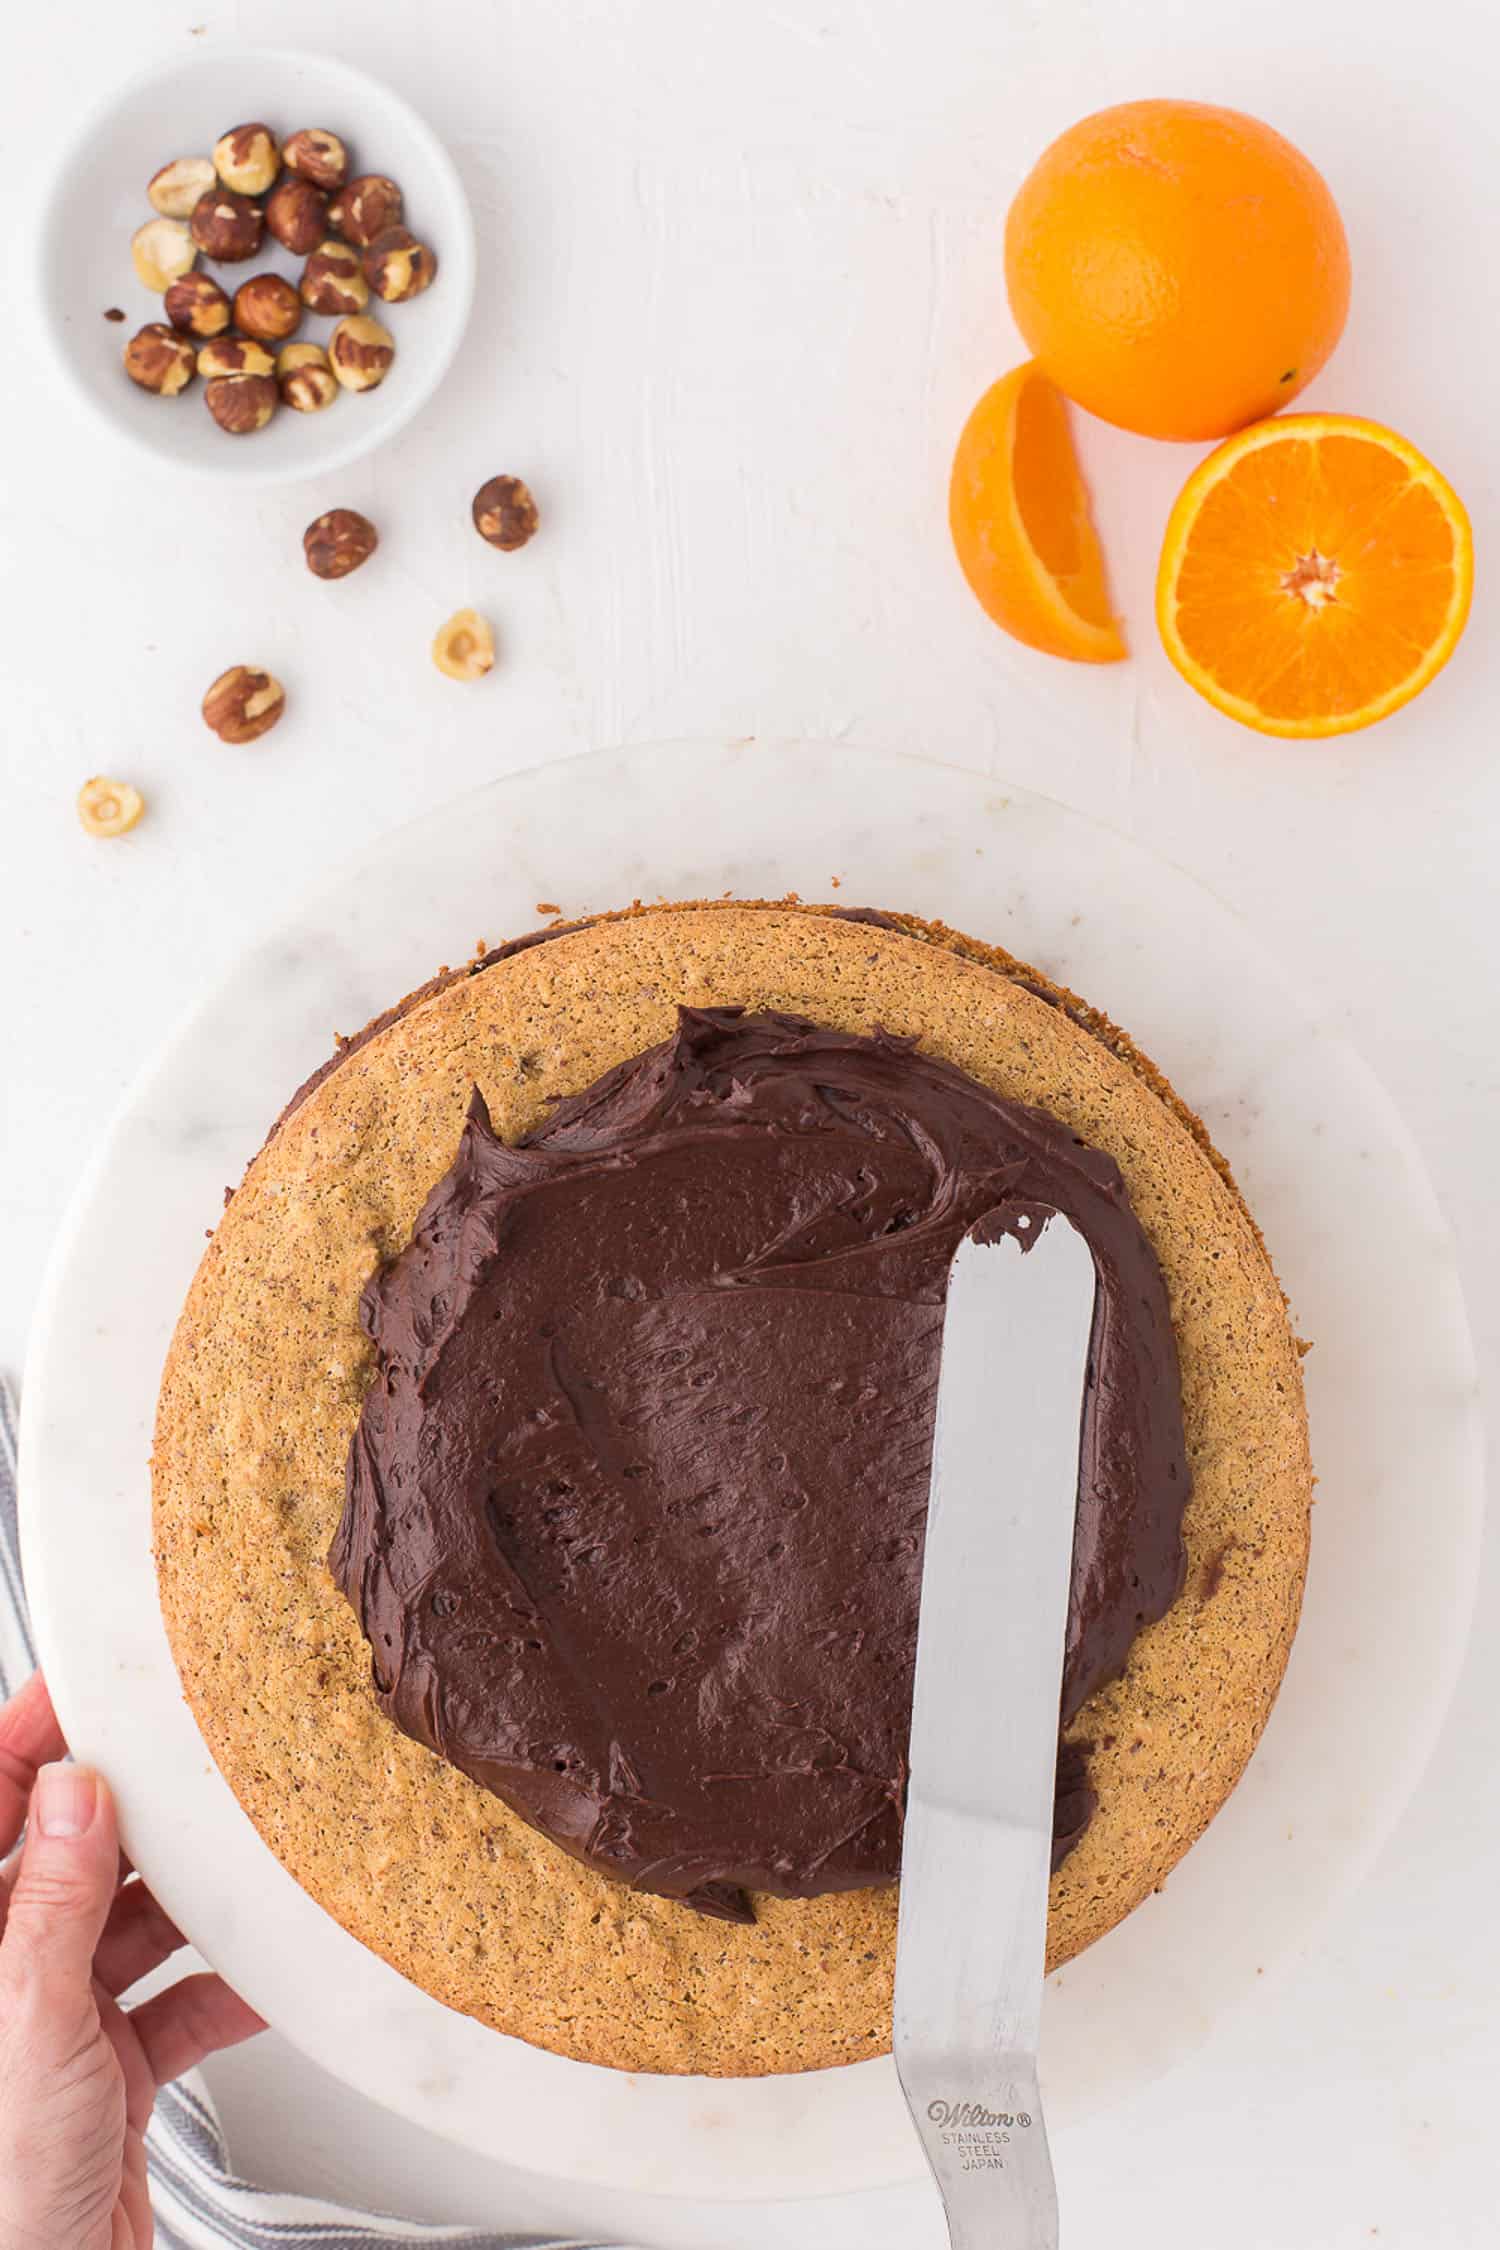
- Spread filing onto first layer, top with another layer, spread filling onto second layer, and top with final layer
- Spread buttercream on top and sides of cake
- Use extra chopped nuts or ground nuts to decorate sides
- Decorate top with reserved frosting and extra nuts if desired
Notes
If you like a lot of frosting, consider doubling the amount of frosting as this amount will provide a very thin coating Candied hazelnut directions
I would love to try baking the smaller version of this scrumptious looking cake… for the smaller size 0.5, what size springform baking pan would I use?
For half the batter, you could try a 6-inch springform pan or two 6-inch cake pans, but if using the latter, the bake time would be reduced – I’d estimate to start checking the pans at 15 to 20 minutes.
do you toast the hazelnuts and then remove skins before using with flour?
Yes, toasting will greatly improve the flavor – good question!
I just finished making this cake and it literally crumbled when cutting into layers. With the amount of nuts and little flour, it is not moist enough to cut and separate. It is now in the fridge after I glued it into a semblance of a cake with the frosting.
Depending on how it tastes later tonight, I might re-make this cake in three separate greased cake pans.
Some instruction or video of how you slice and separate the layers would add immensely to this recipe.
Hi Mike, I’m so sorry to hear that. Is it possible that you overbaked it? I am going to be making it again soon and will add more comments/instruction
Mike, can you tell me if you used premade nut flour or if you used freshly ground?