Italian Bread
This post may contain affiliate links. For more information, please see our disclosure policy.

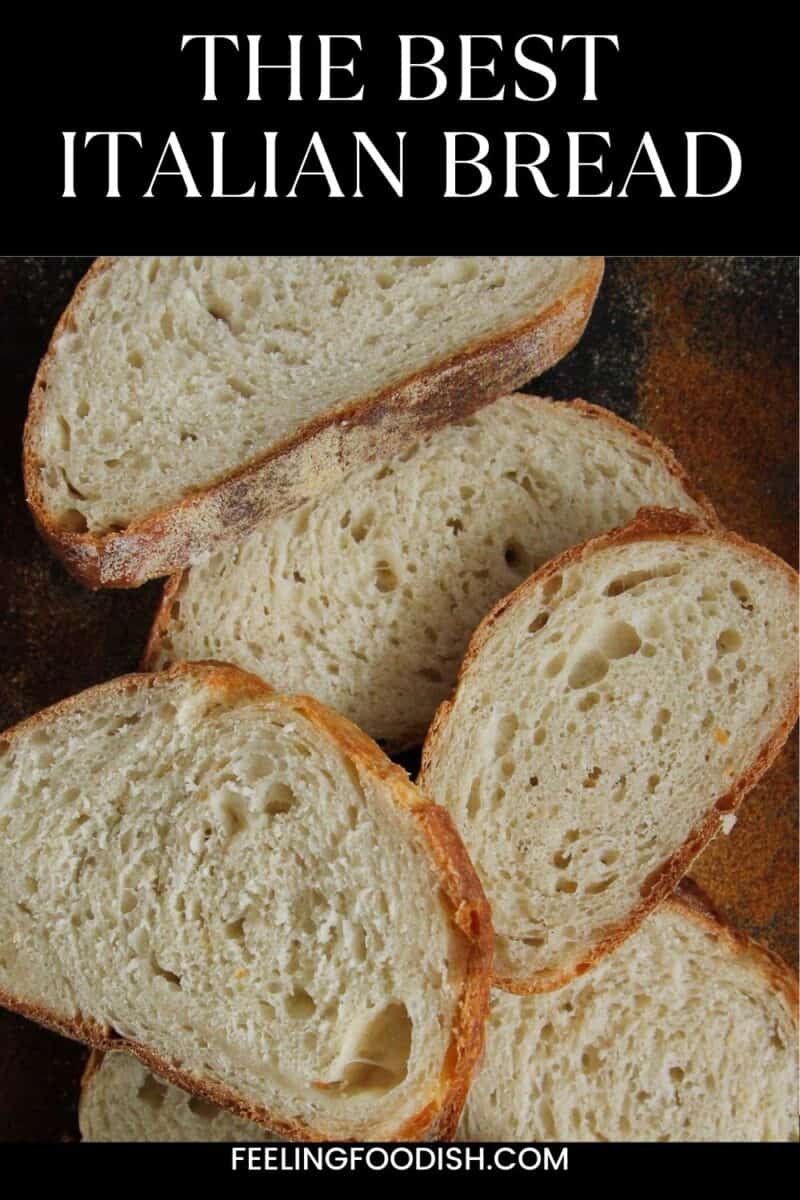

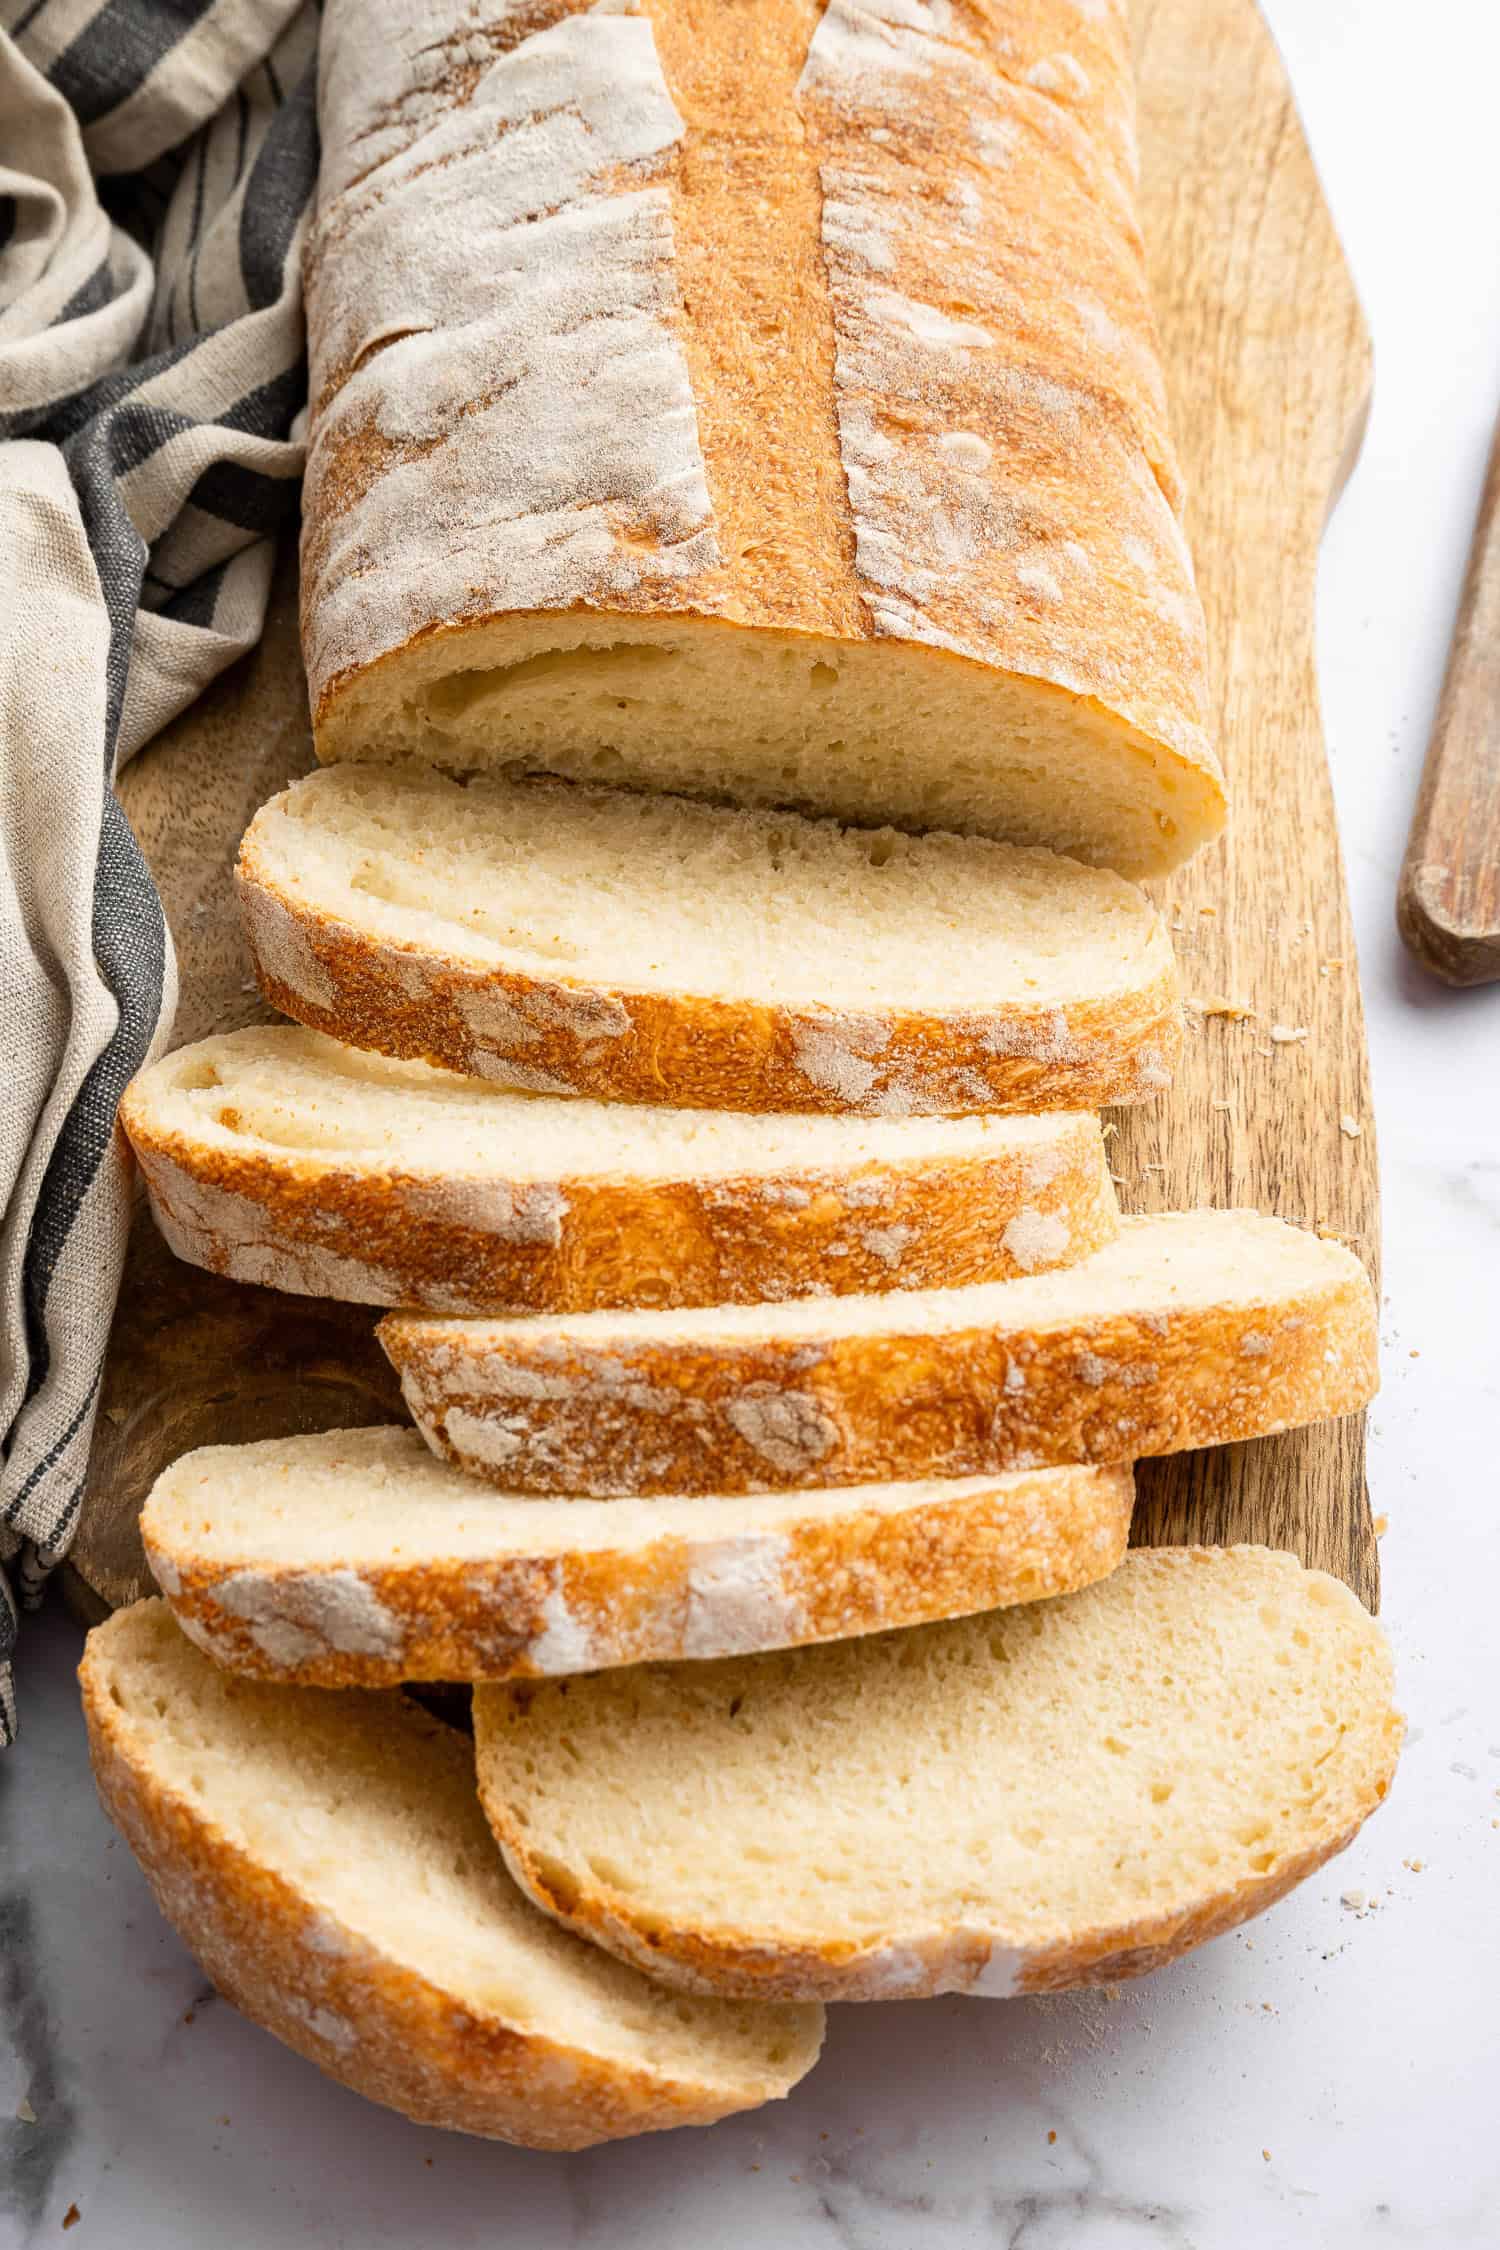
Let’s talk about making homemade Italian bread – it’s easier than you think! I just love a crusty golden loaf of bread, fresh from the oven, filling the kitchen with that unbeatable aroma.
The good news is that you can easily do this! Because this recipe is all about keeping it simple but spectacular. So, let’s get baking! ❤️
When I was little and growing up in Philadelphia, I recall a time when my mom sent me to the local grocery store to get “American bread.” After asking what aisle the “American bread” was located in, the store clerk looked at me with great confusion. Because there is no “American bread” – right?
I quickly realized I should be asking for sandwich bread – but, you see, most Italians back then called sandwich bread “American bread”. These days, my favorite sandwich bread is homemade milk bread, which is another one for your list!
Why Make This?
Unmatched Freshness and Flavor: There’s nothing quite like the taste of freshly baked bread, especially when it comes out of your own oven. The crust is perfectly crisp, the inside soft and warm, which store-bought bread just can’t match.
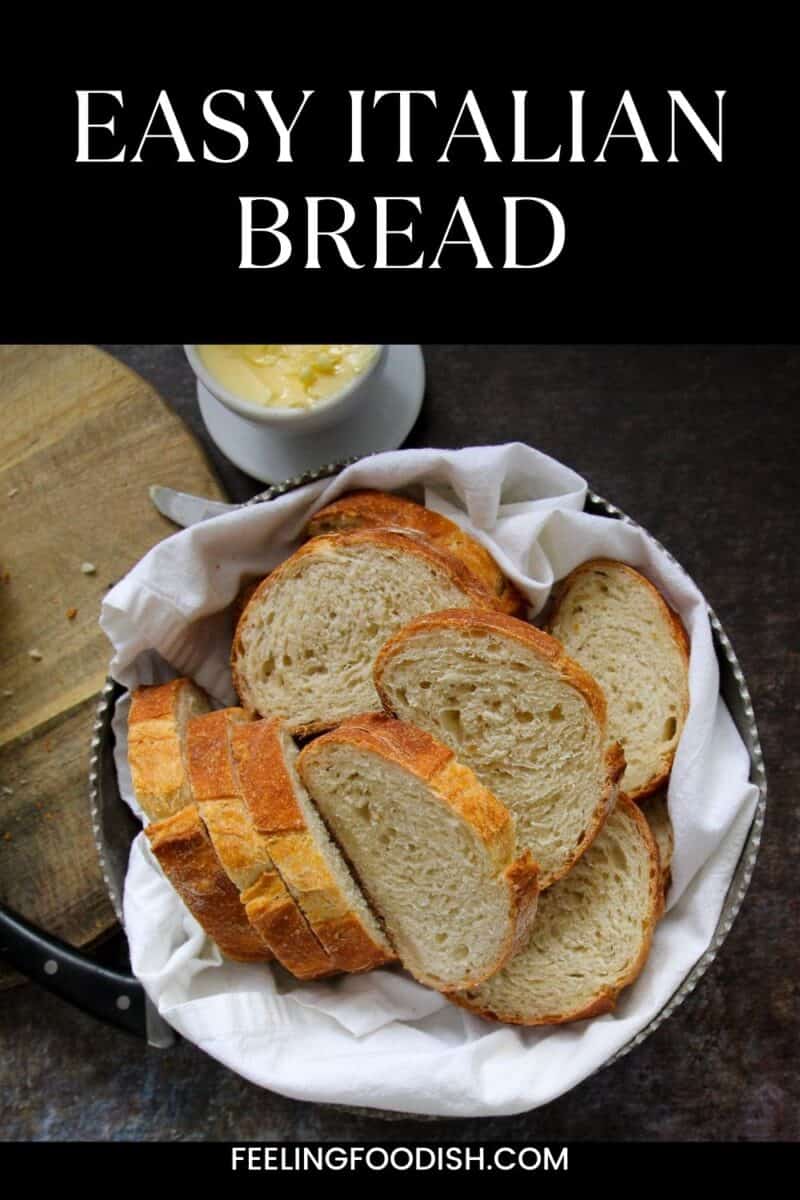
Simplicity at Its Best: This recipe is a great starting point for beginners and a satisfying recipe for even seasoned bakers.
Versatility for Any Meal: This Italian bread is versatile – pair it with a hearty soup, use it for an elevated meatball sandwich, or simply enjoy it with a drizzle of olive oil.
Ingredient Notes
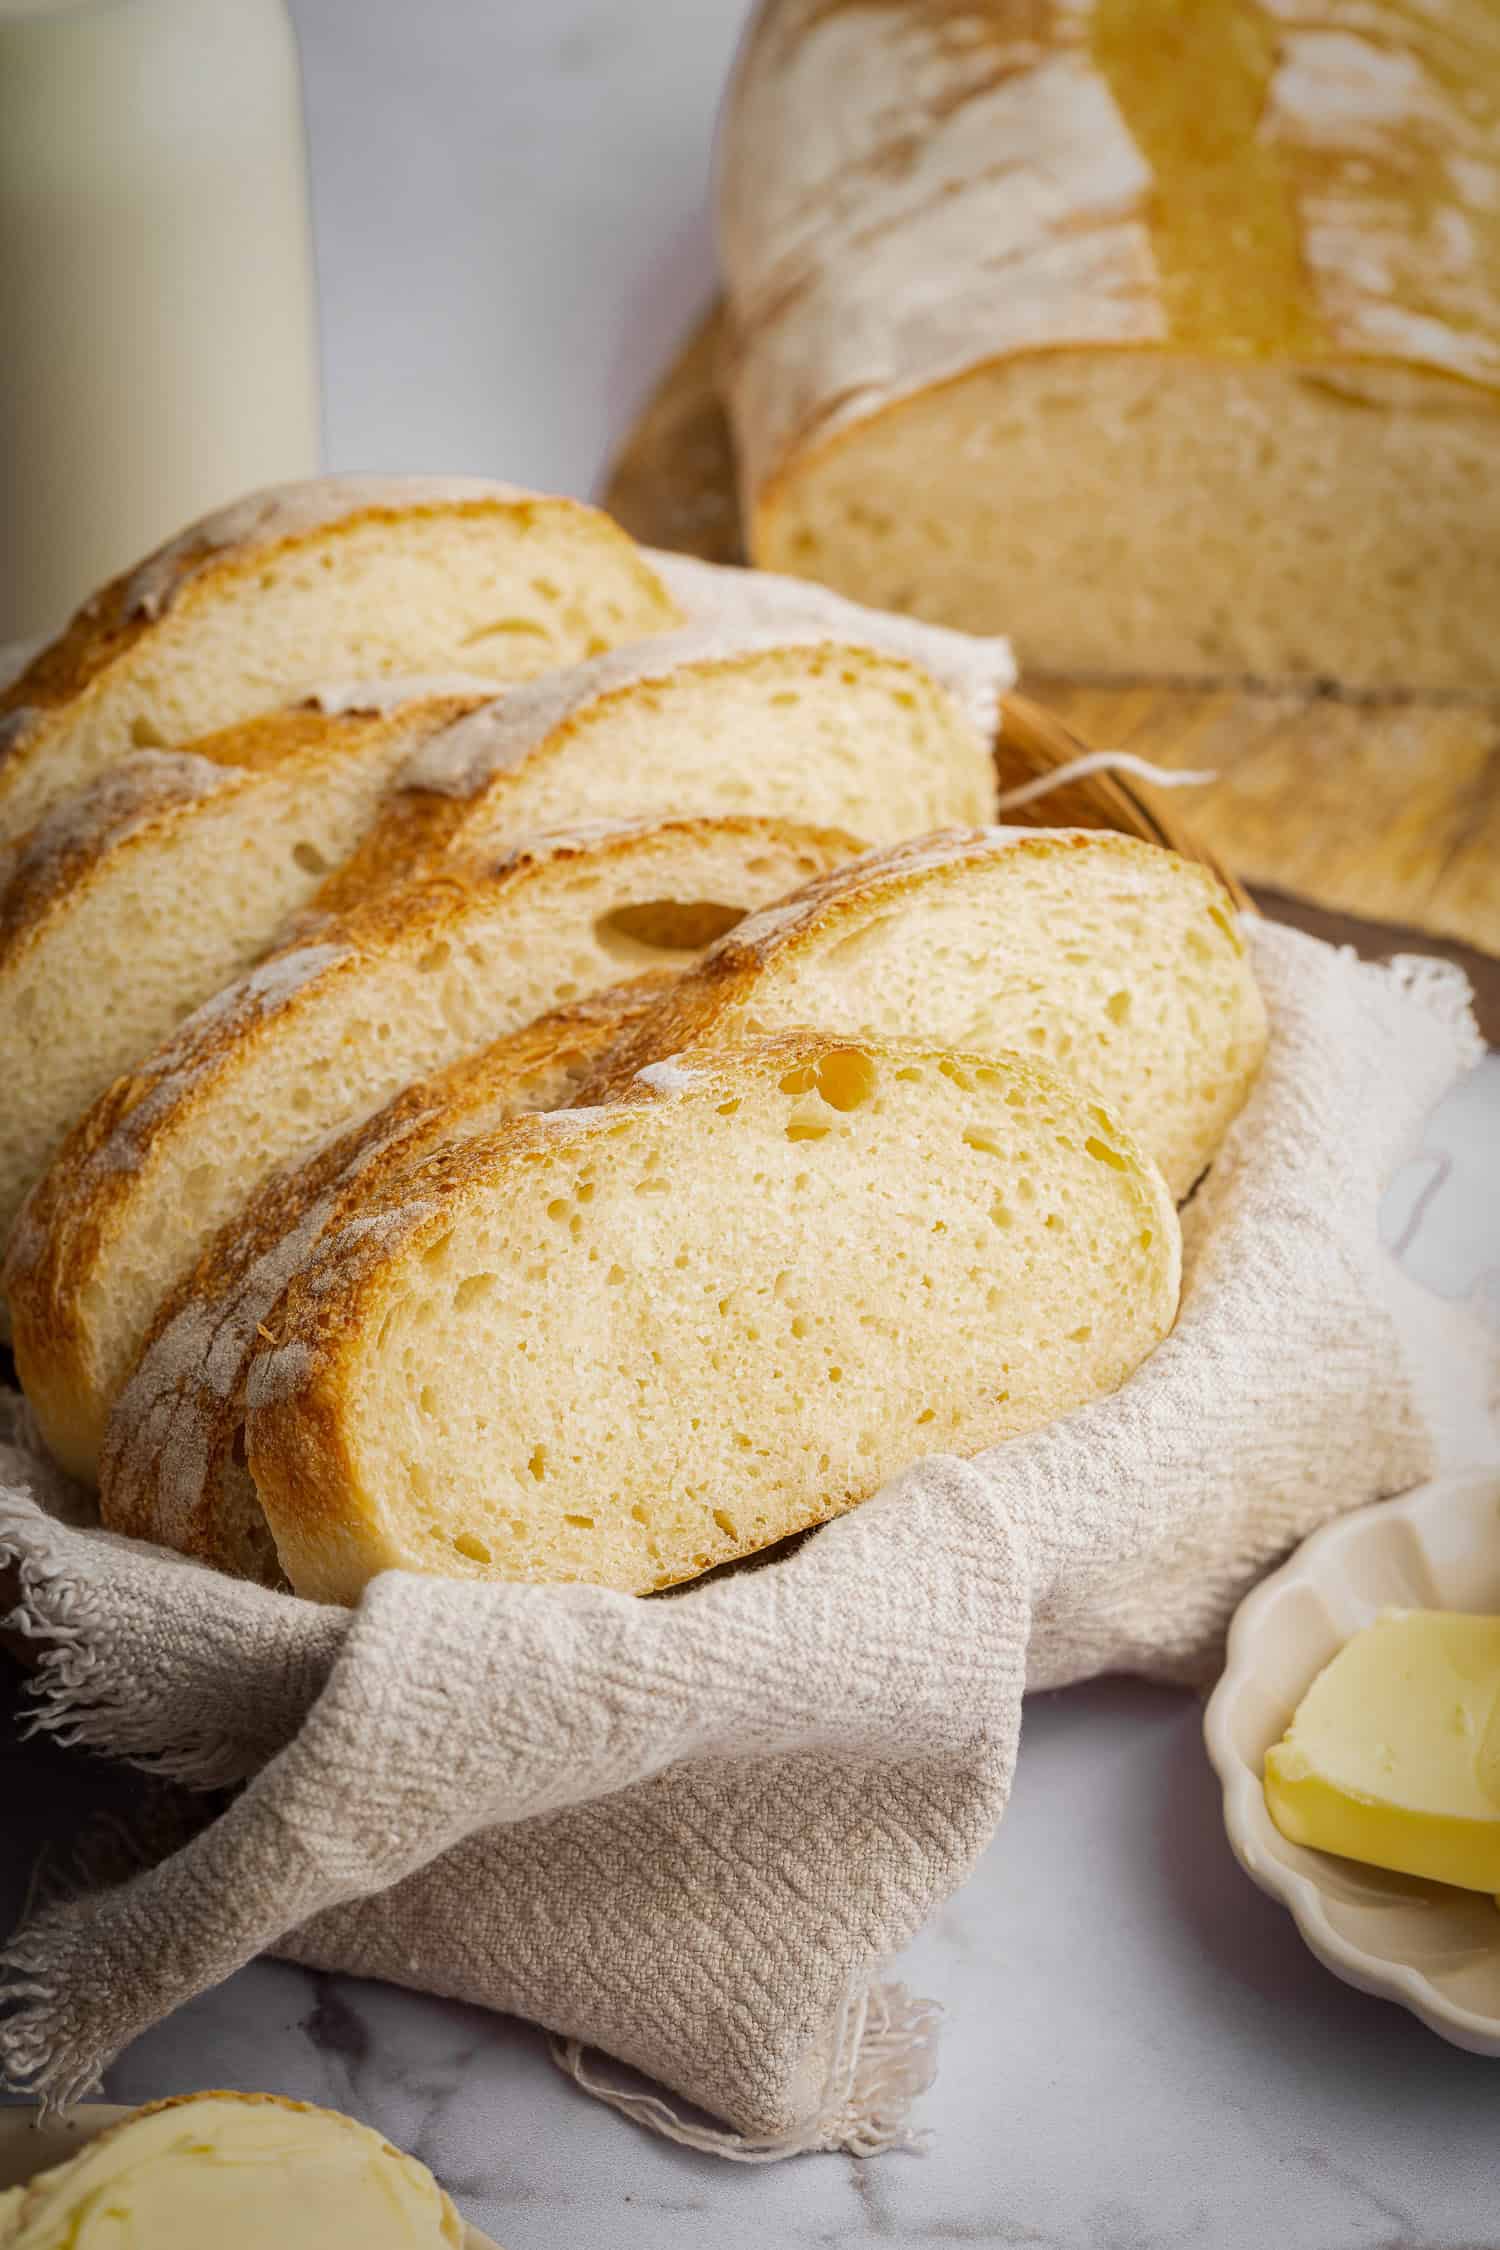
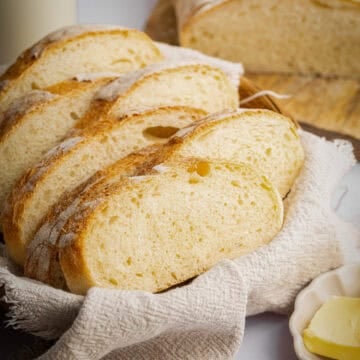
I used all-purpose flour, but you can use bread flour as well. I also like to mix it into semolina flour if I have it on hand as it lends a nice golden color and creaminess to the crumb.
- One of my favorite ways to change this Italian bread is to simply increase or decrease the water in the recipe for a lighter or denser crumb.
- Substitute 1/2 cup of the all-purpose or bread flour with semolina flour for a yellower and creamier crumb (SO good).
- Sprinkle some toasted sesame seeds on top for added flavor and crunch (optional).
- Incorporate chopped herbs like chopped rosemary and fresh basil, or add some roasted garlic.
- No kneading or very little for a rustic loaf or machine kneading for a smoother and lighter loaf.
How to Make
For a no-knead overview:
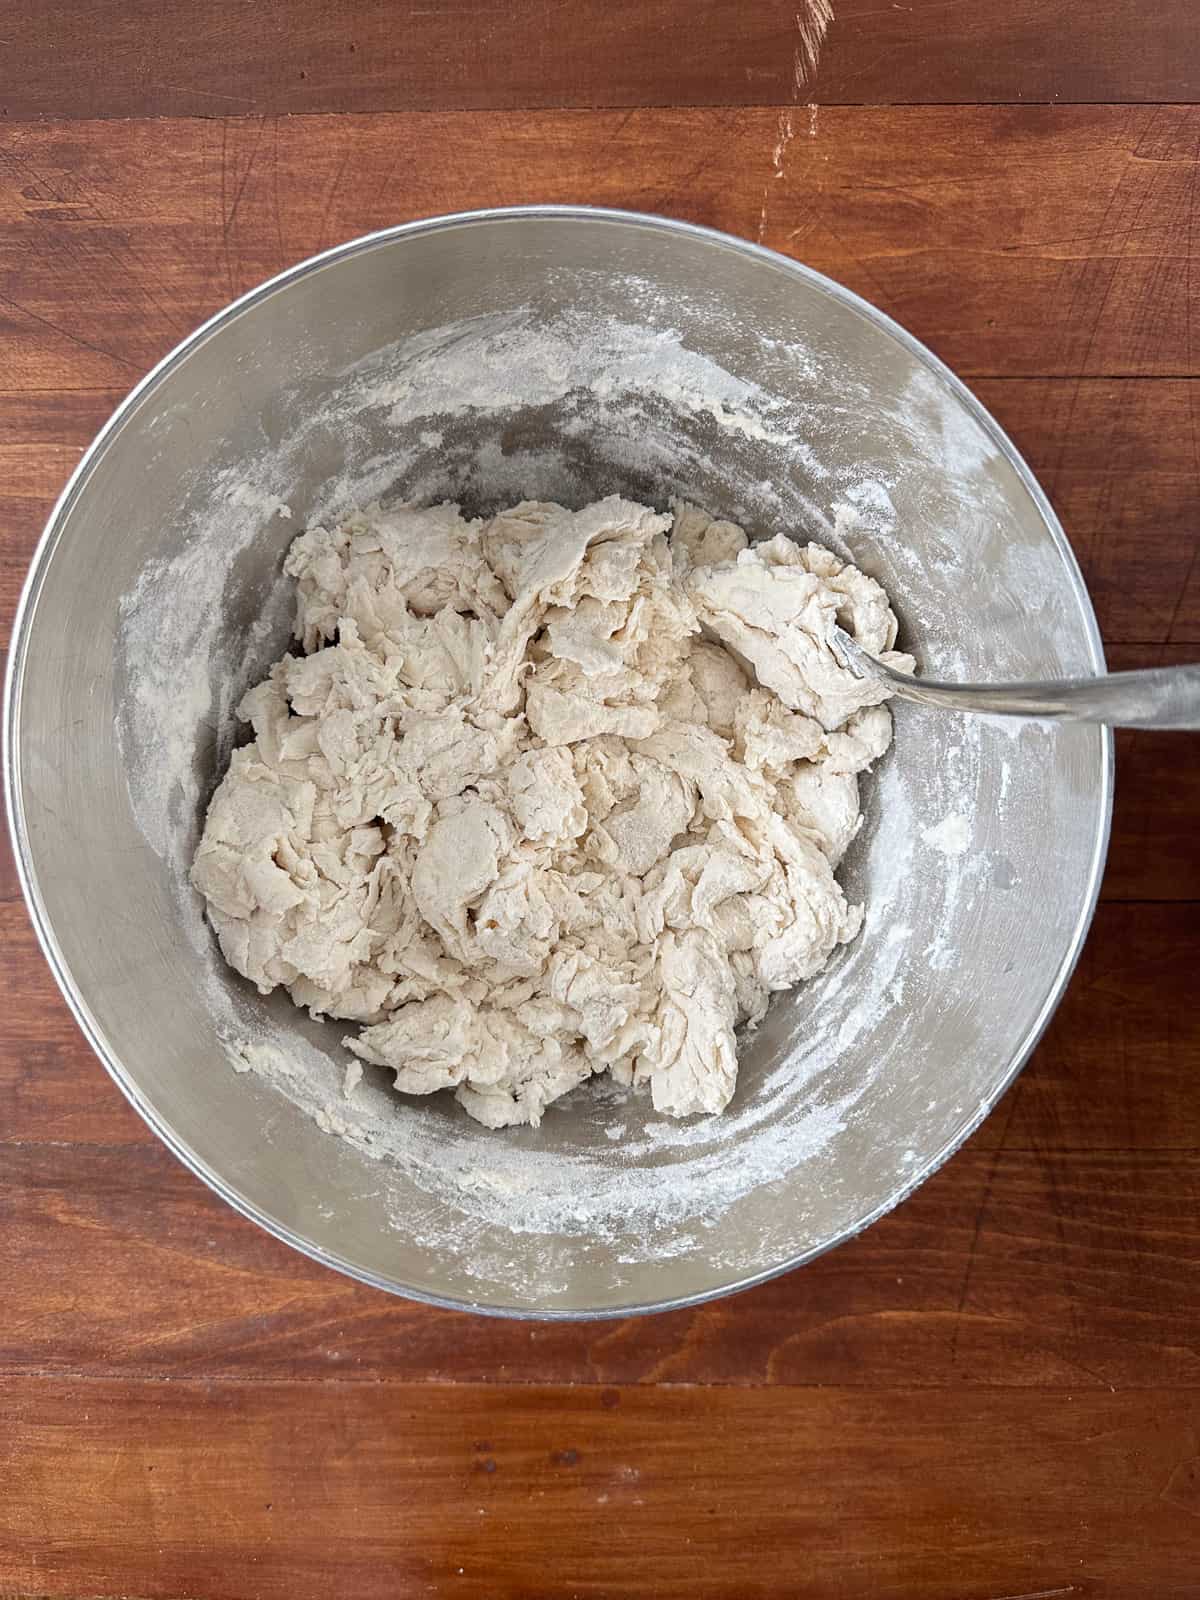
Mixing and Autolyse: Mix flour and water in a bowl until just combined, and then let it rest for 30 minutes under a towel to aid in gluten development.
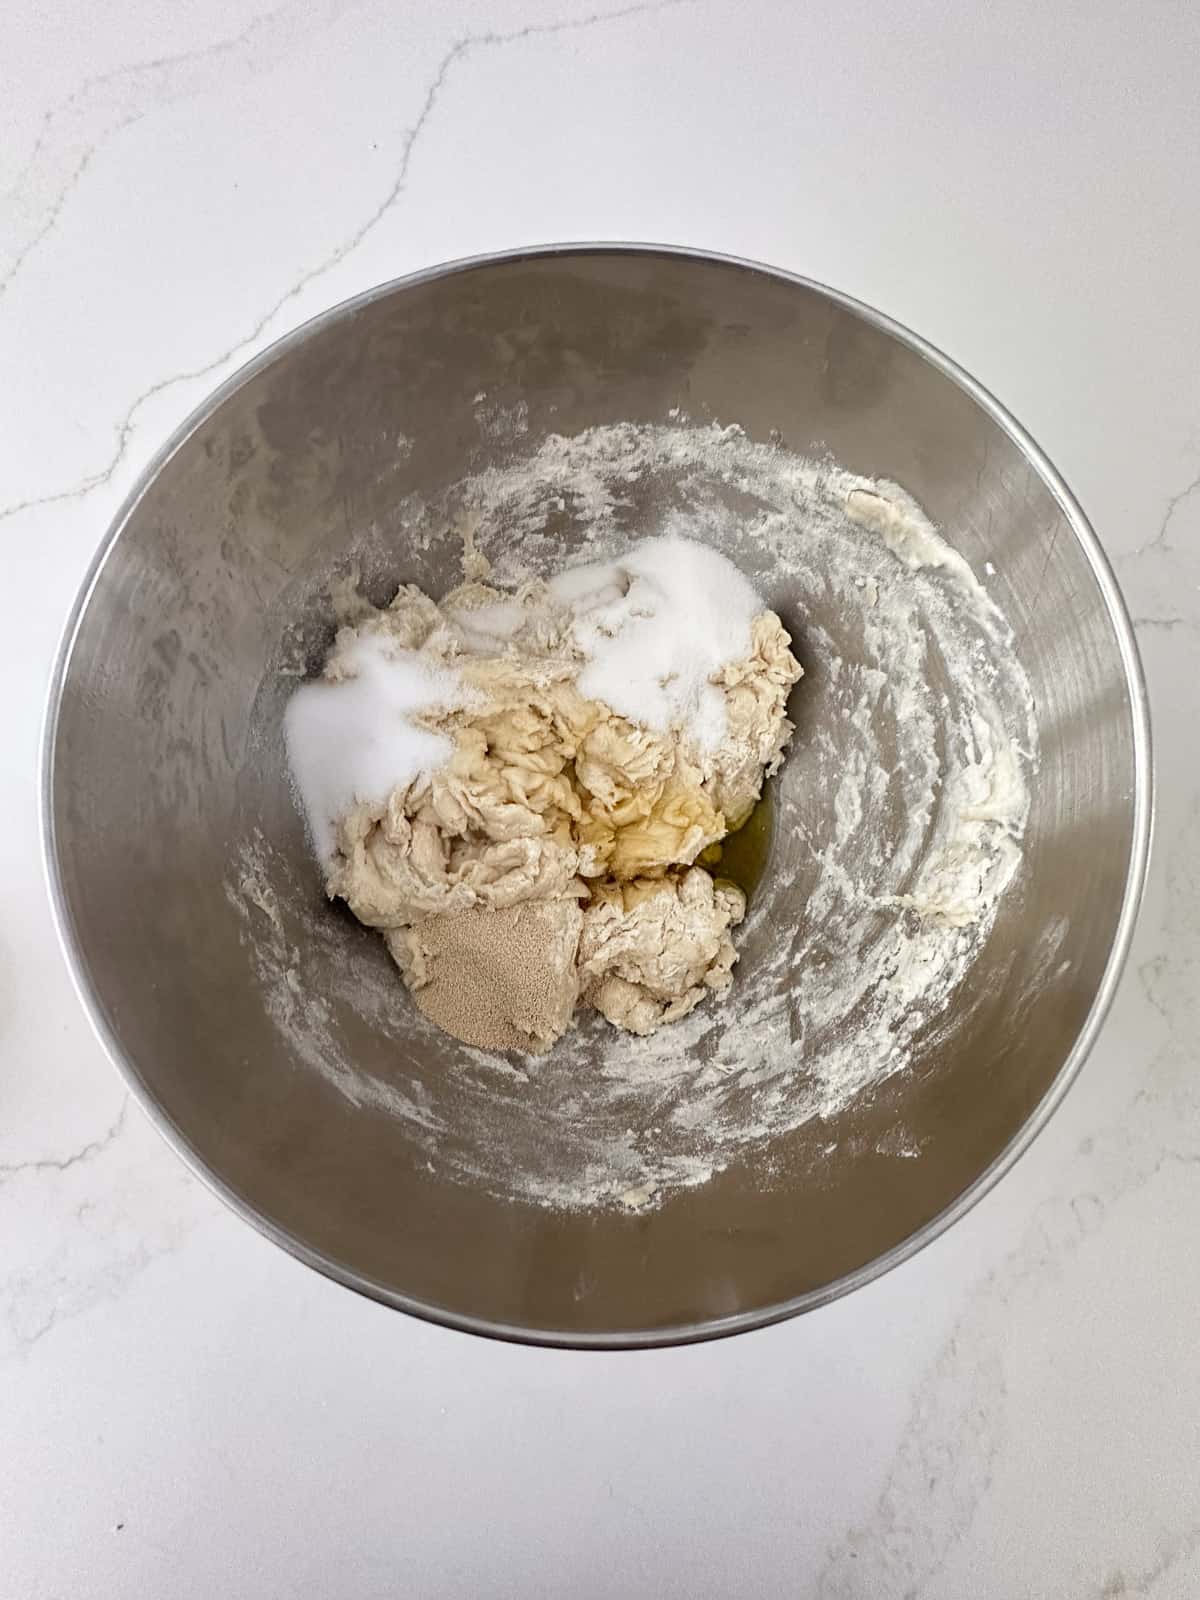
Next, add yeast, salt, sugar, oil, and any remaining water and combine until everything is well incorporated. Allow the dough to rest again for about 10 minutes then give the dough another mix for about a minute.
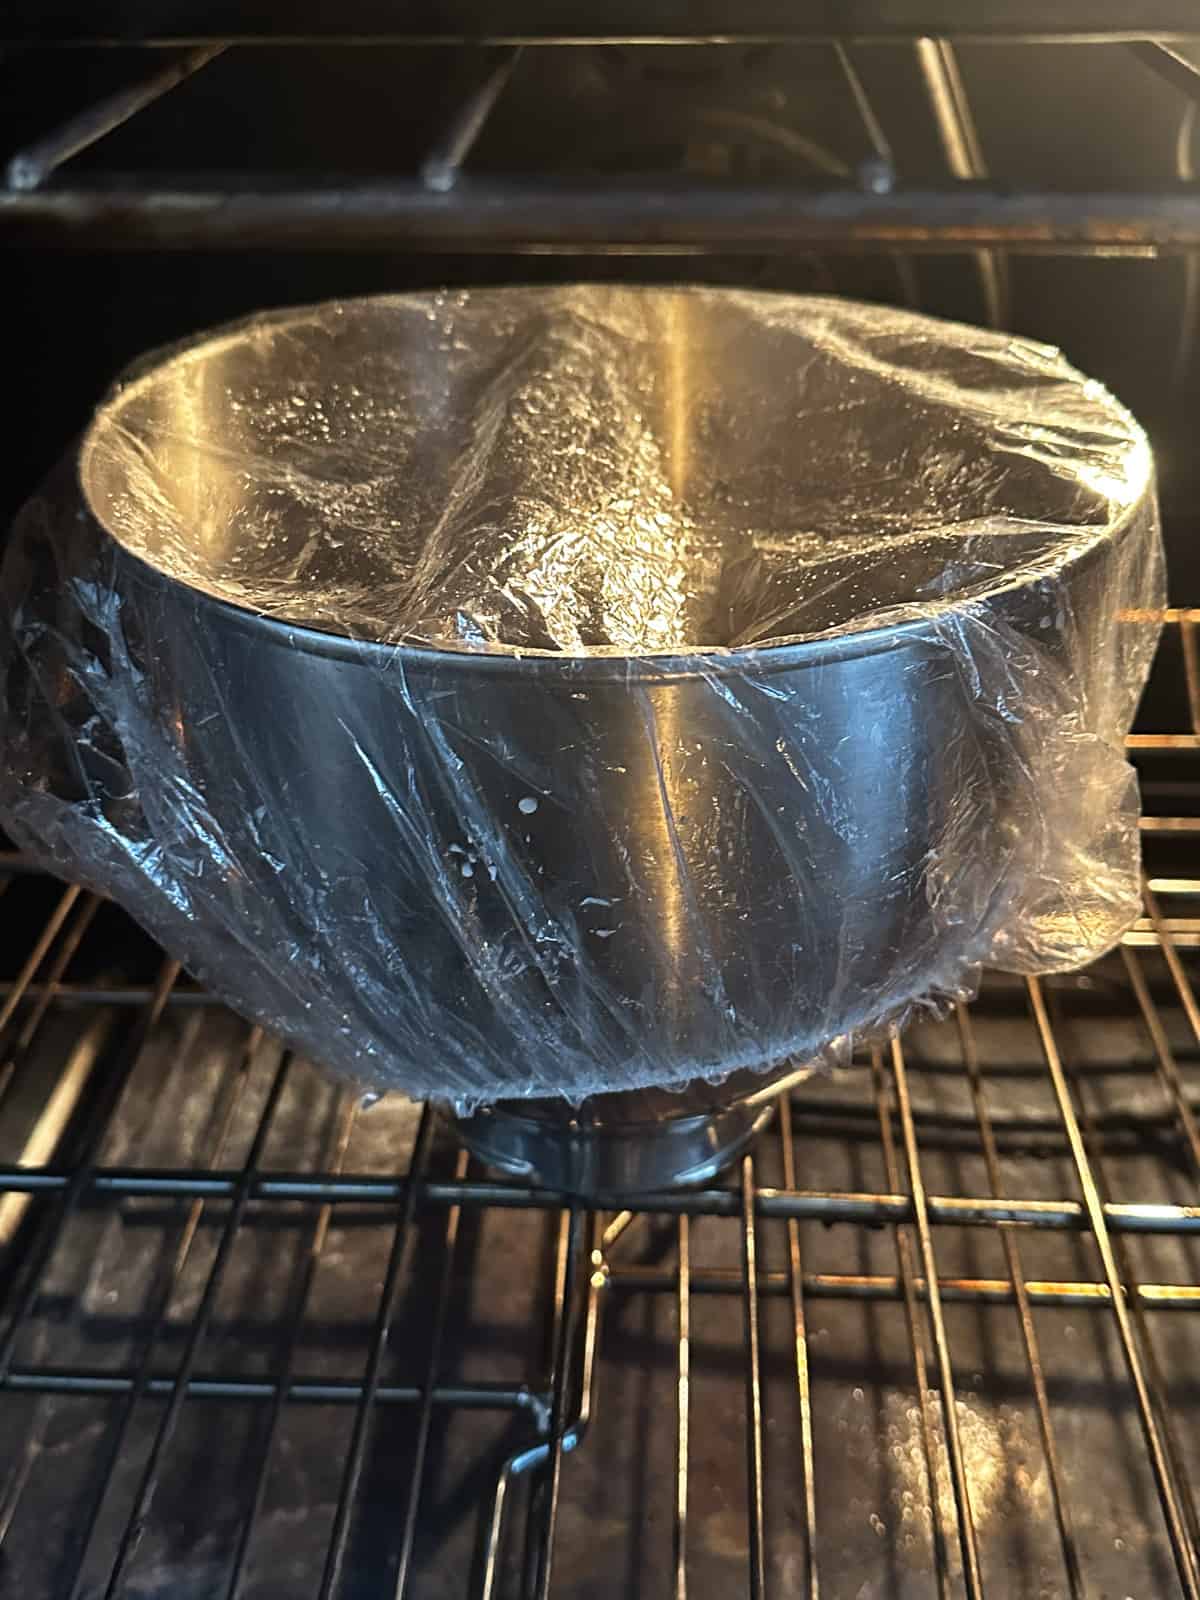
Bulk Fermentation: Let the dough undergo its first rise by placing it in a lightly oiled bowl covered with plastic wrap. For a longer, flavor-enhancing rise, cover, refrigerate, and leave it to rise overnight.
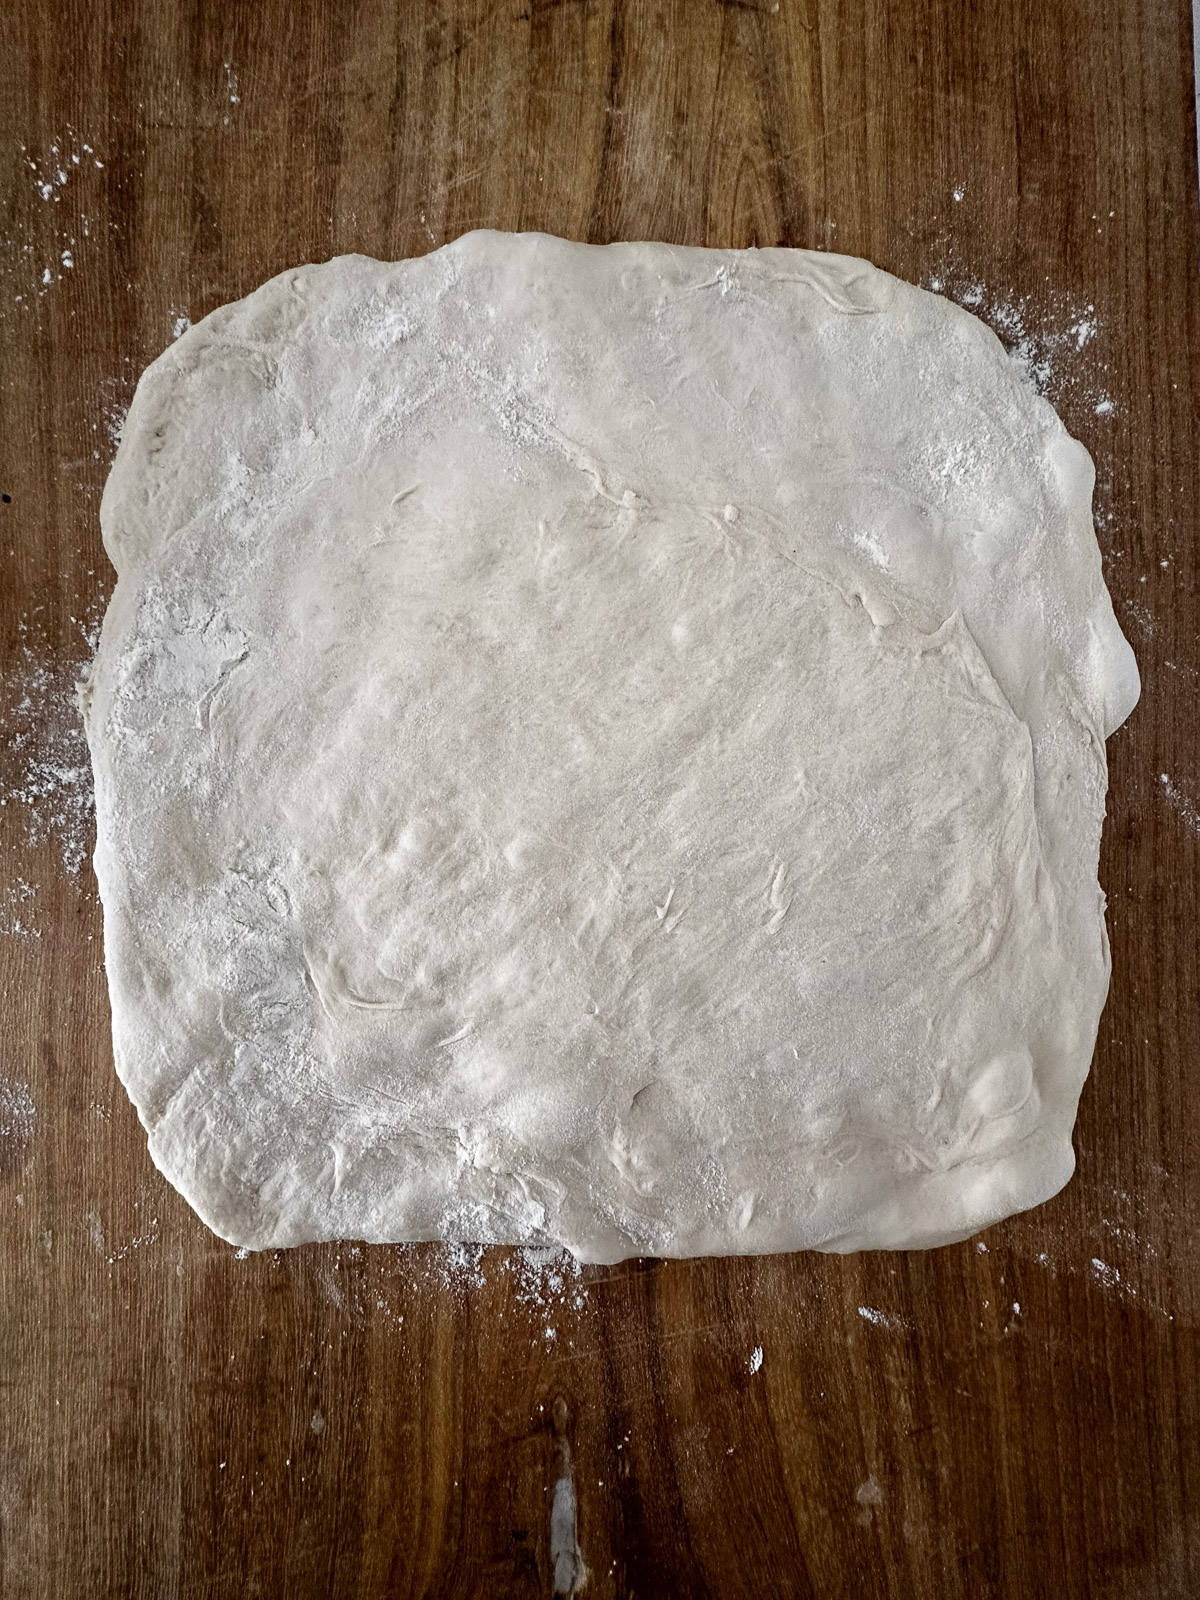
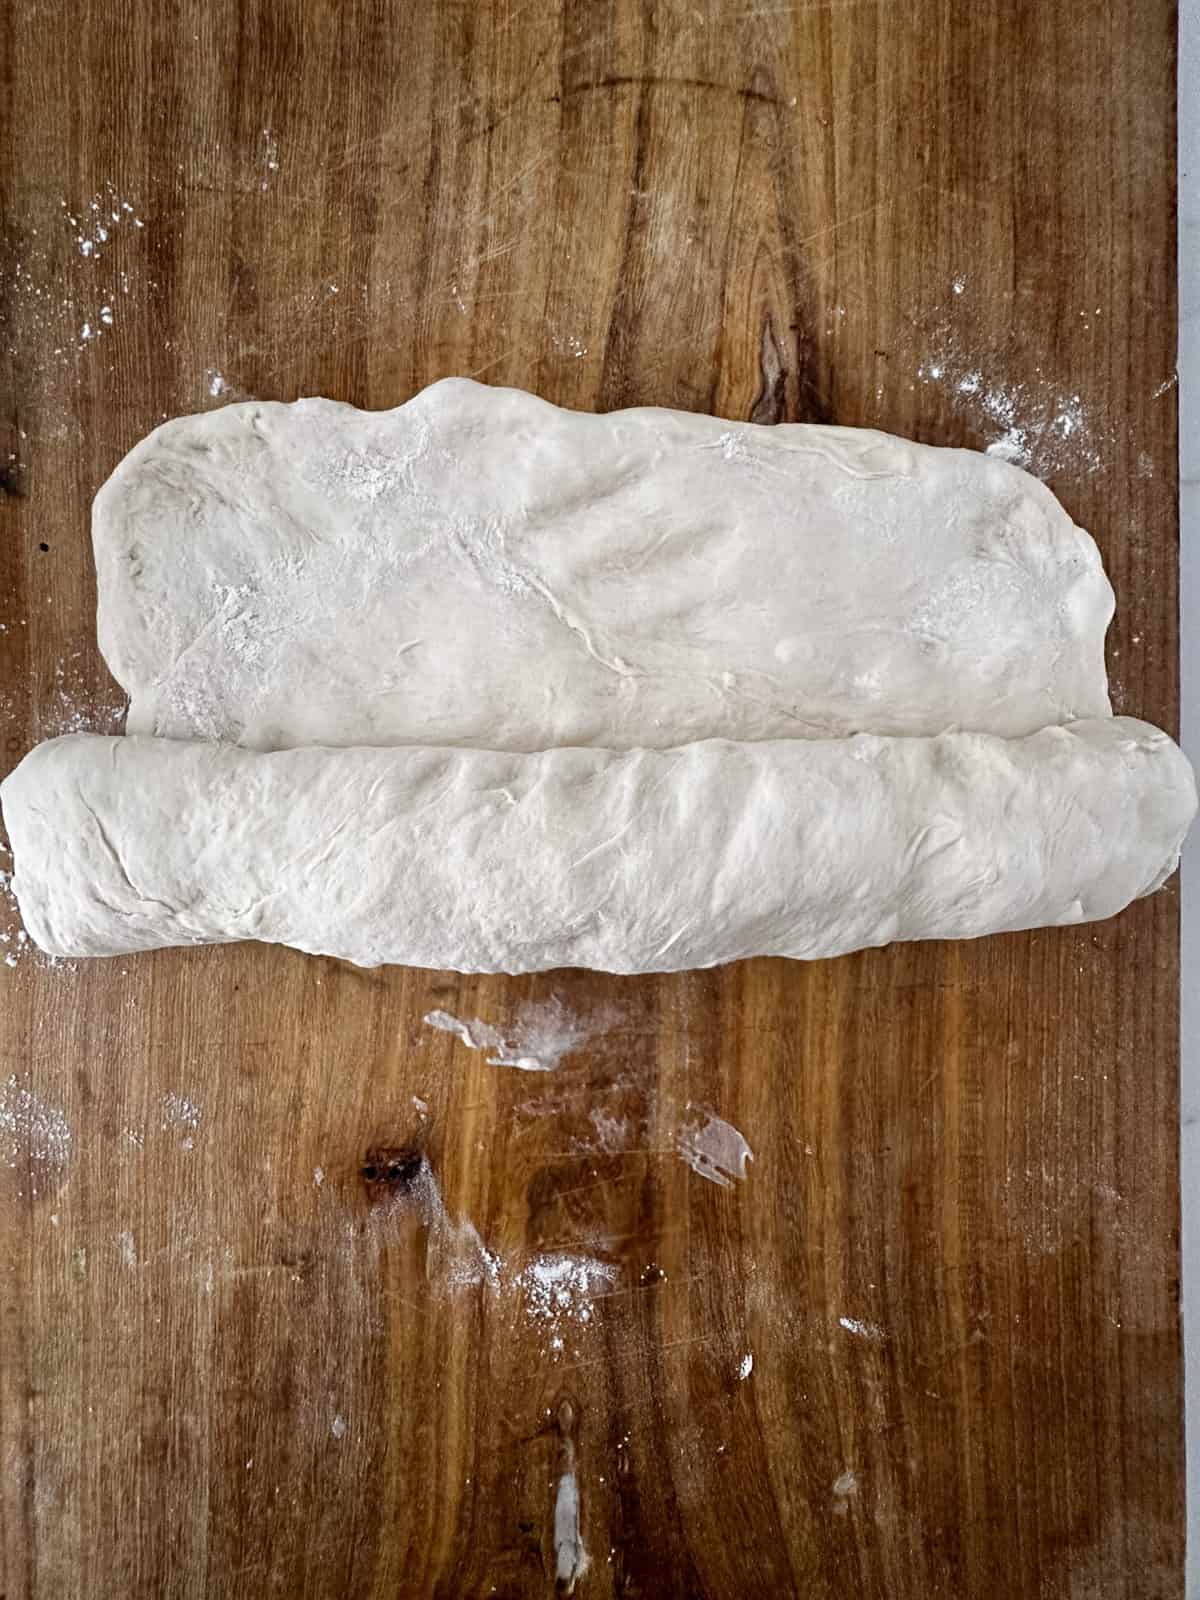
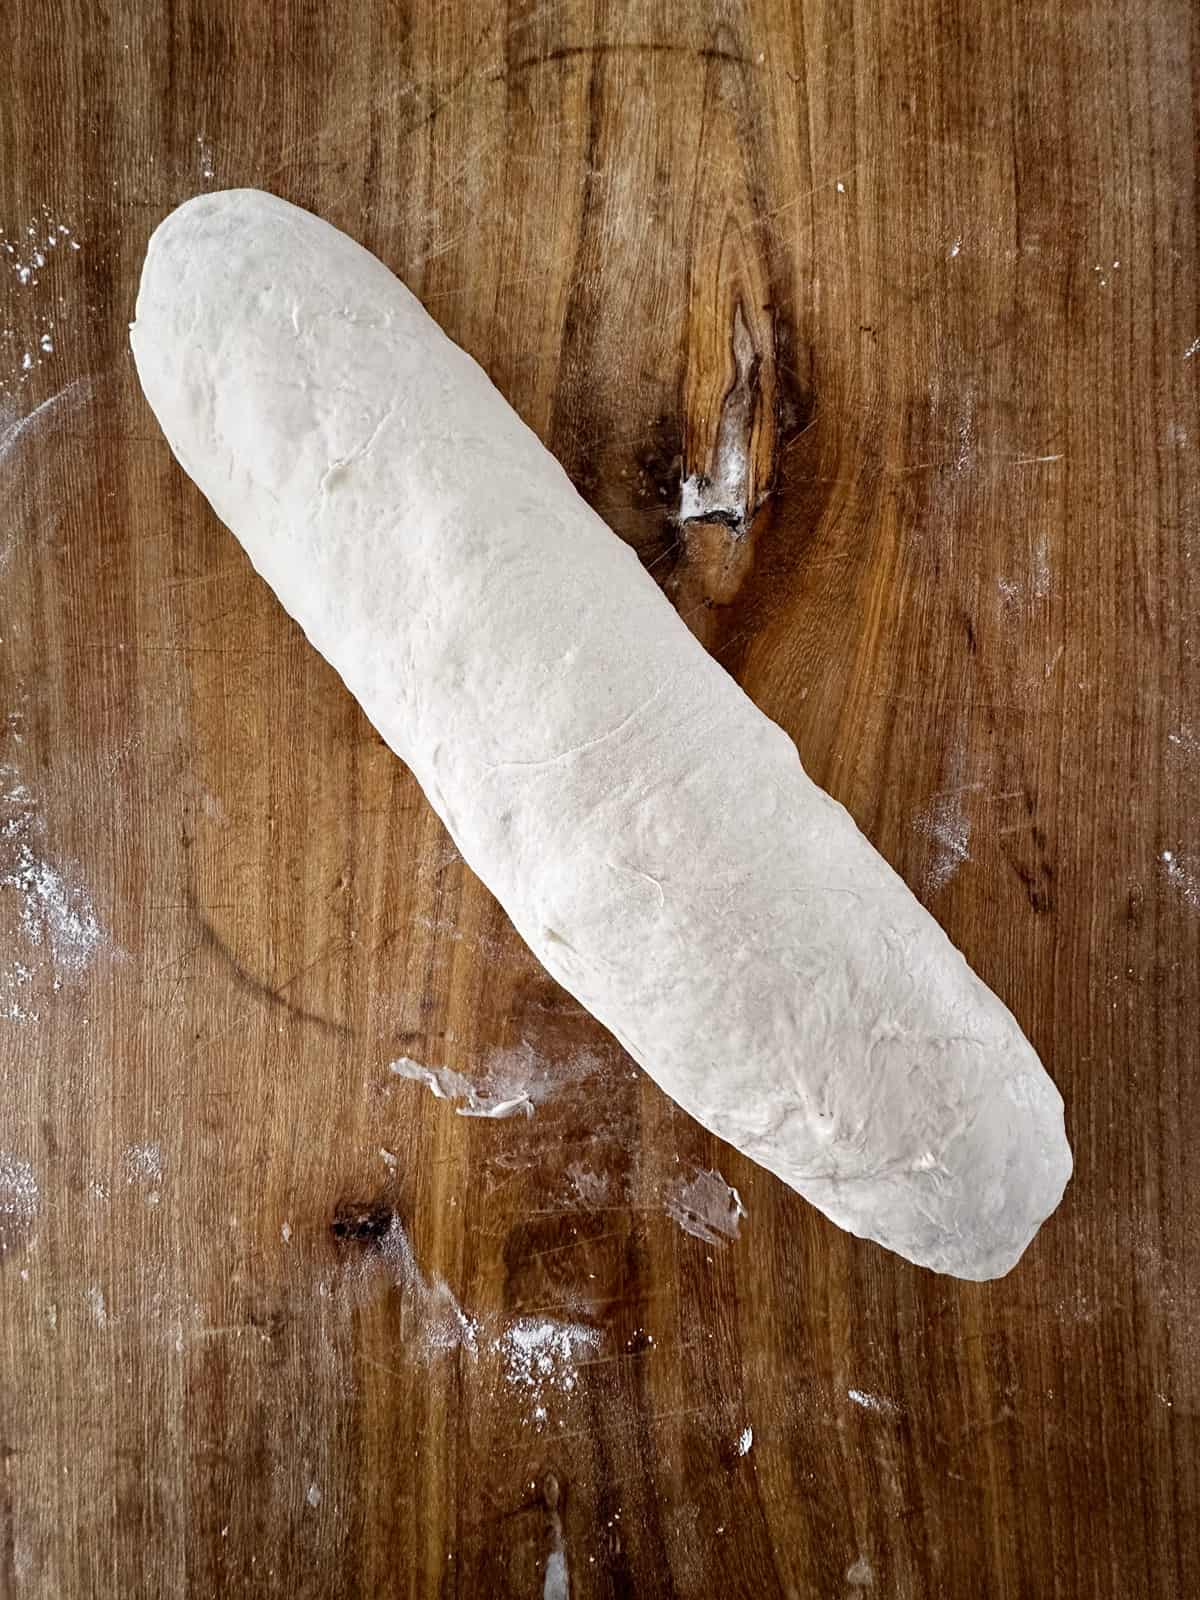
Shaping: After the bulk rise, remove the dough from the bowl, gently pat it down on a lightly floured surface, and shape the dough into a rectangle. Roll up the rectangle into a long loaf.
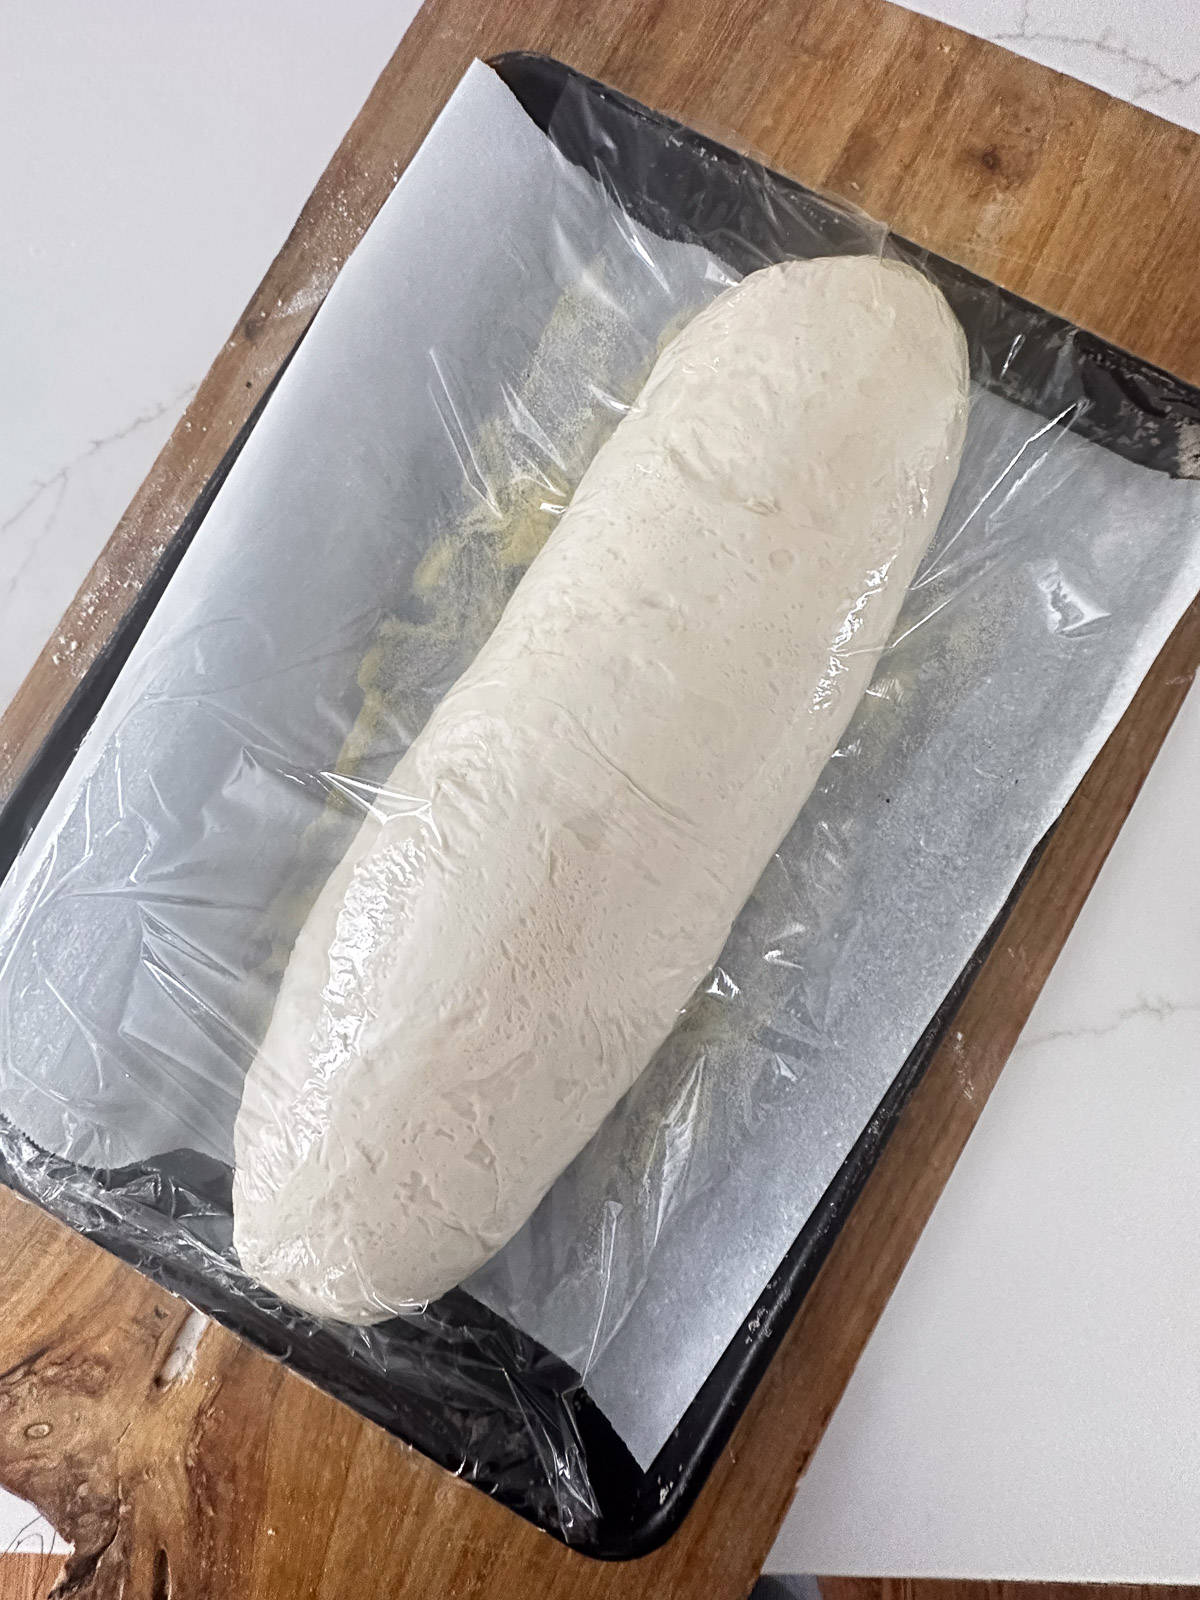
Rising: Place the shaped loaf on a prepared baking sheet after shaping. Let it rise again for 30 minutes under plastic wrap (I usually spray the plastic wrap).
I put sesame seeds on this particular loaf:
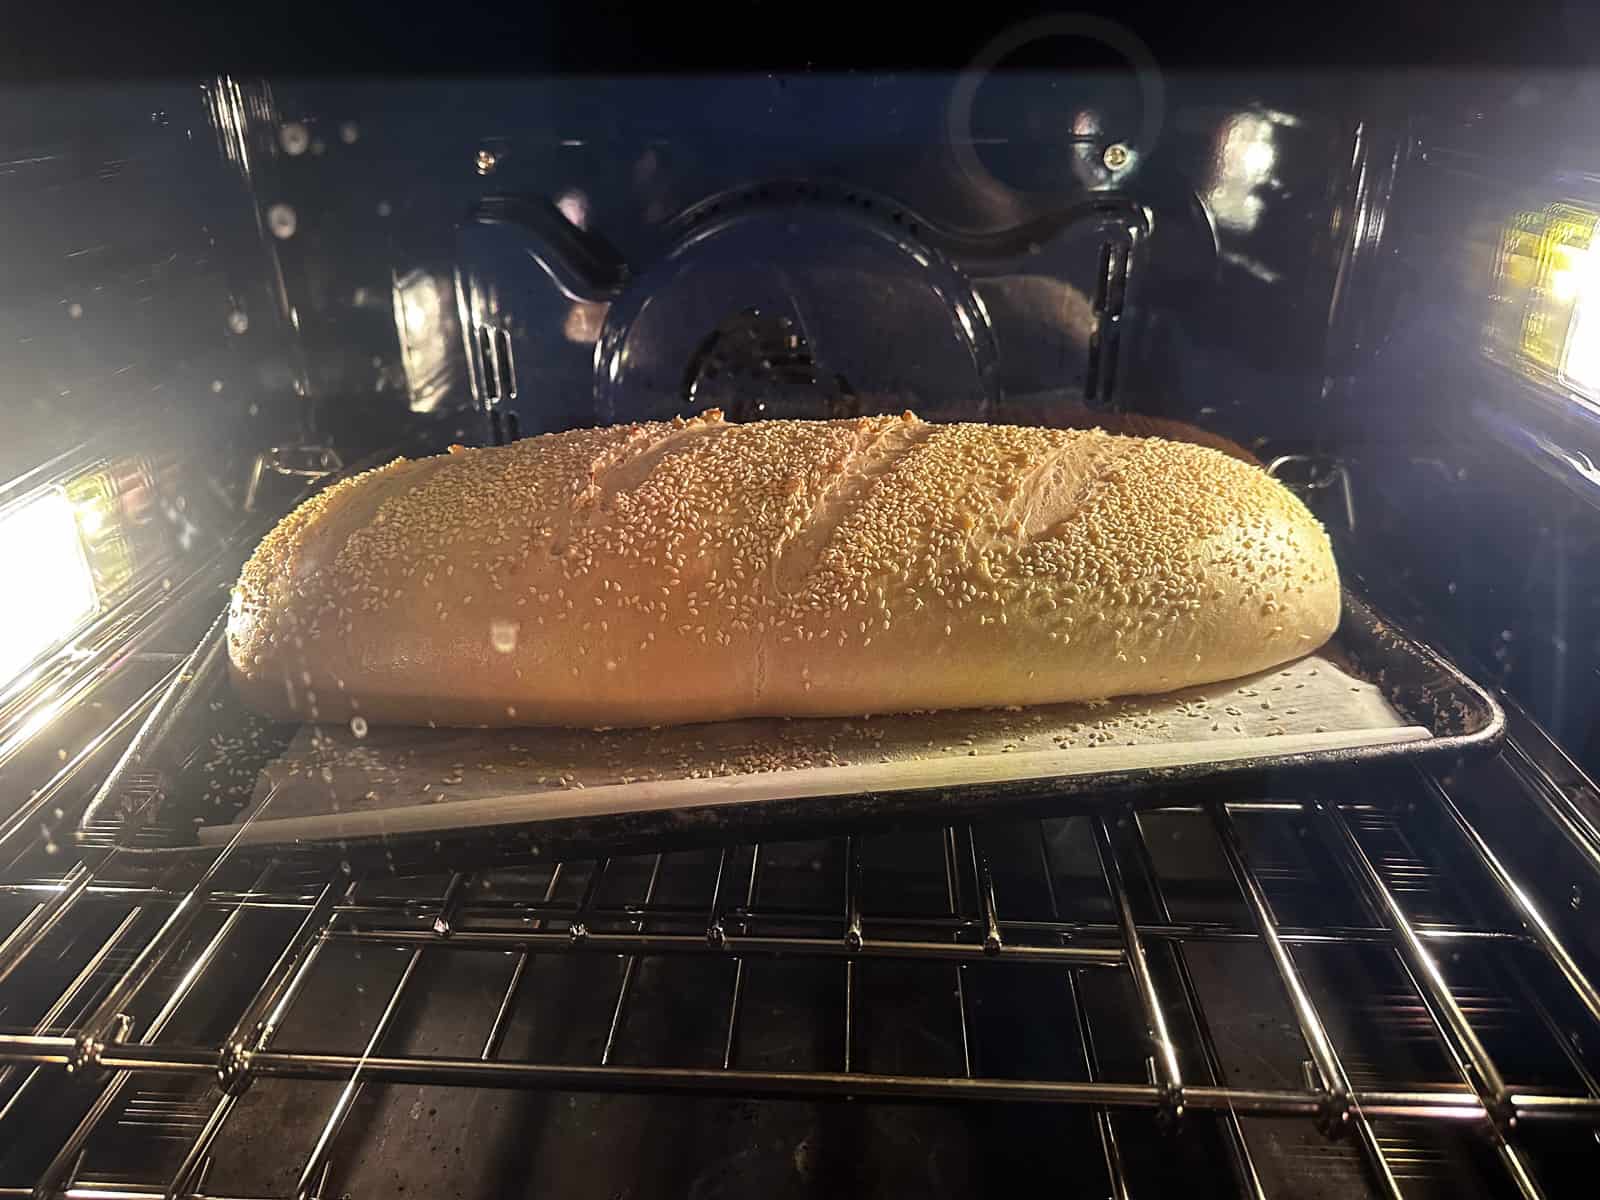
Baking: Bake the loaf for about 25 to 30 minutes or until it’s lightly golden. On this loaf, I added sesame seeds to the top before baking. If you have a baking stone or a baking steel, you can load the bread directly onto the stone or steel but using a baking sheet works well too.
[Steaming the oven: To boost the oven spring, throw some ice (about 1 cup) on the oven floor or spray the walls very well with water just after you load the bread. Be very careful to avoid getting ice or cold water on the oven door’s glass.]
Tips & Techniques
Proof the Yeast (if you’re not using Instant yeast): Ensure your yeast is active by proofing it in warm water. If it doesn’t bubble, it may be inactive.
Control Temperature: Use lukewarm water for the dough and keep the dough in a warm, draft-free area to rise (I like to place the bowl in an oven with the oven light turned on).
Don’t Rush the Rise: Allow enough time for the dough to rise correctly.
Flour the Work Surface: To prevent sticking, flour the flour surface and smooth some flour over the top and bottom of the dough before working it.
Slash the Top: Before baking, make a slash or a few slashes (1/4 to 1/2-inch deep) on the bread’s surface to help it expand in the oven.
Use Steam: Spray water inside to create steam, which helps form a crispy crust or you can toss about a cup on ice on the oven floor.
Cool on a Rack or Upright: After baking, let the bread cool on a wire rack to prevent the bottom from becoming soggy.
Yeast: Active vs Dry
Are you curious about dry yeast? Here are the most common types and what you should know.
Instant Yeast:
- Can be mixed directly with dry ingredients, no proofing needed.
- Faster rising time; dough rises more quickly.
Active Dry Yeast:
- Requires proofing in warm water.
- Slower rising time; expect about 1.5 longer for the dough to rise compared to instant yeast.
If the directions on your yeast container say to active it before using it, you have active dry yeast.
Note that active and instant dry yeast can be used/substituted 1:1 by volume in recipes, but remember to adjust rise times (about 30 to 50% longer with active yeast) and skip the proofing step when using instant yeast.
♥️ Loved this recipe? I’d be thrilled if you’d rate it ⭐️ and share your experience in the comments below! Your ratings and comments help other readers discover this recipe and keep this blog going. Did you add any special tweaks? Our community of home cooks would love to hear about it! ♥️
📖 Recipe
Italian Bread
Click the heart icon ♡ above to save a recipe. To find your saved recipes later, click the heart icon on the right side of the screen near the search icon and select My Favorites.
Ingredients
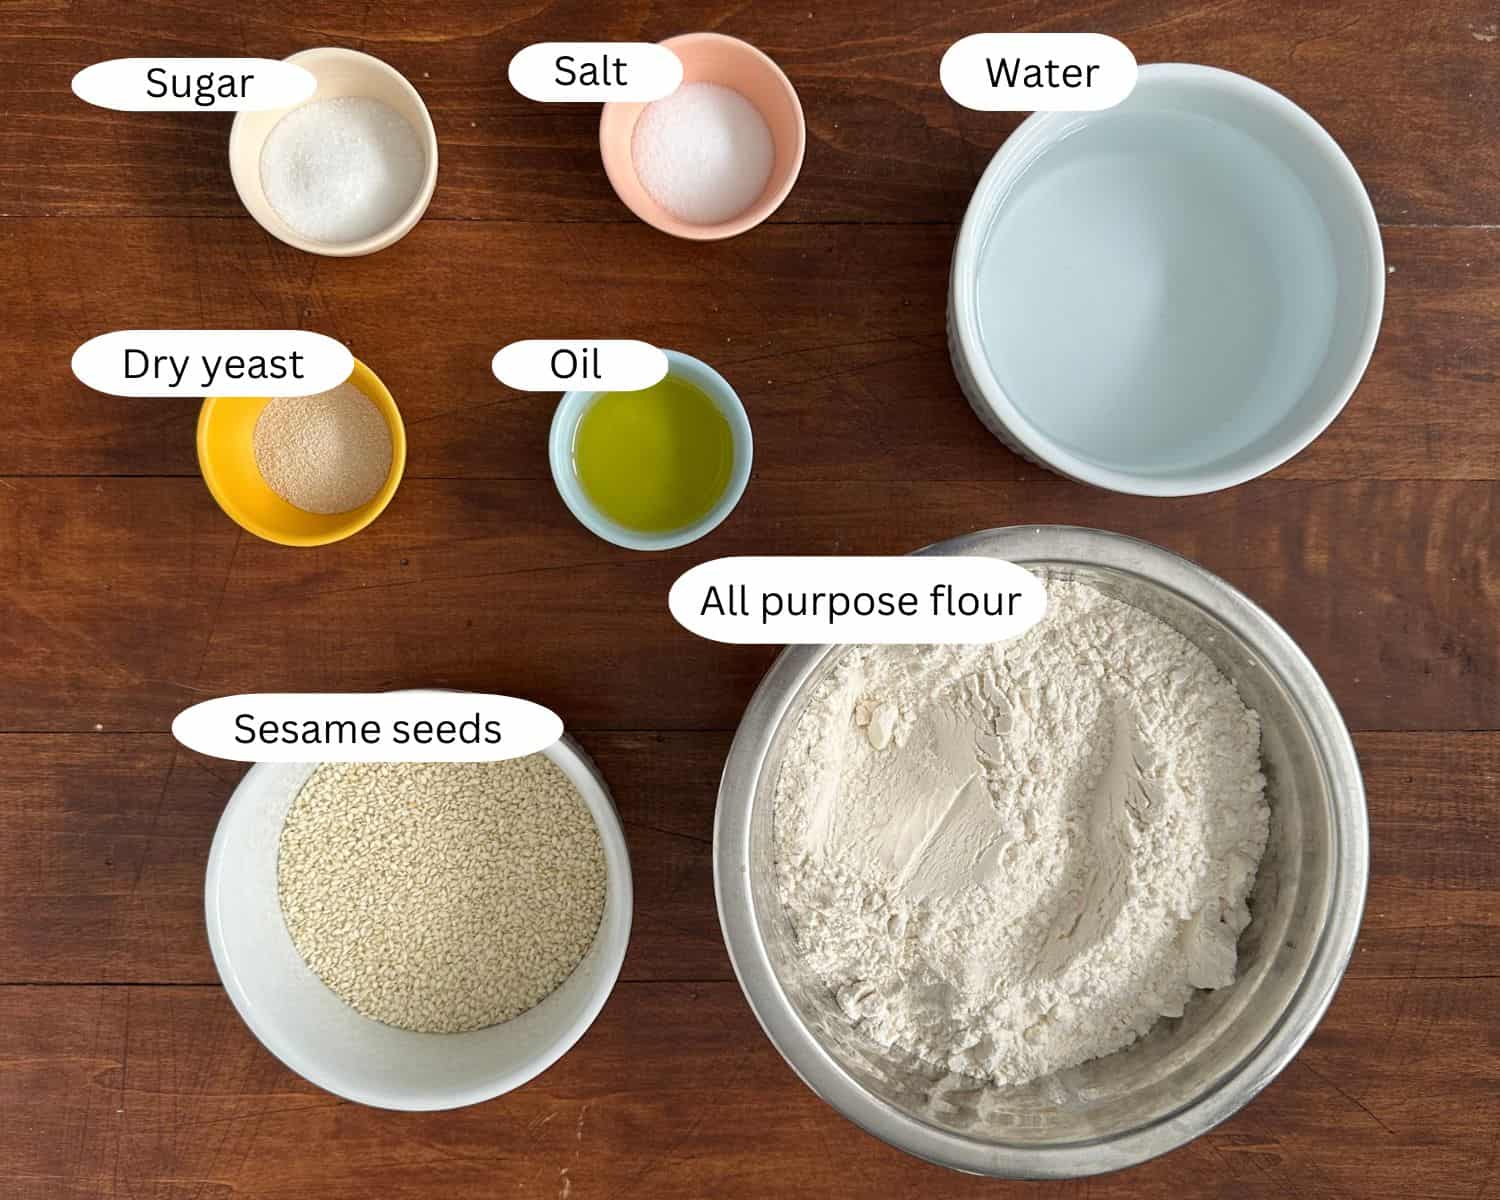
- 578 g (4 2/3 cups) all purpose flour or bread flour
- 375.3 g (1 2/3 cups) water (see NOTE 1) Reserve about two tablespoons of this for the step where you mix in salt, sugar, etc.
- 7 g (2 tsp) instant dry yeast see NOTE 2 if using active dry yeast
- 15 g (2.5 tsp) salt
- 17.5 g (4 tsp) sugar
- 30 g (2 tbsp) olive oil
Instructions
Mixing and Autolyse:
- In a mixing bowl, combine the flour and water. Mix with your hands or a wooden spoon until just combined. Cover with a clean towel, and let this mixture rest for about 30 minutes. This is called the autolyse stage and helps develop gluten.
Add Remaining Ingredients:
- Add the remaining ingredients (yeast, salt, sugar, oil, and remaining water). Mix the dough with your hands until the salt and oil are fully incorporated. I like to squeeze everything in with my hands, but you can also use a stand mixer with a dough hook. Let rest covered for about 10 minutes.
Mix Again:
- Mix the dough again for about 1 minute to ensure there are no large lumps. It's okay if it's not totally smooth but ensure there are no large lumps of flour.
Bulk Fermentation (First Rise):
- Place the dough in a lightly oiled bowl, cover it with plastic wrap, and let it rise at room temperature for about 1 hour. Alternatively, you can place it in the refrigerator, covered with plastic wrap, for an overnight rise for enhanced flavor development. If using active dry yeast, consider extending the rising time by 20 to 30 minutes.
Shaping and Final Proofing:
- Turn the dough onto a lightly floured surface and shape it into a rectangle. Roll the dough up, jelly roll style and place on a baking sheet lined with parchment paper and dusted with flour or semolina. Cover loosely with plastic wrap and place and let rise for 30 minutes, or if using active dry yeast, let it rise for 40 to 45 minutes.
Baking:
- Preheat your oven to 425°F (220°C). If you have a baking stone, place it in the oven during preheating.
- Just before baking, slash the top of the loaf with a sharp knife or a lame. I slash mine right down the middle to keep things easy.
- Place the loaves in the preheated oven. I like throwing a cup of ice on the bottom of the oven to steam the oven, which helps the bread expand. Be careful that the ice does NOT hit your oven glass, or it can shatter.
- Bake in the center rack for about 25 to 30 minutes or until the loaves are golden brown and sound hollow when tapped on the bottom.
- Italian bread is typically done when it has a golden-brown crust and sounds hollow when tapped on the bottom. An internal temperature of around 190-210°F (88-99°C) indicates it's fully baked.
Cooling:
- Once baked, transfer the loaves to a wire rack to cool completely before slicing.
My family’s go to bread. I make a loaf as needed, it comes out perfectly every time. I have started making it into cinnamon raisin bread as well. Absolutely love your original delicious recipe and the cinnamon raisin. Thank you.
That makes me so happy to hear – thank you! I love that it’s become your go-to, and cinnamon raisin is such a great twist. It sounds like you’ve really made it your own 🙂
I’m certain I did something wrong but I’ve read the recipe over and over again and can’t figure out what. A used brand new dry yeast but there is absolutely no rise. I’ll try again another day😔
Thanks for the update. Since you mentioned something likely went wrong during the process, I’ve removed the rating so it doesn’t reflect the recipe itself, which has been tested many times with consistent results.
If you try it again, a few things that really help with yeast dough:
• Use lukewarm water (not hot)
• Make sure the yeast is active (see notes if using active dry yeast; if using instant yeast, try the tip below)
• Allow enough rise time, especially if your kitchen is cool — placing the dough in a warm spot can help (set in oven or microwave to keep it draft free and add a pot of hot water, or next to a large pot of simmering water can help)
Tip: If you’re unsure about your yeast, test it in warm water (95–105°F) with a pinch of sugar — it should foam within 5–10 minutes.
I hope it works better for you next time!
This was perfect. It turned out so well.
When you say to turn the dough onto a lightly floured surface, does that mean knead it? Or just dump it and form it into a rectangle?
Thanks for the question – yes, I mean to dump onto a floured surface and shape gently.
I’m making this for the first time. My dough is really sticky! I hope I did it right!
A little stickiness can be normal – it should improve as it rises and after it is shaped!
Yes it’s sticky and for Italian bread you don’t need to knead it much. I didn’t use the pizza stone or water in the pan in the oven either. It makes the crust hard and it takes too long to get the bread crumbs n the pizza stone! My oven is incredibly slow re heating! So I made it in a loaf pan.
I see that your reply to Kathy says that this recipe is for one large loaf, yet in your instructions you mention at one point to put the loaves in the oven. Also, if you can get 32 slices out of one loaf, they must be pretty thin slices. I haven’t made this recipe yet, but will decide, after the bulk rise, how to divide the dough.
Very fair point. The large loaf is about 1000 grams, which is probably up to 22 slices (16 to 22) so the 32 servings is definitely off. I’ve updated this – thanks for pointing it out!
I’m hoping to make Pepperoni Rolls with this recipe. We lived in Canton Ohio for quite awhile, my son loved Norcia Bakery pepperoni rolls.
Marie!
This came out perfetto!
We live at 7000 ft, so all the more amazing how great it worked.
I love the overnight cold rise.
I used bread flour first time, then I used 1 cup of whole wheat with the BF.
Today going for AP and 1 cup WW.
So happy and just when we need it most.
Our best to you and your family!
The refrigerator rise is in *addition to* the initial rise in a warm area, right?
For the bulk rise it is “instead of”. The dough will continue to rise in the fridge until its temp is equivalent to that of the refrigerator temperature and that takes some time. Just make sure it is covered in an airtight plastic container or bag.
Is this recipe for one or two loaves
It is for one large loaf (~1000 grams of dough) but can be split into two small loaves
If leaving the dough in the fridge overnight, how long should you wait to bake after removing from the fridge?
If you placed the shaped loaf in the fridge and it looks like it has risen enough, you can bake it right away.
This came out delicious! Thank you!
I’m glad to hear it!