How to Make Vanilla Fudge
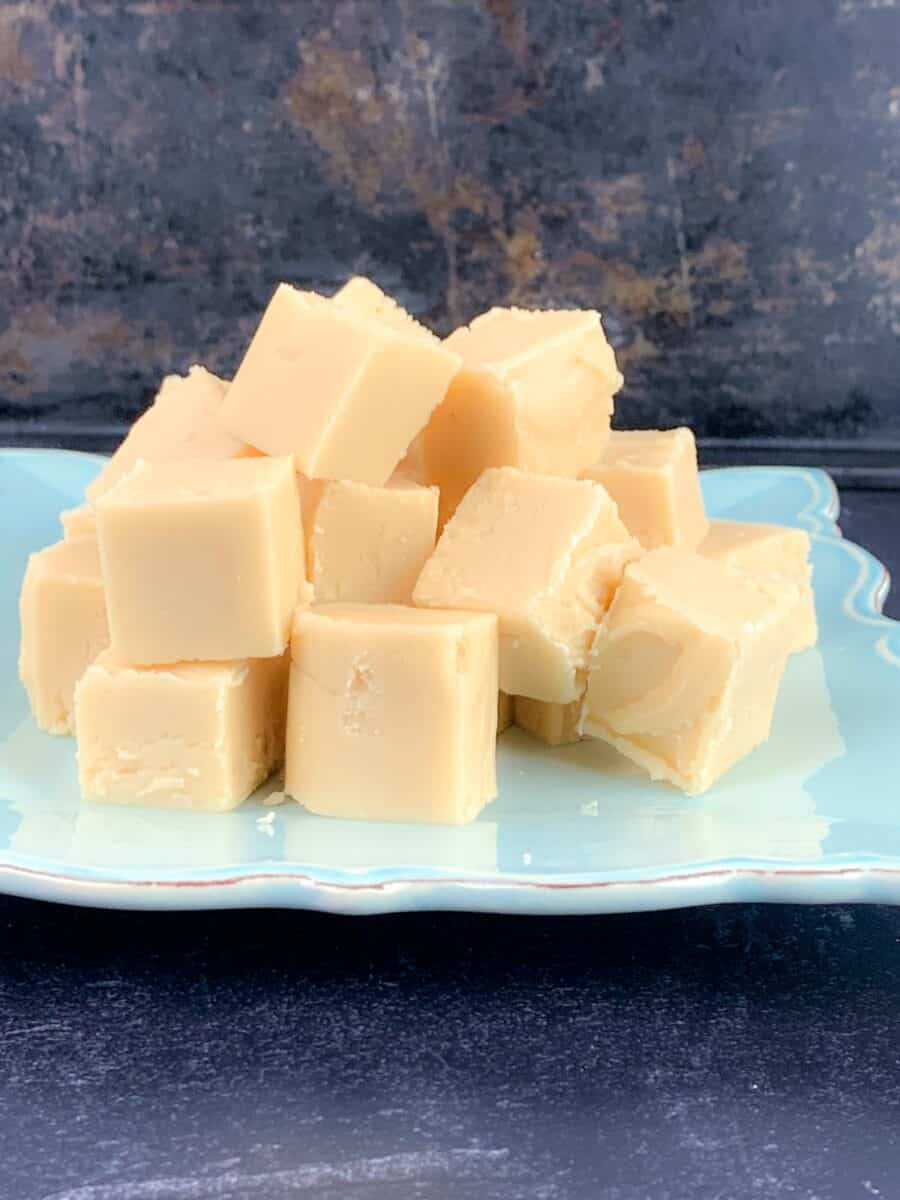
Want to know how to make the best fudge? This traditional, old fashioned vanilla fudge is easy enough to make with your kids and a treat the whole family is sure to enjoy!
You only need six pantry staple ingredients, 15 minutes of cooking time, and some patience to make this classic confection at home!
Jump to:
- Homemade Old Fashioned Vanilla Fudge
- Key Ingredients
- Using Corn Syrup in Candy Making
- What Equipment You’ll Need To Make Traditional Vanilla Fudge
- Prep Your Work Station
- How To Make Traditional Homemade Fudge
- Making at High Altitude
- What Does Fudge Look Like While It Cooks?
- Using the Cold Water Method to Test Fudge
- How to Test a Candy Thermometer
- Why You Need To Beat the Cooled Fudge
- How To Avoid Sugar Crystallization
- More Tips for How to Make the Best Homemade Fudge
- Common Questions for Making Homemade Fudge
- How to Store and Freeze Homemade Fudge
- More Recipes To Try
- 📖 Recipe
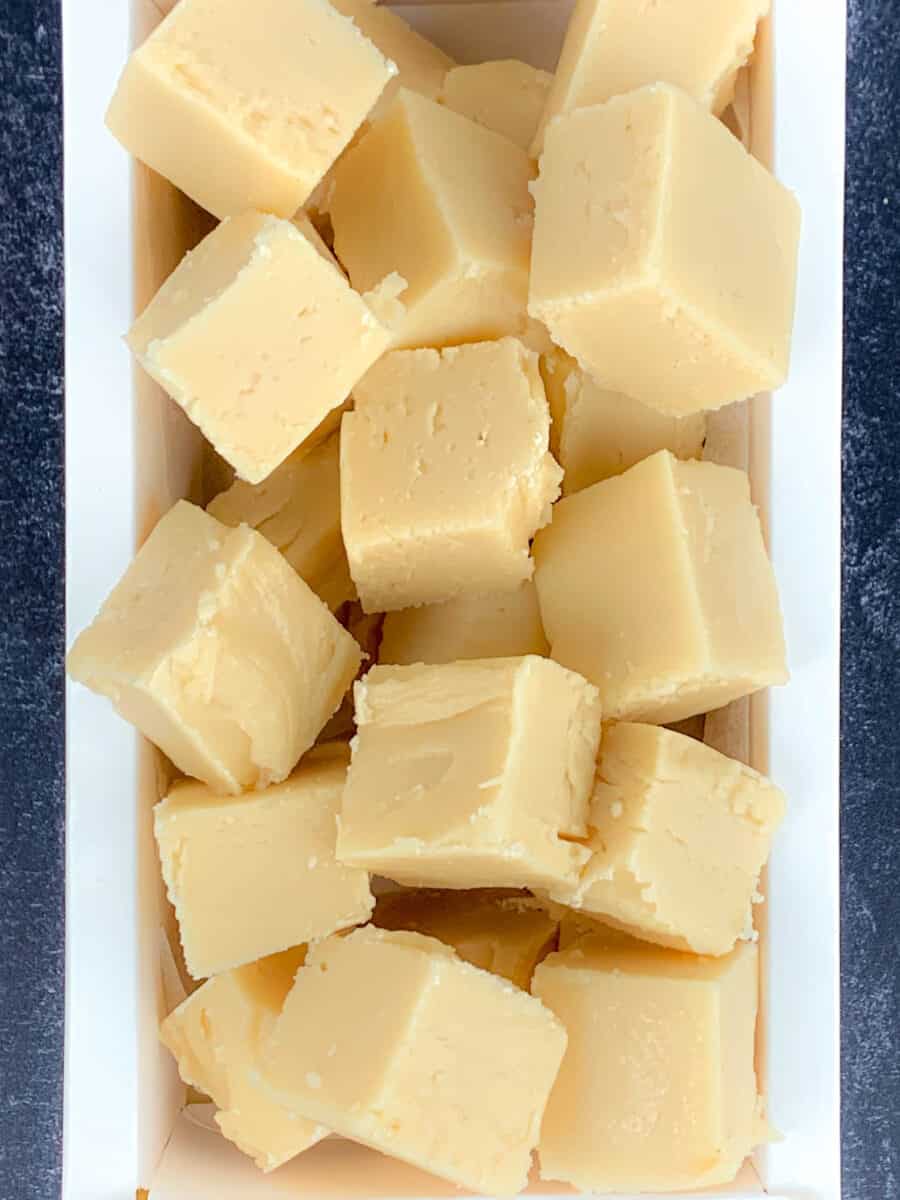
Homemade Old Fashioned Vanilla Fudge
Learning how to make classic old fashioned fudge can be a bit tricky, but it’s so much easier when you know what to expect and what to avoid.
Fudge immediately transports me to the Ocean City, New Jersey, boardwalk where I first tried ate old fashioned, classic vanilla fudge. It is always a must-have and must-eat tradition of visiting the boardwalk. This fudge — aka “real fudge,” so no microwaving — is gourmet quality and well worth the effort!
I learned that the trick to making smooth, creamy, perfectly dense fudge is to stir it at just the right time and temperature. We’ll discuss how to do that below.
This is NOT microwave fudge! It’s the real deal, using old-fashioned, classic techniques. Hope you enjoy making this (and eating it) as much as we do!
Key Ingredients
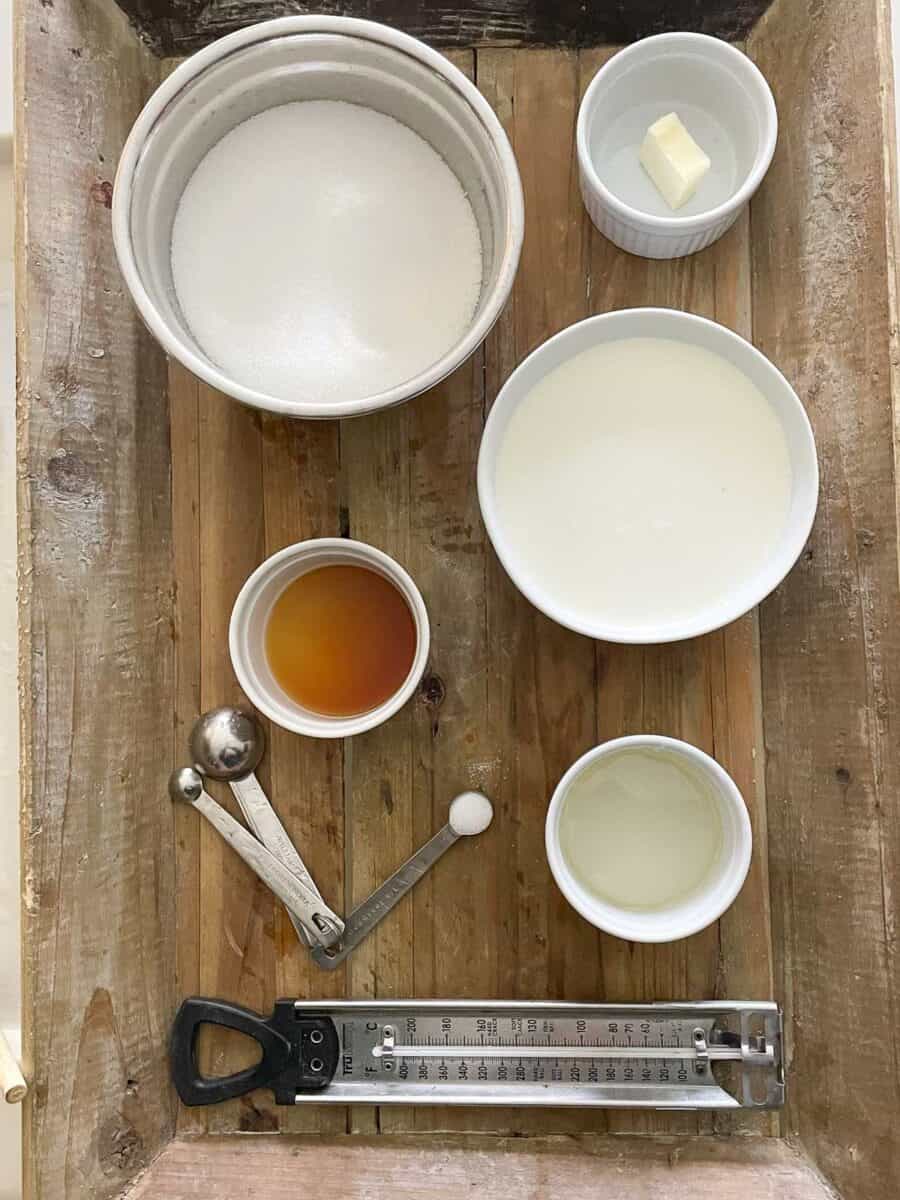
- Butter: As always with baking and candy making, opt for high-quality, grass-fed unsalted butter. Room temp is best, but not necesssary.
- Sugar: Fudge is candy, after all, so you will need a lot of sugar — 3 cups total!
- Heavy Cream: This will help us achieve a rich, thick, creamy vanilla fudge.
- Vanilla: Per usual, opt for pure vanilla extract over the imitation stuff.
- Corn Syrup: This not only helps further sweeten the fudge, but gets it to the consistency we’re looking for — velvety smooth.
- Salt: Something this sweet benefits from a little salt. 1/4 teaspoon does the trick!
Using Corn Syrup in Candy Making
According to Harold McGee, of “On Food and Cooking”, corn syrup is an especially effective agent used to prevent crystallization of your candy (this is when end up with grainy fudge). Your goal is to get super fine crystals and that’s why there is a precise process to follow. Corn syrup also provides body and chewiness according to McGee.
Some people may hesitate to use corn syrup because they confuse it with high fructose corn syrup, which is completely different. According to the Kitchn.com, “Both products are made from corn starch, but regular corn syrup is 100 percent glucose, while high-fructose corn syrup has had some of its glucose converted to fructose enzymatically.”
What Equipment You’ll Need To Make Traditional Vanilla Fudge
- Large sauce pan with heavy bottom that is triple of the size of the fudge mixture (the mixture will bubble up a lot when cooking)
- Digital thermometer (or candy thermometer) or a glass with cold water and a spoon for evaluating soft ball stage
- Wooden spoon for beating fudge
- Rimmed baking dish or pan lined with parchment paper and butter to hold finished fudge
- Pastry brush with small saucer of water (or you can oil/butter the sides of the saucepan, which may be easier)
- Sharp knife for cutting cooled fudge
Prep Your Work Station
It’s worth taking the extra few minutes to prepare your counter or work station so that you can work quickly and efficiently while making the fudge.
Time and temperature are key for this recipe, so anything you can do to free up your hands is crucial! Here’s what you’ll need to set up before making the vanilla fudge:
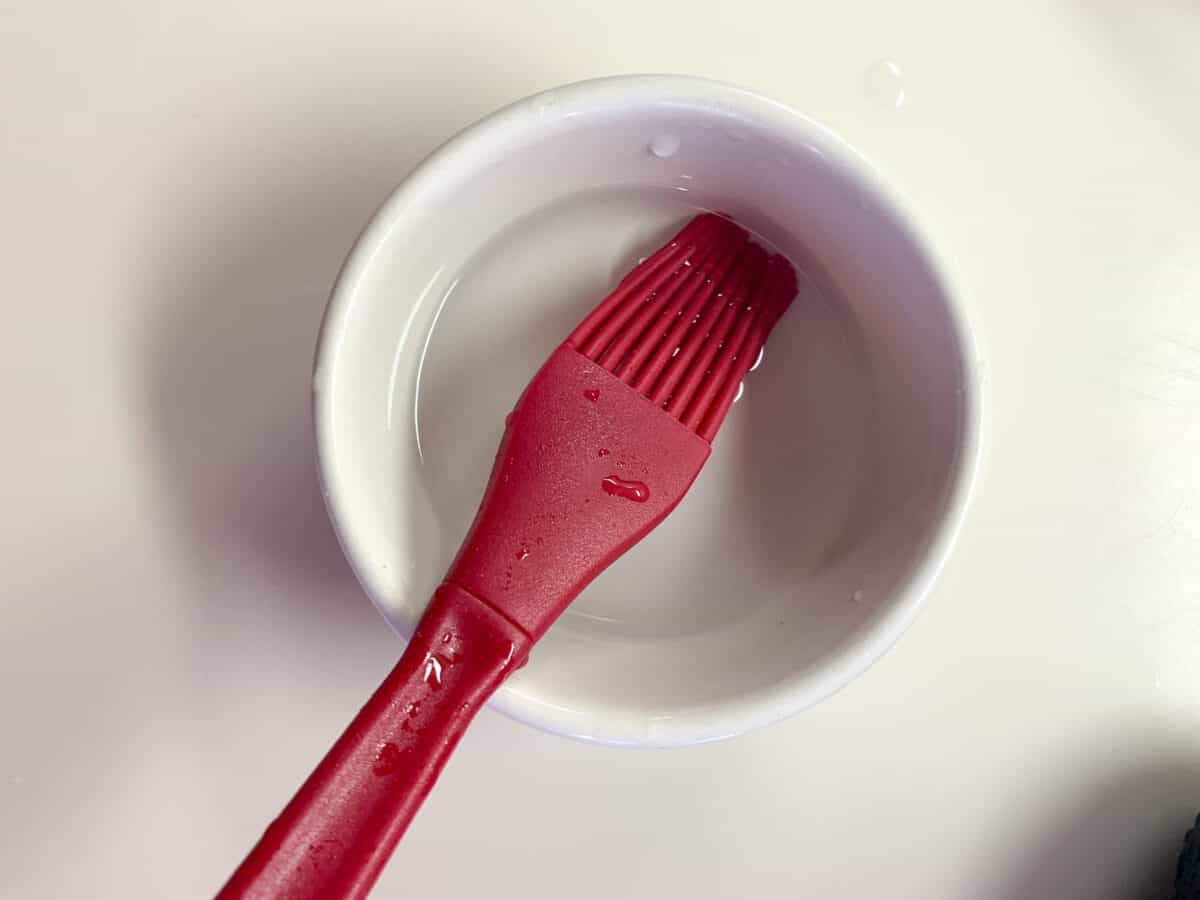
- A bowl with pastry brush and water to wash down sides of pot (OR you can butter or oil the sides of the pan instead of using the brush/water technique)
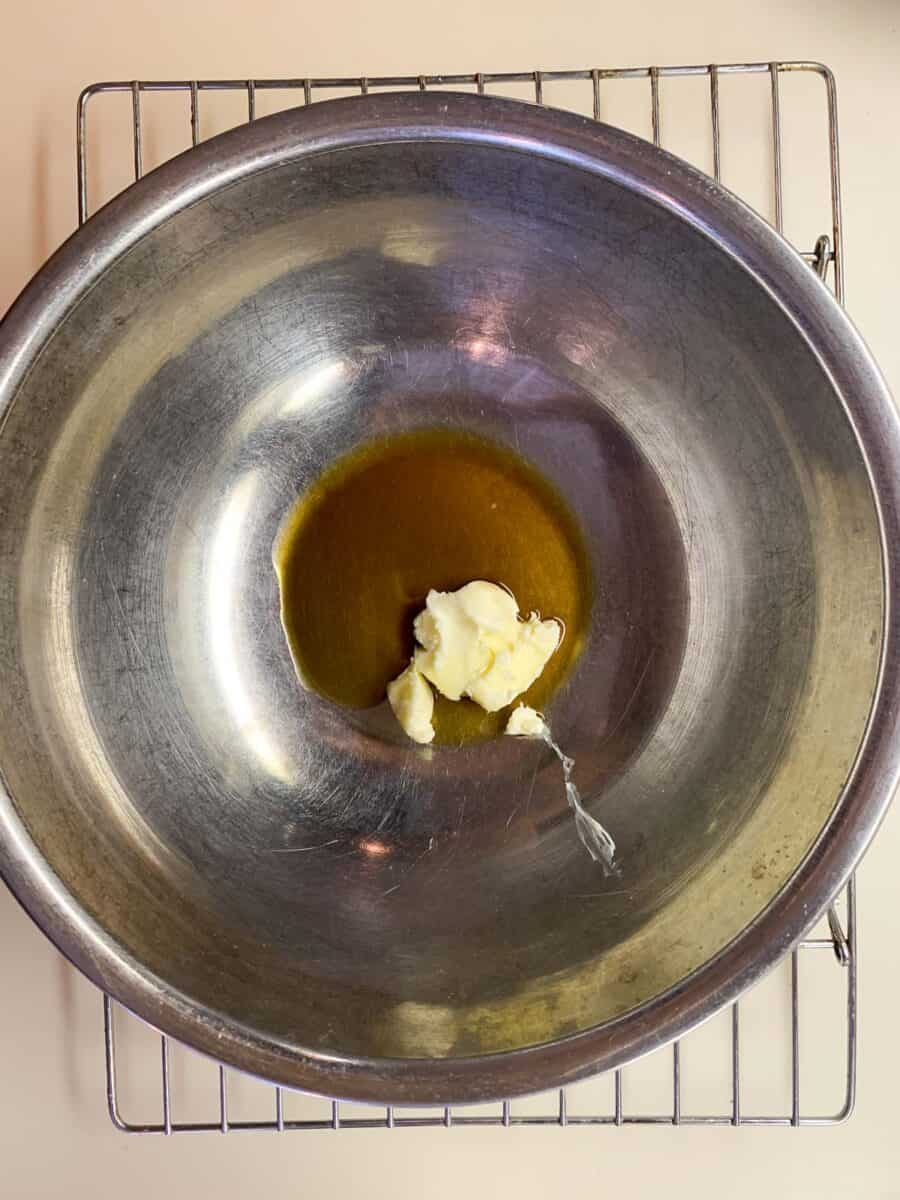
- A bowl on cooling rack with vanilla and butter (cooling rack helps it to cool down faster, instead you can opt to place the bowl in another bowl of iced water, just make sure the iced water doesn’t get into your fudge mixture!)
- A prepared pan to pour cooked fudge, which we will use to let the fudge set before cutting.
How To Make Traditional Homemade Fudge
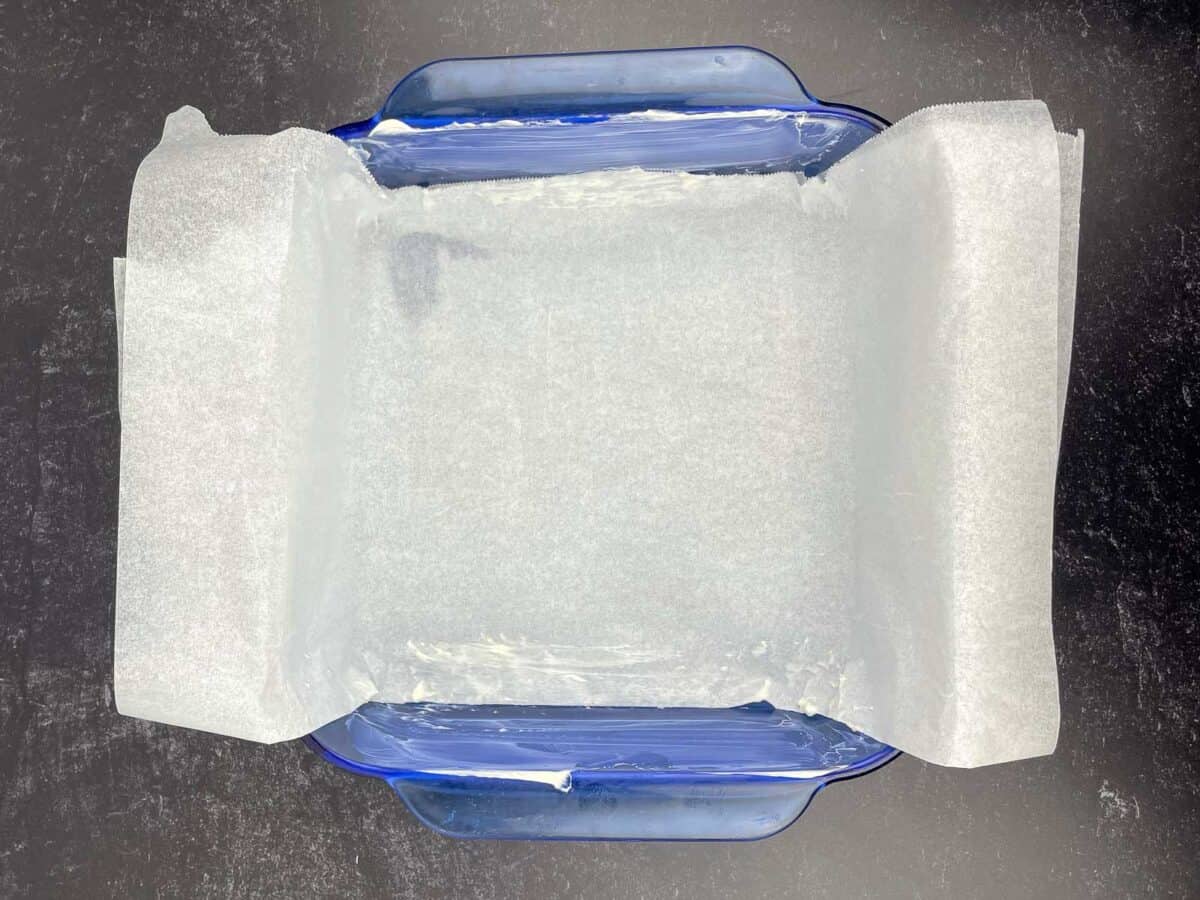
- Line an 8×8 pan with foil or parchment paper, then grease sides without foil or paper with butter and set aside.
- Add 1 tbsp of butter and 1 tbsp vanilla extract to a medium-sized, heatproof bowl over a wire rack. Set aside.
- After greasing the sides of a medium-sized, heavy-bottom pot, add sugar, heavy cream, corn syrup, and salt. Heat over medium-low heat, and stir to combine until the sugar has melted (about 10 to 15 minutes)
- Slowly raise heat until the mixture reaches a very gentle simmer, and insert a candy thermometer or digital thermometer. Continue to heat without stirring until the mixture reaches 238F, aka the soft ball stage.
- Some people like to wash down the sides of the pot while the mixture is cooking, to prevent crystallization (buttering sides of pot should prevent this).
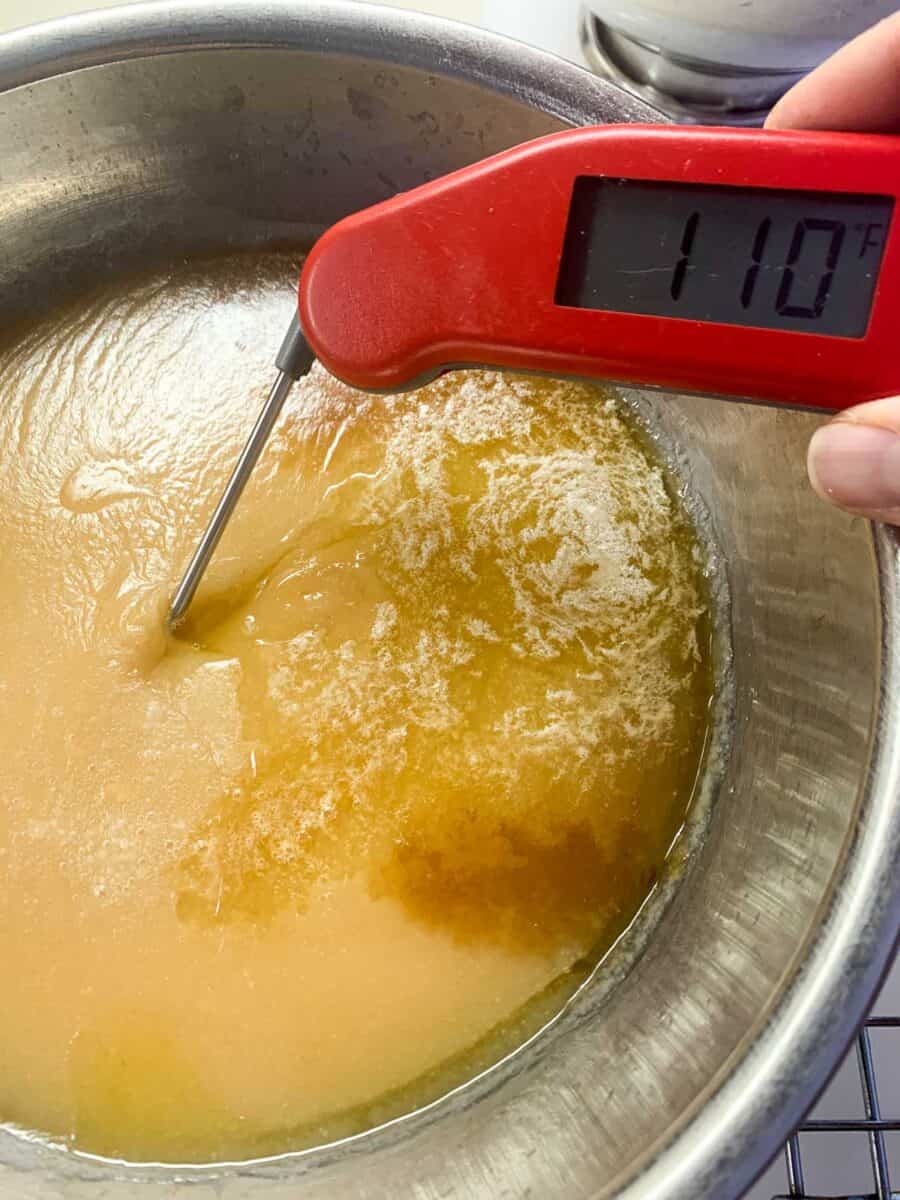
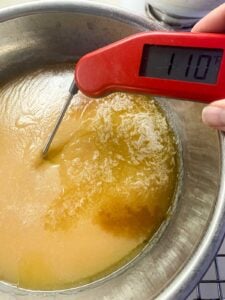
- When the mixture reaches the target temperature, immediately transfer the contents to the heatproof bowl containing the butter and vanilla. Do not scrape sides or bottom of pot. Allow the mixture to cool undisturbed until it reaches ~110F – do NOT stir.
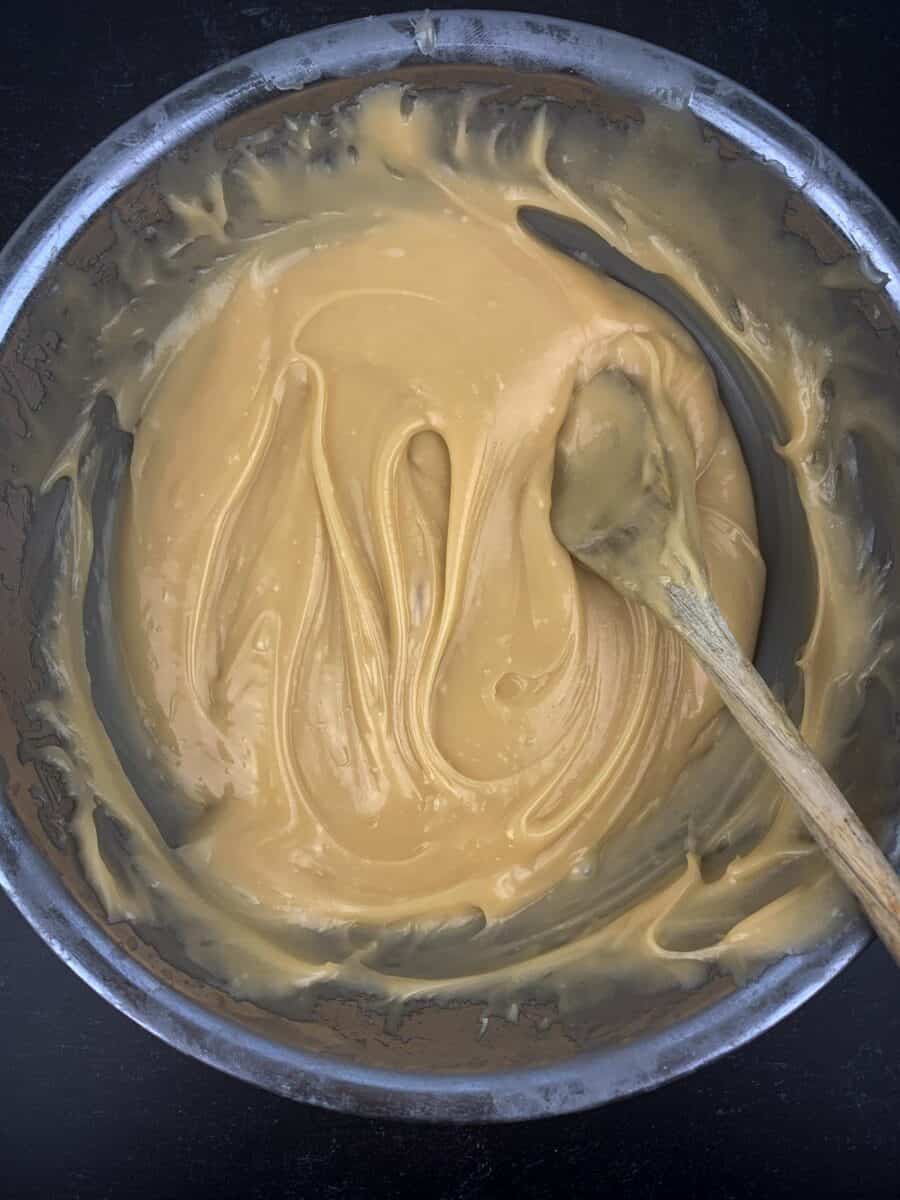
- After the mixtures has cooled, begin stirring with a wooden spoon until it thickens and loses its gloss (10 to 15 minutes)
- Immediately transfer to prepared pan, smooth top with spatula or back of a spoon, and let it rest on the counter for at least another hour before refrigerating.
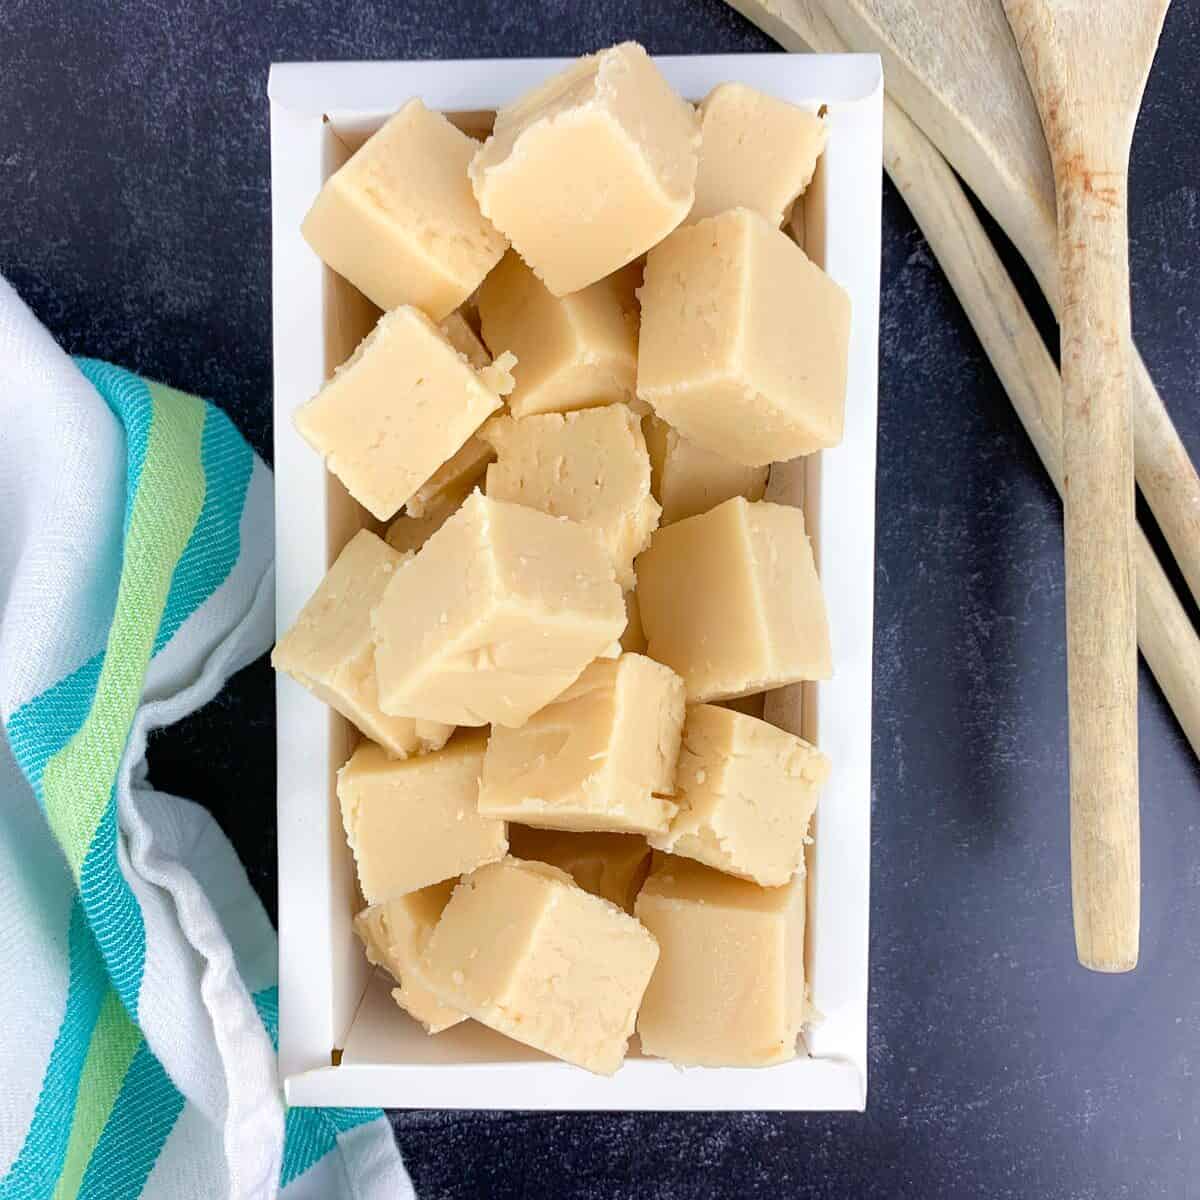
- Refrigerate for at least 8 hours or until set, remove paper or foil, and cut into 64 square pieces. Serve, and enjoy!
Making at High Altitude
If you are making candy at high altitudes, you will have to adjust for the temperatures for the soft ball stage and for testing you candy thermometer.
Water boils at lower temperatures at higher altitudes and so you will be cooking your candy for a shorter duration.
The best method to adjust for the differences in temperature is to conduct a Water Boil test.
To do this test, boil water and test the temperature using a candy thermometer after 5 minutes of boiling.
At sea level, water boils at 212F. The difference between your calculated boiling water temperature and the standard temperature of 212F (ie, sea level temperature of boiling water) will be your adjustment factor.
You can also estimate the difference by subtracting 1 degree for every 500 feet above sea level and 2 degrees F for every 1000 feet about sea level.
Read more about high altitude adjustments for candy making at the Spruce Eats.
What Does Fudge Look Like While It Cooks?
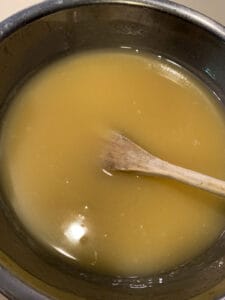
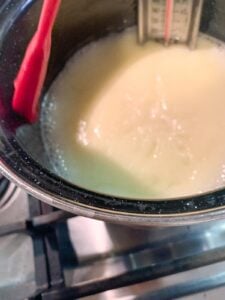
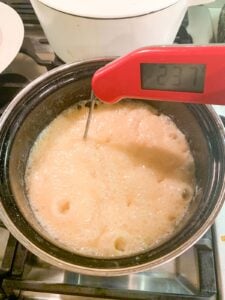
My biggest question when I began learning how to make old fashioned fudge was what will it look like as it reaches the completed cooking temperature? As you can see below, the fudge will lighten in color and resemble lava, producing big bubbles.
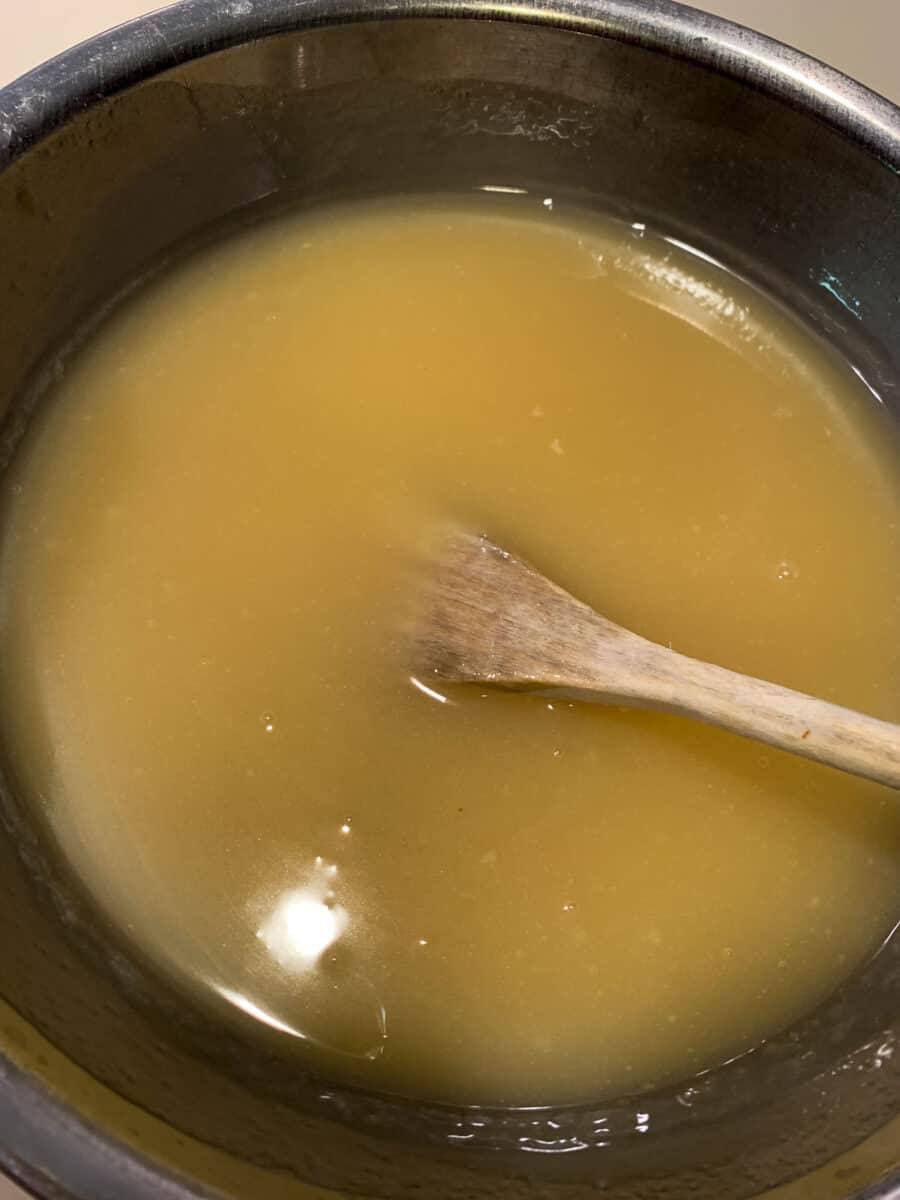
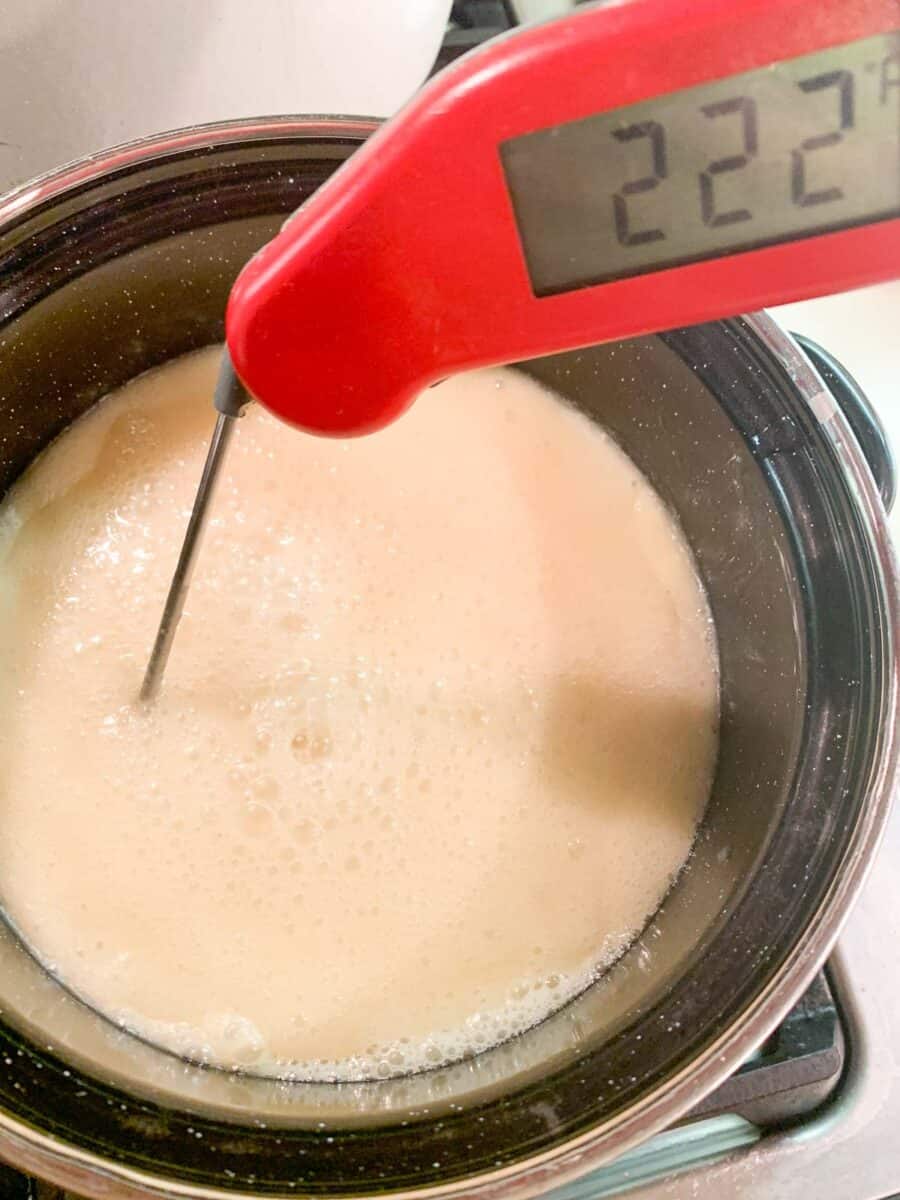
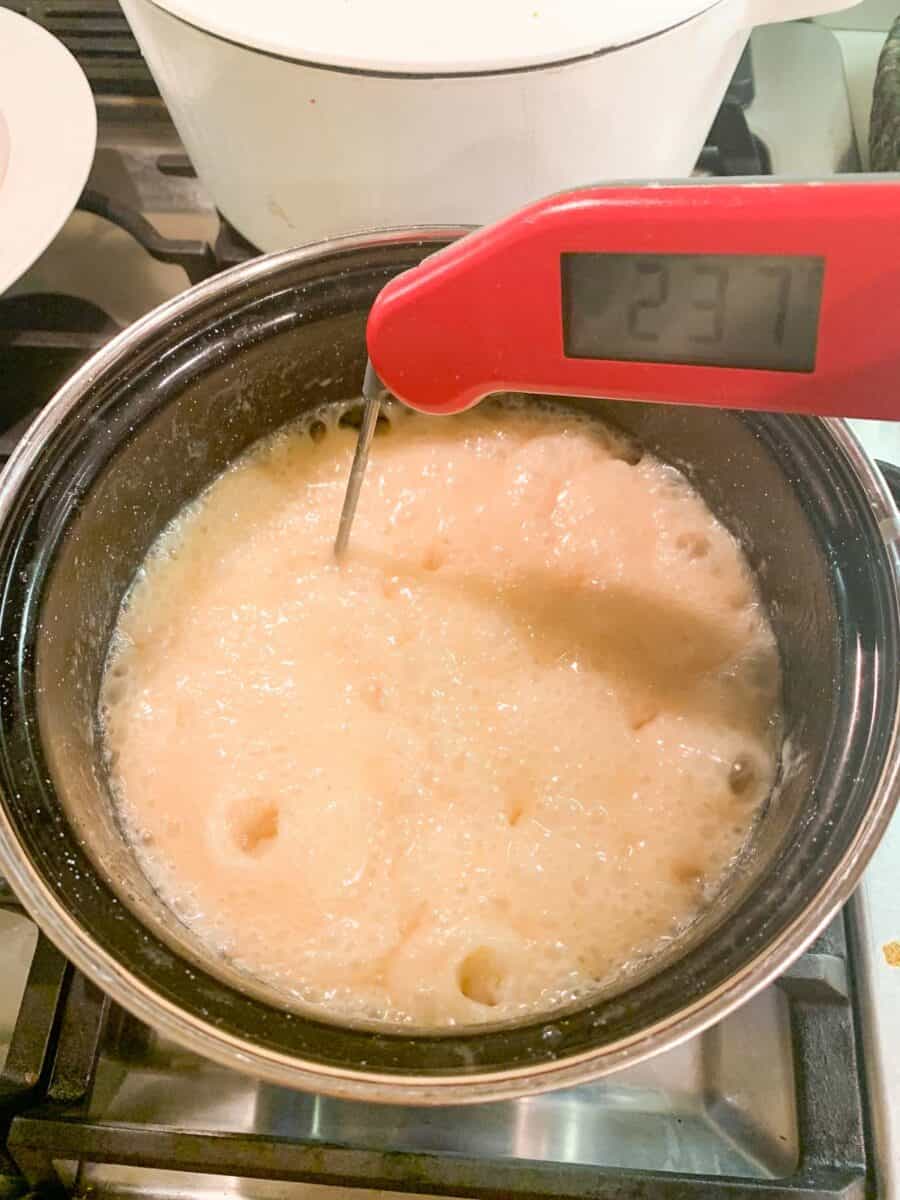
You can toggle the heat on your stove so that it doesn’t boil too aggressively, but it needs to be high enough that the temperature increases slowly.
My fudge finished cooking after 15 minutes on my stove when my thermometer reached 238 degrees. (not shown in photo), but you can cook it until it reaches 242 degrees if you want to cut down on the stirring/beating required in the final stage (not recommended for novice fudge makers).
I absolutely love my Thermapen digital thermometer. I did use a candy thermometer, but it was not accurate, and I had a batch of fudge that failed as a result. If you do use a candy thermometer, be sure to test it beforehand.
After making fudge a few times, I can now say that I feel confident in my confectionary abilities! For me, the key was finding a temperature “sweet spot” where the fudge simmered gently so to avoid burning.
It also helped to find a recipe that includes corn syrup because using corn syrup helps to prevent crystallization of the sugar, giving you a nice and smooth fudge.
Using the Cold Water Method to Test Fudge
You should aim to cook fudge until you reach the Soft Ball stage (235°F – 240°F / 118°C – 120°C). See above section for high altitude temperatures.
If you don’t have an accurate digital food thermometer, you can use the cold water test to see if fudge is finished. To do this, grab a bowl of very cold water (or ice water), and pour one teaspoon of cooked fudge into cold water.
It will form slightly thick threads and when remove the threads from the cold water you will be able to form them into a small ball by rolling between your thumb and forefinger. The ball will be soft and can be easily flattened.
How to Test a Candy Thermometer
You should test your thermometer at least once yearly. To do this, boil water, and insert your thermometer, making certain that the bulb of the thermometer is sufficiently in the water (not just in the bubbles) and not touching the bottom or sides of the pan. Note what the reading is after 5 minutes in the boiling water.
The temperature of boiling water should read 212F – if it does not, make sure to note the difference to compensate for your final desired cooking temperature when making the fudge. See above for high altitude temperatures.
To ensure an accurate reading make sure you are viewing the temperature reading from eye level and not from too far above as angles can screw the reading.
Why You Need To Beat the Cooled Fudge
When fudge cools down to 110 degrees, get ready to stir, stir, stir!
You may be wondering why you need to stir cooled fudge. The simple act of stirring forms long crystals of sugar and prevents small, granular crystals, which ultimately leads to grainy, sandy fudge. The longer and more plentiful the stirring, but finer the grain or crystals of your fudge.
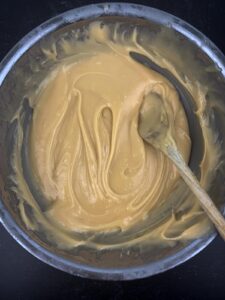
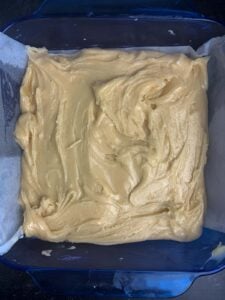
The first photo shows what it’ll look like before stirring (and after it has cooled enough to start beating), and the center photo shows what it should look like after it “loses its shine” and when it’s ready to pour into your dish.
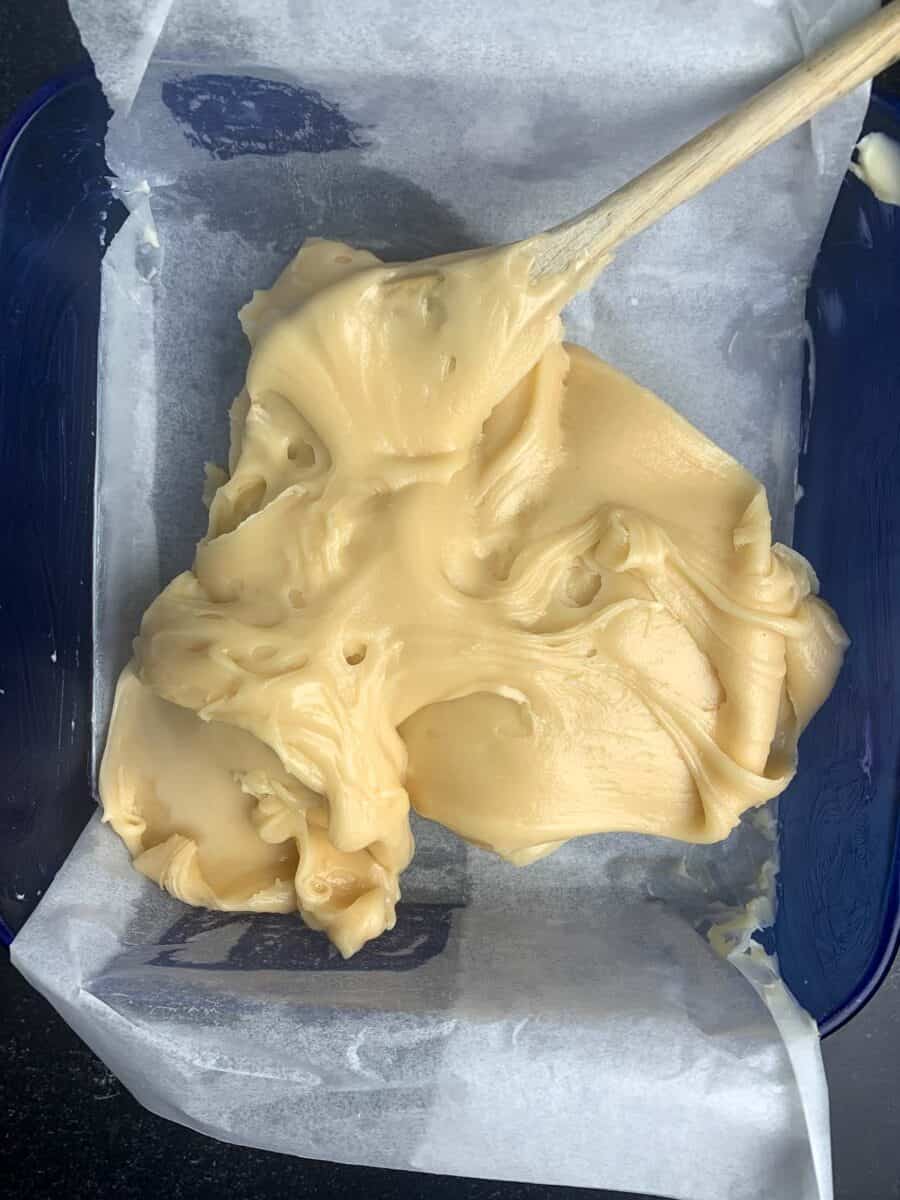
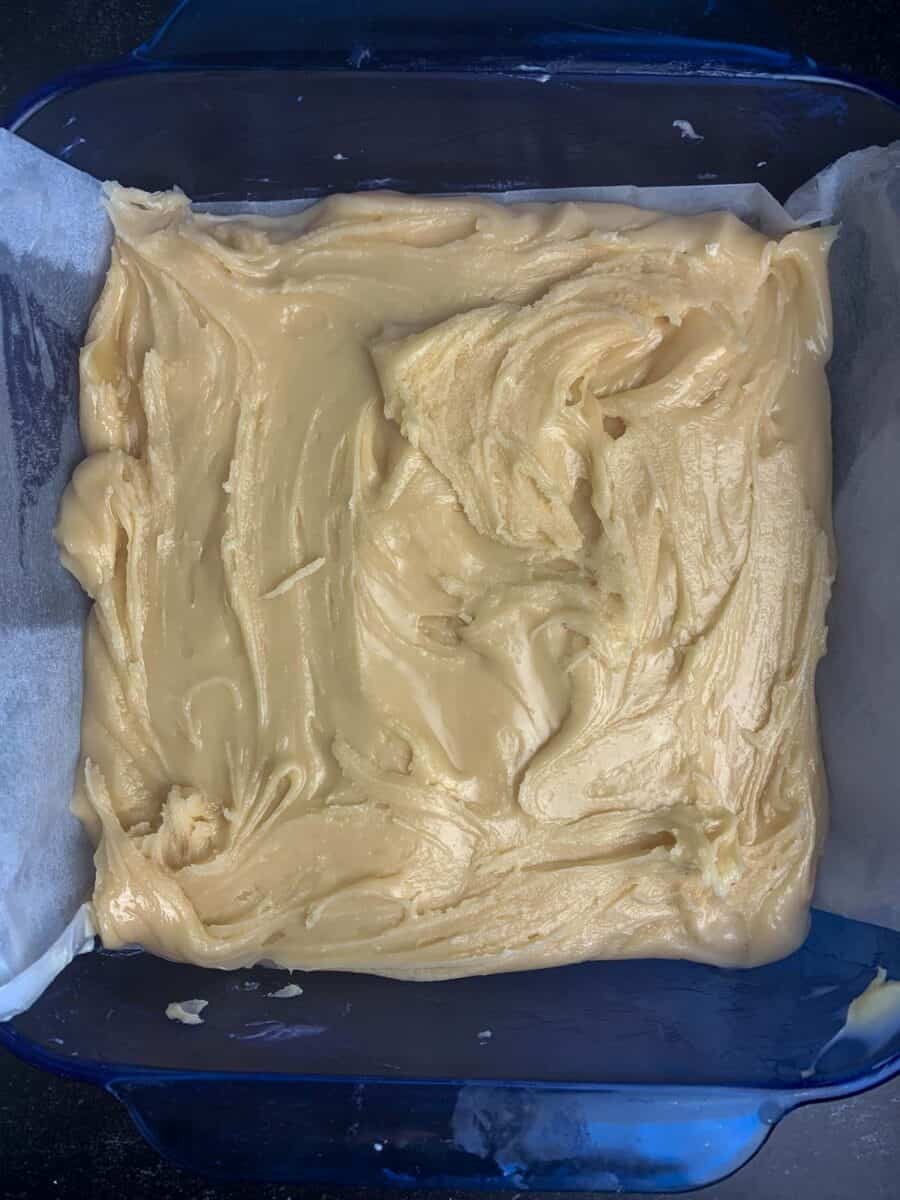
Pro Tip: You can opt to press down the swirls to flatten out the mixture, if you’d prefer. Pressing down the fudge will also remove any potential air bubbles.
How To Avoid Sugar Crystallization
After the fudge mixture is cooked, just one sugar crystal in your pot will ruin the candy. There are a few ways you can avoid this from happening:
- Wipe down sides of pot after the mixture comes to a boil to remove undissolved sugar (you can use a wet paper towel or a pastry brush with water)
- Instead of washing down sides of pot, some prefer to simply butter the sides of the pot to prevent sugar crystallization.
- Do not stir or place a spoon into the mixture after it comes to a boil (it might have sugar crystals on it)
- Do not stir or move the fudge after it is cooked (do not stir the butter or vanilla into it) until it is cooled to at last 115 degrees.
More Tips for How to Make the Best Homemade Fudge
- A digital thermometer is recommended for this recipe. A very common problem is the use of a candy thermometer that is not accurate.
- If you don’t have a thermometer, use a bowl or glass of ice water to test for “soft ball” stage. This occurs when you place a very small amount of fudge into the ice water, it should immediately form a semi-solid mass, like a tootsie roll that is super soft.
- If you are a beginner fudge maker, don’t make fudge when it’s humid or raining outside. It will affect the texture of your candy.
- Do NOT stir the mixture after the initial stage where you heat the mixture to incorporate the sugar, or you risk crystallization of the sugar.
- Use very sharp knife to cut to get clean edges
- Aside from heating the fudge to the correct temperature, the next hardest part is probably beating the fudge. For this reason, it is recommended to only make one batch of this recipe at a time. Beating the fudge should take about 10 minutes.
- Don’t scrape the pan when you are transferring the cooked fudge to the baking pan. otherwise, you risk the formation of sugar crystals (that will inevitably cause grainy, sandy fudge).
- Use a large enough pot so fudge won’t boil over (It grows to about 3 times the volume at some points during boiling) and heavy enough so the fudge won’t burn. The last thing you want is for this fudge to make a mess on your stove!
- Make sure the fudge is boiling and not merely simmering or else it will not reach the target temperature.
Common Questions for Making Homemade Fudge
- Why is my fudge grainy? Because you didn’t stir it enough at the correct temperature (115 degrees), so the sugar crystalized in small, short granules instead of long strands.
- Why didn’t my fudge set? You probably got impatient and didn’t let it cool long enough in the fridge, or you made it when it was humid outside. Patience is a virtue!
- Why do I have to wash down the sides of my pan when making fudge? This prevents sugar crystallization, aka sandy fudge. As mentioned earlier, you can butter the sides of your pot instead.
- How to make fudge without a candy thermometer? You can use a bowl or glass of ice water to test for “soft ball” stage. When you place a very small amount of fudge into the ice water, it should immediately form a semi-solid, super soft mass.
How to Store and Freeze Homemade Fudge
- Store cooked fudge in an airtight container in the refrigerator up to 3 weeks.
- Freeze cooked and cooled fudge in an airtight, freezer-safe container for up to 3 months. Thaw frozen fudge by placing it overnight in the refrigerator.
- Cut the fudge into pieces before storing, and separate any layers with waxed paper or plastic wrap.
More Recipes To Try
If you tried this recipe, please leave a 🌟 star rating and let me know how it went in the 📝 comments below! SUBSCRIBE for more recipes.
📖 Recipe
Classic Old Fashioned Vanilla Fudge
Equipment
- Candy Thermometer or Digital Thermometer (digital preferred; recommend testing in boiling water should register 212F)
Ingredients
- 3 cups (600 g) granulated sugar
- 1.5 cups (357 g) heavy cream also called "heavy whipping cream"
- 1/4 cup (85.25 g) light corn syrup
- 1/4 teaspoon salt
For the Mixing Bowl
- 1 tablespoon (14.79 g) butter plus more for greasing pan and for greasing pot
- 1 tablespoon vanilla
Optional Add-Ins (Total of 1 Cup)
- Nuts (almonds, walnuts, pecans, etc)
- Mini marshmallows
- Chopped candies
- Coconut
- Chopped maraschino cherries make sure to dry out as much as possible.
Instructions
- Line an 8×8 pan with foil or parchment paper, then grease sides that are not covered by the paper or foil, and set aside (you can also grease the entire pan which helps the parchment paper stick)
- Set a medium sized heatproof bowl over a wire rack, and add 1 tablespoon of butter and vanilla extract. Set aside
- Set medium sized heavy-bottom pot over the stove and add sugar, heavy cream, corn syrup, and salt.

- Insert a candy or digital thermometer to monitor the temperature (see NOTE 1 below).
- Heat mixture over medium-low heat, and stir to combine until the sugar has melted. During the first 5 minutes or so, wash down the sides of the pot with a damp pastry brush to prevent sugar crystals from forming.

- You can opt to grease the sides of the pot instead of using the pastry brush to wash the sides.
- Once the mixture is homogenous and the sugar has melted, stop stirring and remove the spoon from the mixture! Otherwise, you can end up with grainy fudge.
- Raise heat until the mixture reaches a very gentle simmer.
- Continue to heat without stirring (no spoon!) until the mixture reaches 238F, aka the soft ball stage.

- For high altitude, subtract 2 degrees F for every 1000 feet about sea level (or 1 degree for every 500 feet about sea level) to determine the soft ball stage temperature.
- If you don't have a thermometer, use a bowl of ice cold water and once your fudge looks like bubbling lava, drop a teaspoon full into the cold water. Remove the fudge from the water, and squeeze it between your fingers – If it balls up into a soft ball, your fudge is ready.
- When the mixture reaches the target temperature, immediately transfer the contents to the heatproof bowl containing the butter and vanilla. Do not use a spoon to transfer and do not scrape sides or bottom of pot.
- Allow the mixture to cool undisturbed until it reaches 110F – do NOT stir while it is cooling down.

- After the mixtures has cooled (about 1.5 hours), begin stirring with a wooden spoon until it thickens and loses its gloss (10 to 15 minutes). The more continuous and plentiful the stirring, the more fine grained and smooth your fudge will be (yes, I take a few breaks!)

- Immediately transfer to prepared pan using a wooden spoon or spatula, smooth top, and let it rest on the counter for at least another hour before refrigerating.

- Refrigerate for at least 8 hours or until set, remove paper or foil, and cut into 64 square pieces.
To Store
- Store cooked fudge in an airtight container in the refrigerator up to 3 weeks. Freeze cooked and cooled fudge in an airtight, freezer-safe container for up to 3 months. Thaw frozen fudge by placing it overnight in the refrigerator.Cut the fudge into pieces before storing, and separate any layers with waxed paper or plastic wrap.
Video
Notes
- A digital thermometer is recommended for this recipe. A very common problem is the use of a candy thermometer that is not accurate.
- If you don’t have a thermometer, use a bowl or glass of ice water to test for “soft ball” stage. This occurs when you place a very small amount of fudge into the ice water, it should immediately form a semi-solid mass, like a tootsie roll that is super soft.
- If you are a beginner fudge maker, don’t make fudge when it’s humid or raining outside. It will affect the texture of your candy.
- Do NOT stir the mixture after the initial stage where you heat the mixture to incorporate the sugar, or you risk crystallization of the sugar.
- Use very sharp knife to cut to get clean edges
- Aside from heating the fudge to the correct temperature, the next hardest part is probably beating the fudge. For this reason, it is recommended to only make one batch of this recipe at a time. Beating the fudge should take about 10 minutes.
- Don’t scrape the pan when you are transferring the cooked fudge to the baking pan. otherwise, you risk the formation of sugar crystals (that will inevitably cause grainy, sandy fudge).
- Use a large enough pot so fudge won’t boil over (It grows to about 3 times the volume at some points during boiling) and heavy enough so the fudge won’t burn. The last thing you want is for this fudge to make a mess on your stove!
- Make sure the fudge is boiling and not merely simmering or else it will not reach the target temperature.

First time making this and it turned out great! I love the texture. It took about 15 minutes to reach 138 on the stove and about two hours to come down to 110-115. I put the hot mixture into my kitchen aid mixture to cool and used the paddle attachment on speed 2 for about 10 – 12 minutes to lose the shine. It set up well after two hours (to have a test bite!). I like that this doesn’t use a lot of expensive ingredients (ie, a cup of butter). I’ll definitely be making this again. Thanks for all the detail and pictures.
I subbed half of the ingredients because I didn’t have them but was craving fudge (yay pregnancy) and it STILL turned out great. Can’t wait to try it with the proper ingredients at some point haha.
Whoops, didn’t mean to reply to a comment, sorry!
I got a crazy idea I wanted to make a horchata flavored fudge but couldn’t find any recipes. I found this one and thought I’d see if I could make it based off this recipe! I am happy to say it came out way better than I expected! The directions really help so you don’t make any mistakes in the fine details. I admittedly was worried that once I went to whip up the mixture after it got to 110 I was afraid it had been ruined because there was what seemed to be a crystallized layer on the top. I could not mix it by hand so I had to throw it in my kitchen aid. I beat it for quite a while until it was light and dull in color. This fudge is so smooth and creamy and no marshmallow fluff! This is the real deal fudge recipe! 10/10 recommended but follow directions closely! This ones going in the recipe box! 💛
Thank you for a very easy-to-follow fudge recipe with tips. My last 2 attempts at fudge (with different recipes) have been an absolute disaster – but this vanilla fudge turned out great! For fudge novices like me, I would just add that when you’re stirring at the end, it seems like nothing is happening (and, if you’re like me, you’ll think: great! Another fudge failure!) but keep stirring (and stirring…)!!!! Literally all-of-a-sudden, my fudge wasn’t shiny and was much firmer and ready to put in the pan. Looking forward to serving this as a special Christmas treat this week!
So true! This is an important point for sure!
I’m planning to try this recipe this week. What I want to know is…. will it really take 1.5 hours to cool to 110 degrees? I’m just wondering for timing. Most recipes want me to start beating right away, so I’ve never considered how long it was taking to cool down. Busy week ahead! Thanks!
Hi Teresa, It also depends on temperature of your kitchen. The best way is to use a digital thermometer if you have one..
Sold at italian philadelphian. Sadly I’m not italian but i had plenty of italian friends and got to do the seven fish dinners for holidays and sunday brunch and dinner. Oh man can italians cook! Then someone mentioned LAURAS!? im in va now..who knows if i’ll make it back to ocean city ever, I’m ecstatic to make this.
Amazing! I don’t usually like fudge, but i loved this one. Everyone from my husband to everyone at work agreed. My husband complained when I took some to work because I wanted some other opinions. One girl said the texture was so wonderful, almost like a truffle. Another said she couldn’t believe I made it without marshmallow cream. I never have marshmallow cream on hand, but always cream. I used your recipe plus 1/3c of cocoa powder to make a chocolate fudge. It was the creamiest fudge, absolutely delicious! Thank you for the recipe and detailed instructions.
That’s great!! I’m so glad you liked it and thanks for the tip on making it chocolate!
Okay, I made a mistake. I put the vanilla in the pot in the beginning so my fudge is more caramel colored. Everything else seemed fine so far. The mixture after it cooled seemed more like a sugar daddy consistency and yours looks more soft. It did take the shape willingly when i put it in the pan. Its resting for an hour and then into the fridge it goes. Gonnna try and make it the correct way next week so I can get the white vanilla color but it tastes good when i took it off the spoon & everything else went well so far. Gonna get a candy thermometer so I dont wing it this time. I did use the cold water way bcuz I do candy apple candy that way. Walmart was just out of the thermometer I wanted. Hope its good after he 8 hrs in the fridge. Thank you!
Okay, I made a mistake. I put the vanilla in the pot in the beginning so my fudge is more caramel colored. Everything else seemed fine so far. The mixture after it cooled seemed more like a sugar daddy consistency and yours looks more soft. It did take the shape willingly when i put it in the pan. Its resting for an hour and then into the fridge it goes. Gonnna try and make it the correct way next week so I can get the white vanilla color but it tastes good when i took it off the spoon & everything else went well so far. Gonna get a candy thermometer so I dont wing it this time. I did use the cold water way bcuz I do candy apple candy that way. Walmart was just out of the thermometer I wanted. Hope its good after he 8 hrs in the fridge. Thank you!
I was so excited to try it that I didn’t read the last step of whipping it up and it turned into a caramel. Needless to say, I will be trying it again the right way. It still tasted great!
I understand your reason for using syrup but I am looking for a recipe that doesn’t. Does it work just leaving that out?
I haven’t tried it without so I can’t really say – sorry 🙁
I have tried to make vanilla fudge in the past and always ended up with a clumpy mess with burned brown bits. These instructions were very clear and easy to follow. It made all the difference. I added maple flavoring and pecans and it was excellent- Thank you Marie for this recipe! Definitely a keeper!
That’s great! So glad you like it and thanks for the review Lora 😃
I’m so excited to find this. It looks close to what my dad used to make and since we are in 2020 and no place to go this is my thearpy.
Fudge is very very tasty. I was just wondering though. Is this fudge a hard fudge or slightly softer.
It is somewhere in between…not too hard and not too soft. I’d imagine if it’s too hard then perhaps mixture cooked too long and if too soft vice versa
Then it must be just right :). I made a chocolate and maple fudge but they are quite a hard fudge. The kind you have to cut at room temp or it crumbles. This one is not like that. Many Thanks again for the wonderful recipe. It’s a keeper.
Just finished spreading the fudge in the dish. Now, to wait an hour before refrigerating……I did lick the spoon. So, in place of vanilla, I used a cream cheese bakery emulsion. So far, amazing! I love how beautifully white it is, too. I did spread this on Graham crackers, which I do not recommend, as I read on another recipe. I think the best way would be to put the crackers on top of the fudge and flip it once set and that’s that. Anyway, my peanut butter fudge is almost ready, so gotta go! Thanks for sharing this!
I forgot to beat the fudge when it was at 120 degrees can I still do it now
Not sure I’m guessing no but maybe this article can help
I’m so glad I finally found a Jersey shore fudge recipe. This is 100% spot on if you follow the directions exactly. I’m writing this down in three places and sharing with family so it doesn’t get lost. Thank you for figuring out the little details to make it work. This is also going to save me a ton of money making it myself.
Wow. I haven’t made fudge in years and was anticipating a struggle but this was an awesome batch. Probably the best I’ve ever made. Your directions were spot on. Excellent recipe.