Ball Canning’s Giardiniera
This post may contain affiliate links. For more information, please see our disclosure policy.
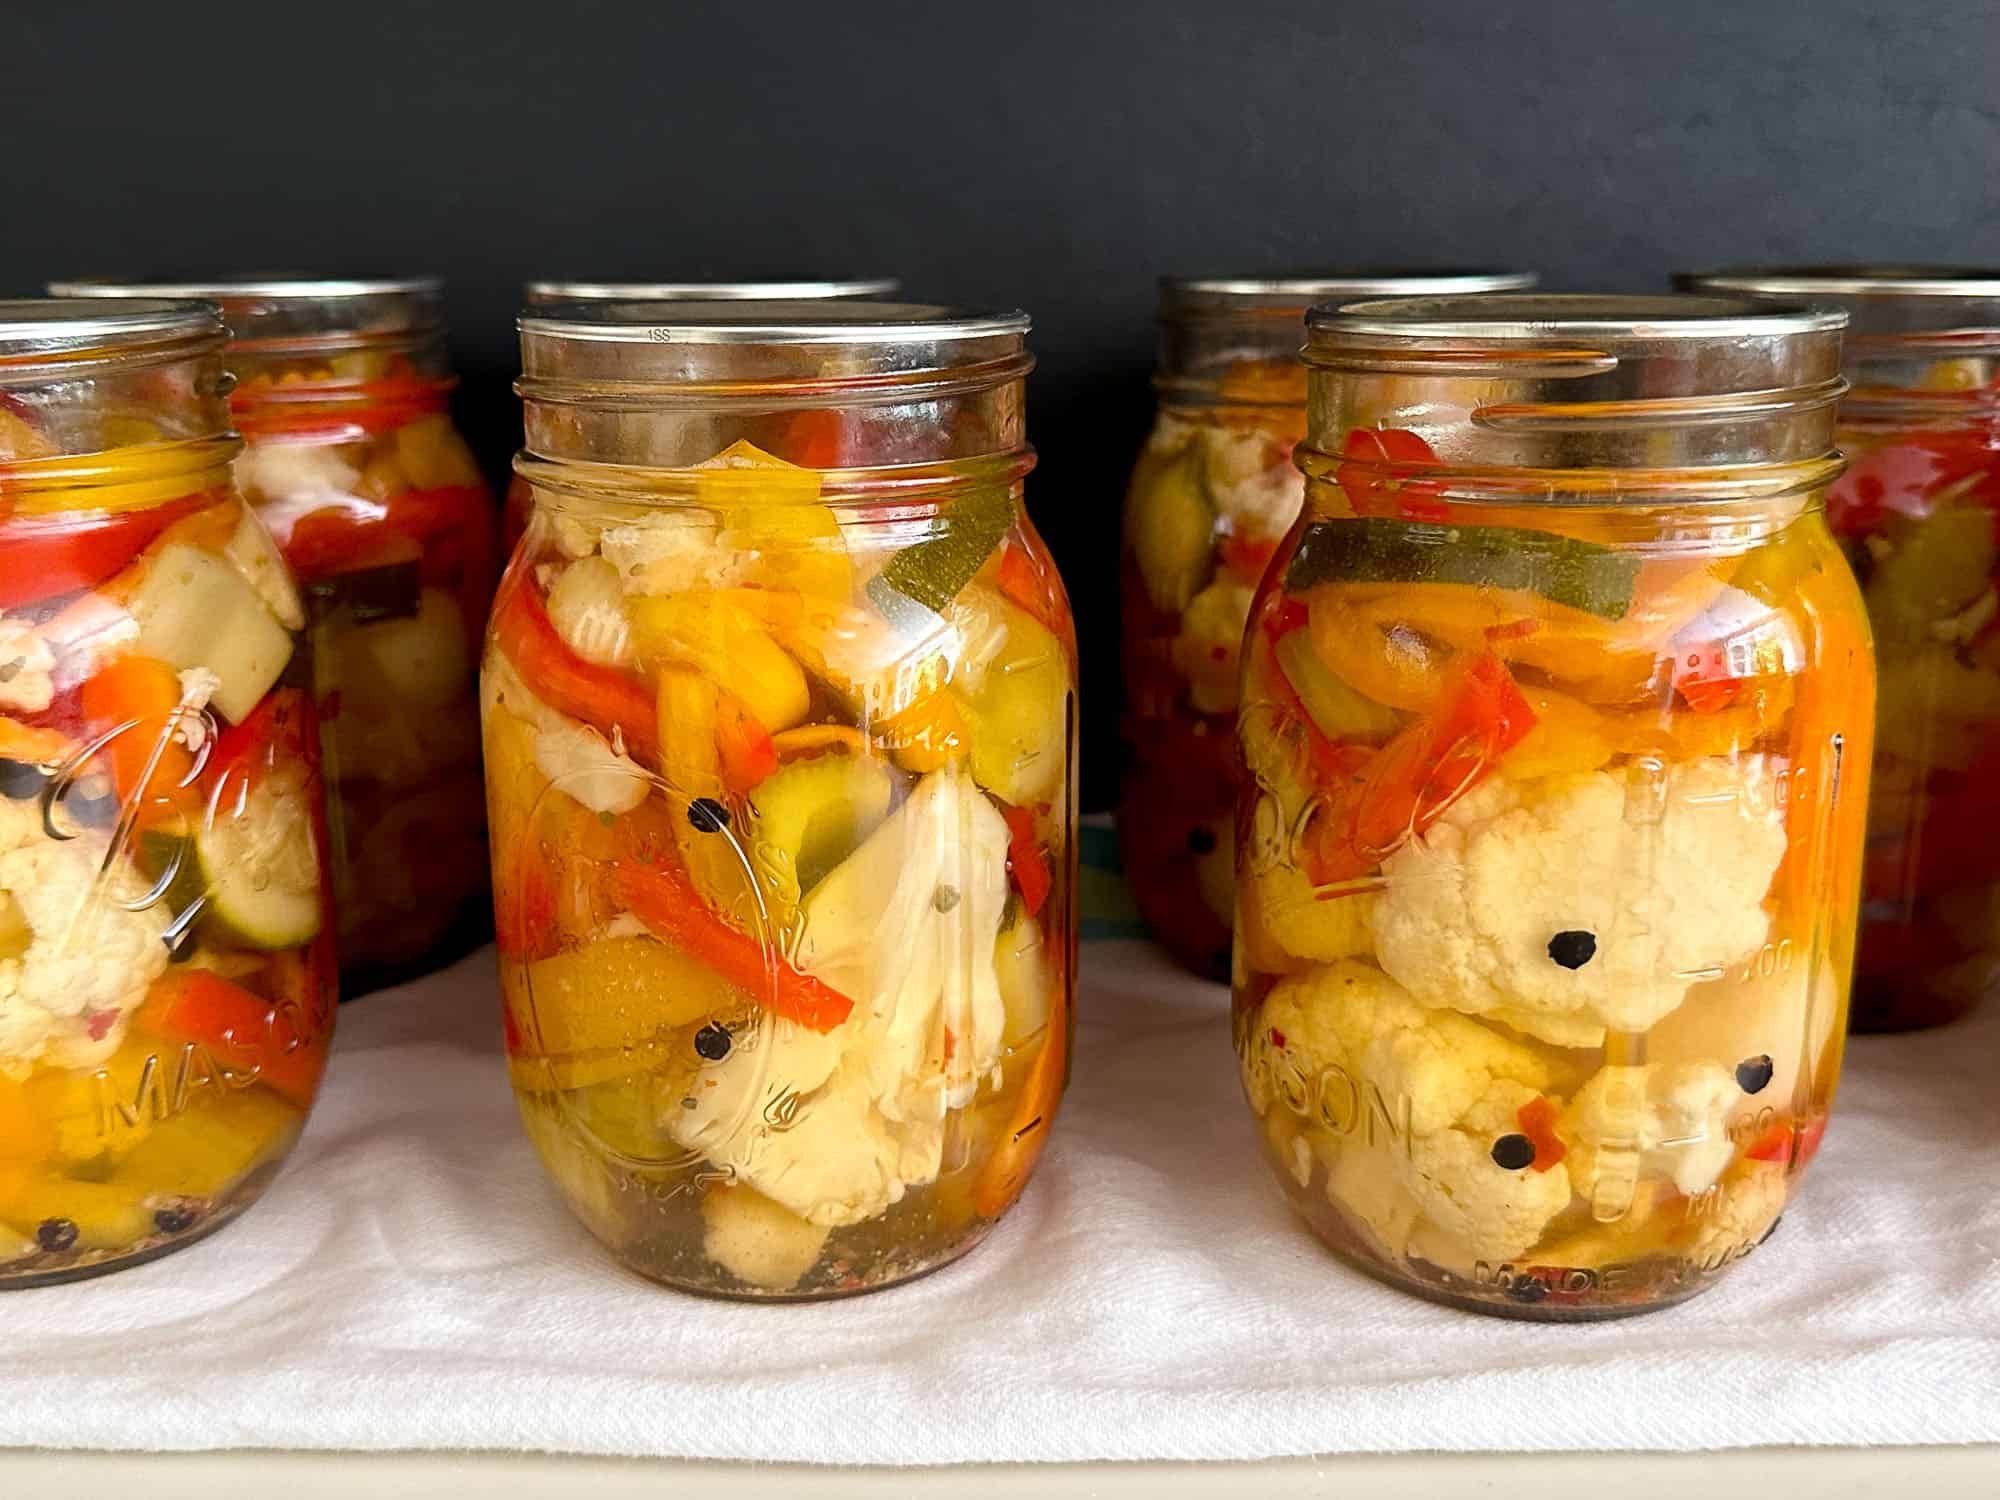
Giardiniera is a versatile Italian condiment that consists of pickled vegetables, typically a mix of cauliflower, carrots, bell peppers, celery, and sometimes onions. As a condiment, it is commonly used to add flavor and texture to sandwiches and other dishes that enhances taste.
Additionally, giardiniera can be served as a standalone side dish or as part of an antipasto platter, where it is enjoyed alongside other vegetables, cheeses, cured meats, and bread.
In This Post
Why Make Giardiniera?
Burst of Flavor: Giardiniera brings an explosion of flavors to your dishes. The combination of tangy, pickled vegetables, aromatic herbs, and spices adds a zingy, refreshing note that complements a wide range of dishes.
Versatility: Giardiniera is incredibly versatile, serving as a condiment, a side dish, or even a standalone snack. It can transform your sandwiches, pizzas, tacos, and salads into culinary masterpieces. As a side dish, it adds color, crunch, and vibrant flavors to your meals.
Long-lasting Enjoyment: By making giardiniera, you can create a batch that will keep well in the refrigerator for weeks or even months or you if you opt to can in a hot water bath, it will last much longer. This means you’ll have a flavorful condiment or side dish ready to elevate your meals at any time.
Culinary Challenge: Making giardiniera is not just about the end result; it’s also about the journey. The process of preparing and pickling the vegetables can be a fun and fulfilling culinary adventure. You’ll get hands-on experience, learn new techniques, and gain a sense of satisfaction from creating something delicious and unique.
Ingredients
The most common vegetables used in Italian giardiniera can vary slightly depending on the region and personal preferences. This recipe by Ball includes:
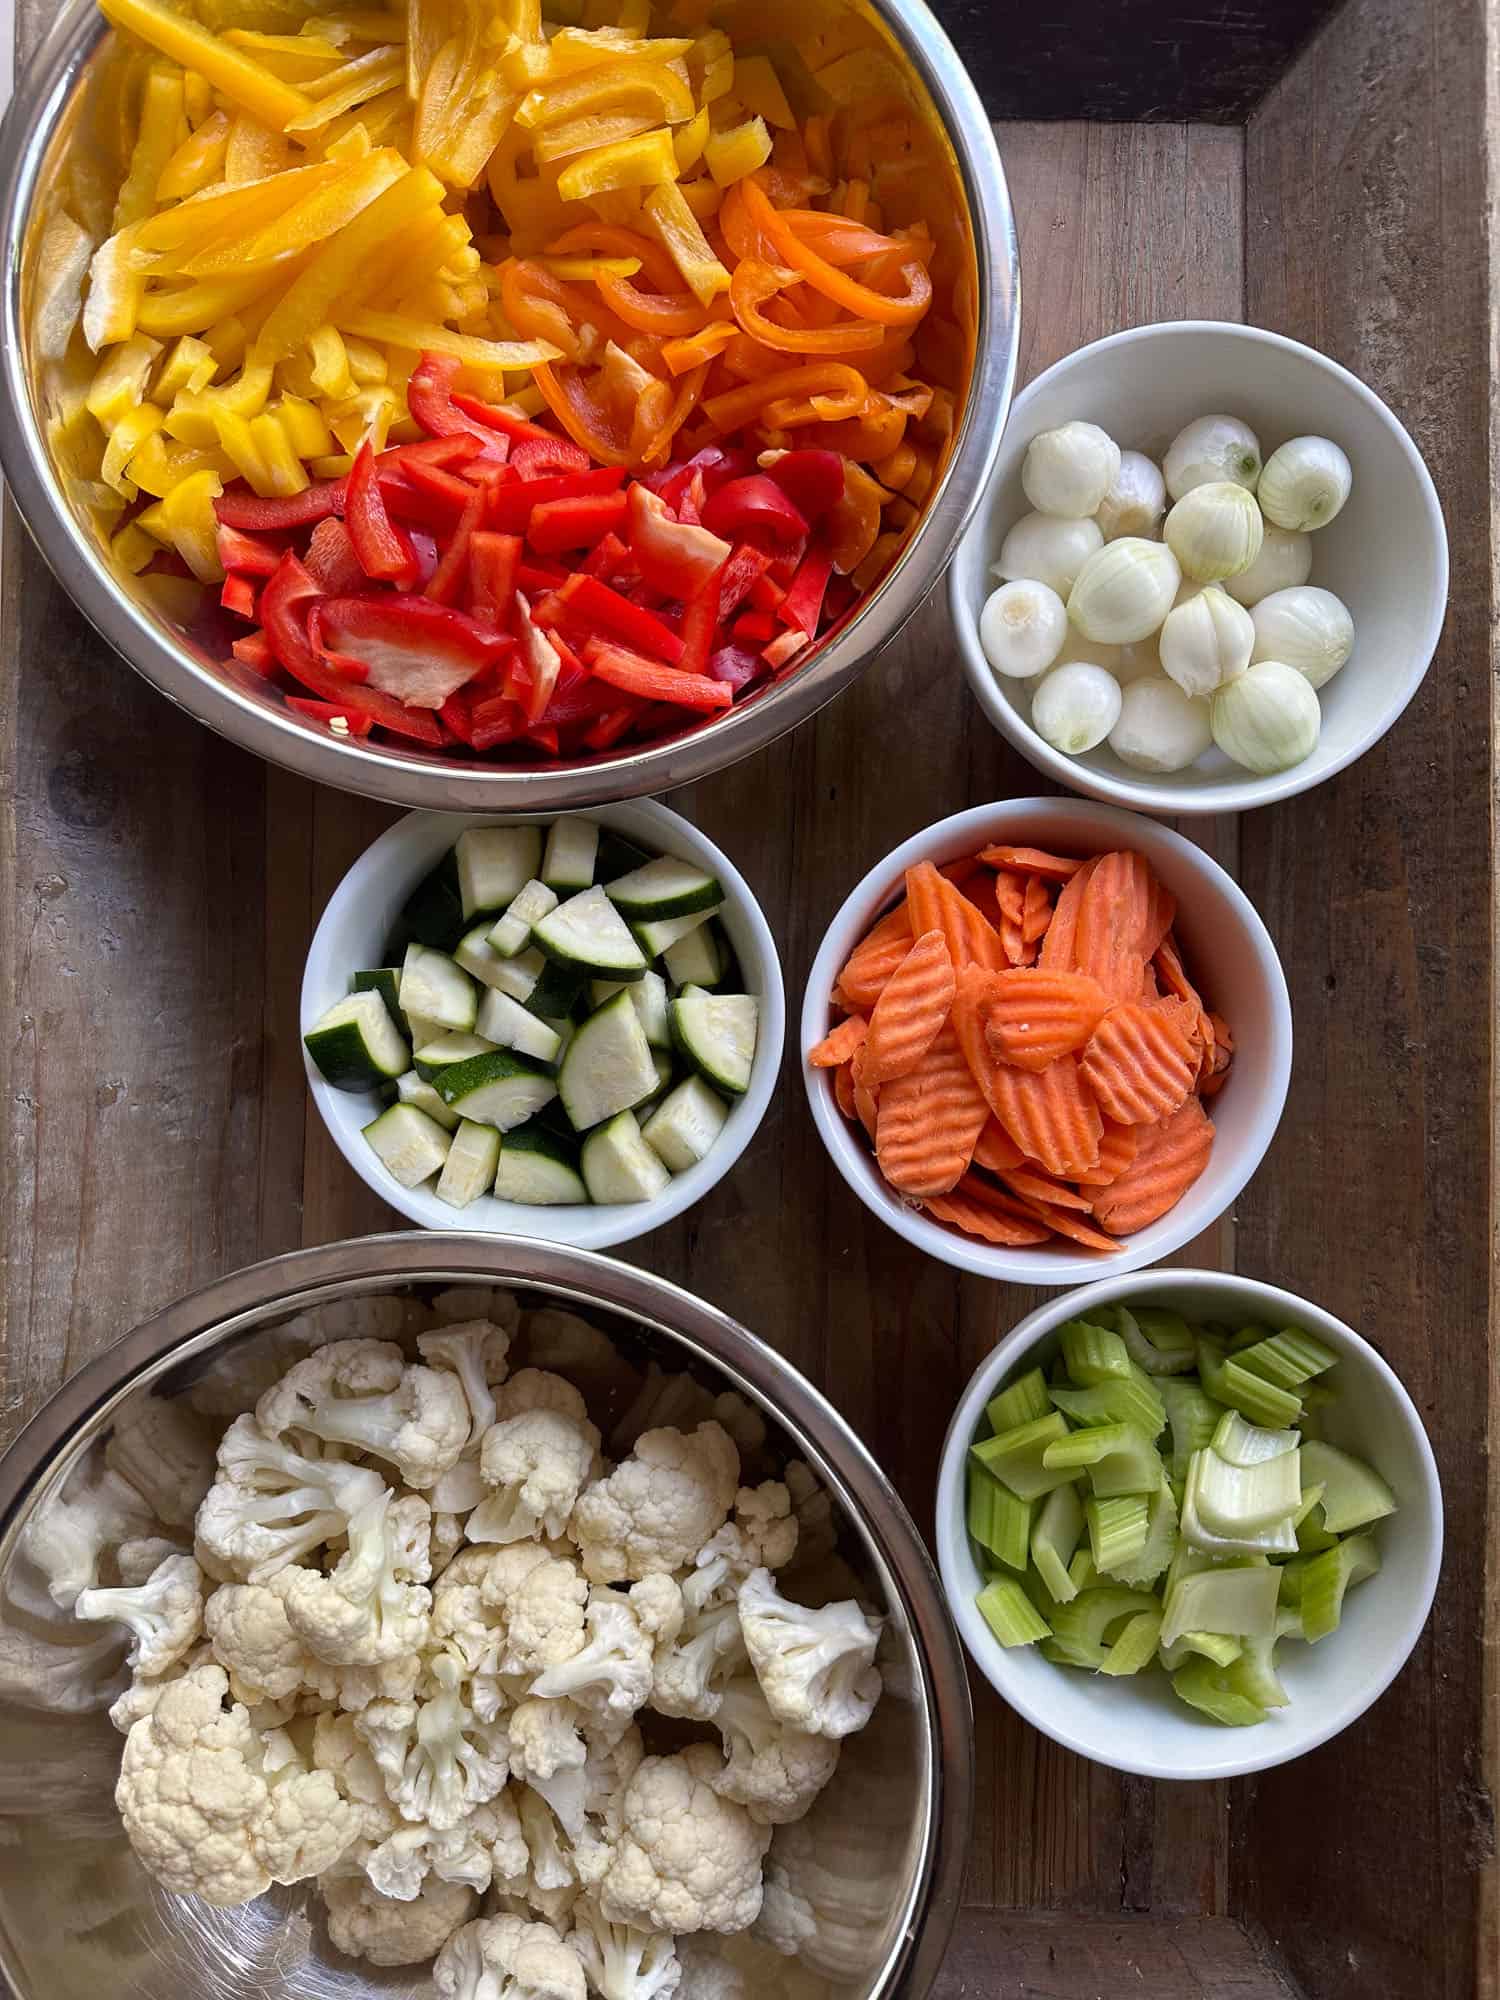
Cauliflower: This is one of the main ingredients in Italian giardiniera. It provides a crisp and slightly sweet flavor.
Carrots: Carrots add a vibrant color and a hint of natural sweetness to the giardiniera.
Celery: Celery brings a refreshing and crunchy texture to the mix. It adds a subtle, earthy flavor.
Bell Peppers: Red and green bell peppers are commonly used in giardiniera, adding a mild and slightly sweet taste.
Pearl Onions: These small onions add a slightly pungent and sweet flavor to the giardiniera. They are often pickled whole.
There are many variations in the types of vegetables used, as some recipes might include additional ingredients like green beans or zucchini. However, it’s important to note that only approved recipes should be used if you plan on canning. Feel free to experiment with vegetable variations if you are going to refrigerate your giardiniera.
How to Make
Prepare the canner, pint jars, and lids as instructed. If you are unfamiliar with proper canning procedures for water bath canning, please see the Principles of Home Canning (free PDF).
Bundle bay leaves, peppercorns, and garlic in cheesecloth to create a spice bag. Combine vinegar, water, sugar, salt, and the spice bag in a large stainless steel saucepan.
Heat the mixture until boiling, then simmer for 5 minutes. Add cauliflower, onion, celery, carrots, zucchini, and bring back to a boil. Remove from heat and add the peppers, and discard the spice bag.
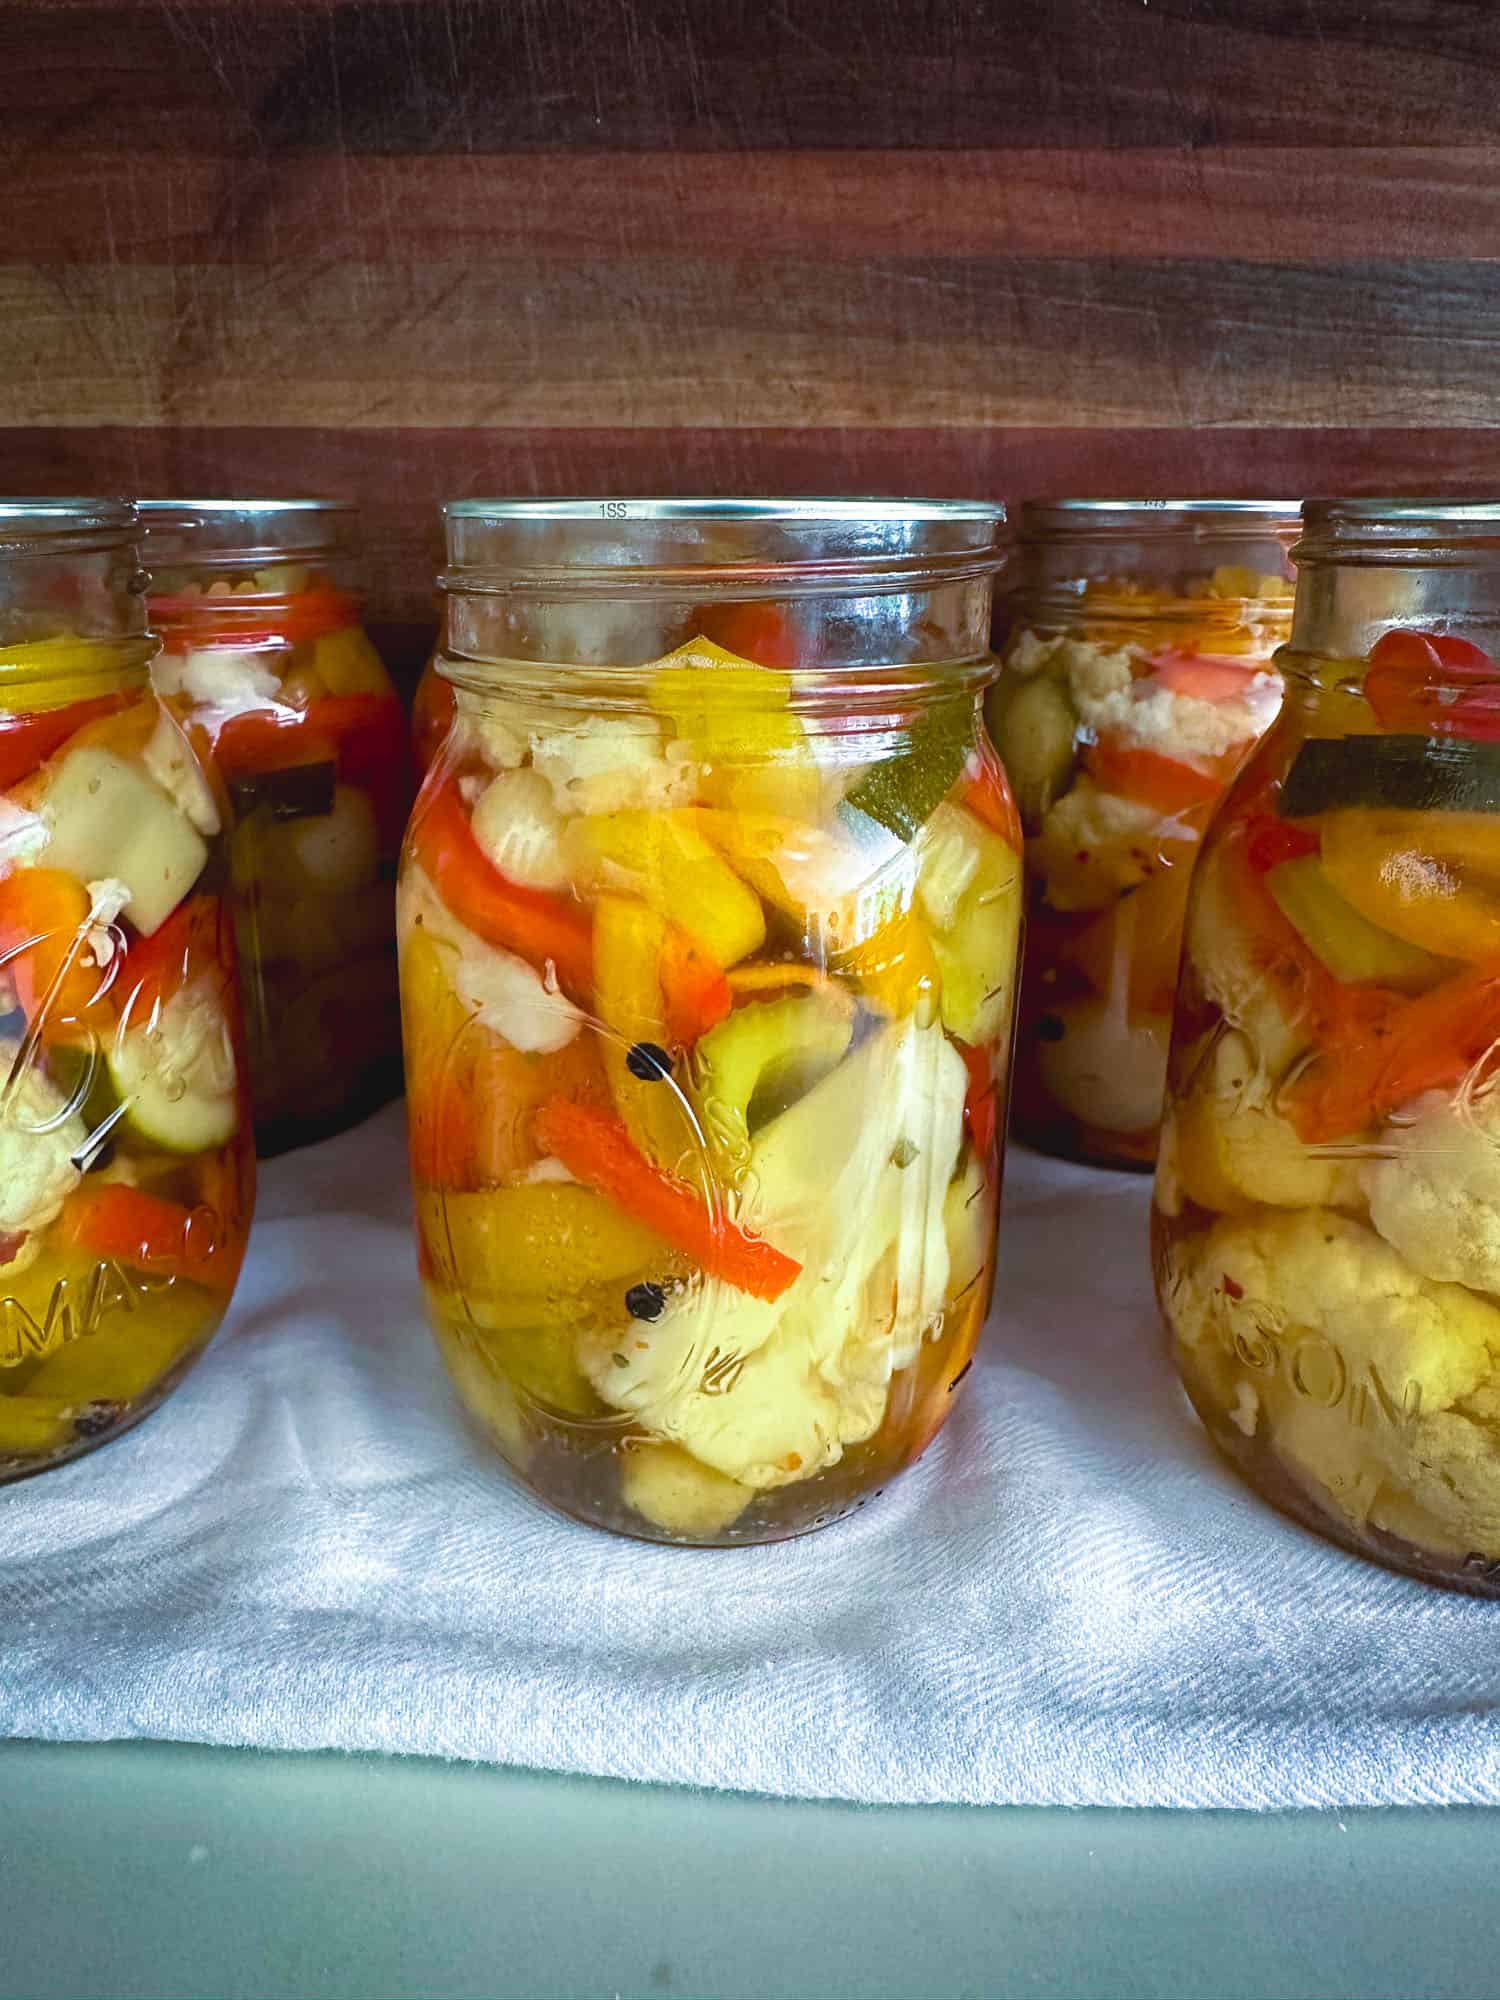
Pack vegetables into jars, leaving ½ inch of space. Pour hot pickling liquid over, maintaining ½ inch headspace. Wipe rims, place lids, and seal jars. Process jars in canner for 10 minutes. Afterward, cool and store.
Giardiniera for Italian Beef (Chicago Style)
The vegetables commonly found in Chicago-style giardiniera for Italian beef include a lot of hot peppers as well as celery, carrots, cauliflower, bell peppers, and occasionally olives, all pickled in a mixture of oil, vinegar, and spices.
It’s worth noting that Chicago-style giardiniera for Italian beef tends to have a more finely chopped and relish-like consistency compared to other variations. The mixture of pickled vegetables and spices provides a tangy, spicy, and flavorful complement to the juicy Italian beef sandwich.
I’ve never found an “official approved” recipe via Ball canning or any .edu or .gov site but I have read that Marconi sells a very good product. You can also read about making your own Chicago style giardiniera via a Chicago cooking school, although I don’t believe the recipe is an officially tested/approved recipe and so you may consider making a small batch and refrigerating it.
How to Enjoy
Giardiniera is a versatile Italian condiment that consists of pickled vegetables, typically a mix of cauliflower, carrots, bell peppers, celery, and sometimes onions. It offers a tangy, slightly spicy, and refreshing flavor profile.
While it is commonly used as a topping for sandwiches and salads, giardiniera can also be served as a side dish with various meals. Here are a few examples of dishes that giardiniera can complement:
Antipasto Platter: Giardiniera is often included as part of an antipasto platter, which typically includes an assortment of cured meats, cheeses, olives, and marinated vegetables. It adds a zesty and colorful element to the overall presentation.
Pasta salad: Mix giardiniera with cooked pasta, olives, cherry tomatoes, and Italian dressing for a refreshing pasta salad with a pickled twist.
Italian potato salad: Fry onions in olive oil and add giardiniera and jarred sliced hot peppers to cooked and diced potatoes. Season with salt and pepper.
Grilled Meats: Giardiniera can be served alongside grilled meats like steak, chicken, or sausages. Its vibrant flavors and crisp texture can help cut through the richness of the meats, providing a refreshing balance.
Charcuterie Boards: Giardiniera can be a delightful addition to charcuterie boards, providing a pickled and crunchy component to complement the various cured meats, cheeses, and condiments.
Bruschetta: Top toasted baguette slices with a spoonful of giardiniera for a quick and flavorful bruschetta appetizer.
Italian Sandwiches: Giardiniera is a classic accompaniment to Italian sandwiches such as the muffuletta or Italian beef sandwiches. Its tangy and crunchy texture provides a delicious contrast to the savory flavors of cured meats and cheeses.
Storage
If you have canned giardiniera, you can store it in a cool, dark place such as a pantry or cellar. Properly canned giardiniera can have a long shelf life, typically up to a year or more. It’s important to ensure that the jars are sealed properly and that there are no signs of spoilage or contamination before consuming.
Opened Jar: Once you open the jar of giardiniera, the shelf life will be shorter. Refrigerate the opened jar and consume the giardiniera within a few weeks to maintain its quality. The vegetables may start to soften over time, but it can still be safe to consume as long as there are no signs of spoilage, such as mold, off odors, or discoloration.
Remember to always inspect the giardiniera before consuming. If you notice any signs of spoilage or the giardiniera has been stored for an extended period, it’s better to discard it to ensure food safety.
Type of Salt to Use
According to the Penn State Extension FAQ about canning/preserving, “Table salt is used for baking, cooking and normal table use. However, it is not recommended for canning recipes because the calcium silicate may cause clouding or settle to the bottom of jar. Furthermore, the iodide may discolor some foods. Neither of these effects make the food harmful to eat. However, the visual quality of the product is adversely affected.” Use canning or pickling salt instead. “Canning and pickling salts do not contain potassium iodide, dextrose or calcium silicate and thus can be used for cooking, baking, canning, pickling as well as for the table.“
More Canning Information and Resources
What Can Be Safely Changed in Canning Recipe? (Penn State)
♥️ Loved this recipe? I’d be thrilled if you’d rate it ⭐️ and share your experience in the comments below! Your ratings and comments help other readers discover this recipe and keep this blog going. Did you add any special tweaks? Our community of home cooks would love to hear about it! ♥️
Recipe
📖 Recipe
Ball Canning’s Giardiniera (Jardinera)
Click the heart icon ♡ above to save a recipe. To find your saved recipes later, click the heart icon on the right side of the screen near the search icon and select My Favorites.
Equipment
- 5 canning jars (pints) with lids up to 6 pint jars
- canner for water bath
- steam canner if you live at sea level
Ingredients
For the Spice Bag
- 6 whole black peppercorns
- 3 cloves garlic thinly sliced
- 3 bay leaves
For the Vegetable Mix
- 2 large red bell peppers seeded and sliced into 1/4 inch strips
- 1 large orange bell pepper seeded and sliced into 1/4 inch strips
- 1 large yellow bell pepper seeded and sliced into 1/4 inch strips
- 2 large carrots peeled and sliced on diagonal (can used presliced)
- 2 cups small cauliflower florets I bought precut
- 4 ribs celery cut on diagonal
- 1.5 cups pearl onions peeled and cleaned
- 1 small zucchini diced or cut into 1/4 inch slices
For Pickling Solution
- 4 cups white vinegar 5% acidity
- 2 cups water
- 2 cups sugar
- 1 tablespoon pickling or canning salt
Instructions
- Prepare: Prepare the canner, jars, and lids as outlined in the provided information. If you haven't already cut the veggies, make sure to wash, dry and cut the ingredients as listed.
- Spice Bag: Create a spice bag by securing bay leaves, peppercorns, and garlic in a square of cheesecloth.
- Make Pickling Brine: In a large stainless steel saucepan, combine vinegar, water, sugar, salt, (see NOTE 1) and the spice bag. Heat over medium-high heat until it reaches a boil. Stir to dissolve the sugar completely. Once boiling, lower the heat, cover the saucepan, and let it gently boil for about 5 minutes to infuse the liquid with the spices.
- Heat Veggies: Add cauliflower, onion, celery, carrots, and zucchini to the mixture and bring it back to a boil. Remove the saucepan from heat and gently mix in the red, yellow, and green peppers. Don't forget to discard the spice bag.
- Pack Jars: Pack the hot jars with the prepared vegetables, leaving about ½ inch of space from the top. Pour the hot pickling liquid over the vegetables, ensuring they are completely covered and leaving ½ inch of space at the top. Remove any air bubbles and adjust the headspace if necessary. Wipe the rim of the jars clean, then center the lid on each jar. Secure the jar lids by screwing the bands down until you feel resistance, and then tighten them with your fingertips.
- Process: Place the jars into the canner, ensuring they are fully submerged in water. Bring the water to a boil and process the jars for 10 minutes (see NOTE 2 to adjust this time if you live >1000 feet above sea level/at high altitude). After processing, remove the canner lid, wait 5 minutes, and then carefully take out the jars. Allow the jars to cool before storing them.
Comment Policy
I’d love to hear from you! Questions, tips, and respectful feedback are always welcome! Comments that are abusive, disrespectful, or intended to provoke may not be approved. (Updated 6/25/2026)