flax and chia seed sourdough bread
 why I love this flax and chia seed sourdough bread
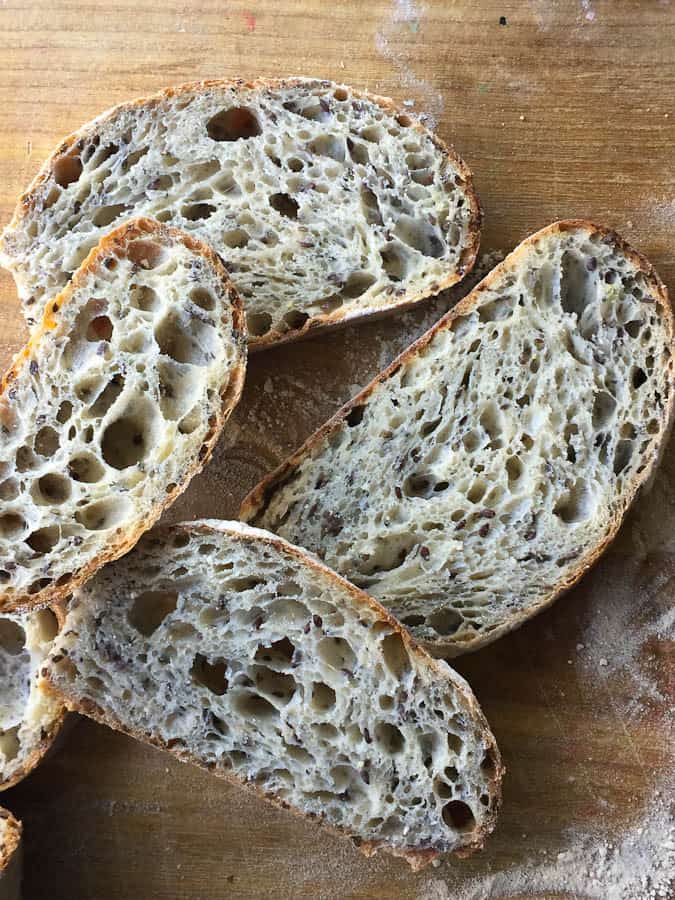
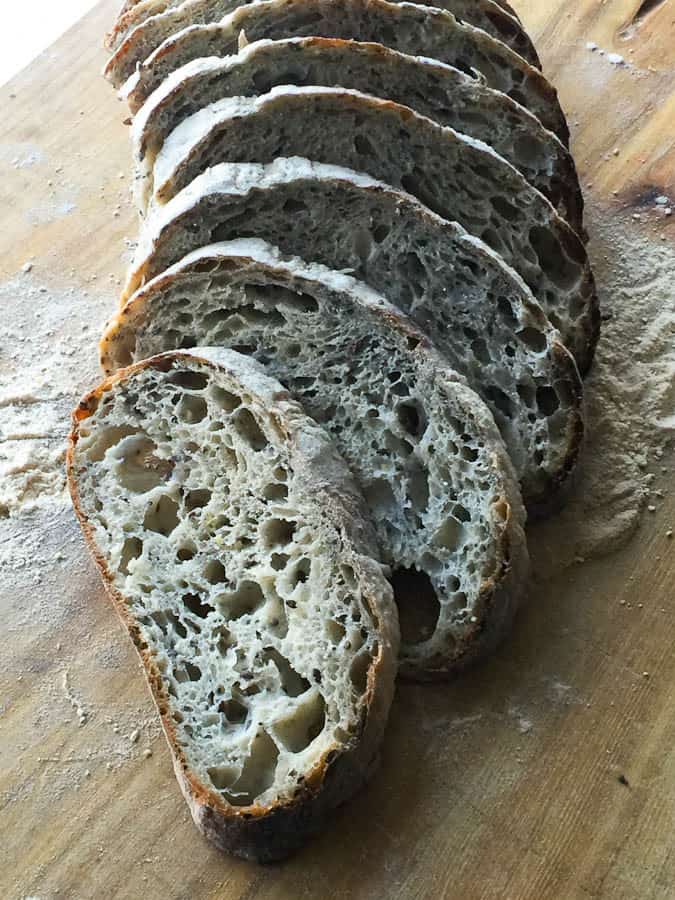
I’ve been baking sourdough bread for about 3 years now. I have been so in love with the basic recipe that it’s been hard for me to move past it. But I now found that adding chia and flax seed to your sourdough bread will add both nutrients and extra softness/tenderness to your crumb. It is, hands down, my favorite new addition to sourdough, at least for now. I’ve even learned a simple way to create a softer crust to change things up (although I usually love a crispy crust). This has encouraged me to keep trying new ways of making sourdough.
about the crust
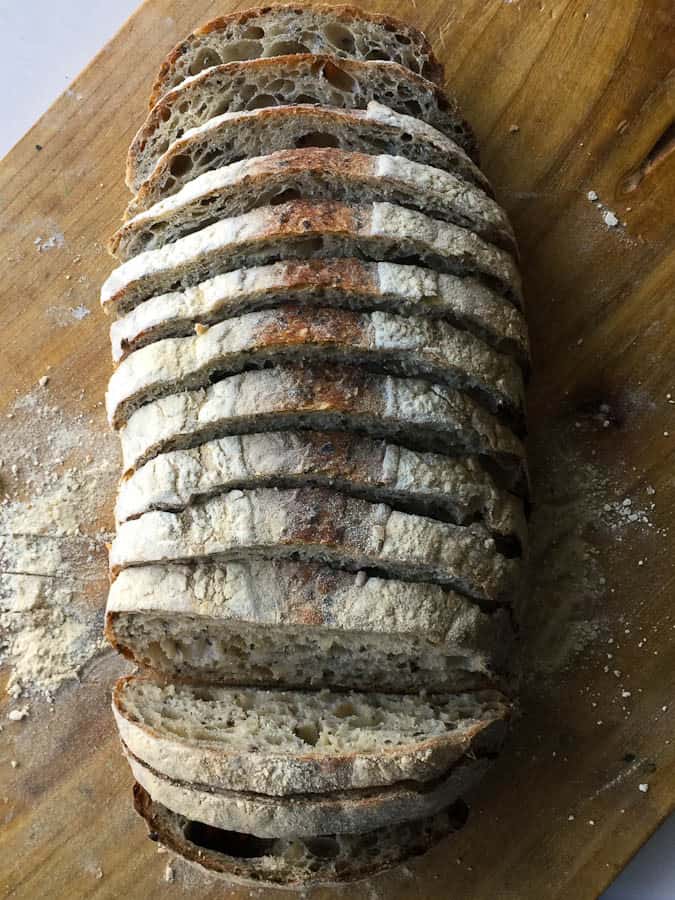
So speaking of crust, using my typical process for basic sourdough bread, I have been creating a thicker and crispier crust because I usually do my final proofing overnight in the refrigerator, so I’m not getting the thin crackly crisp crust that I’m after. Instead, the crust is a bit more rustic than I would prefer. So lately, I’ve been thinking of how to achieve a softer crust to use as a sandwich bread without adding a tenderizer like milk or oil to the formula. I have to admit getting this softer crust on this flax and chia sourdough bread was serendipitous and it came about because I used too much steam while baking. (although it turned about to be just the right amount of steam since I wanted a softer crust)

when to add seeds to your dough
So this is probably not set in stone, but I add the seeds into the dough after the first turn of the dough. I believe this gives the dough a chance to develop before introducing something that would otherwise potentially hinder its development. I have had a lot of luck using this practice, although I have heard of people adding the seeds upfront during the initial mix.
soaking your seeds
Before adding the seeds though, you should soak them because otherwise, the seeds will pull A LOT of moisture from your dough. Some seeds need soaking (ie, chia and flax) while others (like sunflower seeds) don’t need soaking. It all depends upon their ability to absorb water.

pros and cons of using Lodge combo cooker to create steam in your oven
For the past few years, I’ve been baking mostly in my Lodge combo cooker. This makes life so easy in many ways because you simply warm it up in the oven. You don’t have to worry about cracking your oven glass (if water splashes on it while you introduce steam). And you won’t get a steam burn on your arms when you introduce steam. But! ….you also are pretty much limited to making only round loaves (and unless you have 2 pots, you can only make one loaf at a time). And sooooo, I have been pushing myself to find new ways to create steam.
using soaked towels and lava rocks to create steam
For several years, while reading The Fresh Loaf, I’ve read about various ways to create steam in your home oven. The top two seem to be using soaked rolled up towels in a pan, and pouring water over a pan of lava rocks. Recently, I came across a great blog that explains how to use both of these methods together. And, this method recommends pouring a cup of water into a preheated pan full of hot lava rocks just after loading the bread into the oven.
I poured too much water (~2 cups?) plus my wet towels were not only sopping wet but there was some extra water in the bottom of the pan, so the result was awesome oven spring, but a soft crust – which can be good or bad depending on your bread goals. I’ll take it (but not always)! Now I should say that I’ve used that method before without getting a soft crust, so you have to experiment a bit with how much water/steam will begin to soften your crust if that’s your goal (or errr, just follow his directions more carefully than i did!).
storing sourdough
I usually go through a loaf of bread within a few days. I don’t keep it in plastic because I find that that ruins the crust, but if I want to freeze bread, I will slice up the entire loaf, place it in plastic and then freeze it. This flax and chia sourdough bread should keep well in the freezer for about 30 days or so.
Otherwise, I simply will store the loaf, cut-side down, on a wooden cutting board.
Like to bake bread? Try some other breads from this site!
📖 Recipe

flax and chia seed sourdough bread
Ingredients
For the levain build:
- 20 grams Ripe starter
- 120 grams Water
- 120 grams All purpose flour
For the dough:
- 200 grams Levain build up to 250 g in cold climates
- 800 grams Water divided, 750 g + 50 g
- 600 grams Bread flour
- 300 grams All purpose flour
- 100 grams White whole wheat flour
- 20 grams Fine sea salt
For the seed mixture:
- 80 grams Chia seeds
- 80 grams Flax seeds
- 160 grams Water
Final dough baker's percents:
- Bread flour 60%
- All purpose flour 30%
- Whole wheat flour 10%
- Chia and flax seeds 16%
- Water 96% (80% plus 16% for the seeds)
- Levain 20%
- Salt 2%
Instructions
To build the levain:
- Add 20 g of ripe starter to 120 g of water, combine, and then add the flour
- cover the mixture and place in a warm area of the kitchen
- Let sit for 4 to 12 hours, until it has risen and a small portions passes the float test (take a teaspoon of the mixture and drop it into a glass of water. If it floats, it's ready to use - save this, don't discard it.)
- Depending on how vigorous your starter is, it should be ready within 4 to 8 hours.
- If you'd like to prepare this the night before, add a shake or two of salt to slow down this process so it will be ready at about 12 hours or so
- The levain begins to lose its power when it falls back from its peak rise
To make the dough
- Add 200 to 250 g of the risen levain to a large bowl or deep container along with 750 grams of water. Mix and then add the flours.
- Combine until you get a shaggy mass, cover, and let it sit in a warm place for about 30 min (autolyse)
- after 30 minutes has passed, combine the salt with the remaining 50 grams of water and add it to the dough
- Mix the dough well with your hands, cover, and let stand for 30 minutes
- In the meantime, add the seeds to a separate bowl with 180 grams of water and let sit for 20 to 30 minutes. The seeds will absorb all of the water
- about 30 minutes after you added the salt and extra water, stretch and fold the dough - you will do this every 30 minutes for the next 3 to 4 hours (ie, bulk rise)
- Before doing the second set of stretch and folds, add the seeds.
- The dough is ready to be divided when it has risen and appears to be bubbly; the dough will release nicely from the container
To shape the loaves
- Pour the dough out onto a clean work surface, divide the dough into 2 equally sized pieces, and gently pre-form the pieces into desired shape (ie, round or oval, etc)
- Let the dough rest for about 20 minutes.
- if the edge of the dough has flattened after 20 minutes, the dough didn't proof enough - you may preshape again with the goal of strengthening the gluten.
- Form the final loaves using your preferred shaping method
- Place dough in lined or floured bannetons and allow to rise for 1 to 1.5 hours at room temperature or overnight in the refrigerator
To bake
- Preheat oven to 500 degrees with baking steel or stone in center of oven
- Gently remove dough from bannetons and place on parchment paper or in combo cooker and score top with lame
- Load the loaves into the oven and cover if using combo cooker or steam if not
- Reduce oven to 475 degrees and bake for 20 minutes
- After 20 minutes, remove steam (or cover to pot) and bake for an additional 20 minutes or until the loaves are ready

I’m so excited that my sourdough bread rose so well in the bread pans. Loved your recipe, though tweaked it a bit. Added some extra virgin olive oil and 200 gms Canadian Whole wheat flour and 700 gms unbleached AP flour, as I didn’t have any bread flour. The bread rosé beautifully and I baked them in the oven at 400 degrees for 40 minutes. Thank you so much for sharing this amazing recipe. It’s definitely my go to recipe for sourdough baking.