
Crisp and Fluffy Sourdough Focaccia
This post may contain affiliate links. For more information, please see our disclosure policy.
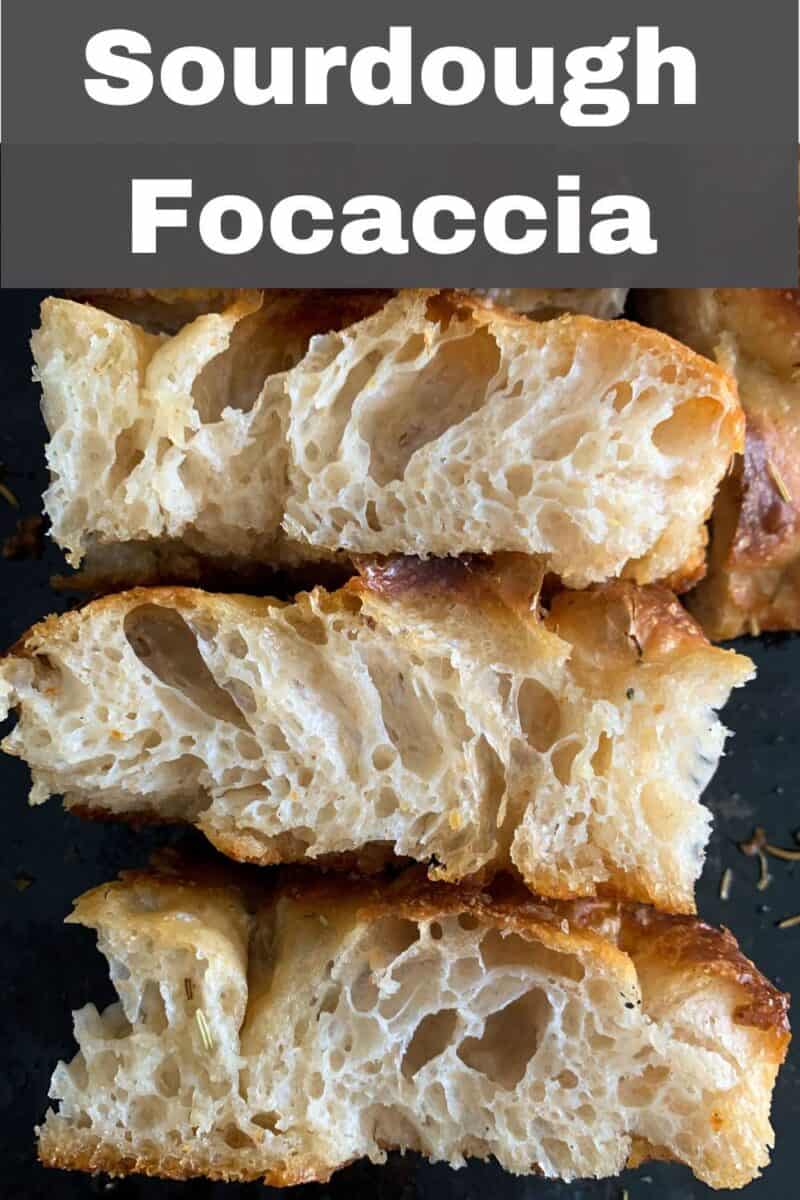
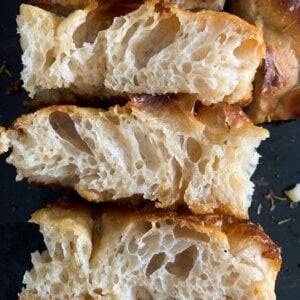
This sourdough focaccia is one of my favorite breads to make—and judging by the reviews, many readers feel the same way. Home bakers often describe it as light, fluffy, crispy, and surprisingly easy to make.
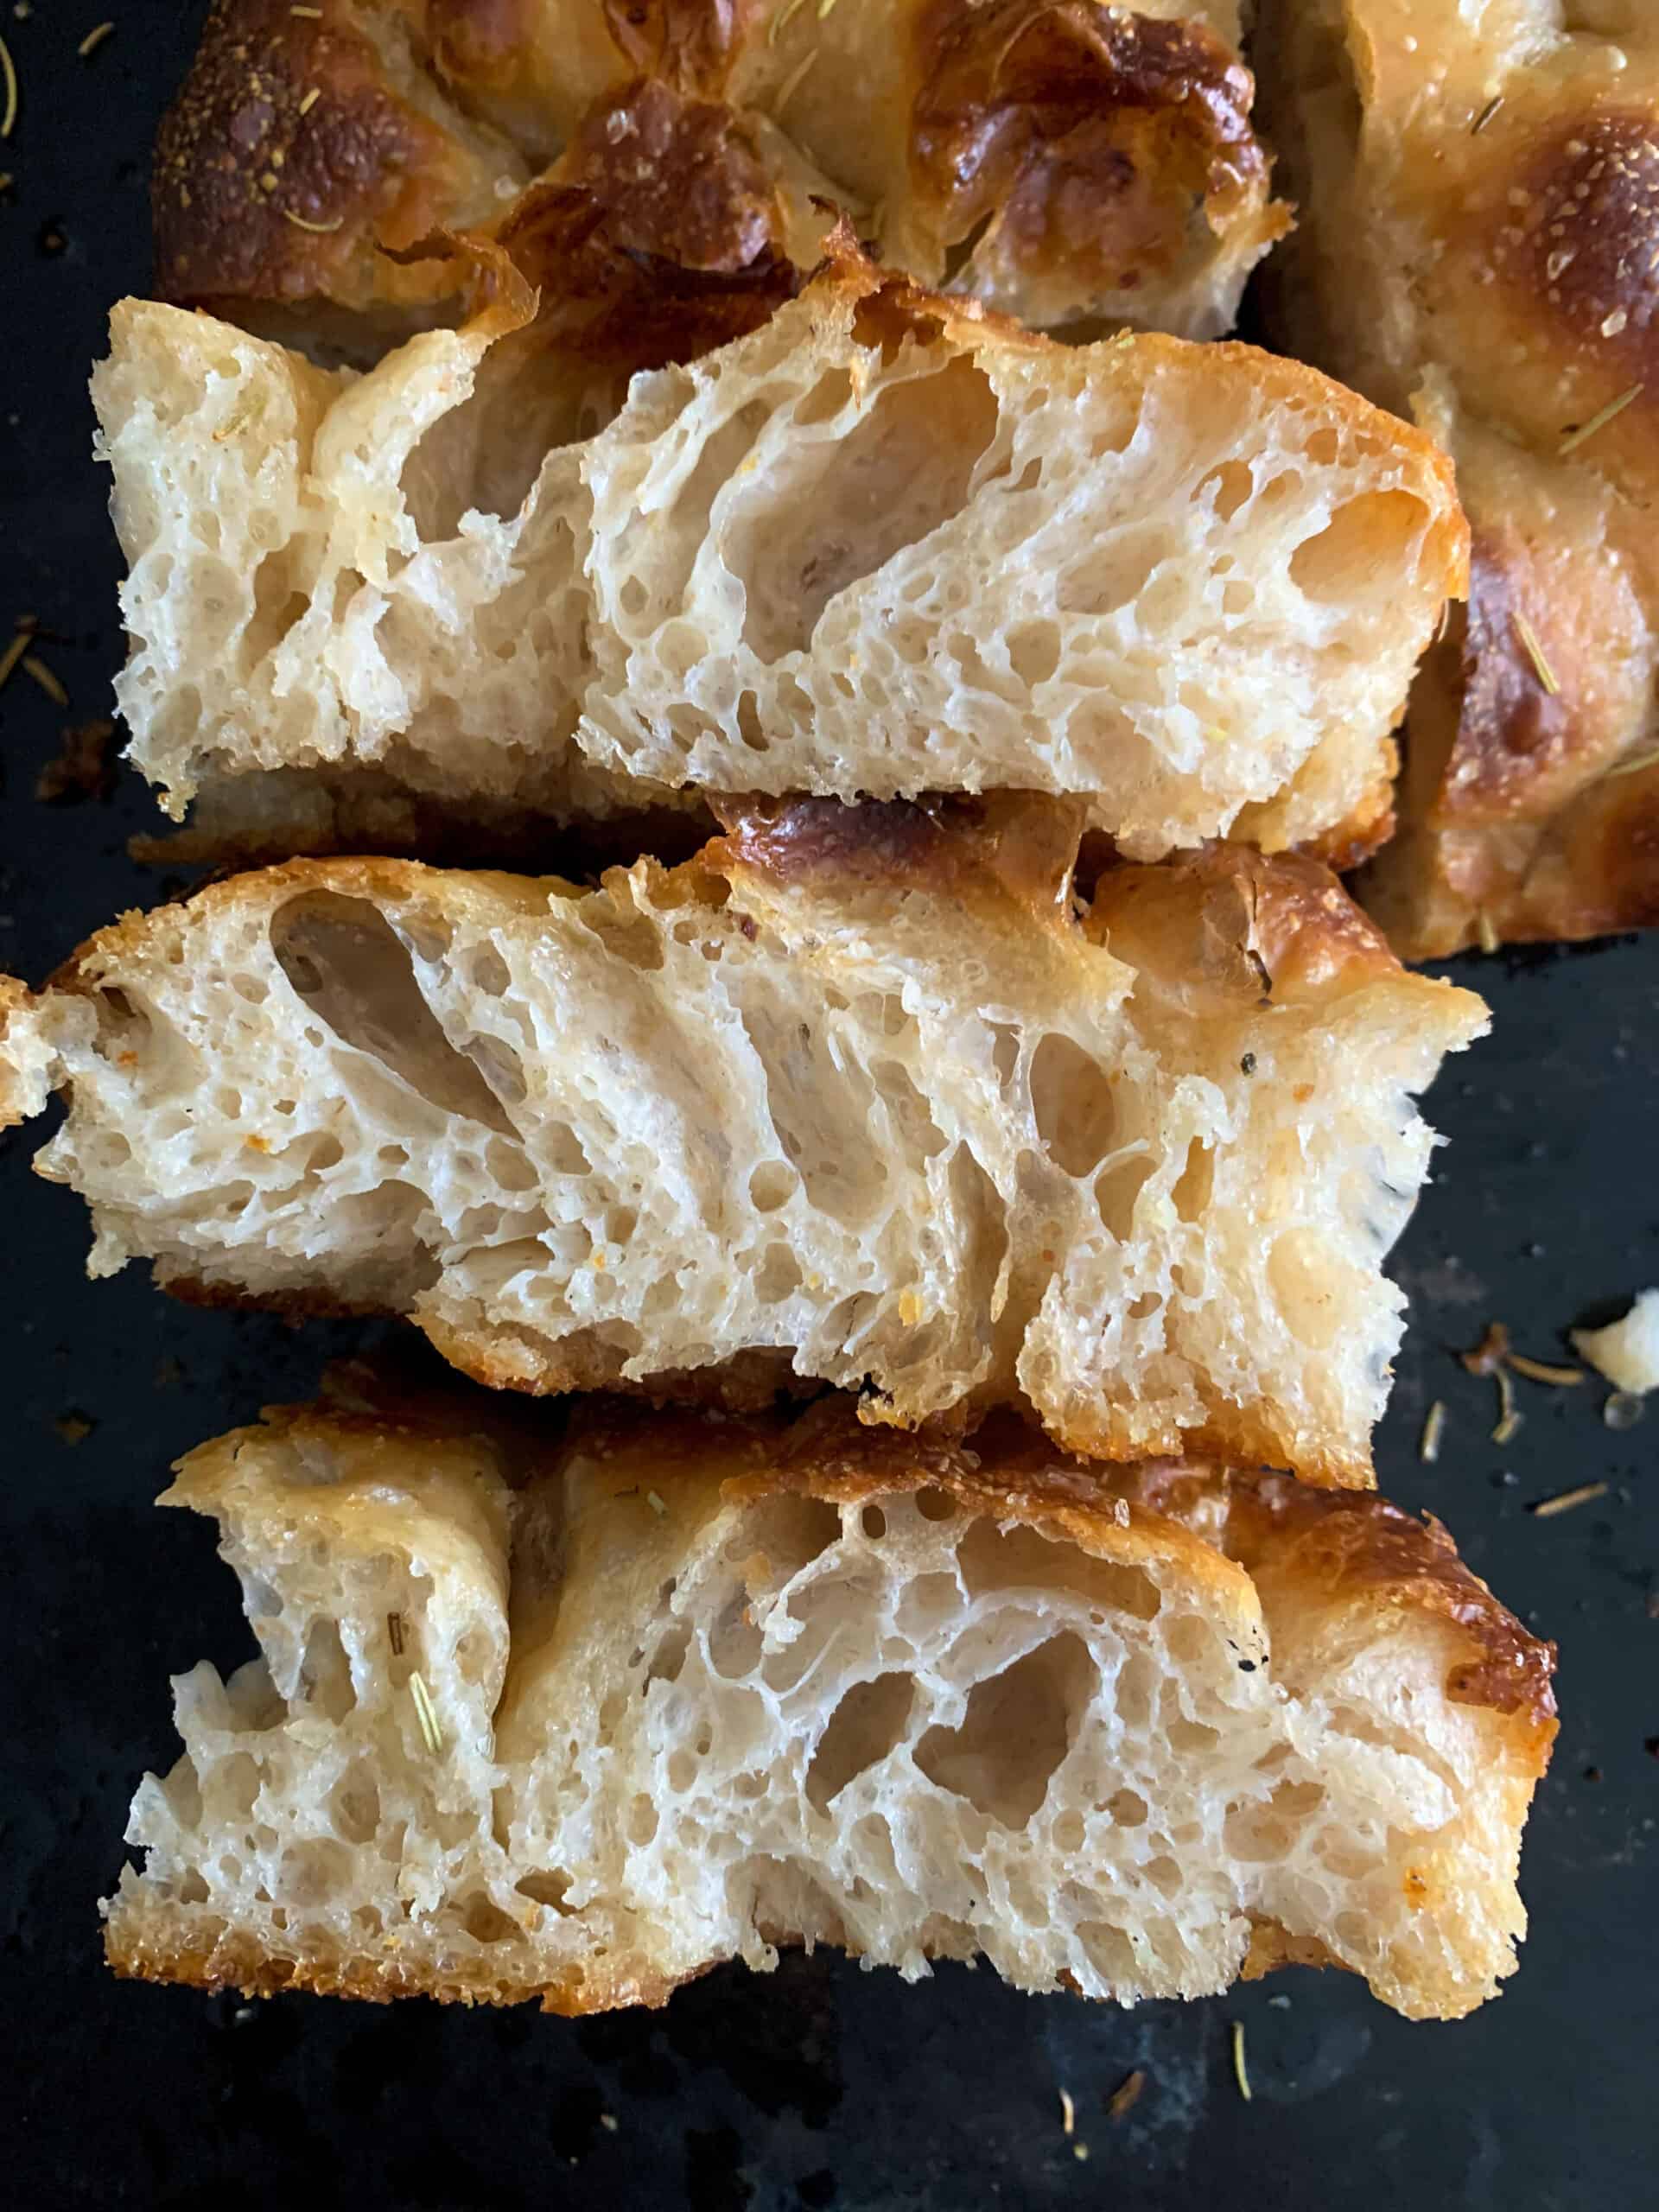
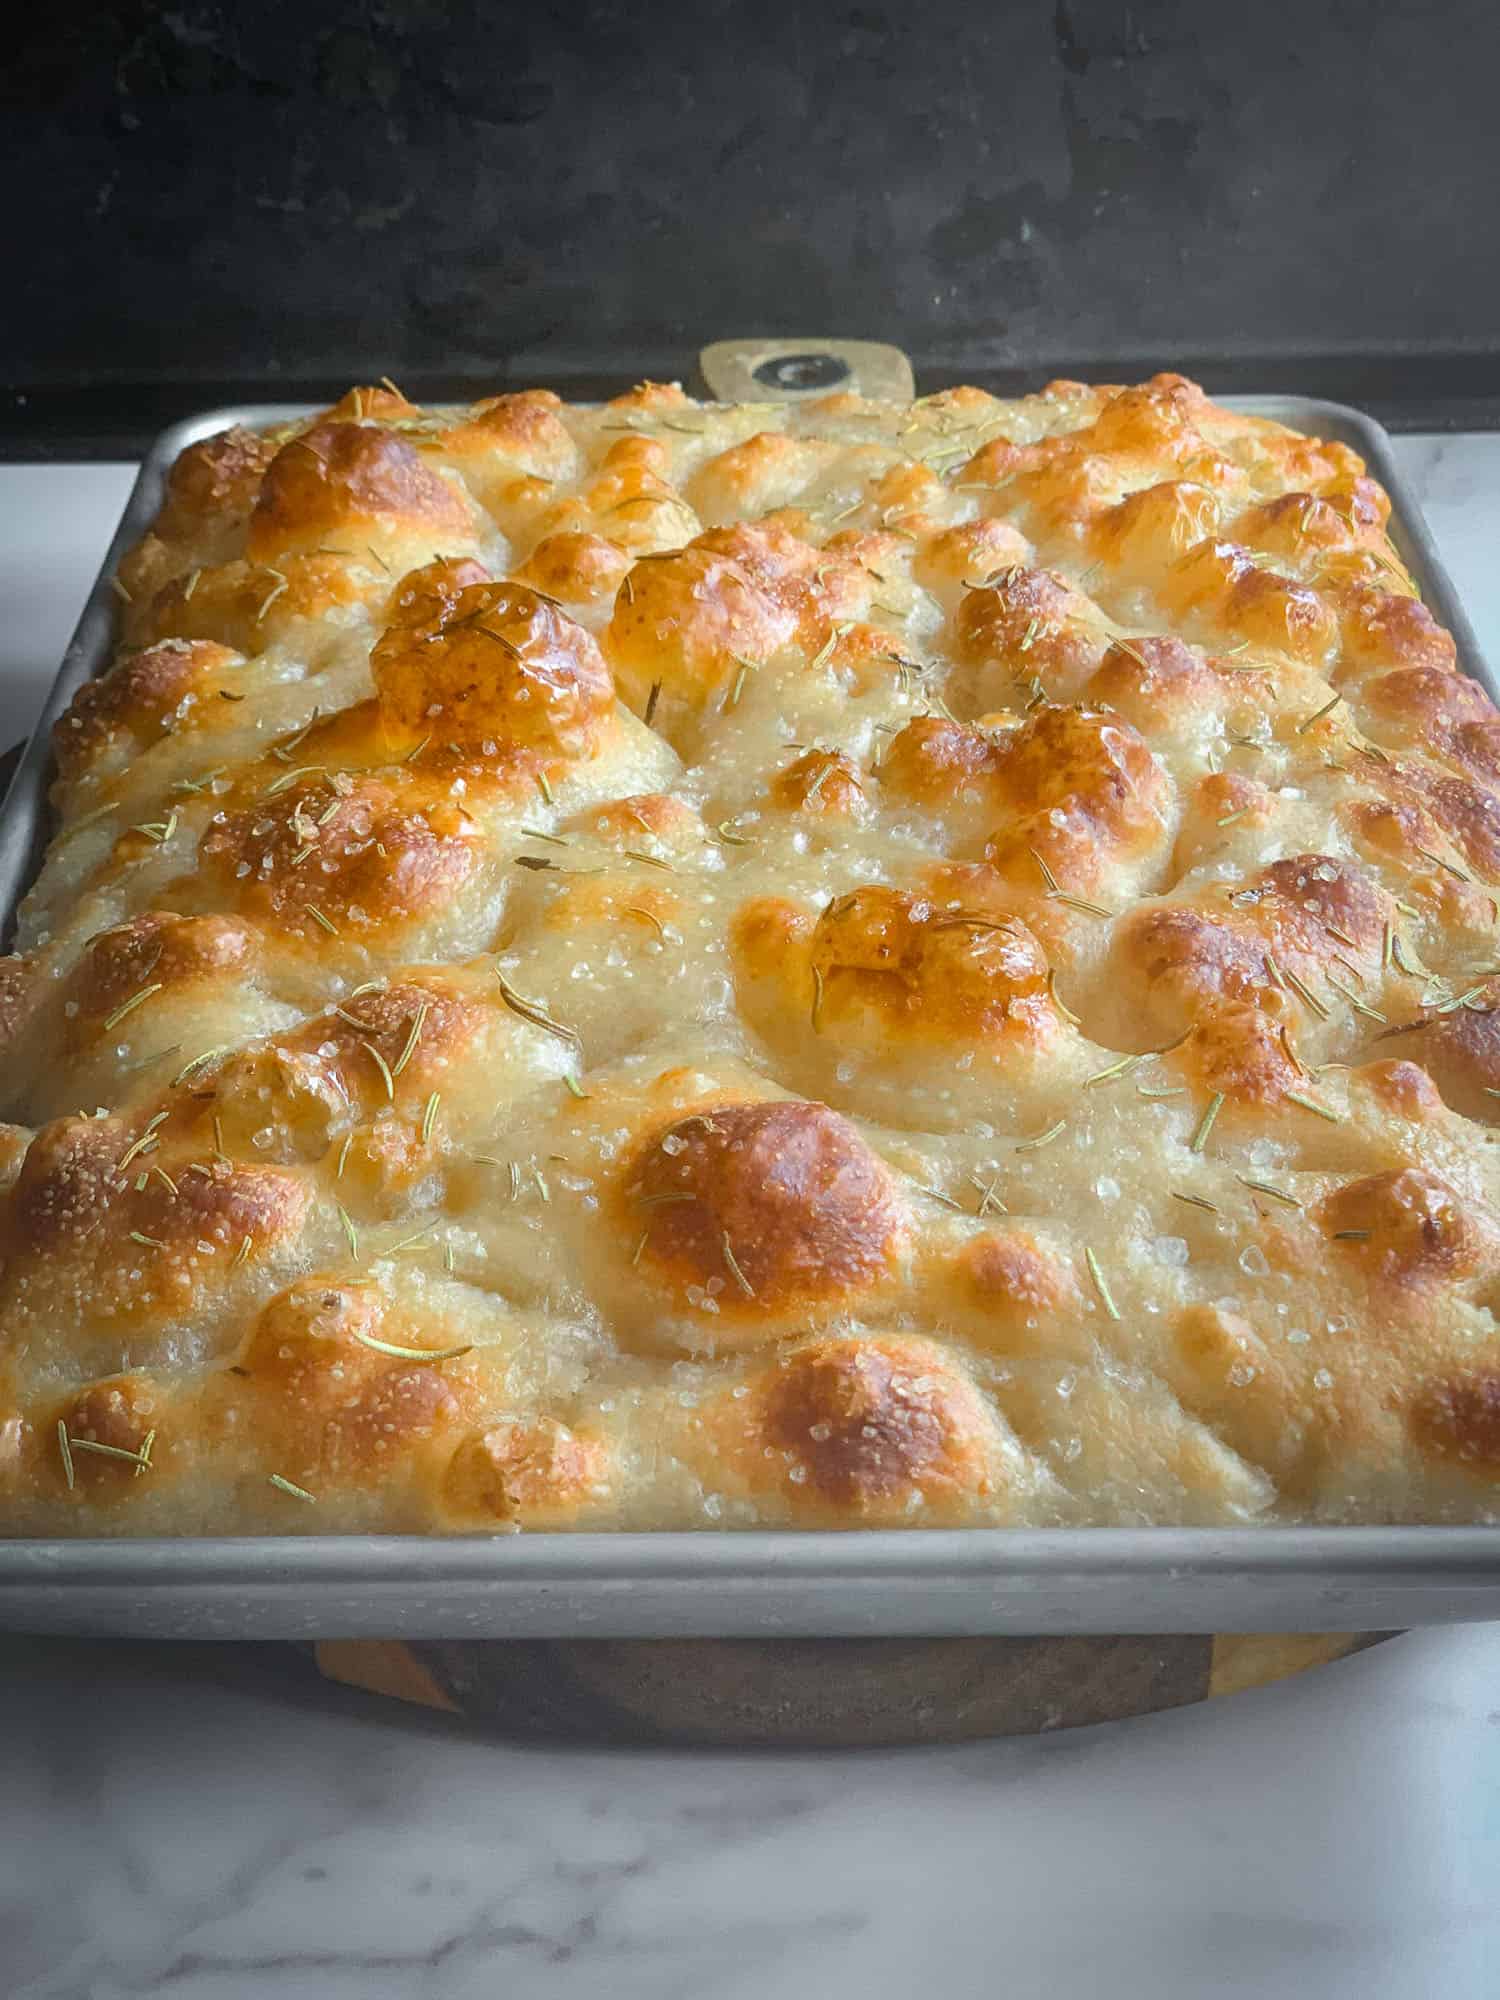
It has a light, airy interior, a crispy golden bottom, and incredible flavor from a long fermentation. Whether you keep it simple with olive oil and rosemary or load it with toppings, it’s versatile enough for sandwiches, pizza, or serving alongside dinner — it’s what I want on the table next to a pot of beef and barley stew, torn rather than sliced, for mopping the bowl. It also makes a great base for pizza-style toppings, similar to my Cast Iron Pizza or Crispy Detroit Pizza.
What Readers are Saying
⭐⭐⭐⭐⭐
“This recipe is amazing and so easy! I make it at least once a week.”
— Gina R.
Why This Recipe Works
- Long fermentation builds flavor. The sourdough starter and extended rise create a depth of flavor that can’t be achieved with a quick dough.
- High hydration creates an airy crumb. The relatively wet dough helps produce the light, open interior that great focaccia is known for.
- Olive oil adds tenderness and chew. A small amount in the dough improves texture while the oil on top helps create a beautifully crisp crust.
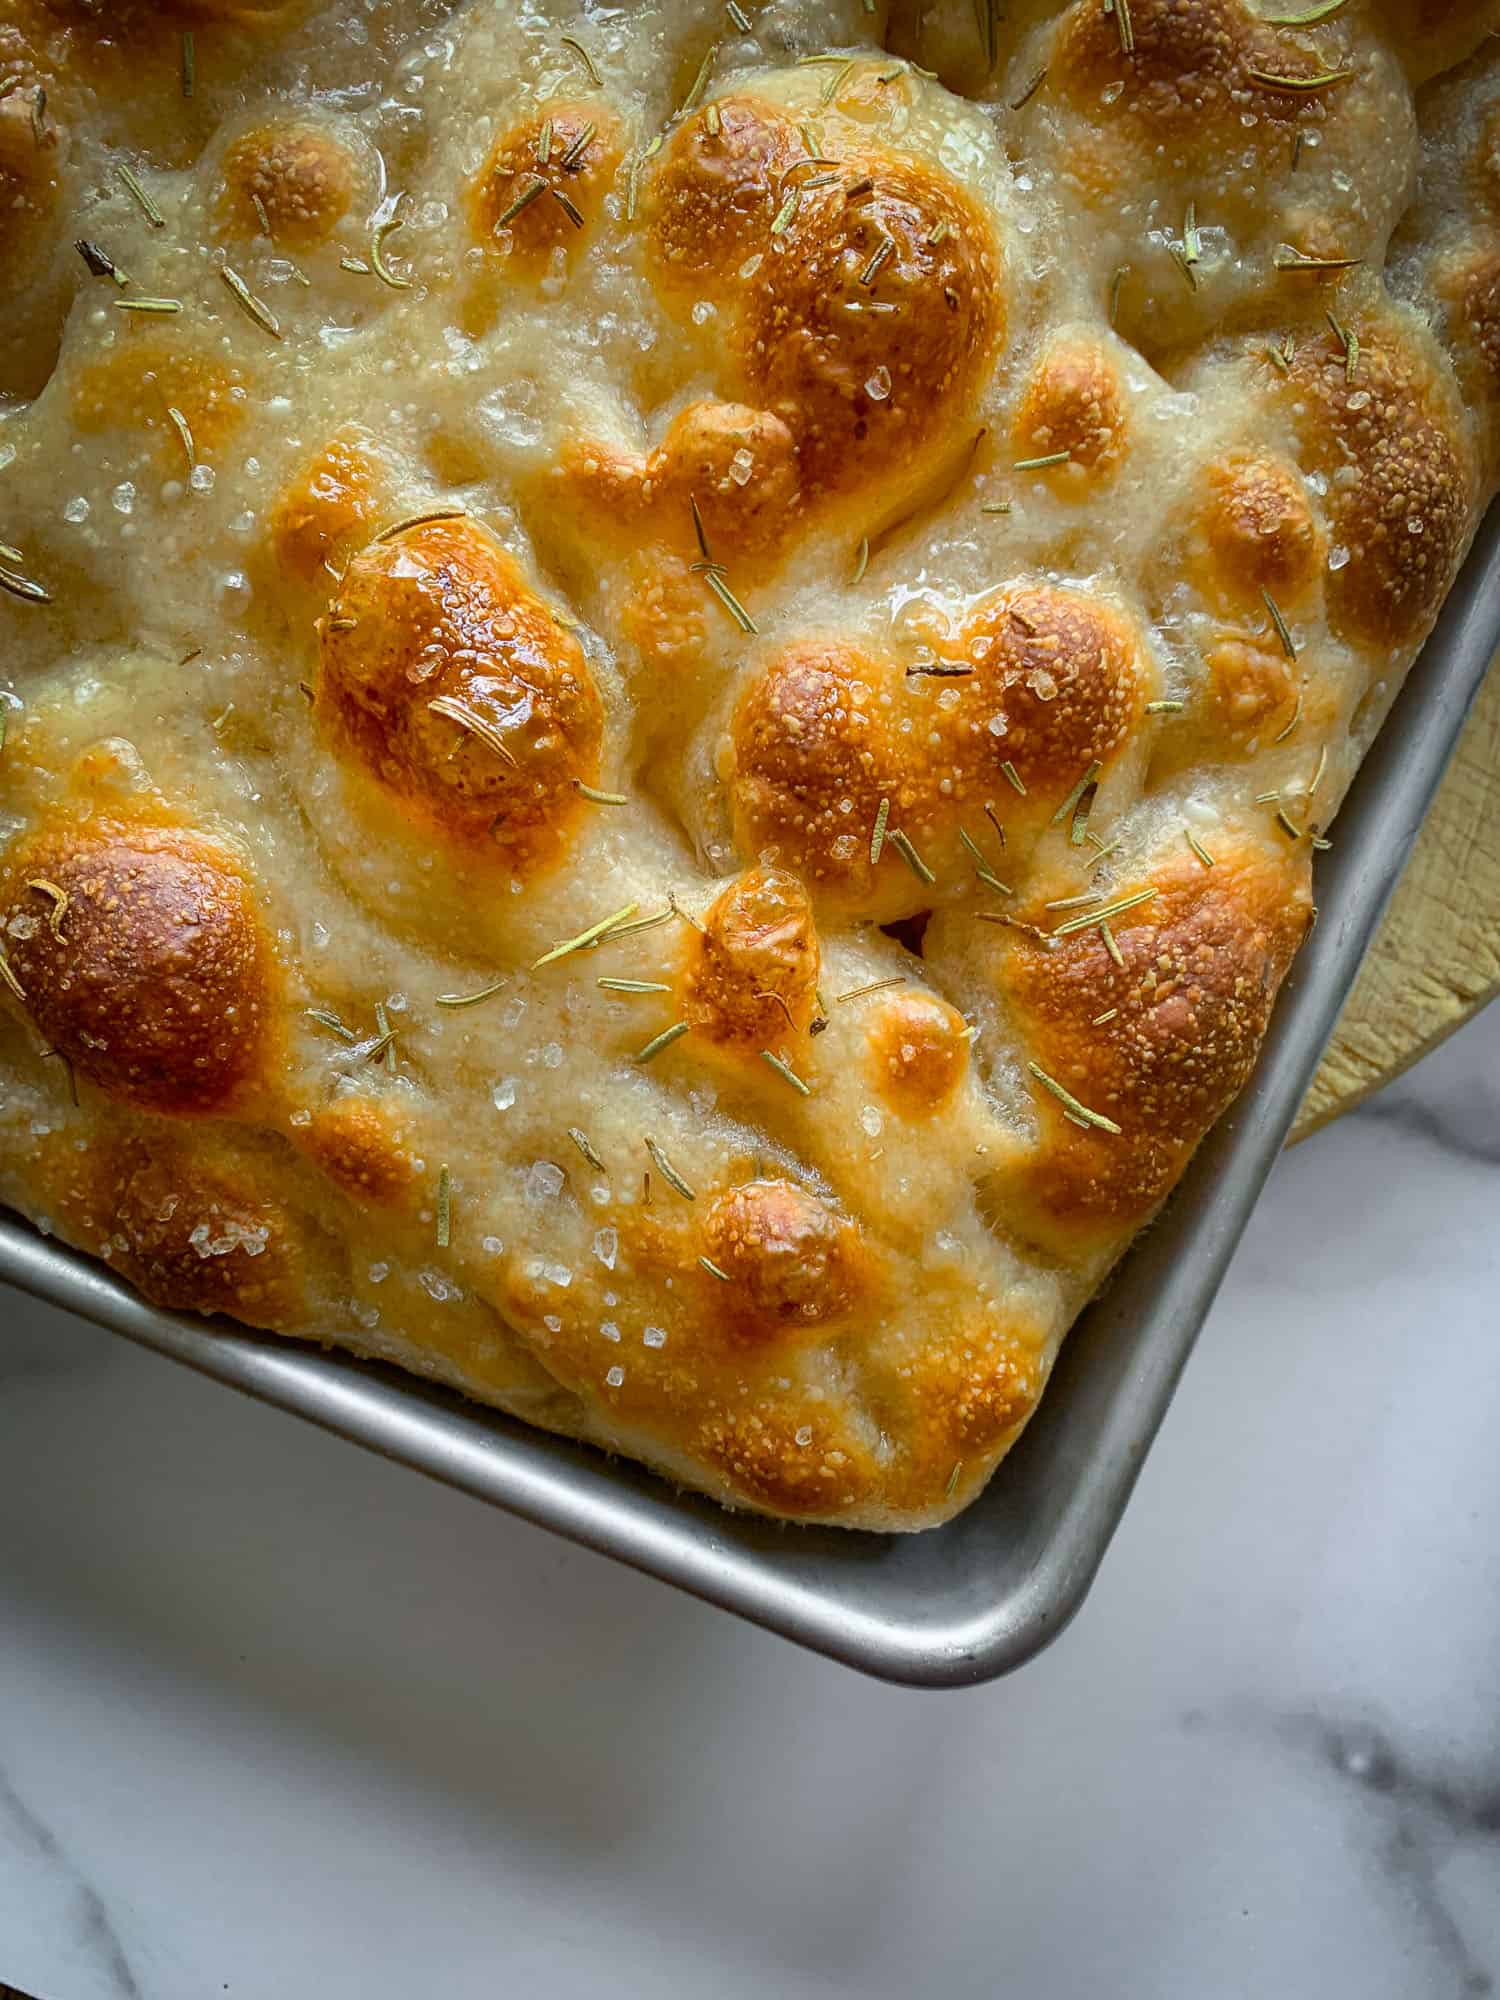
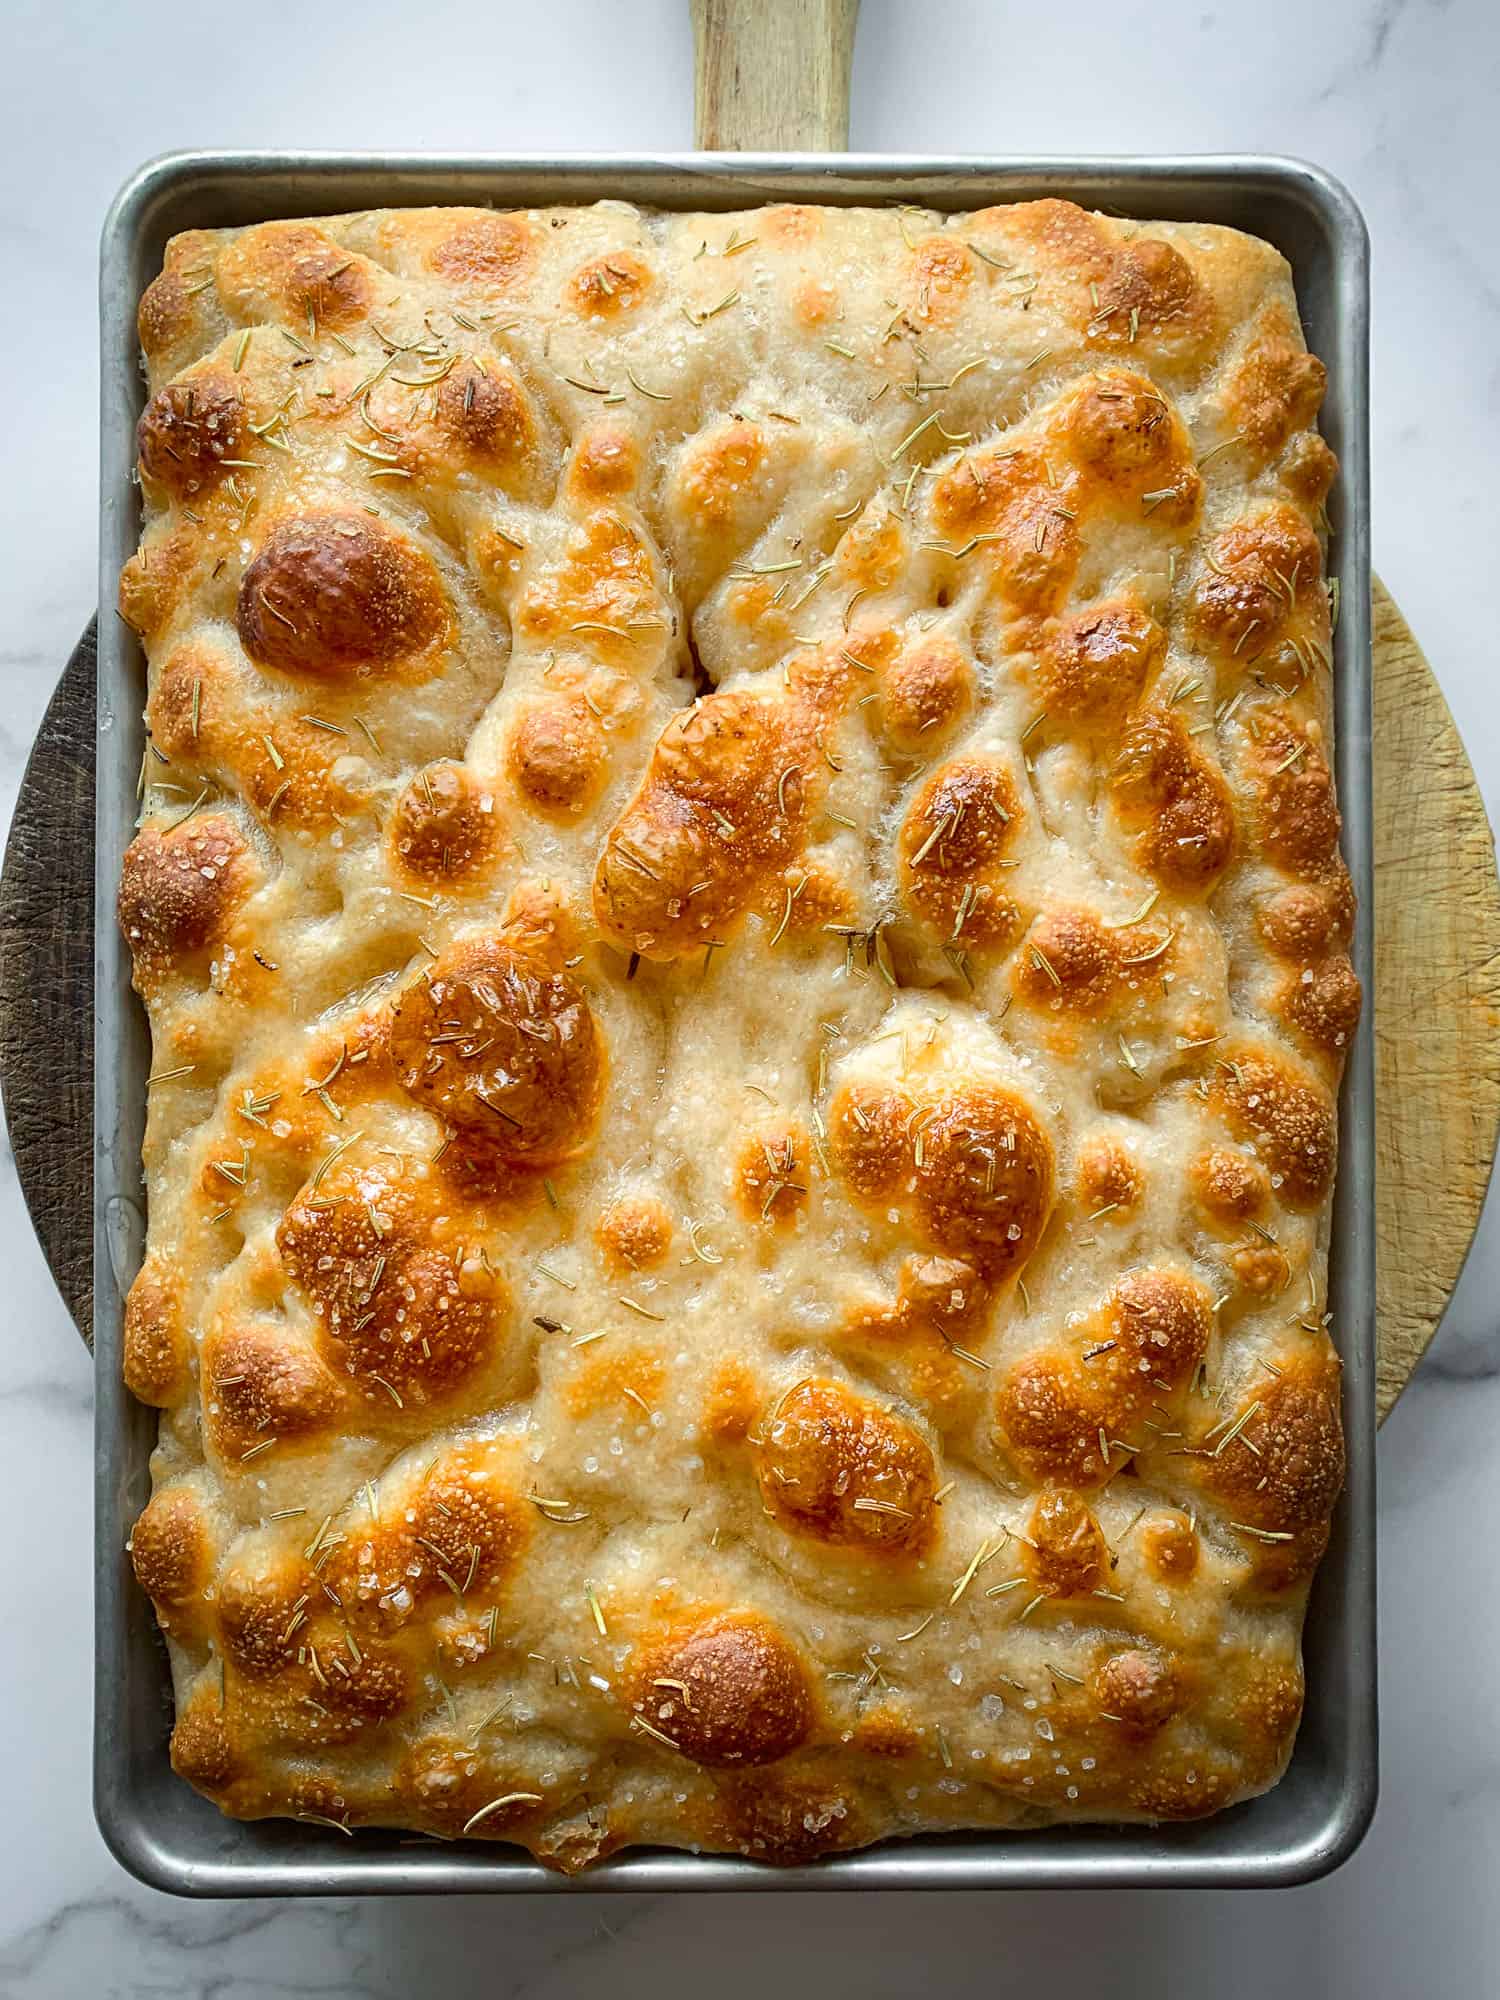
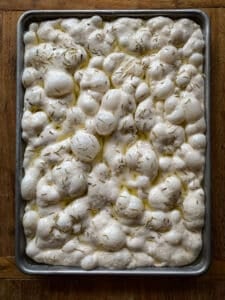
- A generous final rise creates exceptional fluffiness. The dough should look puffy and bubbly before it goes into the oven. This step is key to achieving a light interior.
- Baking on a stone or steel helps crisp the bottom. If you don’t have one, baking in the lower third of the oven produces similar results.
Ingredient Notes
Active Sourdough Starter
Use a recently fed, active starter that has doubled in size and is bubbly. This recipe relies on the starter for leavening, so sourdough discard will not provide the same rise or texture. If you’re new to working with sourdough, the Tartine Bread recipe includes additional tips for maintaining an active starter.
Bread Flour
Bread flour helps create the chewy structure and open crumb that make focaccia so appealing. While all-purpose flour can be used in a pinch, the finished bread may be slightly less chewy.
Water
This is a high-hydration dough, which contributes to the light, airy interior. The dough will feel softer and stickier than many bread doughs—that’s exactly what you want.
Olive Oil
Olive oil is used both in the dough and on top of the focaccia. It adds flavor, helps create a tender crumb, and contributes to the crispy, golden crust.
Salt
Fine sea salt, kosher salt, or table salt may be used in the dough, while flaky or coarse salt works best for the topping. The larger crystals add texture and provide little bursts of flavor in every bite.
Rosemary
Rosemary is a classic focaccia topping, but feel free to experiment with other herbs and toppings. Fresh rosemary provides the strongest flavor, but dried rosemary works well too.
Troubleshooting
Why didn’t my focaccia rise?
The most common cause is an inactive starter. Make sure your starter is recently fed, bubbly, and has doubled in size before mixing the dough. The other possibility is time or temperature. Make sure it’s in a warm spot and that enough time has passed that your dough is nice and jiggly.
Why is my dough so sticky?
This is a high-hydration dough, so it will feel much softer and stickier than many bread doughs. Resist the urge to add too much flour. Use a bit of olive oil on your hands to make handling easier.
Why is my focaccia dense?
The dough likely needed more time to rise. Before baking, it should look noticeably puffy and bubbly. This is one of the keys to making light focaccia!
Why is my focaccia sticking to the pan?
Generously oil the pan or line it with parchment paper before adding the dough. Some readers have found parchment especially helpful when using newer baking sheets. I’ve also found that focaccia releases much more easily once the bottom is deeply golden brown and fully baked. If it’s sticking around the edges, run a knife around the perimeter before removing it from the pan.
♥️ Loved this recipe? I’d be thrilled if you’d rate it ⭐️ and share your experience in the comments below! Your ratings and comments help other readers discover this recipe and keep this blog going. Did you add any special tweaks? Our community of home cooks would love to hear about it! ♥️
📖 Recipe
Thick Soft yet Crispy Sourdough Focaccia Recipe
Click the heart icon ♡ above to save a recipe. To find your saved recipes later, click the heart icon on the right side of the screen near the search icon and select My Favorites.
Equipment
- 13 x 9, baking sheet, small sheet pan, casserole dish For rectangular focaccia (line with parchment)
- 10-inch cake pans (two) For round focaccia (line with parchment paper)
- large mixing bowl
- baking stone or steel optional but highly recommended
Ingredients
- 125 grams (0.5 cups) mature sourdough starter
- 375 grams (1 2/3 cups) water
- 10 grams (2.5 tsp) sugar
- 500 grams (4 cups) bread flour
- 15 grams (1 tbsp) olive oil
- 10 grams (1 3/4 tsp) salt
For the Topping
- 1/4 cup olive oil or as needed (and to drizzle after baked)
- 1 teaspoon salt coarse flaky salt is recommended for topping but use what you have on hand.
- rosemary (fresh or dried) as needed
Instructions
To Mix the Dough
- Mix the mature sourdough starter, sugar, water and flour into a shaggy mass of dough and set aside, covered, in a warm spot for 1 hour.
- After 1 hour has passed, add the salt and olive oil to the dough.
- Mix the dough well after the salt and oil have been incorporated. I like to scrunch/pinch it in, you can use your fingers to press it in and keep folding the dough until incorporated.
First Rise of the Dough
- Place the dough in a covered container and let it rise in a warm spot for about 1½ hours. During this time, perform a set of stretch and folds every 30 minutes (about 3 sets total). Try to keep the dough in a roughly square shape—a square baking dish helps. You can also coil fold the dough, which is a simple and very effective technique.
Final Rise of the Dough
- Place the dough on your baking sheet (which must be well-oiled; update: some bakers have reported sticky, so please use parchment paper if you are not using a well-seasoned baking sheet) and allow it to rest at room temperature in a warm location for 3 to 4 hours until it's nice and bubbly. It should spread out naturally on its own, but if it needs some help, gently stretch it.
- If you are using cake pans (10-inch), divide dough in half and gently place into the cake pans. (500 grams or 1 lb of dough in each one).
- Alternatively, instead of the 3 to 4-hour warm rise, place in the refrigerator overnight (or up to 2-3 days), cover loosely with oiled plastic wrap (so it doesn't stick to the dough), and bake the next day. The focaccia can be baked directly from the refrigerated state.
Baking the Focaccia
- Preheat your oven to 450 degrees and insert a baking stone or baking steel if you have one, in the center of the oven.
- Before baking, dimple the top of the focaccia heavily by pressing your fingers in the dough and pushing all the way down to the bottom. Do this repeatedly all over the top of the focaccia.

- Top your focaccia with olive oil, salt and rosemary (or whatever topping you'd like) and bake on the baking stone or steel for about 20 minutes until golden and the bottom is crispy.
- IMPORTANT: If you don't have a baking stone or steel, ensure you are baking the focaccia in the bottom third of your oven so the bottom gets nice and crispy.
- To finish, drizzle the baked focaccia with additional olive oil l
Notes
Make Ahead
For the best flavor, refrigerate the dough overnight after shaping. It may be refrigerated for up to 2 to 3 days before baking. Bake directly from the refrigerator.Storage
Sourdough focaccia is best enjoyed the day it is baked but may be stored in an airtight container at room temperature for up to 2 days.Freezing
Freeze sliced focaccia in a freezer-safe bag for up to 3 months. For best results, flash-freeze the slices on a baking sheet first, then transfer them to a freezer bag. Alternatively, wrap individual slices in plastic wrap before freezing.Leftover Ideas
Leftover focaccia can be turned into homemade croutons or dried and processed into breadcrumbs. Nutrition calculated at 1/6 of the recipe using the 13×9 pan. May use a baking sheet or pan that is 13 x 9 (for 1000 grams/2 pounds of dough) or two cake pans (10-inch) holding 500 grams/1 pound of dough each. Note that the focaccia will be a little bit thinner using the cake pans (but also less calories per slice!). Slightly adapted from Baking Bread in the NetherlandsNutrition
Frequently Asked Questions
Can I use sourdough discard?
No. This recipe relies on an active sourdough starter for leavening. Sourdough discard will add flavor but won’t provide enough lift to create the light, airy texture this focaccia is known for. Looking for ways to use extra discard? Try my Sourdough Discard Pretzel Bites.
Can I refrigerate the dough for more than one night?
Yes. The dough may be refrigerated for up to 2 to 3 days before baking. A longer cold proof can actually improve flavor while giving you more flexibility with timing.
Do I need a baking stone or baking steel?
No. A baking stone or steel helps create a crispier bottom crust, but you can still make excellent focaccia by baking it in the lower third of your oven.
Can I use all-purpose flour instead of bread flour?
Yes, but bread flour will produce a slightly chewier texture and better structure. If using all-purpose flour, expect a slightly softer finished focaccia.
Focaccia Topping Ideas
One of my favorite things about focaccia is how versatile it is. Keep it simple with olive oil, rosemary, and flaky salt, or dress it up with vegetables, cheeses, meats, or even sweet toppings. Just be careful not to overload the dough, as too many toppings can weigh it down and affect the rise and texture.
No matter which combination you choose, finish with a drizzle of olive oil and a sprinkle of salt for the best flavor.
Classic Toppings
- Rosemary, coarse salt, and olive oil
- Roasted garlic and rosemary
- Caramelized onions
Vegetable Toppings
- Cherry tomatoes and pesto
- Tomatoes, olives, and feta
- Roasted eggplant or zucchini
Pizza-Inspired Toppings
- Pizza sauce and cheese
- Pepperoni and cheese
- Sausage and cheese
Unique Toppings
- Grapes and fennel seeds
- Olives and lemon zest
- Balsamic reduction
- Thinly sliced potatoes and rosemary
Ways to Serve Sourdough Focaccia
This sourdough focaccia is delicious on its own, but it’s also incredibly versatile. Here are some of my favorite ways to enjoy it:
- Toast leftover slices and top with ricotta, tomatoes, or roasted vegetables.
- Slice it horizontally and use it for sandwiches (homemade Italian meatballs are great here).
- Grill it for panini.
- Serve it alongside soups, stews, or chili.
- Pair it with pasta dishes instead of garlic bread.
- Add it to an antipasto or charcuterie board.
- Serve it with olive oil and balsamic vinegar for dipping.
- Use it as a base for pizza-style toppings.
Hi Marie, your recipe is the first sourdough focaccia I tried and everyone loves it!
I proof in the fridge overnight, then allow it to rest/proof in a well oiled cast iron pan for a couple of hours
I’d love to try it in cast iron! Great idea!
Is this made with discard or active starter?
It’s made with active starter
GREAT foccacia! Super easy and delicious – will definitely make again
This is the very first recipe I tried with my starter (her name is Doughlene) that I’ve been growing for months and months…
It turned out SO good. Honestly I’m in love with this bread, the process is super easy and not a crumb of it is wasted:)
I used a 9×13 Pyrex baking dish and like some in the reviews I’ve read, it acted like it wanted to stick to the bottom. I used a good metal spatula to get under it and it ended up working fine. And gawd, it’s worth it to save that gorgeous crispy bottom:)
Thanks so much for such a great recipe! I can’t wait to try your others:)
I believe this bread has potential, but I too had the glued to pan end result and chiseled it out of the pan. Still edible, and a good chewy texture. It’s probably my error. The pan size I find confusing, because a 9 x 13 half sheet pan is shallow. The dough rises above the lip of the pan and makes it hard to keep it covered with the plastic wrap. I may try a 9 x 13 metal cake pan – what do you think about that?
I will try it again – this time proofing in the refrigerator overnight, but to do that, you have to make it later in the day so it does not proof too long…..is this correct? Thank you very much.
A metal cake pan would definitely work!
Plan to try this recipe but I have a couple of questions: 1). Are you doing the stretch and folds during the first 1 1/2 hr. Rise or are you letting the dough rise for 1 1/2 hrs. and then doing the stretch and folds?
2). Can the 9×13 pan be clear glass or does it need to be metal?
The folds are done over the first 1.5 hours, every 30 minutes, followed by a 3 to 4-hour rest at room temp (or fridge – See instructions). I haven’t tried glass; metal will give you much more crispiness.
Never really rose well for me, came out flat. Definitely not light light and fluffy.
How active was your starter? Did it double or triple within 4 to 6 hours? It won’t be light and fluffy if your starter isn’t active and if it’s too cold or chilly.
Just making this recipe now. I am wondering if I should leave it on the counter to rise if I want to put it in the fridge overnight to give it a better flavor? Can I do both, counter and fridge at the same time?
Recipe looks so awesome, just what I am looking for I think, hope it will turn out for me.
Thank you for any reply
The recipe was tested using the extended warm rise OR the overnight rise in the fridge. The fridge rise works as dough continues to rise until the temperature has been reduced to the fridge temp, and so if you do both counter and cold rise, your dough will have a final rise of much more than 4 hours. It may work, but it may not – I’m sorry, I can’t say. If you want to try it, let us know how it works!
What size is the sheet pan in your images and how much dough are you using?
The recipe makes about 1000 grams of dough (~2 pounds) and I used a quarter sheet pan (9 x 13) – I also give instructions for using cake pans (two 10-inch pans).
I made this and we ate it with barbecue pork. I have never had so many people rave about anything I’ve ever made before like they did with this! This is a fantastic recipe, definitely a keeper!
How do I make this into pizza? Do I cook the foccacia partway first then add toppings? or put toppings on the fresh dough and cook as per usual? Any tips that you can share would be greatly appreciated as there seems to be different ways to do this according to my search!
Thank you!
Great question! I would par-bake it for about 5 to 8 minutes (same temperature as for focaccia; no toppings), then take it out of the oven, sauce it up, add the toppings/cheese, and return to bake for the remaining time (up to 15 to 20 minutes). You can start baking on the rack just below the center, and if you find the top is getting browned/baked sooner than the bottom is getting enough color, move the pizza down. If you put the dough in the oven directly from the fridge (assuming you do a cold-proof), it will bubble a ton, so I’d suggest bringing the dough to room temp to prevent that.
so clear, thank you very much for the quick and clear response! And by the way, I absolutely love this recipe! My friend that bakes a ton says it’s the best focaccia she has ever had and my other Italian friend says that it is delicious! Our family enjoys eating this often 🙂
I was very excited to make this sourdough focaccia bread. I have made many loaves of sourdough bread on parchment in a Dutch oven, to great success, and have been baking for 50 years. So, I followed your recipe. The dough had a nice consistency and I got a decent proof out of it.
The problem was following your instruction to put the dough into a well-oiled pan. I thought, jeez, maybe I should do like usual and put in a parchment or a silicone mat, but no, I followed your recipe. Well-oiled pan, check.
And after baking, everything looked great. Until I tried to get it out. My focaccia was GLUED to the bottom of the well-oiled pan. Glued. Had to chisel that damn thing out. After hours of careful tending, the bread was ruined.
You’ve got to fix your recipe. I’d like to make this again, but I need a recipe that does not result in a glued-in loaf. I assume parchment would have resolved this, or perhaps a silicone mat. I don’t know. With my sourdough, I ferment in a regular bowl, cold ferment on a cloth in the frig, flop it out onto lightly oiled parchment and pop that into a hot Dutch oven.
I’m a little confused because I have well seasoned pans and it doesn’t matter if they are lightly oiled or well oiled – plus that’s a bit subjective. If you repeat this recipe and have success with lightly oiled pan please report and let me know? Edited to say: According to what I’m reading some solutions may be spraying pan first with cooking spray followed by olive (creates an extra layer of protection), using more oil (which clearly has not worked for you), using semolina or cornmeal with the oil (have also read that rice flour is a good choice as it doesn’t absorb into the dough), using parchment paper, or using a hotter oven to create an “immediate crust”.
For another data point, I wanted to share, I’ve made this about 6 times now and it has popped out of the pan with zero issues? Interesting to read about a completely different outcome.
You’ve got to fix your tone, Steve.
I’ve made this three times so far and each time the bottom of the bread is cemented to my pan and refuses to release! Any tips so I don’t end up ripping it to pieces trying to remove from the pan? I promise I used an insane amount of oil to grease up the pan!
Hi Kelly, you and Steve are the first I’ve heard report the sticking – Steve is going to try a lightly oiled pan. I’d suggest a parchment lined pan or perhaps just try a light oil. I have very well seasoned pans so perhaps that’s the disconnect.
So it tastes great but I had so much trouble making the bubbles when I dimpled the dough! I did it cold from the fridge. Any reason why? The second pan I did I took it out and let it room temp a little before baking but making those airy bubbles was still not easy and I only have a few small ones
My first thought is that there was not enough air in the dough. That could mean one of two things. The dough didn’t rise well enough either because of time or because maybe your starter isn’t that active? I like to see my starter double or ideally triple in 4 to 6 hours after feeding it.
I know how to use starter as I bake regular loaves all the time. My starter was extremely active and bubbly and the exact amount I needed. Maybe I needed to leave it out on the counter longer? Also— when you say shaggy for the initial mix, does that mean you don’t mix it well enough to bring all the ingredients together? I mixed it as I usually mix my regular loaves which means it forms a dough (like a stretch and fold dough shape) and I imagine shaggy means something different? TIA
By shaggy, I meant mixing to the point that all the flour has been incorporated; you don’t need to mix until the gluten starts developing. As far as dimpling being difficult, if it’s because it’s too sticky, I’d oil my hands a bit, but if you mean the dough wasn’t puffy enough to hold any dimples, I’d say a longer proof in a warm environment should do it especially if your starter is super active. Push the proofing longer.
The recipe won’t let you click on options for quantities such as 1x
1.5x can you fix it please, I love this recipe it’s my favorite and so easy.
Hi Cindy,
we are looking into this now. Thank you for your comment. I will update this as soon as it’s fixed!All fixed! Thanks for letting us knowThe best tasting focaccia bread I have made or bought!! Thank you.
Turned out beautifully! Such and easy recipe to follow. I added another set of stretch and folds and let it do the final rise for 4-5 hours (kitchen temp: 71F). Mine took 25min to bake. I will definitely be making again!
Hi Marie!
Thank you for sharing this amazing recipe.
I’m typing this as I’m sitting here enjoying a piece of the focaccia with my cappuccino.
I followed the recipe, but omitted the sugar which resulted in having to proof the dough for longer.
The result was great and this will be a regular in my weekly bakes. 🙂