Philadelphia Sticky Buns
This post may contain affiliate links. For more information, please see our disclosure policy.
This gem of a Sticky Bun recipe is from a weathered 1990s Philadelphia community cookbook, tucked between pages spotted with vanilla extract and butter stains from decades of Sunday morning baking.
It’s exactly the kind of recipe I can’t resist – one that’s been passed down through generations of Pennsylvania Dutch bakers who knew their way around a sticky bun. (And if you’re as smitten with yeasted morning buns as I am, you might want to bookmark these pumpkin cinnamon rolls.)

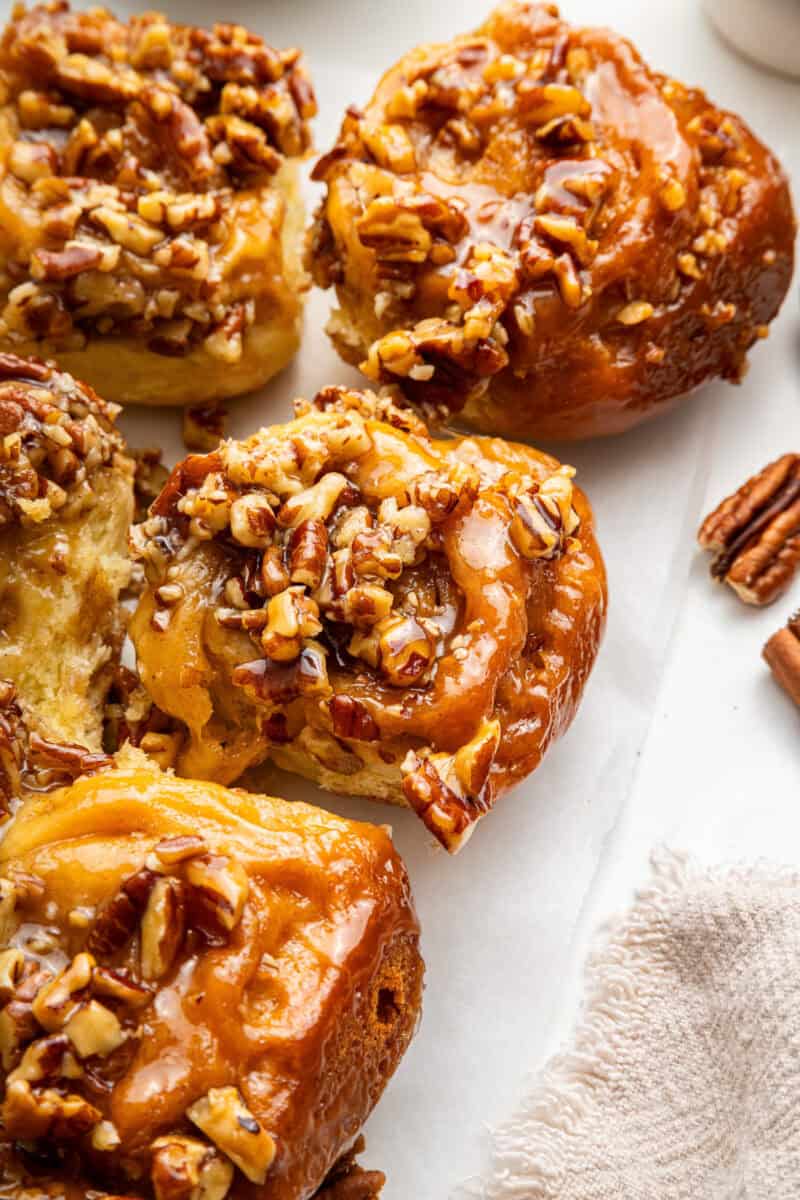
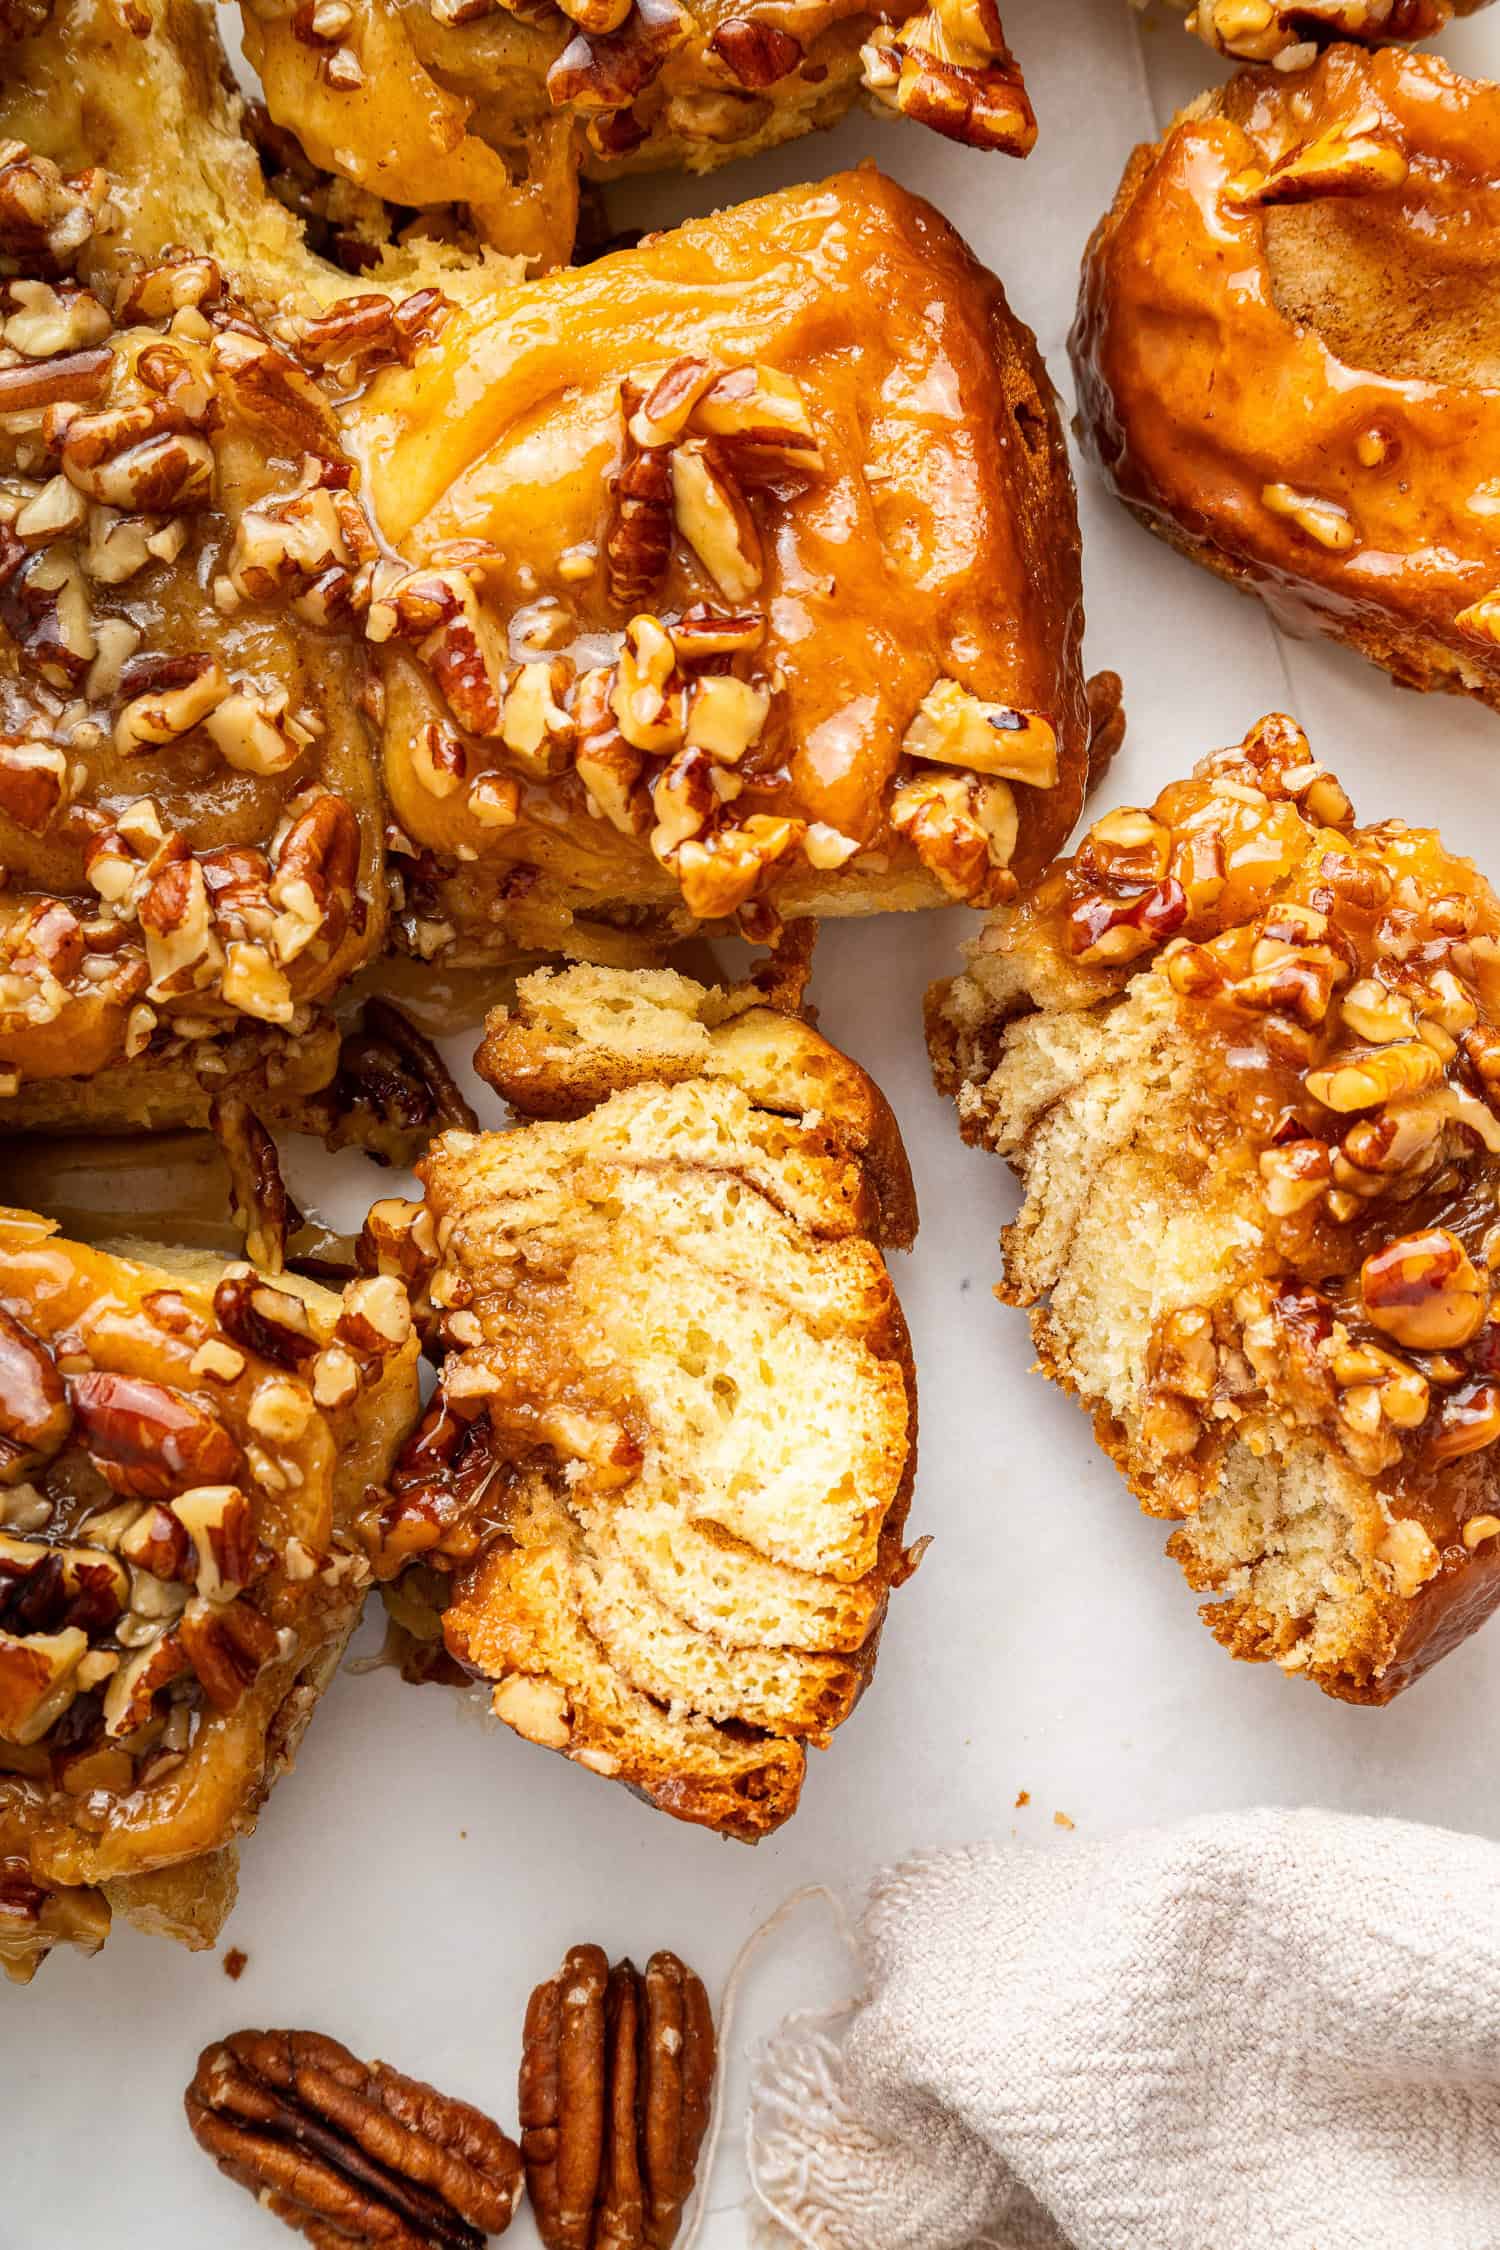
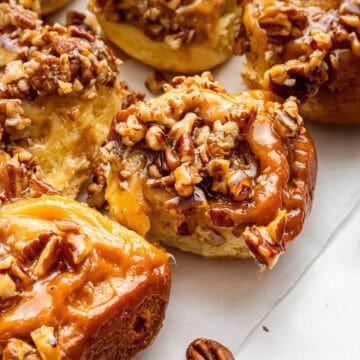
These buns emerge from the oven all glossy and golden, each spiral of tender dough hugging just the right amount of cinnamon sugar, while the topping – beautifully glassy and thick is absolutely worth getting your fingers sticky for!
The dough itself is pillowy soft (hello, milkbread), and it makes you understand why people used to (and still do) line up at farm stands just for these.
Why Make This
- Warm, soft, and irresistible (hard to eat just one – this may be good or bad!)
- Buttery dough with the prettiest glossy glaze
- Bakery-level results!
- Ideal for holiday mornings
Ingredient Notes
This recipe uses simple, pantry staples like flour, butter, and cinnamon, with optional nuts or raisins for added texture.
You may not have corn syrup on hand, but it’s important because it helps create that smooth, shiny glaze that doesn’t crystallize, ensuring the perfect topping for your sticky buns.
- Butter: Make sure to soften it (leaving it out at room temperature for a bit helps) for easier spreading and to melt for the glaze.
- Corn syrup: This helps create a smooth, glassy glaze and prevents crystallization.
- Nuts/Raisins: Optional, but add great texture! Soaking raisins makes them extra plump and soft.
Variations & Substitutions:
- Swap the raisins for dried cranberries or leave them out altogether if you’re not a fan.
- Use dark corn syrup for a deeper caramel flavor or try maple syrup for a subtle twist (please note that using maple syrup instead of corn syrup may result in buns that are less glossy. The glaze may still taste great, but it will likely be a bit less shiny and more prone to crystallizing.)
- Add orange zest to the dough or filling for a citrusy kick.
Method Overview
First, you’ll make a simple dough by heating milk, butter, sugar, and salt, letting it cool before mixing it with yeast and flour.
After a short rise, the dough is rolled out, spread with butter, and sprinkled with cinnamon sugar. You’ll roll it up, slice it into buns, and place them on top of a simple glaze made with brown sugar, butter, and corn syrup.
Once the buns rise again, bake them until golden brown. After a short cool-down, flip the pan to let the caramel ooze down the sides of the buns—delicious!
Tips & Techniques
- Don’t add yeast to hot milk: Wait until the milk mixture cools to lukewarm (105-115°F), or the heat will kill the yeast, preventing the dough from rising.
- Add flour gradually: Incorporate flour slowly toward the end, using only as much as needed to make a soft, slightly sticky dough that pulls away from the sides.
- Shape an even rectangle first: Roll the dough into a uniformly flat and even rectangle. This helps create buns that are all the same size and bake evenly.
- Roll tightly and evenly: When rolling the dough, start from one long end and roll it slowly and tightly, pulling gently and patting the ends to keep the roll even and prevent bulging at the ends.
- Let the buns get puffy during the final rise: Allow them to rise until they fill the pan, which ensures they bake up soft and fluffy without needing a poke test!
- Use a serrated knife for cutting using very gentle pressure: This helps slice the buns cleanly without squishing the dough.
- Let them cool a bit before flipping. Waiting 10 minutes (but not longer!) ensures the caramel thickens and doesn’t run over the buns.
♥️ Loved this recipe? I’d be thrilled if you’d rate it ⭐️ and share your experience in the comments below! Your ratings and comments help other readers discover this recipe and keep this blog going. Did you add any special tweaks? Our community of home cooks would love to hear about it! ♥️
📖 Recipe
Philadelphia Sticky Buns
Click the heart icon ♡ above to save a recipe. To find your saved recipes later, click the heart icon on the right side of the screen near the search icon and select My Favorites.
Equipment
- small saucepan to cook the base glaze
- Standing mixer
- large bowl for rising the dough
- 9 x 13 baking pan for baking the buns
Ingredients
For the Dough
- 1/2 cup milk
- 1/4 cup sugar
- 1/2 teaspoon salt
- 1/3 cup butter
- 2 teaspoons instant dry yeast See NOTE 1 if using active dry yeast
- 2 large eggs Room temperature, beaten
- 3 to 4 cups all-purpose flour See TIPS in Notes section.
For the Filing
- 2 tbsp butter softened
- 1/2 teaspoon cinnamon
- 1/3 cup sugar white or brown
For the Caramel Base Glaze/Topping
- 3/4 cup packed brown sugar
- 1/2 cup light corn syrup
- 1/4 cup butter
- 1.5 cup nuts pecans or walnuts (see NOTE 2)
Instructions
For the Dough
- Combine Ingredients: In a saucepan, combine milk, sugar, salt, and butter. Heat the mixture until the butter melts. Allow it to cool to lukewarm (it takes about 30 minutes to cool) (approximately 105°F to 115°F). After it is barely warm, add yeast (if you add it when it's too hot, you will inactive your yeast.) See NOTE 1 if you are using active dry yeast.
- Mix Dough: Pour the milk-butter mixture into the bowl of a standing mixer and add the beaten eggs and 2 cups of flour. Beat until smooth using paddle attachment.
- Add Flour: Switch to dough hook, Gradually add just enough of the remaining flour to form a soft, slightly sticky but manageable dough – you may not need all of the flour! Add more flour, one tablespoon at a time if dough is not coming away from sides of mixing bowl as you knead.
- First Rise: Place the dough in a greased bowl, turning to coat the top with grease. Cover and let rise in a warm place until doubled in size, about 60 minutes – alternatively, you can place the dough in a plastic bag and place in your refrigerator for the next day.
To Form the Buns and Fill
- Shape Dough: Shape the dough into a rectangle (bring to room temperature if you refrigerated the dough). Use a bit of flour under and on top to prevent sticking. Roll the dough into a 15 x 10-inch rectangle on a lightly floured surface.
- Add Fillings: Spread a thin layer of soft butter over the dough. Mix the cinnamon and sugar, and evenly sprinkle on the butter.
- Roll: Starting from the long end, roll the dough jelly-roll style, pulling gently as you roll from left to right (and vice versa) to ensure a tight, even roll. Gently pat the ends as you go. If the ends are uneven, carefully trim them. When slicing, use a very sharp, serrated knife, like a bread knife, and apply minimal pressure while using a gentle back-and-forth sawing motion for clean, even slices.
- Cut the roll into 12 equal pieces without squishing the dough. I use a very sharp serrated knife and gentle back-and-forth sawing motions. To make it easier, cut the log in half, then cut each half in half again. Finally, gently mark each of the four sections into thirds with shallow cuts before slicing through for evenly sized buns.
Base Caramel Glaze
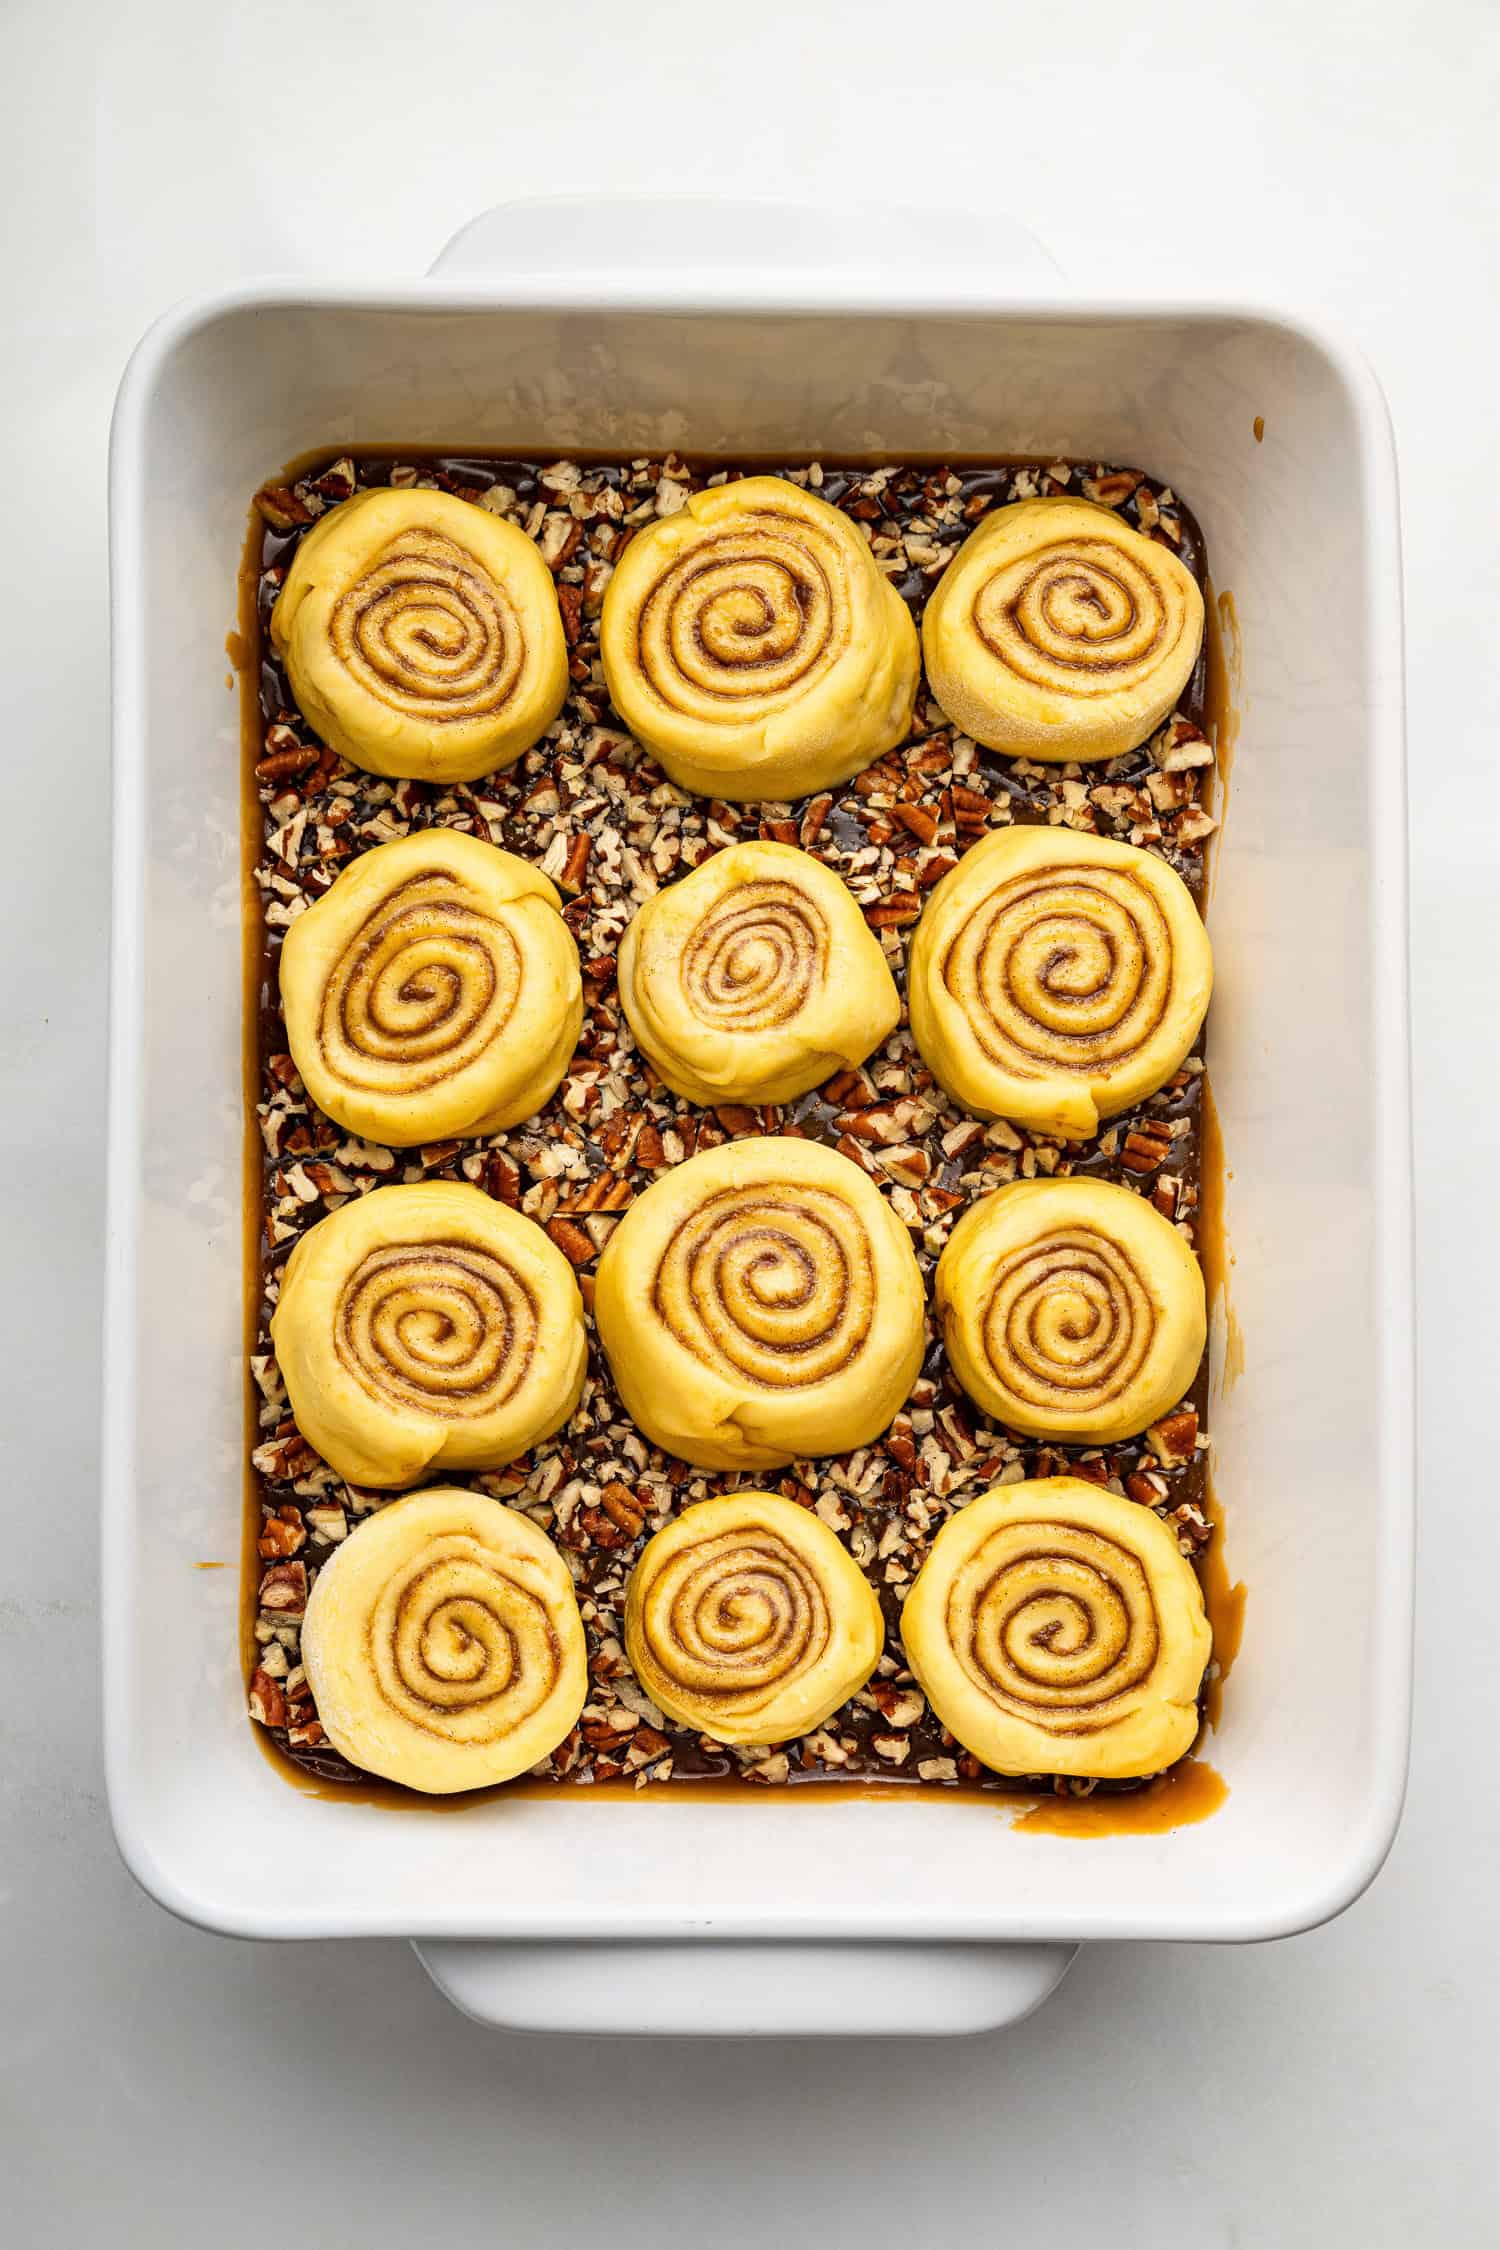
- Make Glaze: Combine brown sugar, corn syrup, and 1/4 cup butter in a small saucepan. After everything is melted, simmer gently for about 1.5 to 2 minutes, stirring only until ingredients are melted and mixed and not afterward, then pour into the bottom of your baking pan. Sprinkle the nuts on top of the glaze.
- Place Buns: Allow the glaze to cool slightly, then place the buns cut side down onto the glaze.
Final Rise and Preheat Oven
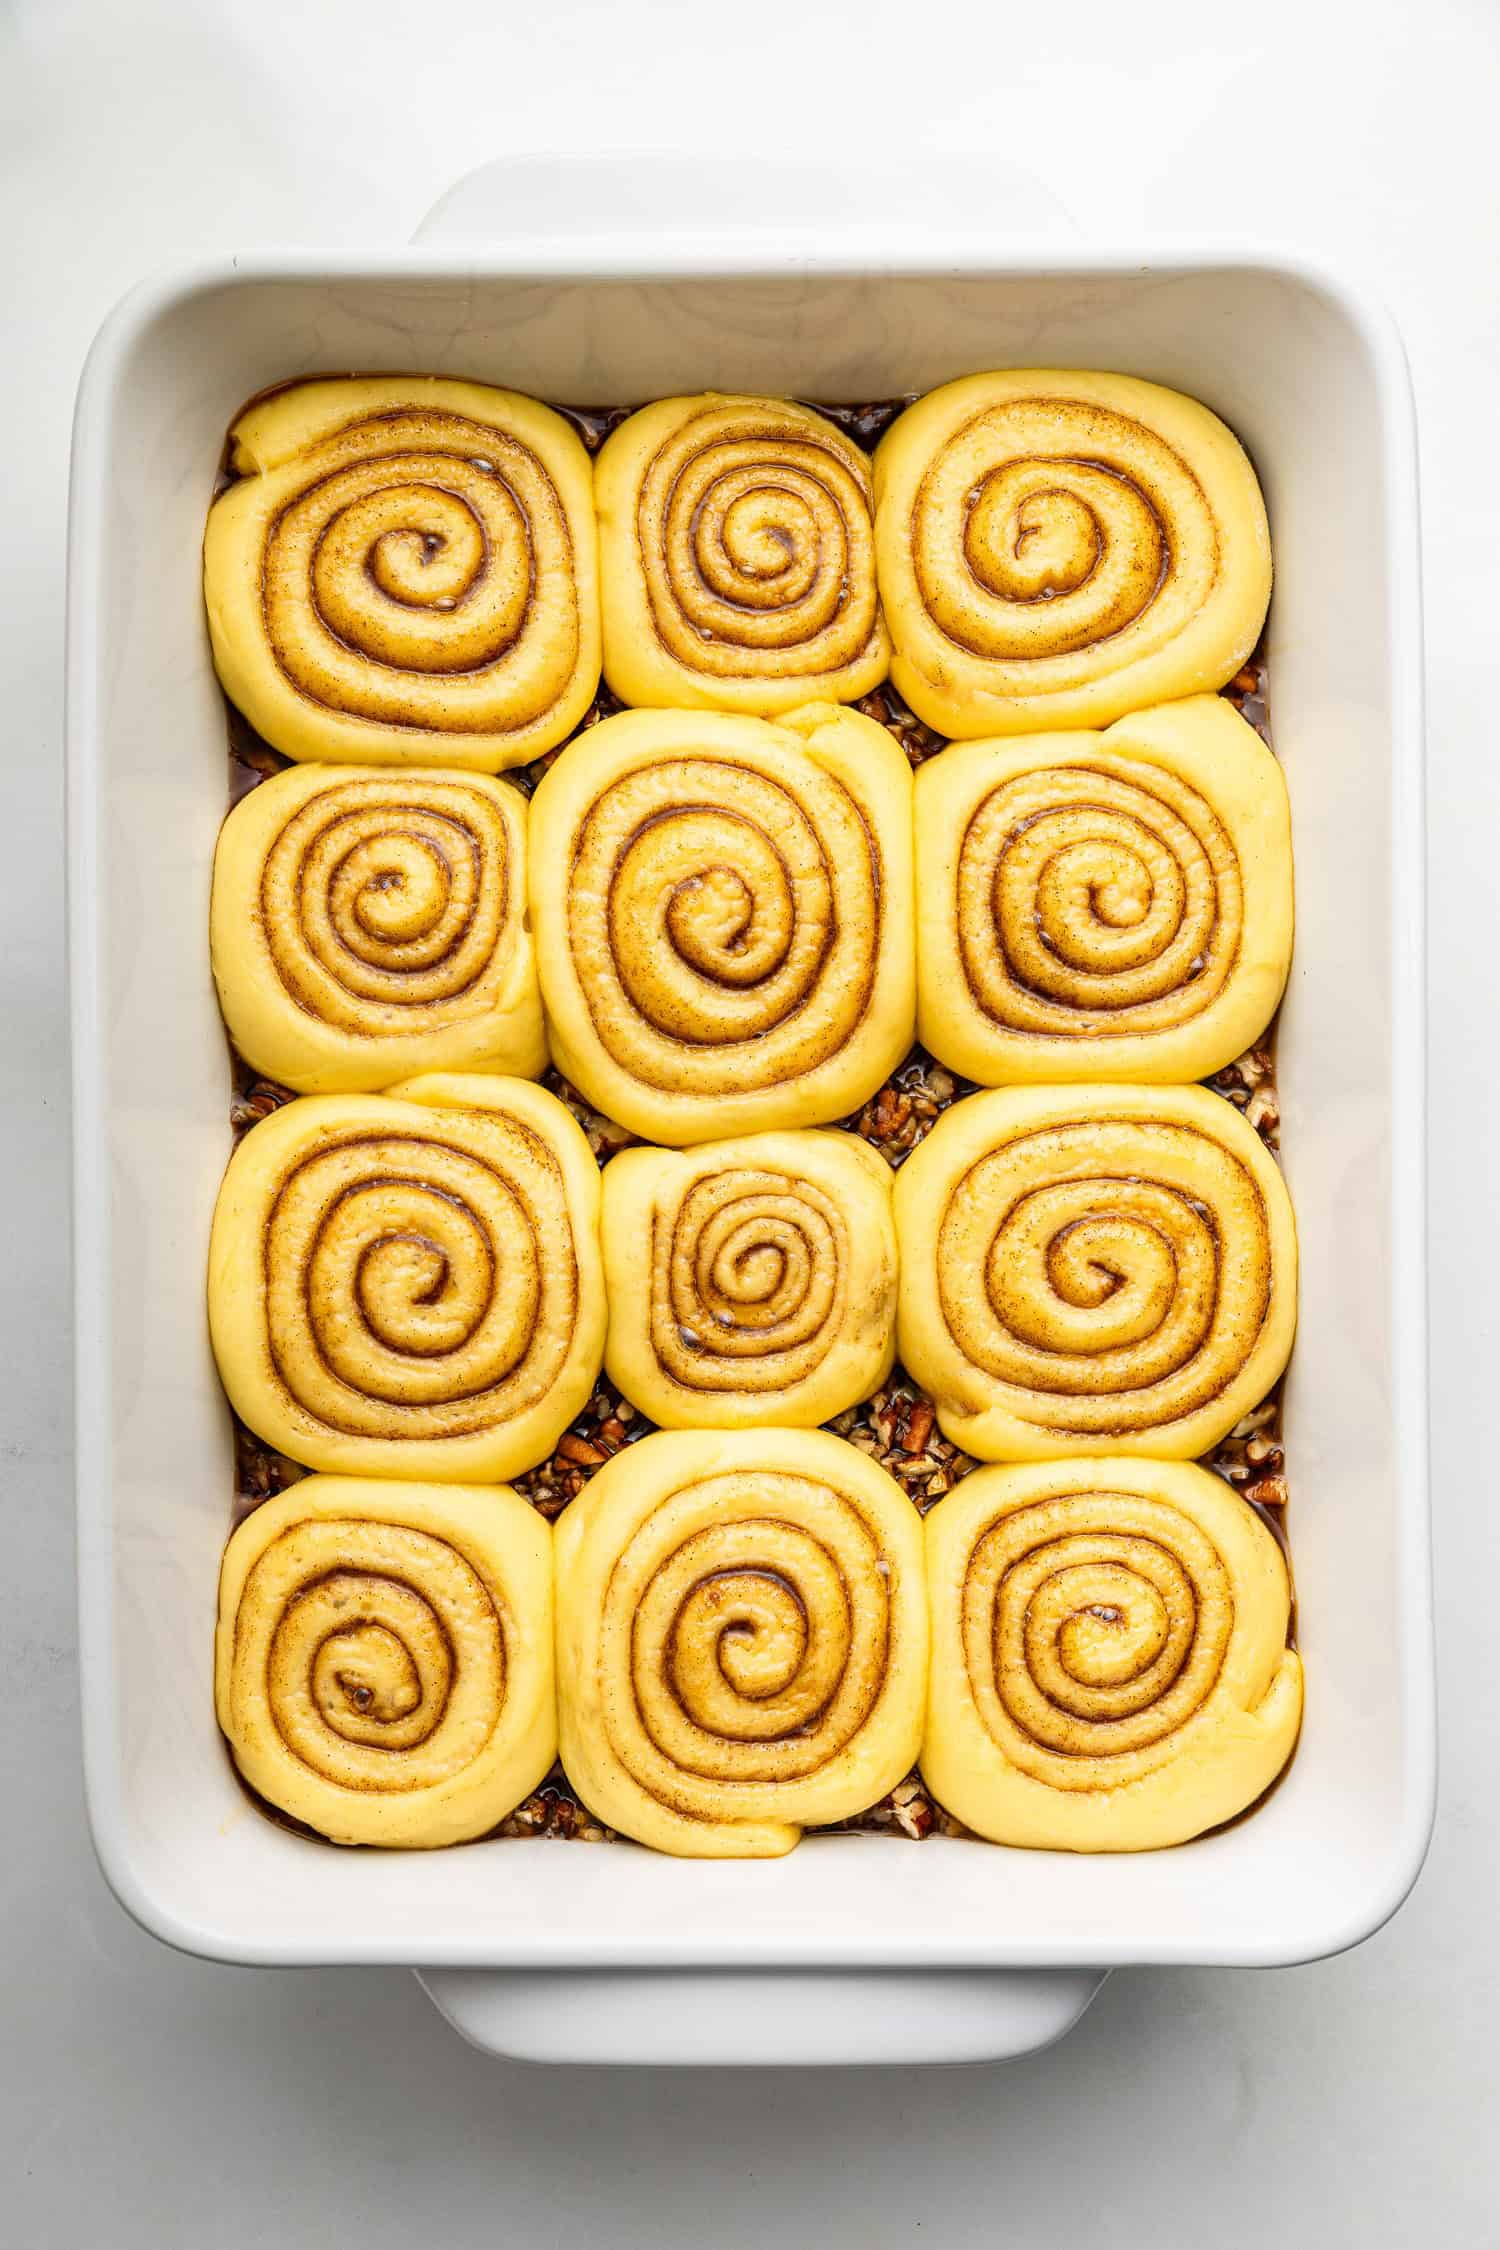
- Cover the buns and allow them to rise for about 20 to 40 minutes or until they almost fill the pan after rising. Preheat your oven to 375°F while they are rising.
For Baking and Serving
- Bake the buns for 20 to 25 minutes, or until golden brown in the bottom third of the oven, then cover loosely with tin foil and bake for another 15 minutes to ensure the bottom is browned.
- Remove from oven and let rest 10 minutes to set the glaze. Place a parchment-lined tray on top of the buns, then quickly flip both trays together to invert. Let the topping drip over the buns for a few minutes before lifting off the pan.
- If it has firmed up too much, you can return it to a warm oven to loosen the bottom. Be sure to scrape out any topping in the pan and add to the top of the buns.
- Serve the buns warm for the best flavor and texture.
Notes
-
- Don’t add yeast to hot milk: Wait until the milk mixture cools to lukewarm (105-115°F), or the heat will kill the yeast, preventing the dough from rising.
- Add flour gradually: Incorporate flour slowly toward the end, using only as much as needed to make a soft, slightly sticky dough that pulls away from the sides.
- Shape an even rectangle first: Roll the dough into a uniformly flat and even rectangle. This helps create buns that are all the same size and bake evenly.
- Roll tightly and evenly: When rolling the dough, start from one long end and roll it slowly and tightly, pulling gently and patting the ends to keep the roll even and prevent bulging at the ends.
- Let the buns get puffy during the final rise: Allow them to rise until they fill the pan, which ensures they bake up soft and fluffy without needing a poke test!
- Use a serrated knife for cutting using very gentle pressure: This helps slice the buns cleanly without squishing the dough.
- Let them cool just a bit before flipping. Waiting 10 minutes ensures the glaze thickens and doesn’t run over the buns.
– Sticky buns are best on the first day and still good on the second day.
– By the third day, reheat in the microwave for 30 seconds to soften.
– Freeze buns you won’t eat within two days to maintain freshness.
– Wrap them tightly, freeze in an airtight container for up to three months.
– Thaw baked sticky buns at room temperature for best freshness.
– If freezing before baking, thaw the dough in the fridge overnight to control proofing.
– After thawing unbaked dough in the fridge, let it rise at room temperature before baking.
– Avoid refrigerating baked buns, as it can make them go stale faster.
– To freeze before baking, thaw overnight in the fridge, then let rise before baking.
These are delicious so nice and gooey. I love sticky buns and this is my favorite recipe