Cranberry Nut Bread (No Knead)
This post may contain affiliate links. For more information, please see our disclosure policy.

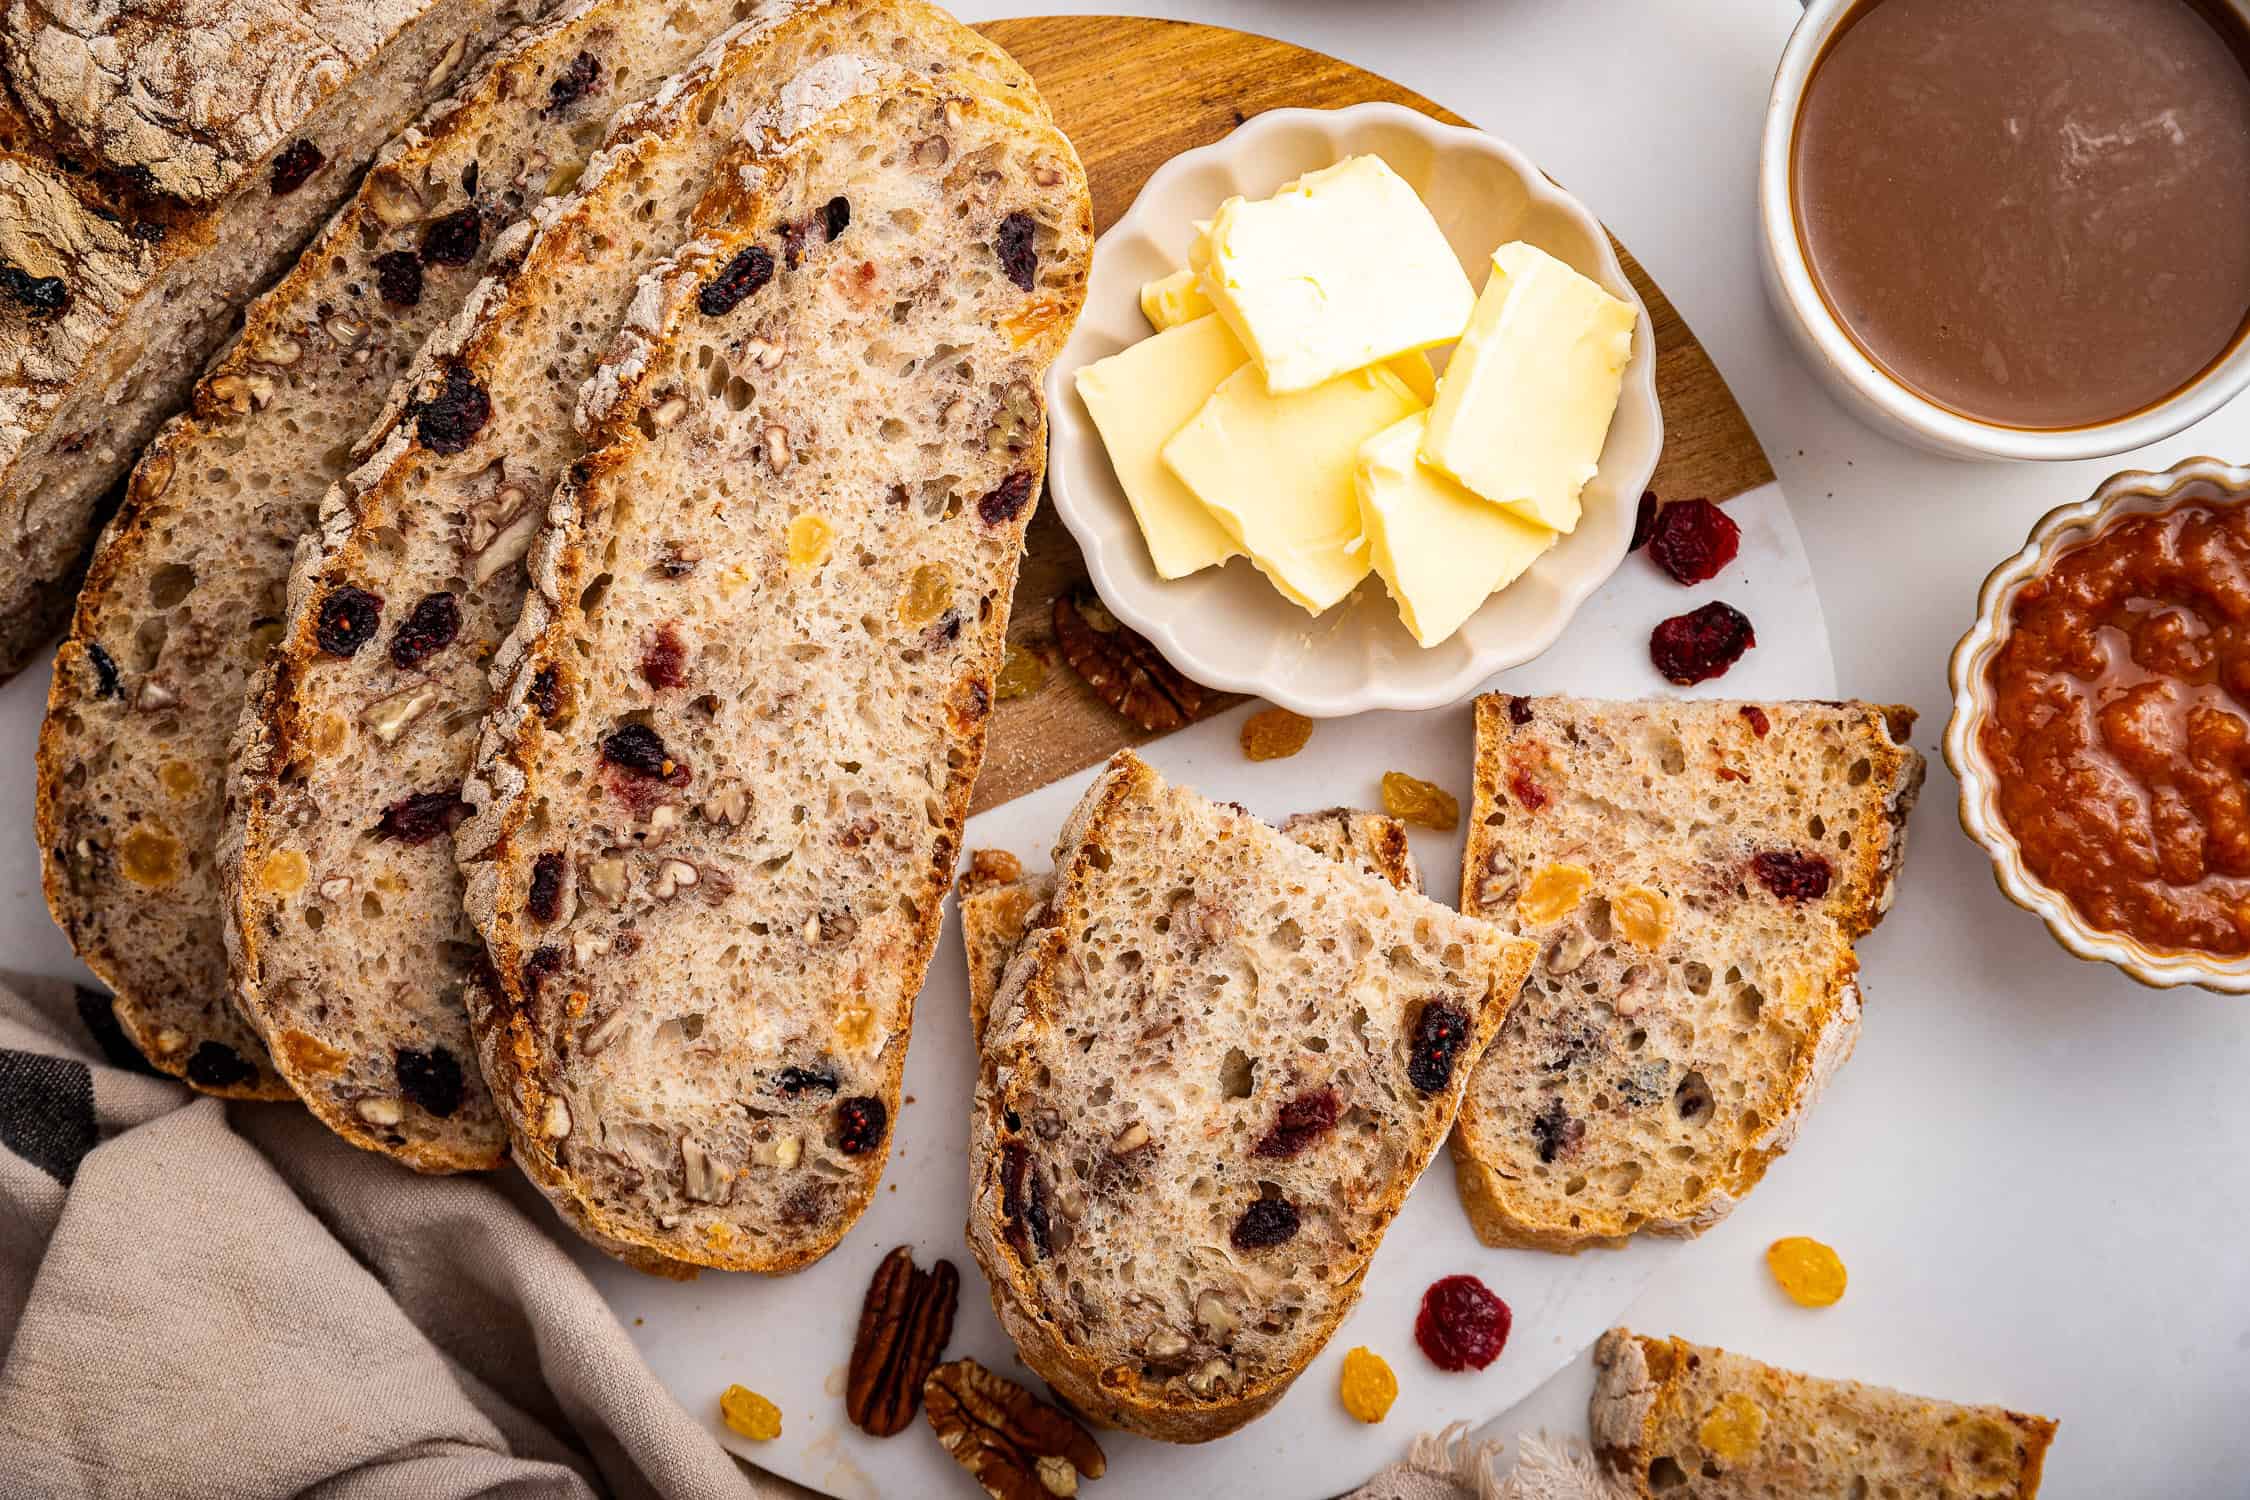
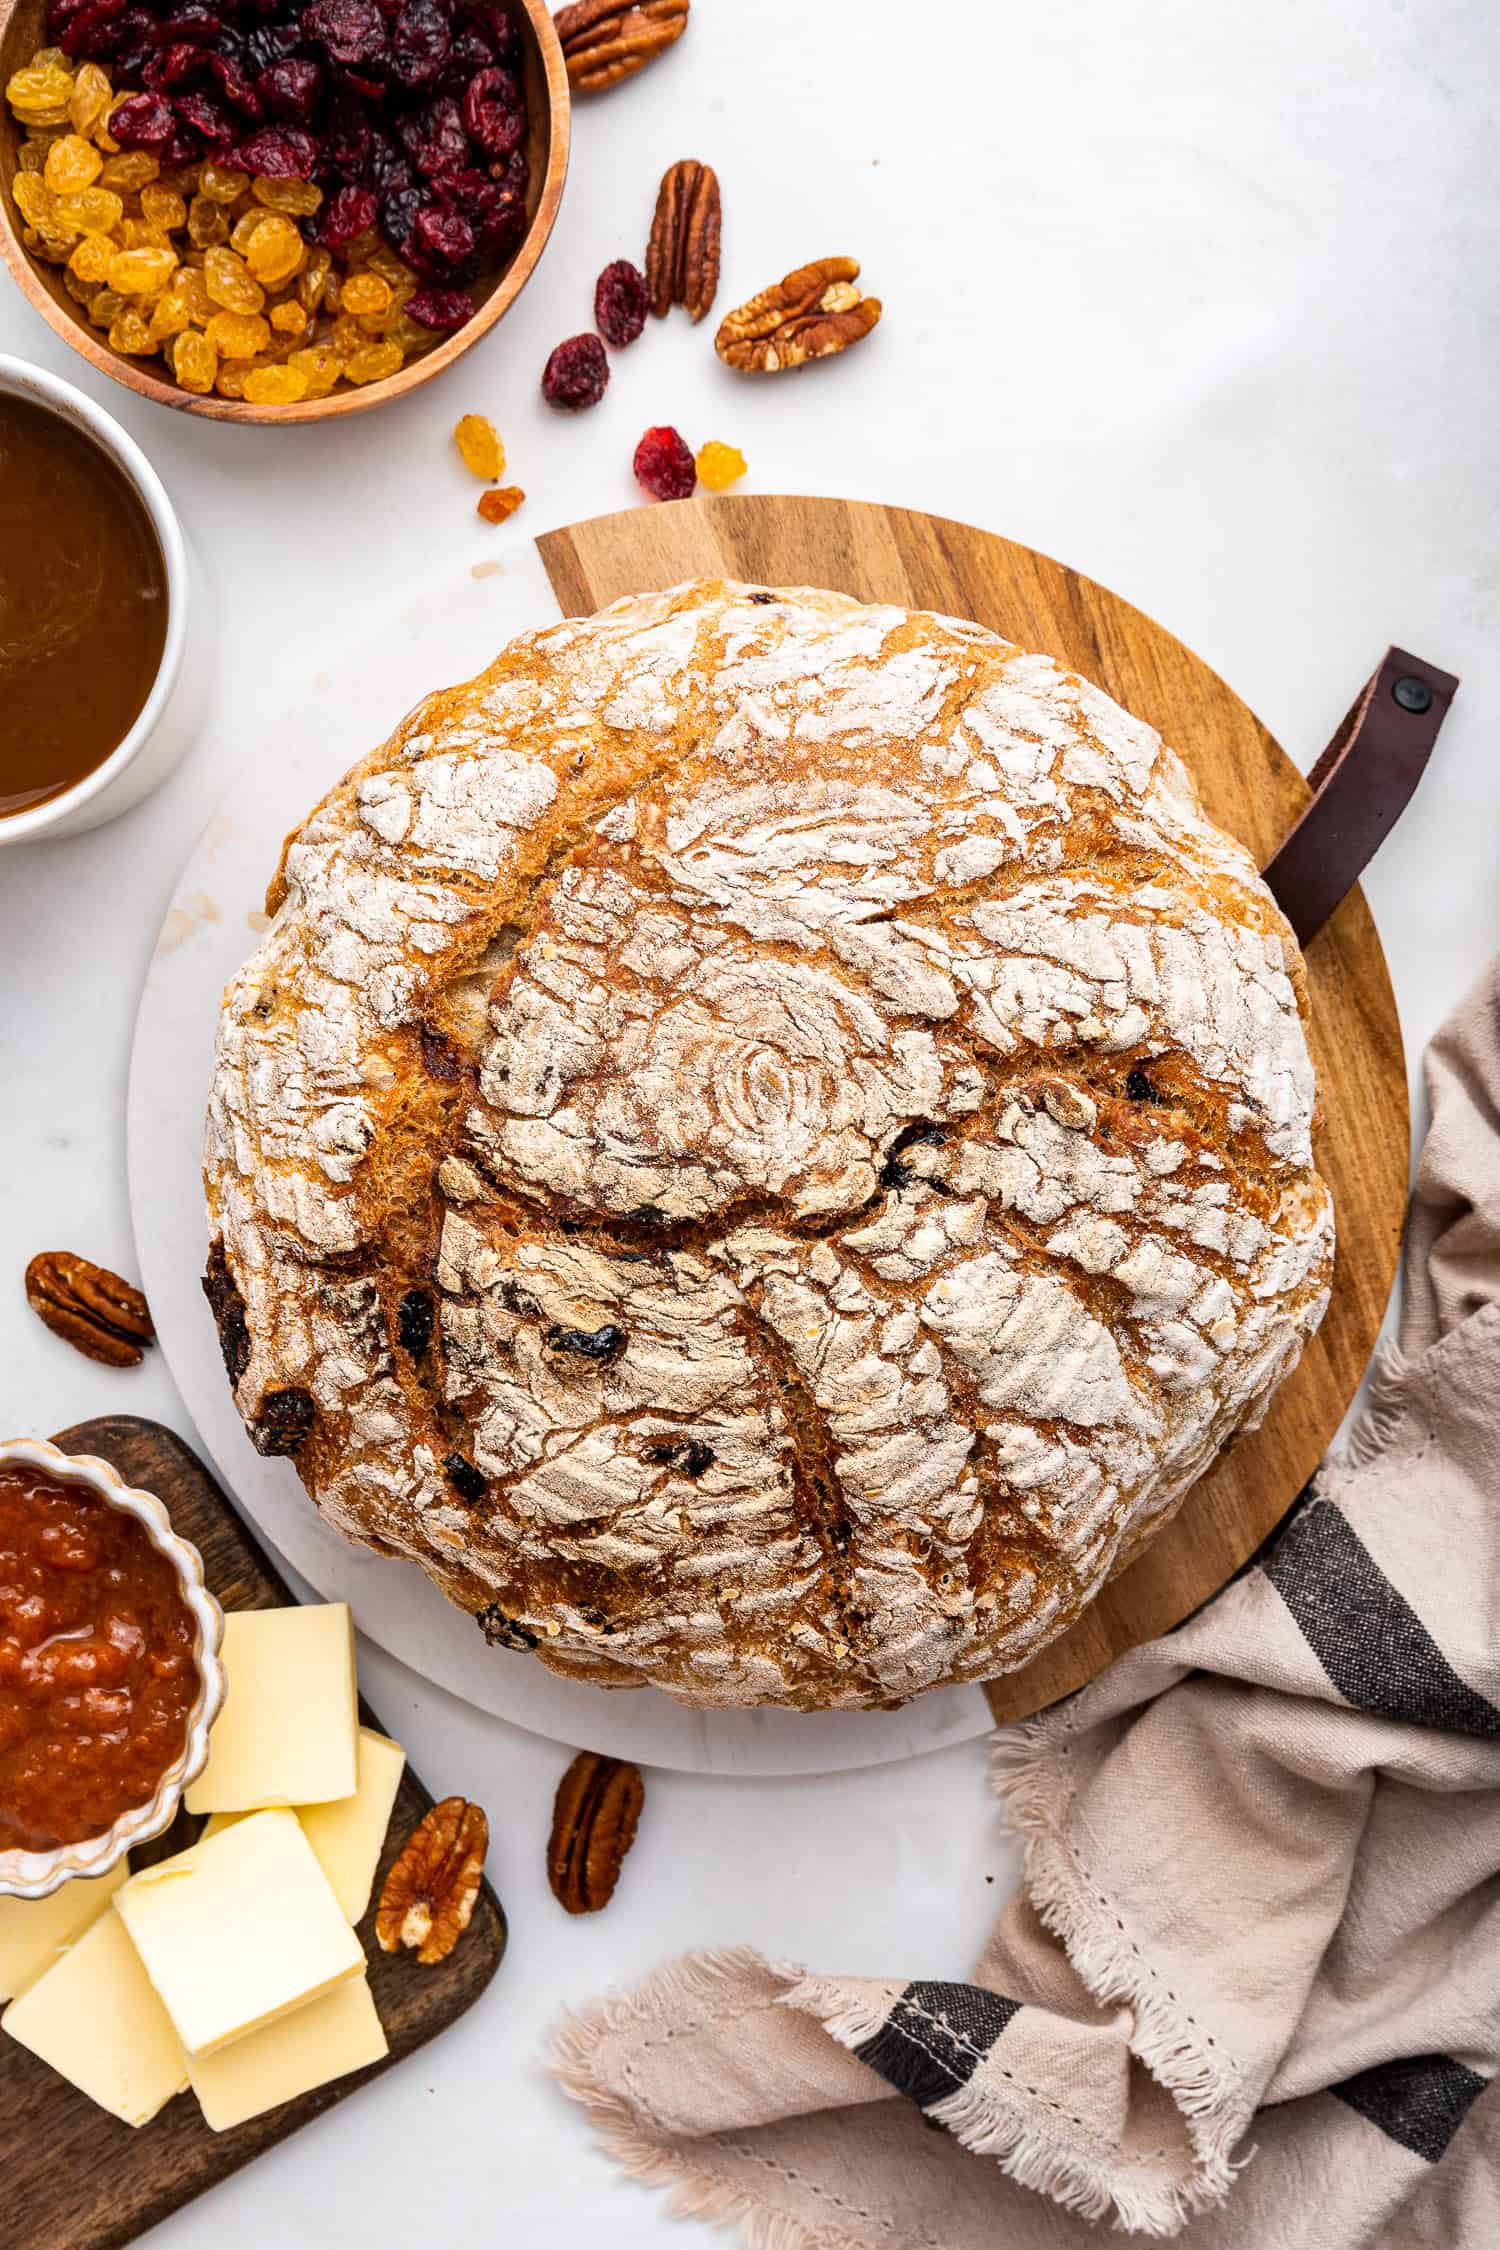
I love this cranberry nut bread for its perfect mix of tart cranberries, sweet raisins, and crunchy nuts, all baked into a beautifully textured loaf. It’s a fall favorite! With an easy overnight rise, baking the next morning is effortless. It’s definitely a must-try this season!
This particular loaf never lasts long in this house. I like to have a slice in the morning, with a bit of butter on top, but anytime is good if you ask me.
What Make This?
- Easy overnight rise means minimal work in the morning.
- The perfect balance of tart, sweet, and crunchy flavors.
- So versatile! Great for breakfast, snacks, or with meals.
- The seasonal ingredients make it ideal for fall!
Ingredient Notes
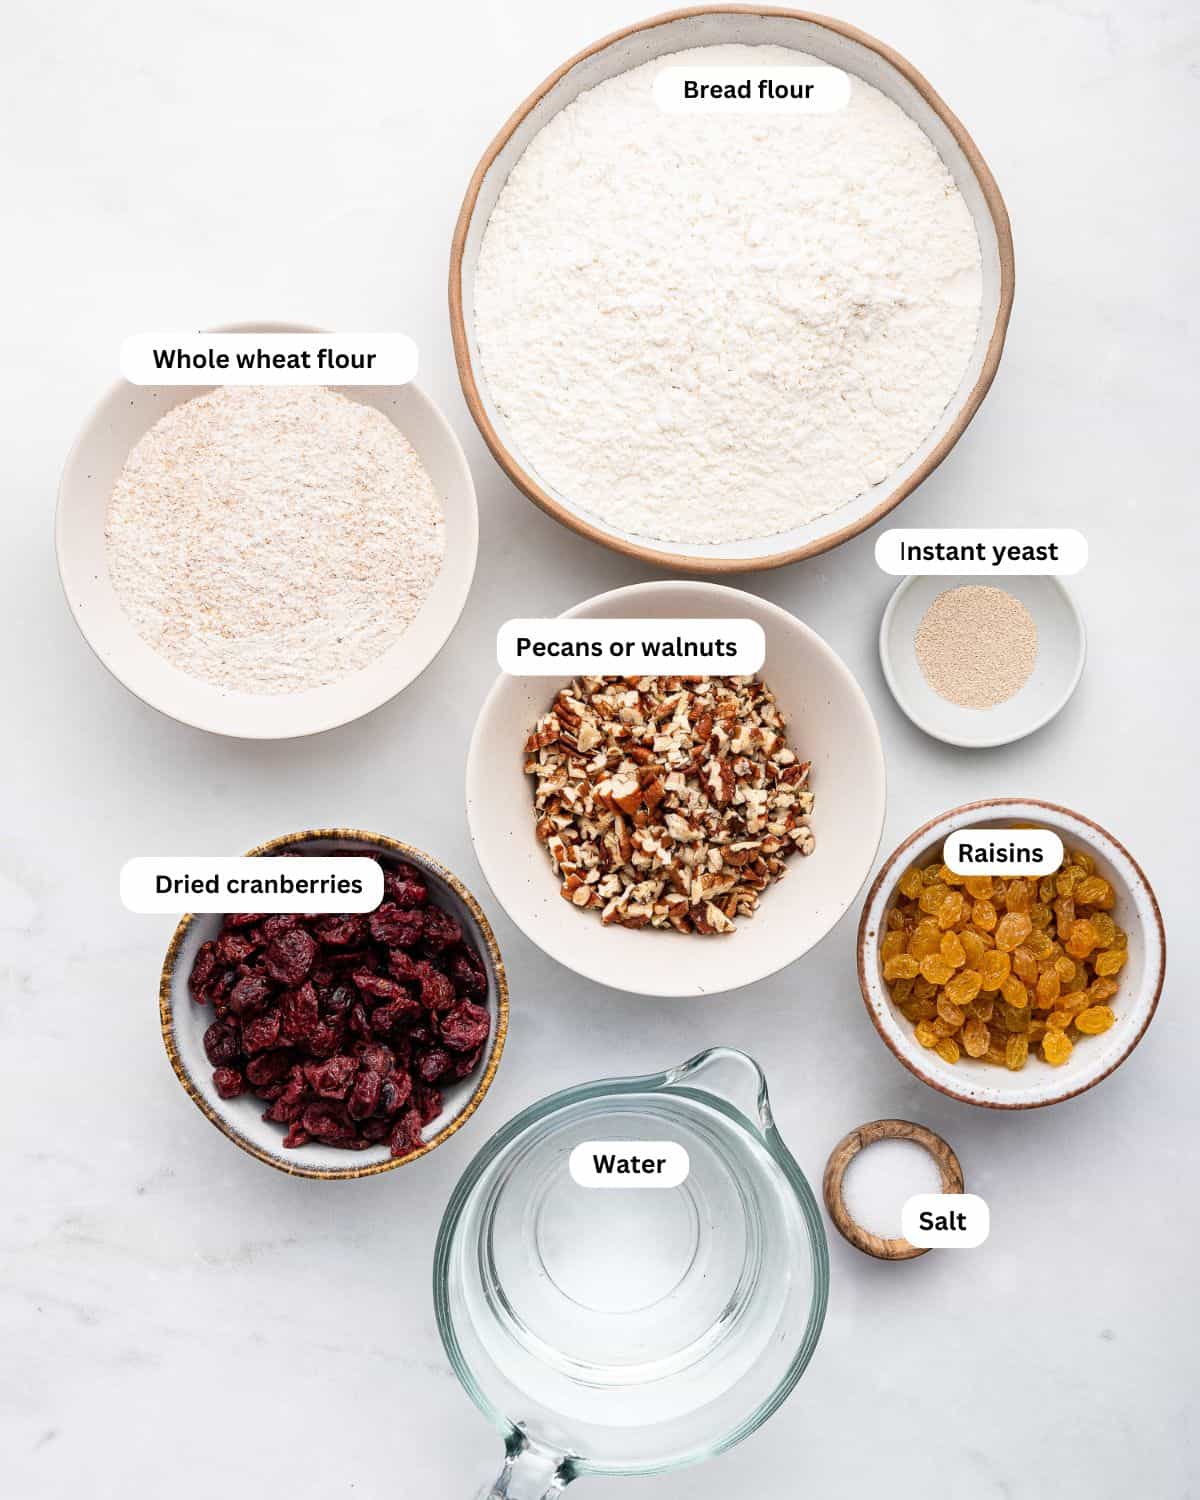
This no-knead bread combines simple yet flavorful ingredients. Bread flour provides the structure, while white whole wheat flour adds a nutty depth. Instant yeast and salt ensure a perfect rise and flavor, with cool water used to slow down the rise.
The mix of dried cranberries or cherries, golden raisins, and coarsely chopped pecans or walnuts adds a delicious sweetness and crunch, making this loaf both hearty and satisfying!
Substitution and Variation Ideas
- Flours: Swap white whole wheat flour with whole wheat or all-purpose flour for different textures; may also use only bread flour.
- Fruits: Use any combination of dried cherries, currants, or apricots instead of cranberries or raisins (or use only one of any).
- Nuts: Substitute pecans or walnuts with almonds or hazelnuts (or use a combination of any).
- Seeds: Sprinkle in sunflower or pumpkin seeds for added crunch.
- Sweetness: Add a tablespoon of honey or maple syrup for extra sweetness.
Method (Step-by-Step)
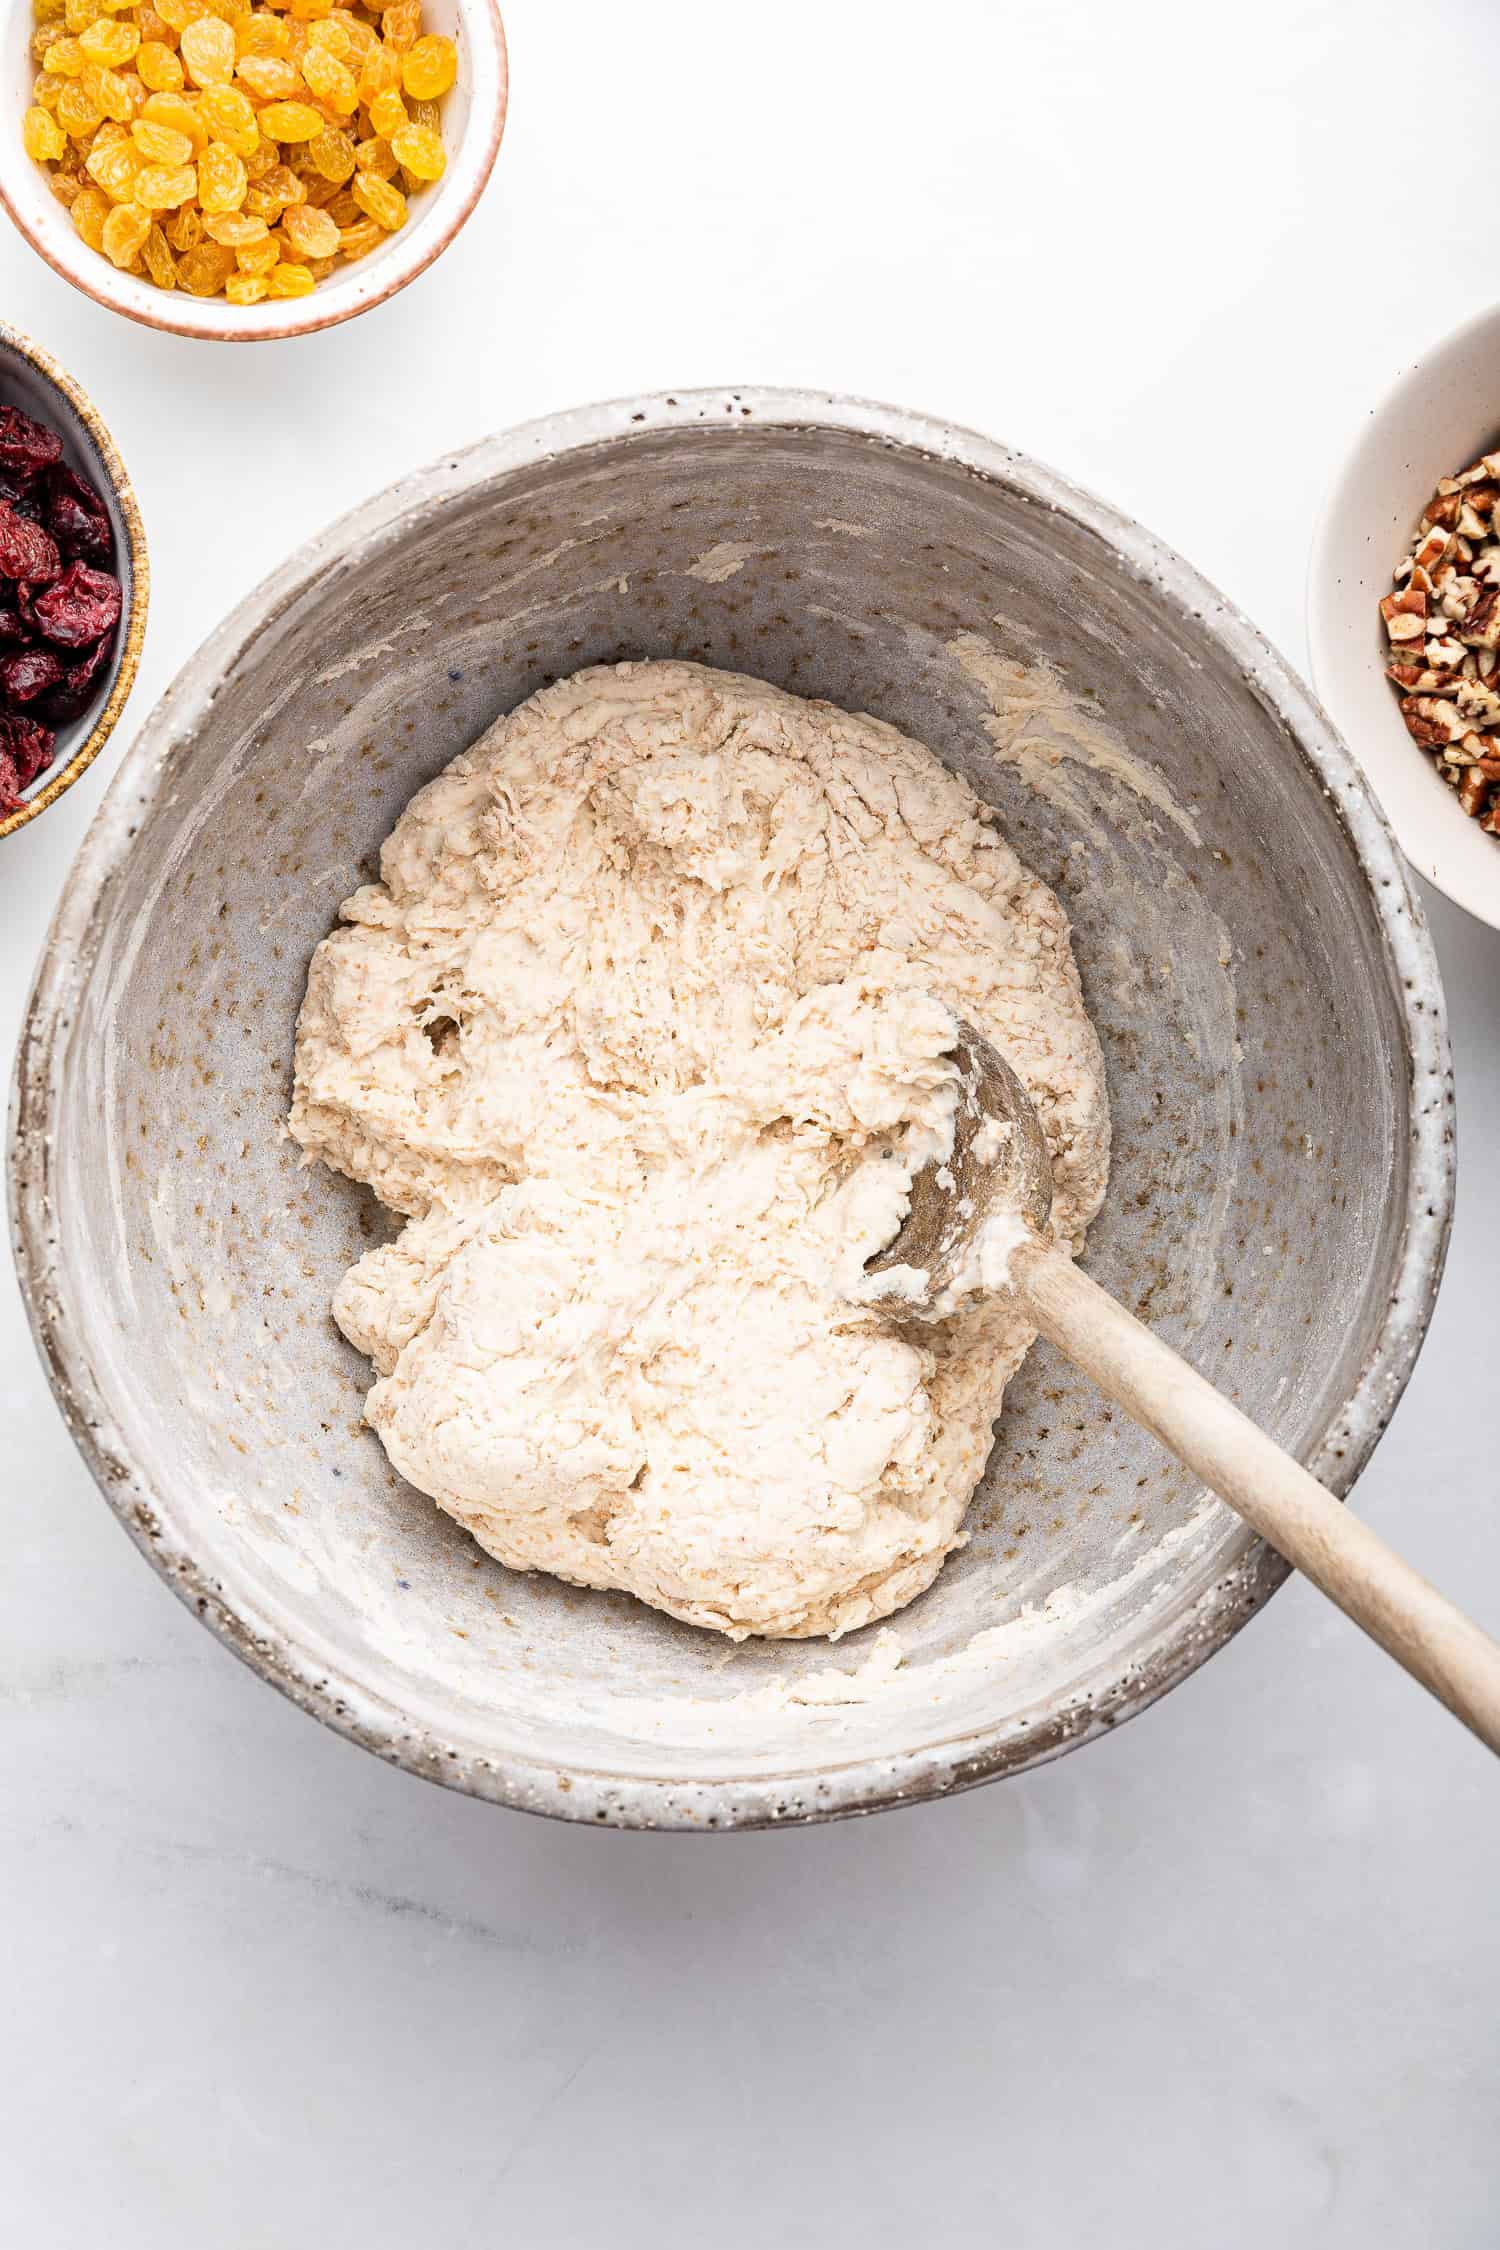
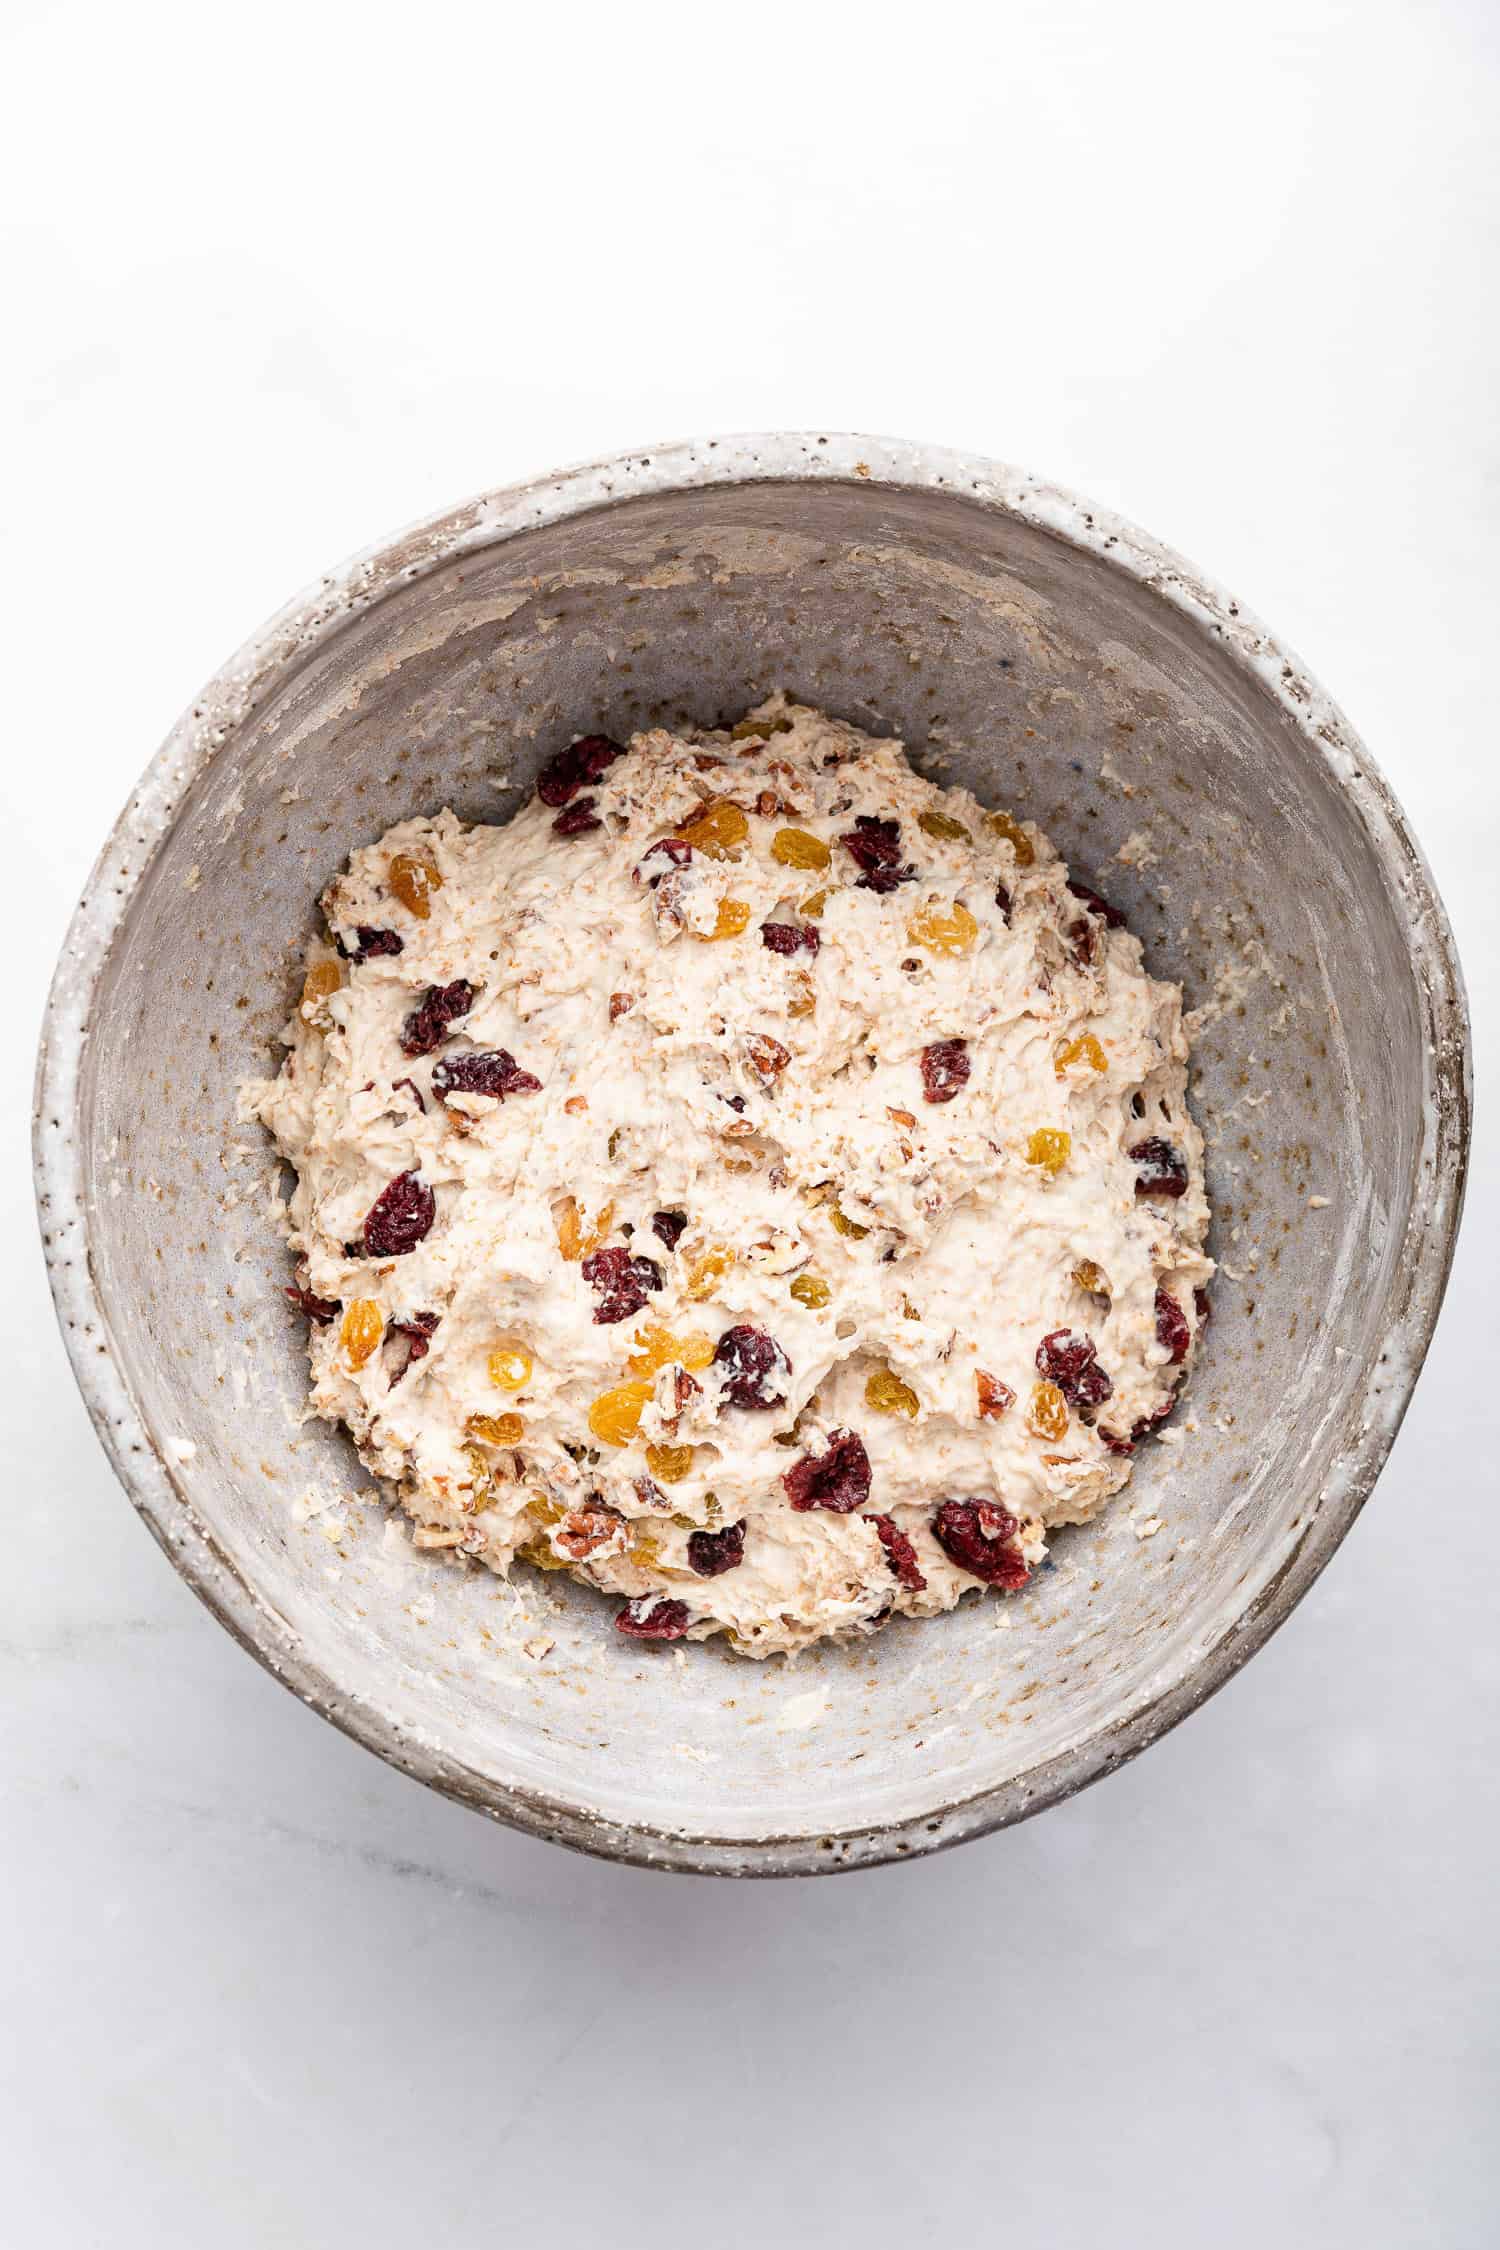
Mix the flours, salt, yeast, and water in a bowl to form a sticky dough, then add the dried fruits and nuts.
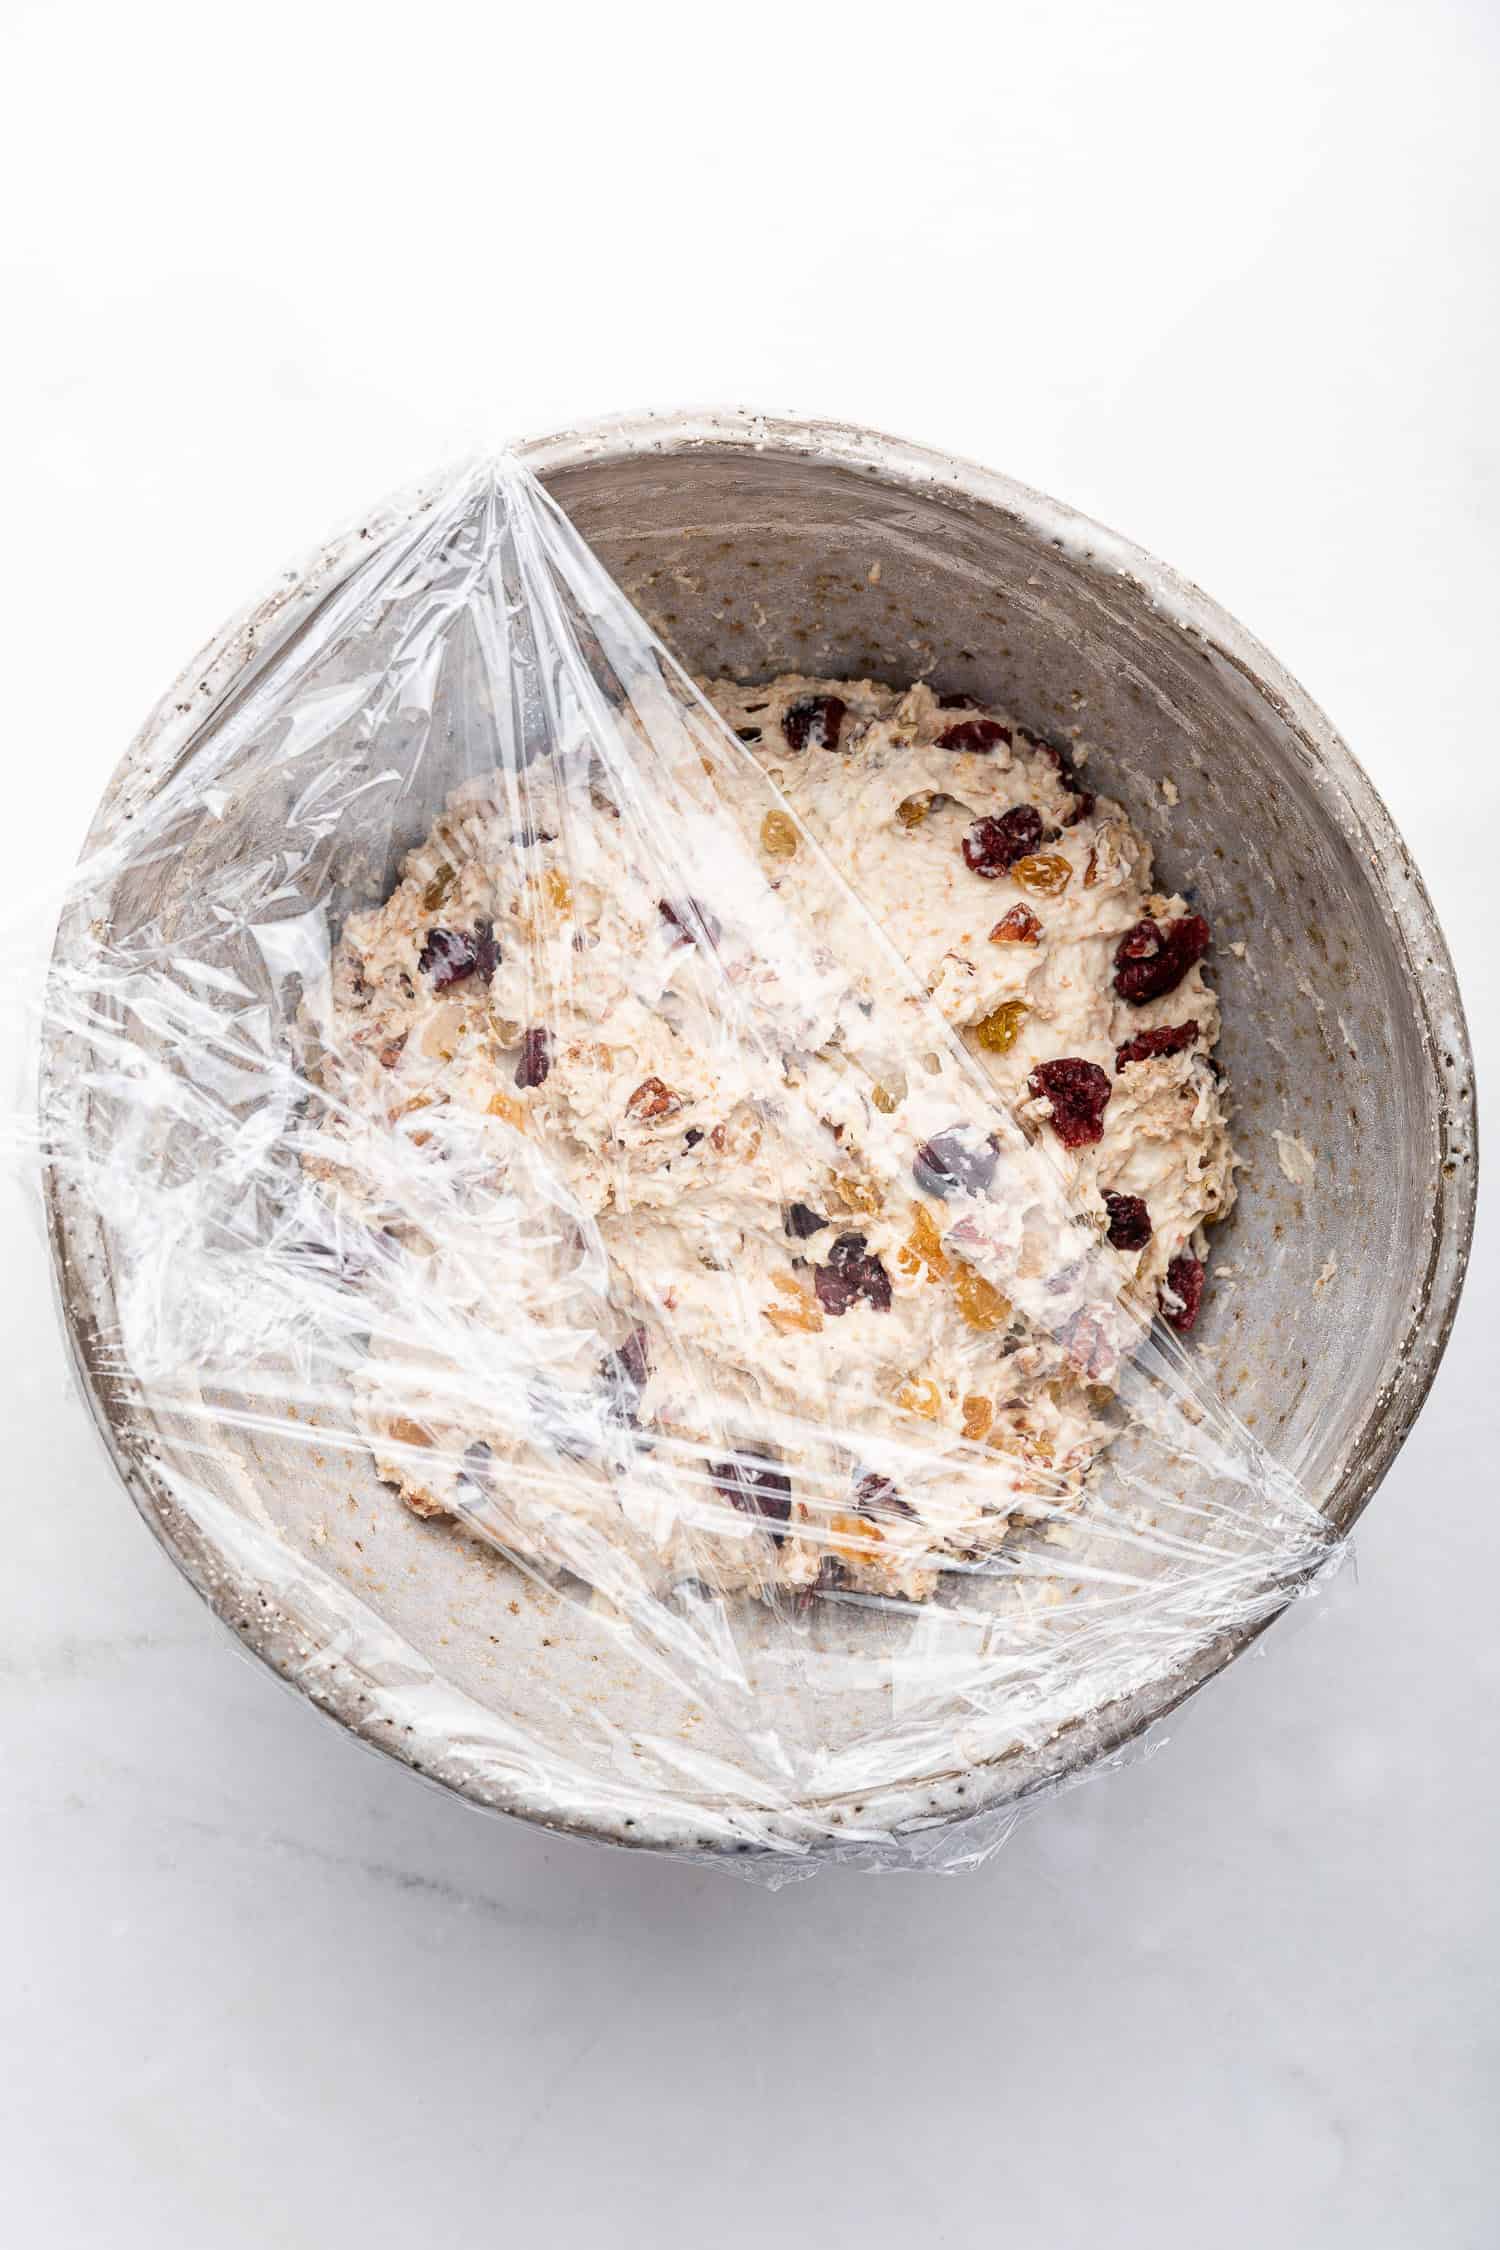
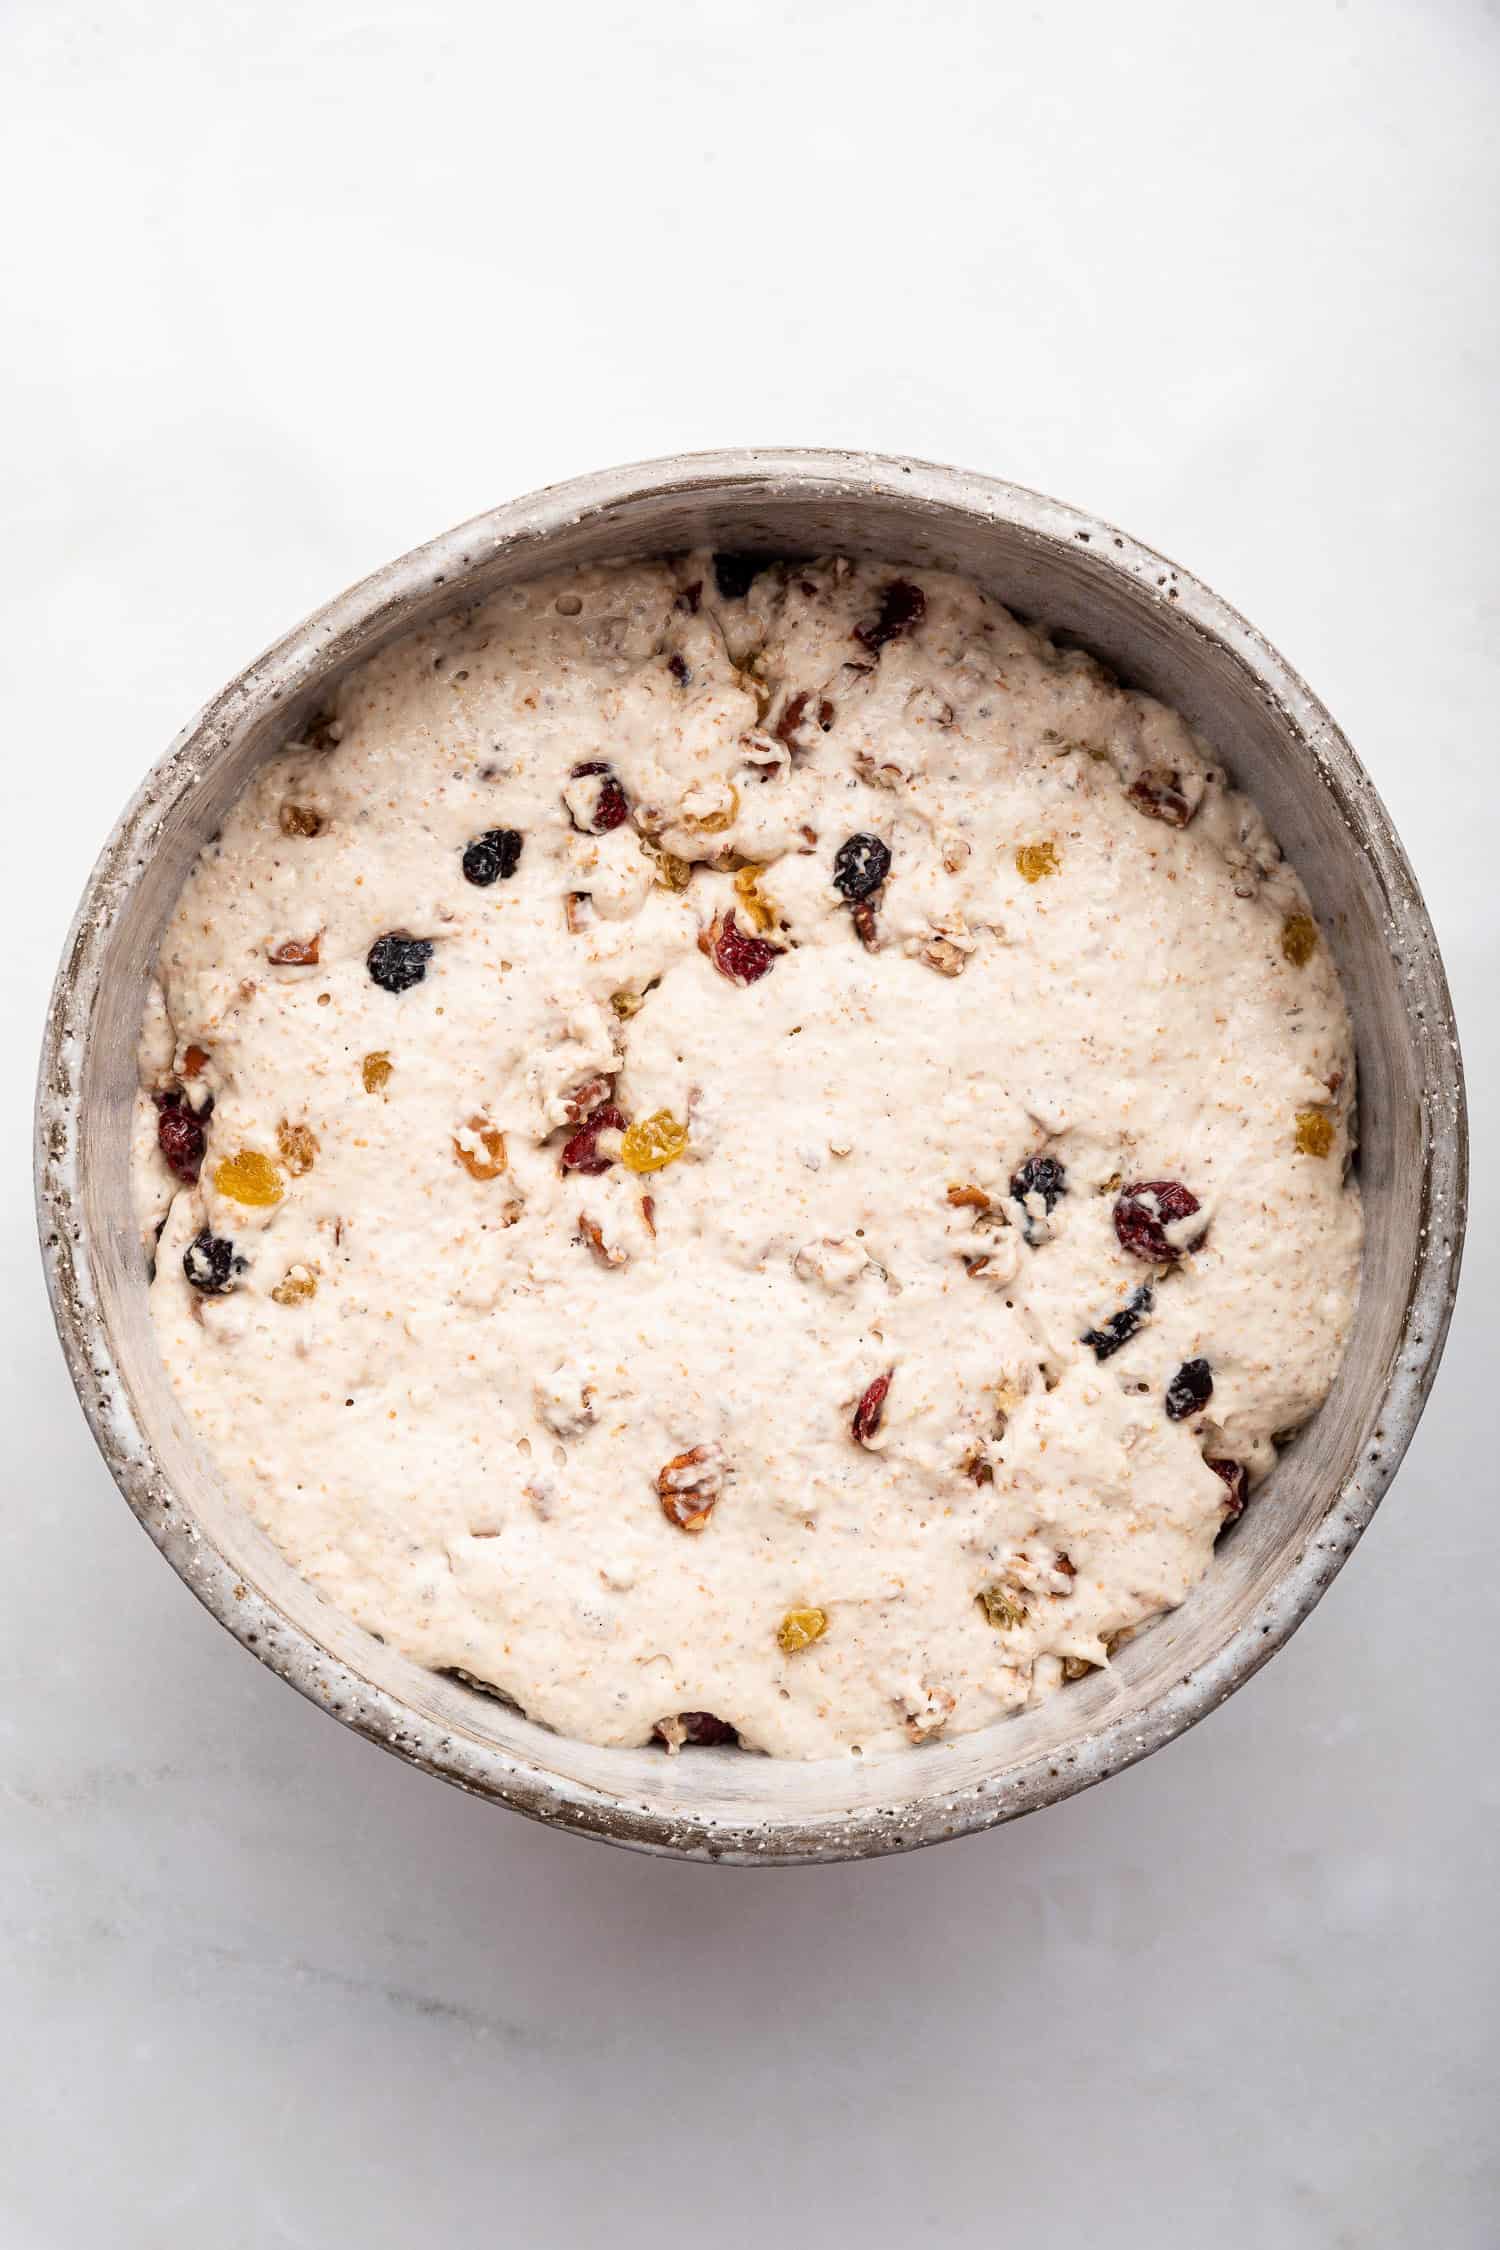
Cover and let the dough rise at room temperature for at least 8 hours or overnight.
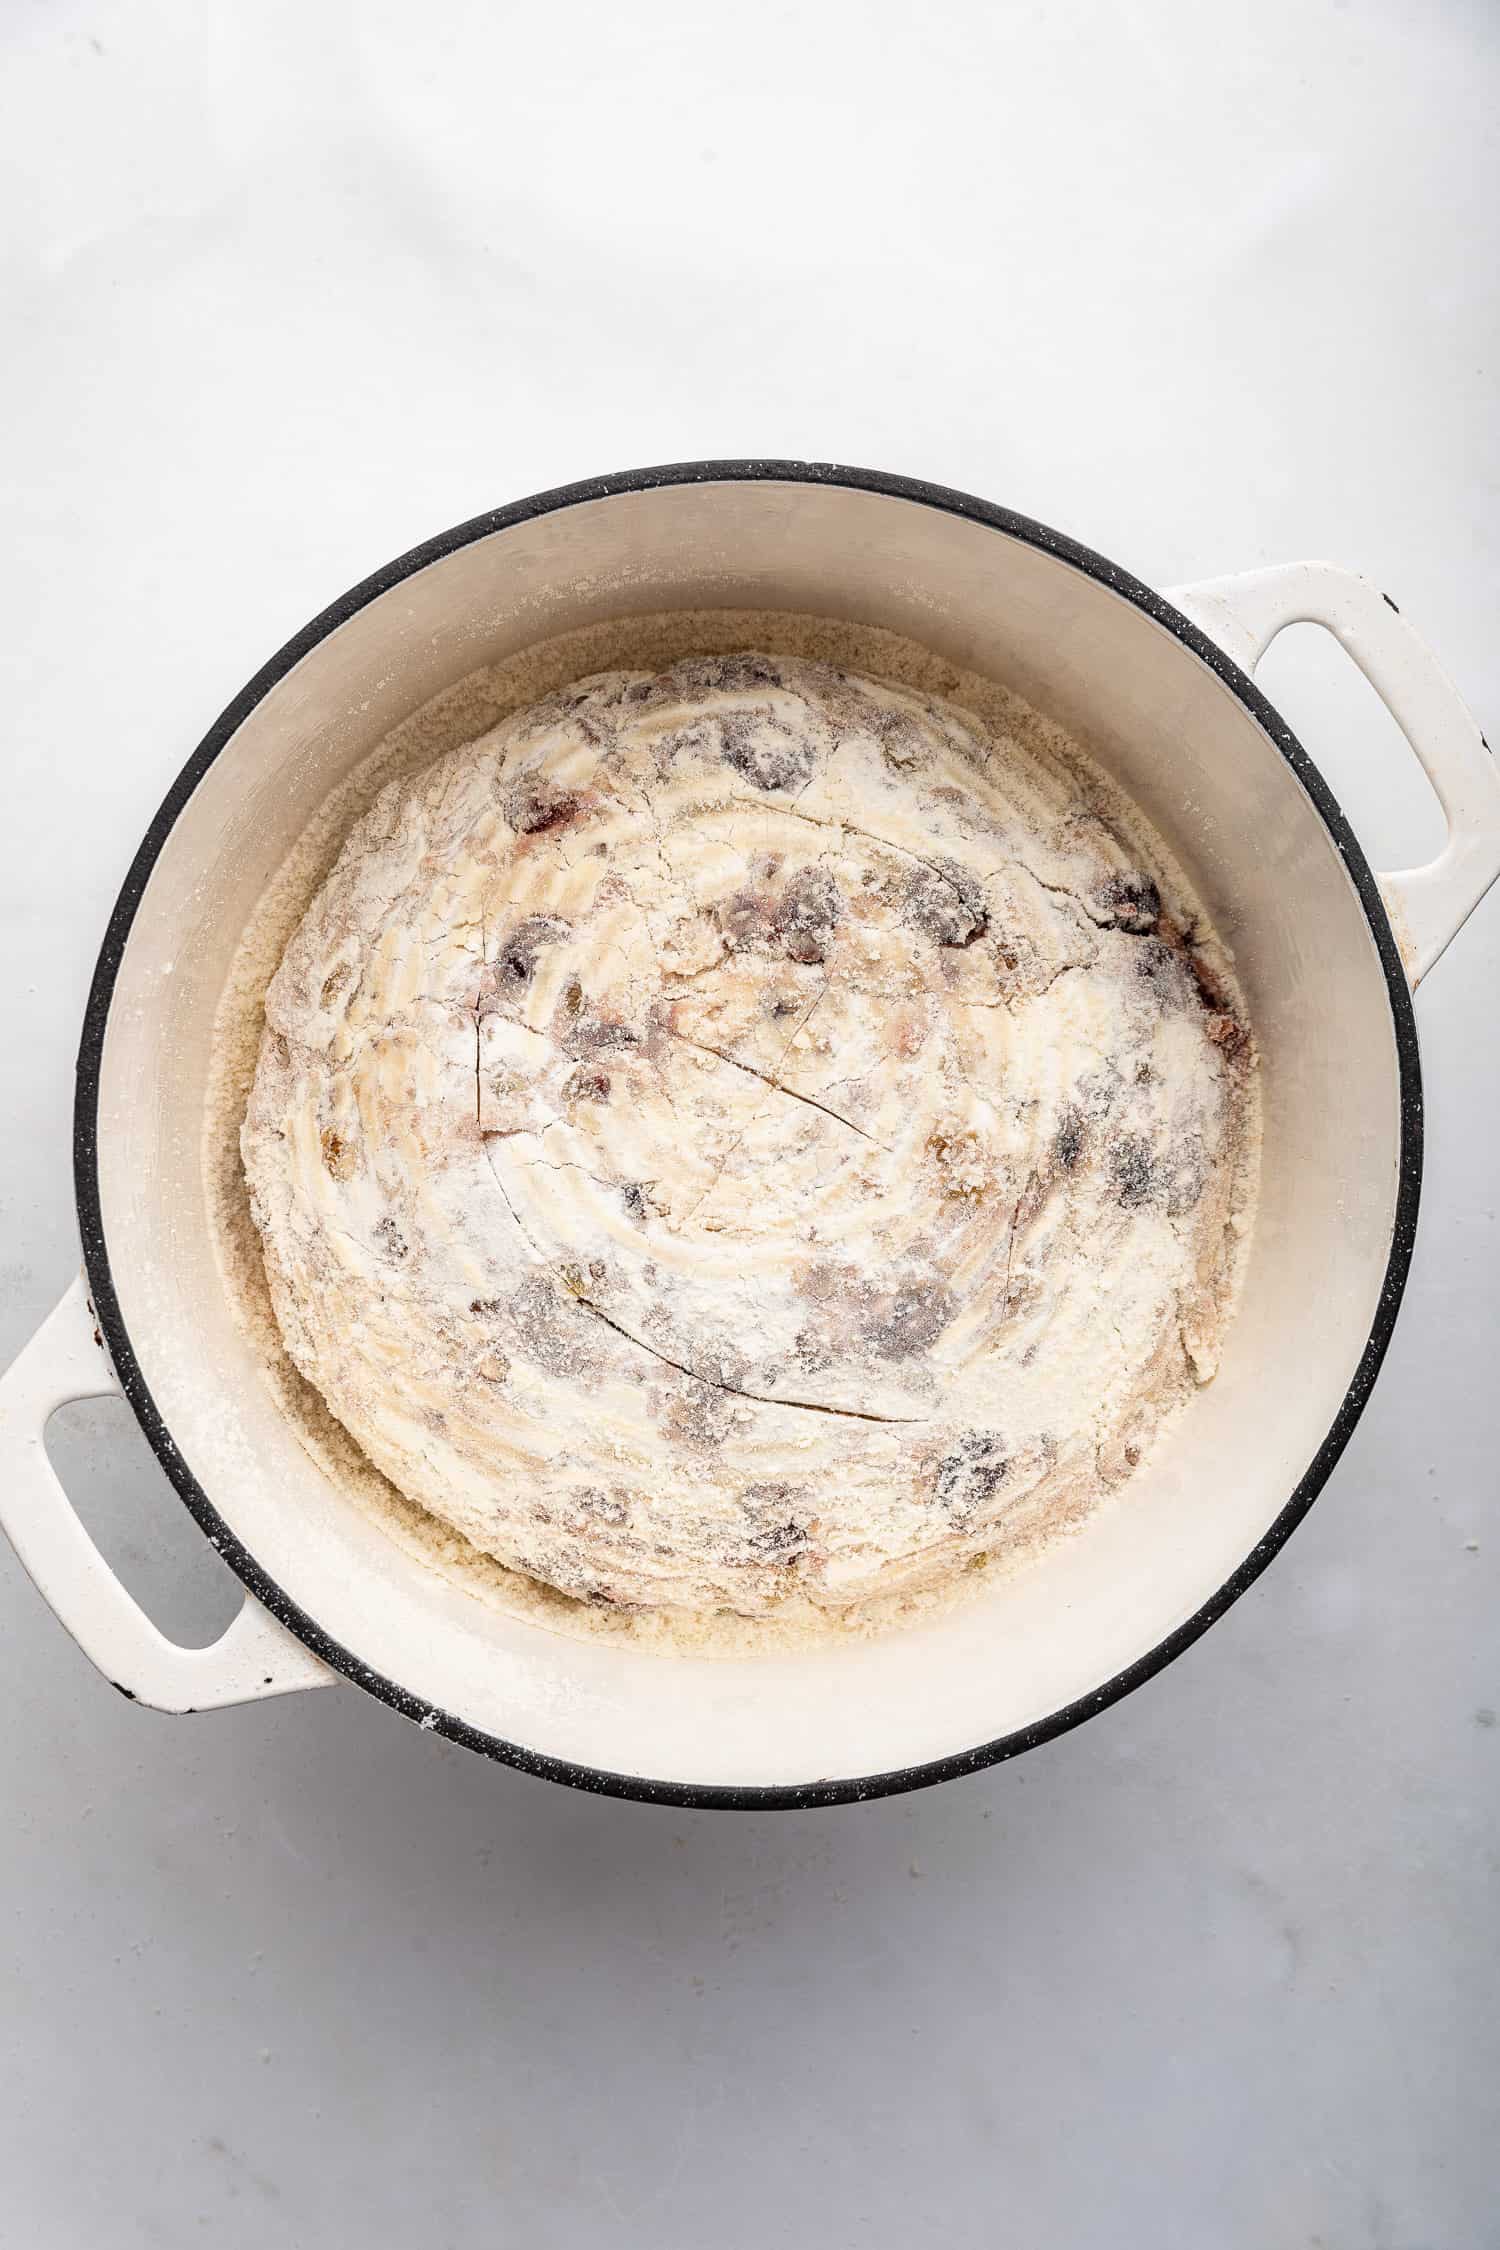
After rising, shape the dough on a floured surface and place it in a brotform or greased dish. Let it rise again for about 2 hours, then transfer it into your preheated baking pot and bake.
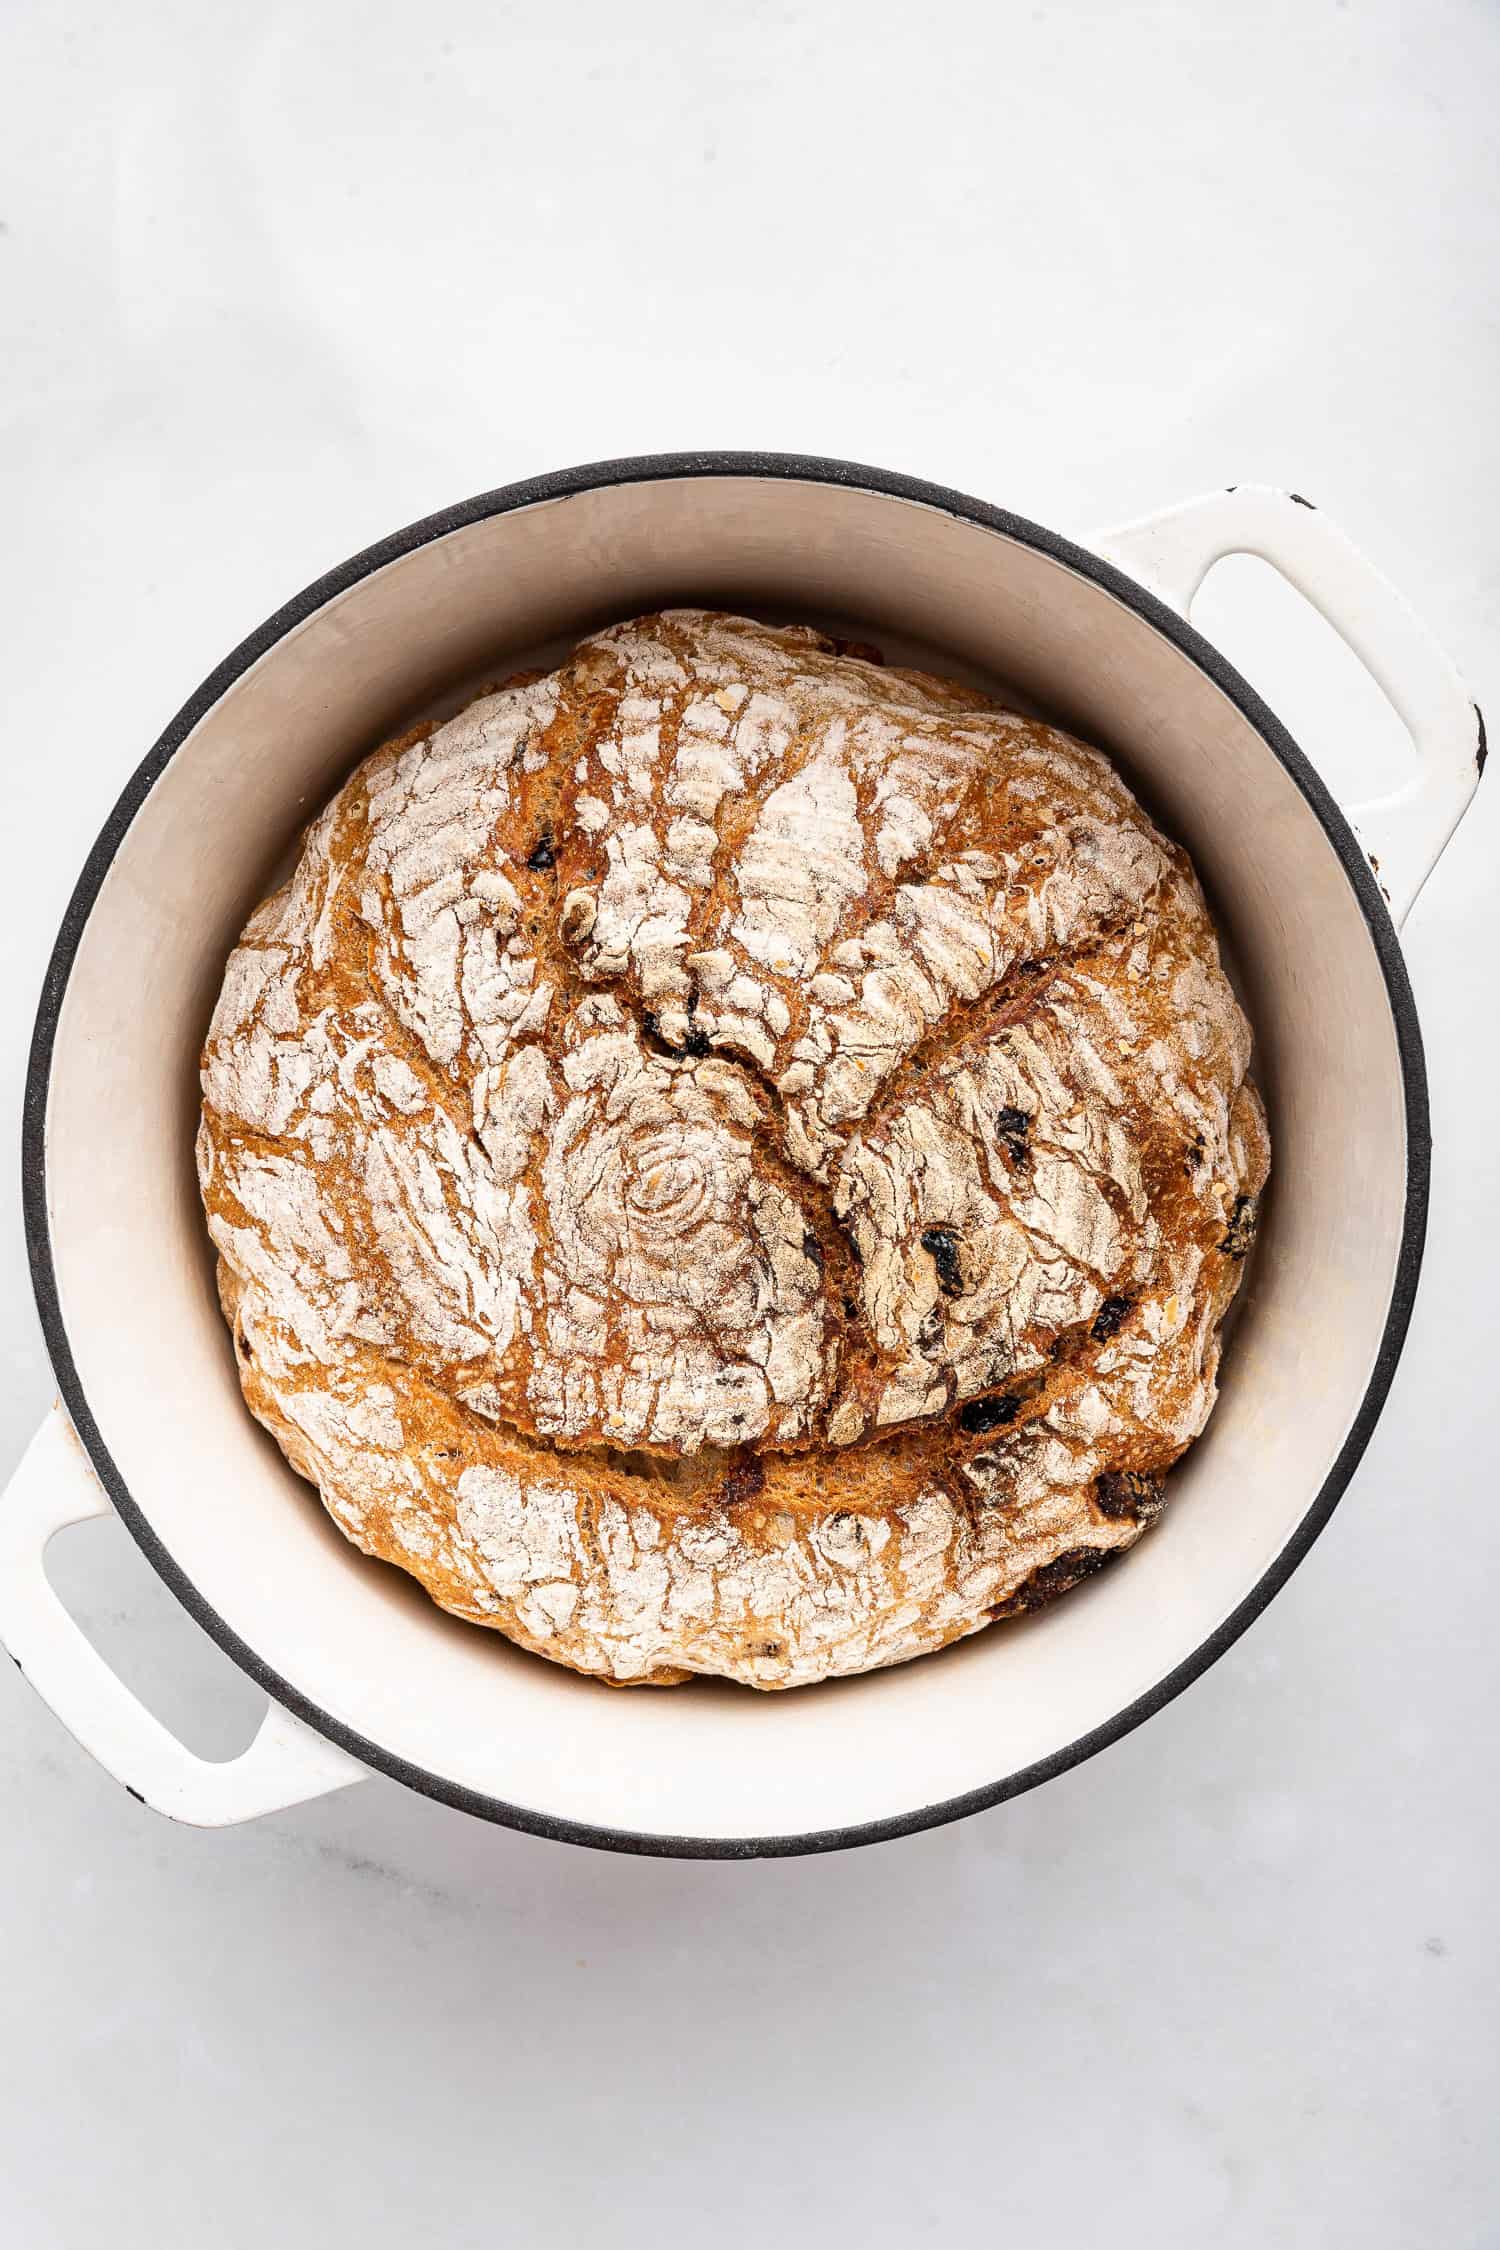
Score the loaf, bake covered for 20 minutes, then uncover and bake for another 30-40 minutes until the center reaches 205°F. Cool before slicing.
Tips & Techniques
- Flour Your Hands: If the dough is sticky when shaping, lightly flour your hands and the surface to make handling easier.
- Shape Gently: Handle the dough carefully to maintain the air bubbles. Overhandling can deflate the dough, so shape it just enough to form a loaf.
- Light Kneading: While it’s a no-knead recipe, you can give the dough a quick, gentle knead to smooth out lumps. Just a few folds will do the trick.
- Use Parchment for Transfer: Place the shaped dough on parchment paper in the rising vessel. When ready to bake, lift the parchment with the dough and transfer it into the preheated pot or onto the stone. The bread’s seam should go down for an even rise.
- Flour the Rising Vessel: To prevent sticking, generously flour your brotform or rising vessel. Alternatively, line it with a tea towel (make sure it’s smooth, without fuzz) dusted with flour.
♥️ Loved this recipe? I’d be thrilled if you’d rate it ⭐️ and share your experience in the comments below! Your ratings and comments help other readers discover this recipe and keep this blog going. Did you add any special tweaks? Our community of home cooks would love to hear about it! ♥️
📖 Recipe

Cranberry Nut Bread No Knead (Harvest Bread)
Click the heart icon ♡ above to save a recipe. To find your saved recipes later, click the heart icon on the right side of the screen near the search icon and select My Favorites.
Ingredients
- 3 1/4 cups (390 grams) of bread flour
- 1 cup (113 grams) of white whole wheat flour
- 2 teaspoons salt
- 1/2 teaspoon instant yeast
- 1 3/4 cups (397 grams) cool water
- 3/4 cups (92 grams) dried cranberries or cherries
- 1/2 cup (85 grams) golden raisins
- 1 cup (113 grams) coarsely chopped pecans or walnuts
Instructions
- In a large bowl, mix flours, salt, yeast, and water until a sticky dough forms – I like to make sure there are no lumps. Stir in dried fruits and nuts.
- Cover the bowl with plastic wrap or a large dish and let it rise at room temperature for at least 8 hours or overnight.
- Turn the dough onto a lightly floured surface, shape it into a round or oval loaf, and place it seam-side up in a well-floured bowl. I like to line mine with a well-floured tea towel.
- Let the dough rise for about 2 hours in a draft-free, warm area.
- Preheat the oven to 450°F for at least 30 minutes with a baking stone or steel (or Dutch oven) in the lower rack (see NOTE 1).
- Gently flip the dough onto a long piece of parchment paper, seam side down. Lift the dough with the parchment and place it into the preheated pot.
- Score the top of the loaf with a lame or sharp knife, cover, and bake for 20 minutes. Remove the cover if using a Dutch oven and continue baking for another 30-40 minutes until the loaf reaches an internal temperature of 205°F.
- Let the bread cool completely before slicing.
Notes
Flour Hands: Lightly flour your hands if the dough is sticky.
Shape Gently: Avoid overhandling to preserve air bubbles.
Light Kneading: Knead briefly to smooth out lumps.
Use Parchment: Transfer dough on parchment; place seam side down in the pot.
Flour Rising Vessel: Flour the vessel well or line with a smooth tea towel to prevent sticking.
Nutrition
Recipe from King Arthur Baking
You said to pre heat the baking stone. Do I take the proofed bread out of the casserole dish and put it on the stone before baking it? If not, what’s the purpose of the stone.
There are a few different ways to do this – I think the easiest is to bake the loaf in a covered metal roasting pan (I use something like this) but you can use any other covered pot that is deep and wide enough. I will typically gently flip my dough onto a piece of parchment and then carefully plop it into the pan. If you place the pan on the baking stone or steel I feel like it helps the loaf spring a bit but I’ve done it without the stone/steel as well.
I made this bread today. It’s absolutely delicious (a bit too delicious!) and my husband, neighbour and I pigged out on it for afternoon tea. I, too, had to leave the dough in the fridge for almost 7 hours for the second proving, but there were no I’ll effects, and it rose beautifully in the oven.
Thank you, Marie, for your generosity in publishing this recipe for us. It’s so easy to make, and just beautiful bread.
Penelope
This looks so nice I’m making it at the moment (it’s on the second rise).
I just couldn’t form a loaf, though: the dough is much too sticky & wet, I had to drop it in a pan (when I turned it on the floured counter, it stuck there!)
Wet dough usually gives great bread, so fingers crossed!
I love this bread!! Hope it comes out well for you
Beautiful, beautiful loaf of bread. Pictures are perfect. You’ve got me craving it. Hmm.
Thanks, Kimberlie! you should try it. So easy and it’s really delish…one of my favorites.