The Best New York-style Bagel Recipe
This post may contain affiliate links. For more information, please see our disclosure policy.
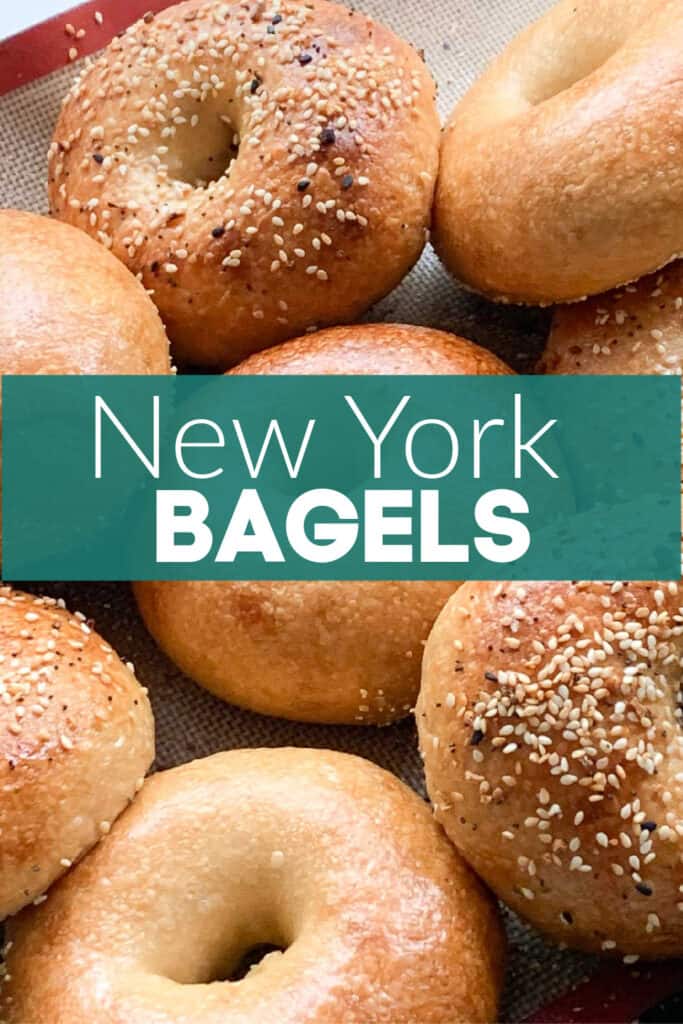
One of the staples in my kitchen, this New York-style bagel recipe is super easy to make and well worth the effort! Crispy on the outside, just like your favorite NY deli, but baked in your own kitchen. These homemade bagels are the real deal!
Other NY favorites that are a must-try include weck rolls (kimmelweck rolls; hard rolls) and bialys!
What is a NY Bagel?
I am SOO excited to share this recipe for NY style bagels (authentic bagels), which I absolutely love (as much or even more than my favorite NY pizza dough).
I must say, these bagels are amazing!!! And, they are totally worth the effort. Even around these parts, it’s difficult to get “real” bagels.
Sadly, many many versions of bagel recipes are just “bagel-shaped rolls”!!
And so, before we get much further, you should know what a real NY bagel is!
An authentic New York bagel is a culinary icon that has gained legendary status worldwide. What makes it truly remarkable is the perfect balance of characteristics that come together to create a bagel experience like no other.
Outer Crust: The crust of an authentic NY bagel is a thing of beauty. It is glossy, golden-brown, and delicately crisp. The exterior has a slight resistance when bitten into, giving way to a satisfying chewiness that sets it apart from other bread products.
Chewy Texture: The hallmark of a New York bagel is its exceptional chewiness. It possesses a dense yet tender interior that offers just the right amount of resistance when you bite into it. This chewiness is achieved through a combination of factors, including the unique dough formulation, boiling before baking, and the addition of key ingredients.
Malty Flavor: An authentic NY bagel has a distinct malty flavor that sets it apart. This signature taste is attributed to the inclusion of barley malt syrup or malt extract in the dough or boiling water. The malt adds a subtle sweetness and complexity that elevates the overall flavor profile, making each bite a delightful experience.
Proper Size and Shape: Authentic NY bagels are typically hand-rolled and shaped into a classic circular form with a hole in the center. This traditional size and shape contribute to the bagel’s texture and create the perfect vessel for a variety of fillings or spreads.
Boiling Process: One of the defining characteristics of an authentic NY bagel is the boiling process before baking. This step helps achieve the unique texture and shine on the crust. Boiling the shaped dough briefly in water sets the outer crust while keeping the interior soft and chewy. It creates a slight gelatinization on the surface, contributing to that coveted glossy appearance.
Freshness and Quality Ingredients: The best NY bagels are made with high-quality ingredients and baked fresh. The use of high gluten/bread flour, water, yeast, salt, and barley malt syrup ensures a flavorful and authentic result. Additionally, the absence of preservatives in freshly baked bagels enhances their taste and texture.
Versatility: An authentic NY bagel is a versatile canvas for various toppings, spreads, or fillings. Whether it’s cream cheese, lox, butter, eggs, or any other creative combination, the bagel can accommodate a wide range of flavors and textures, allowing for endless possibilities to suit individual preferences.
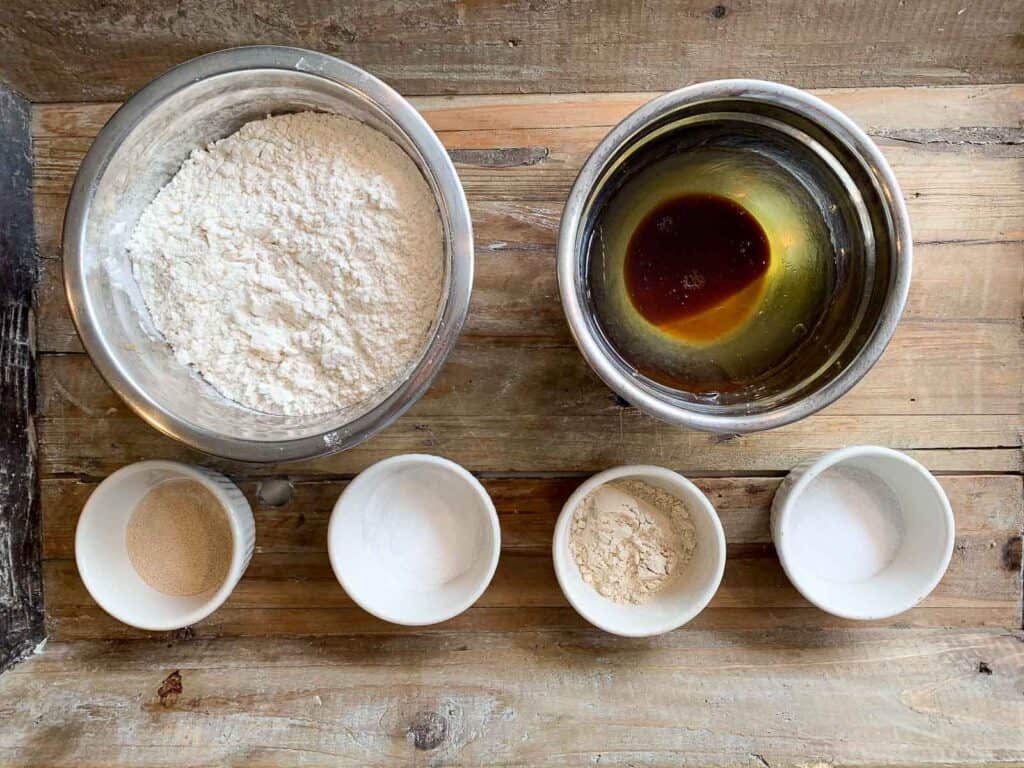
Ingredients
You may have most of these ingredients on hand. If you don’t, it is certainly quite easy to keep these ingredients in stock going forward.
💡 Need High-Gluten Flour?
If you only have bread flour (~12–12.7% protein) or all-purpose flour (~10–11.5%), don’t worry—you can boost the protein content to mimic high-gluten flour (around 14%), which is ideal for bagels and other chewy breads. Just add a bit of vital wheat gluten. Use our simple High-Gluten Flour Calculator to figure out exactly how much gluten to add based on your flour type and amount. It’s quick, easy, and gives your dough the chew and structure it needs!
Overview of Process
I usually opt to make overnight bagels. For this easy process, you will:
- Mix and knead the dough until fairly smooth
- Divide the dough into 8 pieces (115 grams or 4 ounces each piece)
- Roll the 8 pieces into balls
- Poke a hole in each ball and shape into bagels
- Place on greased baking sheet and let rest/rise in refrigerator overnight or on counter for same day bagels.
- Boil bagels in batches of 3 or 4 (30 to 45 seconds, up to 2 minutes, on each side)
- Drain over pot using slotted spoon and placed on baking sheet lined with parchment
- Bake at 450 degrees for 15 to 20 minutes.
Mixing and Easy Shaping Technique
I make my bagels the night before I want to enjoy them. It takes me about 30 minutes of mixing and measuring and then some hands off time to let dough rest. I then shape them, and put them away for next day baking.
The photo collage below shows an overview of the steps needed.
Mix dry ingredients (photo 1), and then mix the wet ingredients (photo 2). Then, combine the wet and dry ingredients and knead using hands or an upright stand mixer (photo 3).
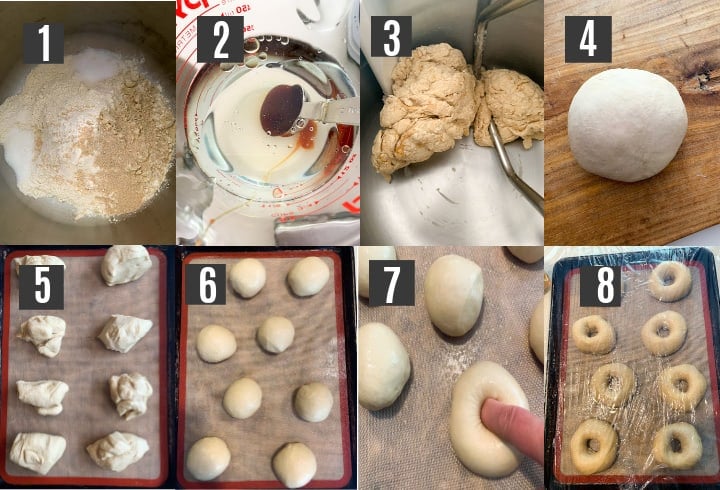
After kneading the dough and ensuring you have a smooth dough (photo 4), (about 10 minutes by hand) you will divide the dough into 8 equal portions (115 grams or 4 ounces each piece) (photo 5) and shape each piece into balls (photo 6).
Now if you are like me, you will use a scale to help ensure that all pieces are similar in weight so that your bagels are all pretty close in size, but it’s not necessary to do so!
Personally, I find the easiest way to shape bagels is to form balls and then poke a hole right in the middle of the ball of dough (photo 7). Then, using your fingers, you stretch the center out to create a 2-inch center hole.
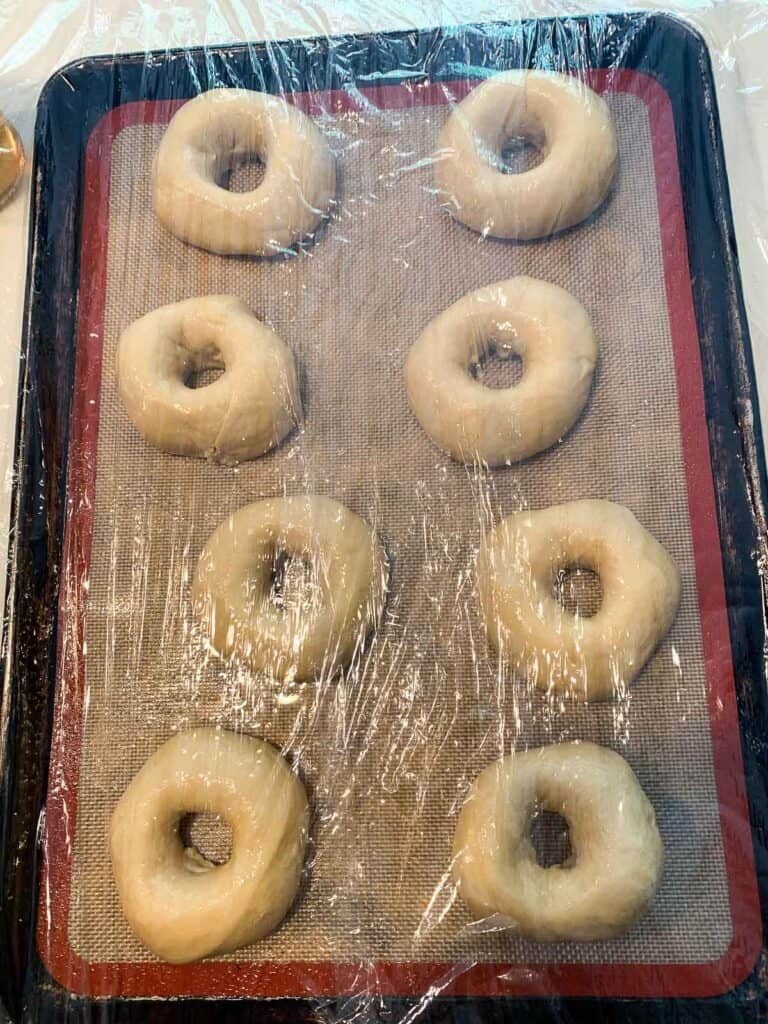
After forming the bagels, place on a baking tray and cover with plastic wrap that has been sprayed with cooking oil (photo 8).
I like to use a silicone baking sheet because I’ve found that it decreases the chance of over-browning the underside of the bagels. Place the covered bagels directly into the refrigerator for next day baking.
Increasing Flavor
I always opt to refrigerate my bagels after shaping them in order to slow the rise. This also increases flavor, as slow rise dough enhances the fermentation of the dough. In the morning, you simply boil and bake the bagels and you’ll have fresh bagels within an hour or less!
Boiling the Bagels and Suggested Toppings
Just prior to baking, you will prepare a kettle bath (see below) that can include just plain ole water or water with a flavoring like barley malt syrup, brown sugar, or honey, and salt.
I used water and a tablespoon or so of barley malt syrup for flavoring. Really no measuring required here – Just ensure the water is deep enough to allow the bagels to float and that the water has a nice warm color (if you opt to add flavoring).
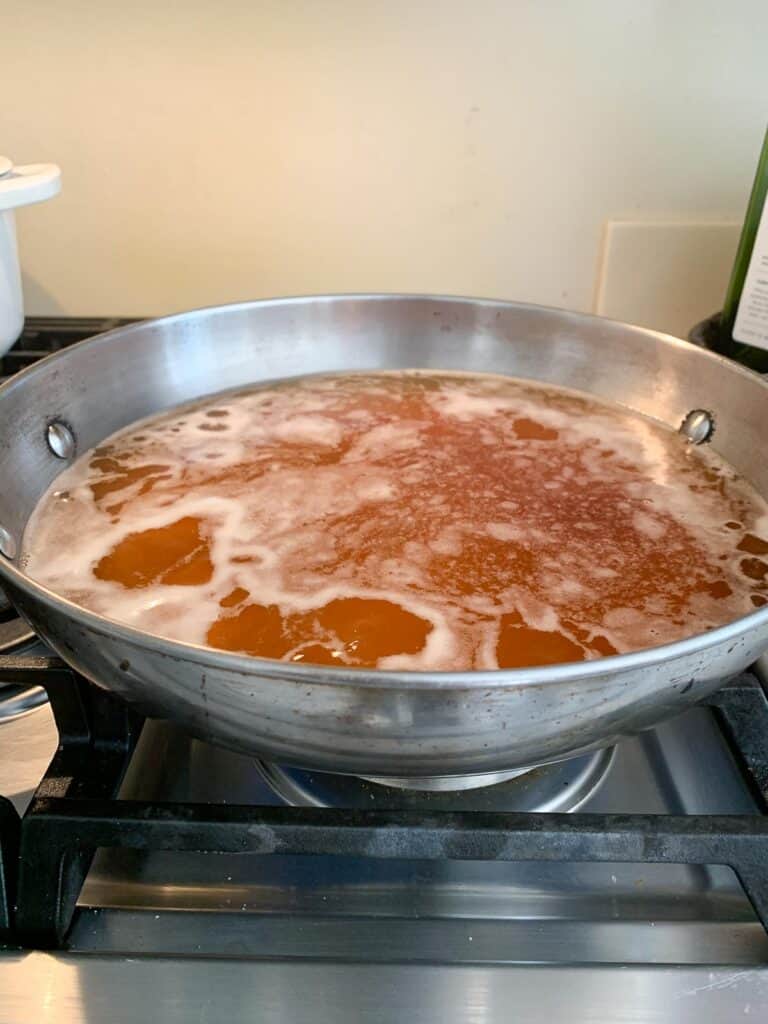
I feel that the use of the kettle bath with barley malt syrup gives these bagels that truly distinct NY bagel flavor, and it also sets the crust before baking, giving you that bagel-y chewy crust and dense interior. If you don’t have barley malt syrup, don’t worry! Use brown sugar or honey instead.
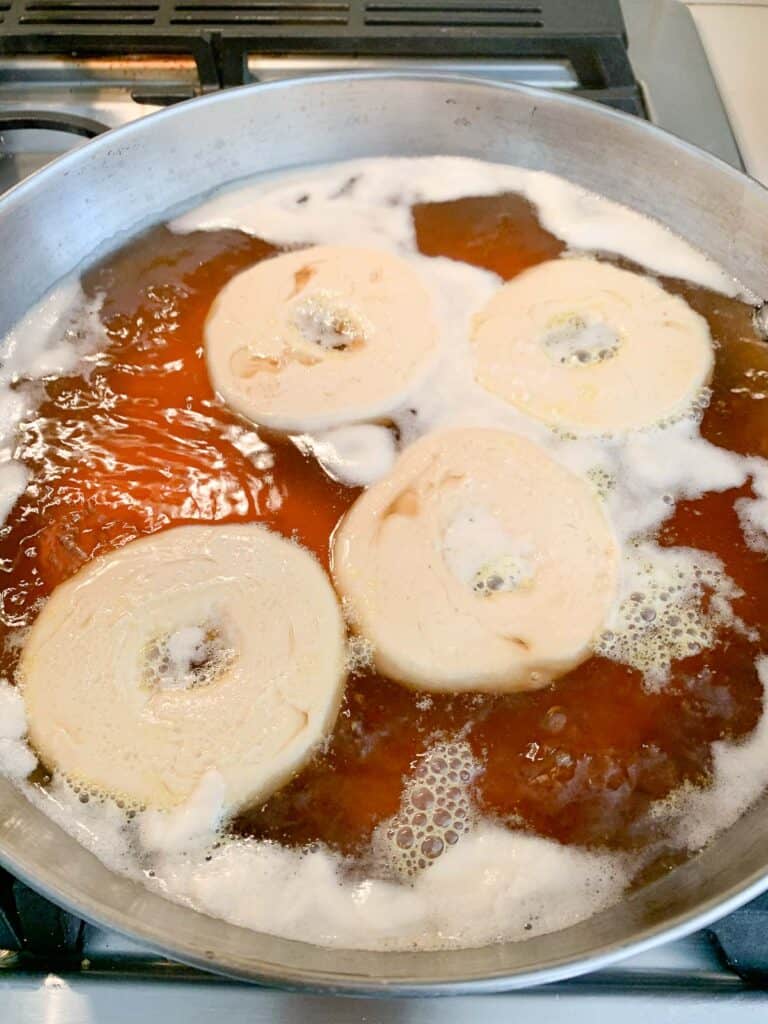
*Make sure your kettle water is boiling well because this is also where your bagels will grow in size (as well as during baking). The photo is a bit deceiving as it doesn’t truly show the rolling boil, which is important to obtain.
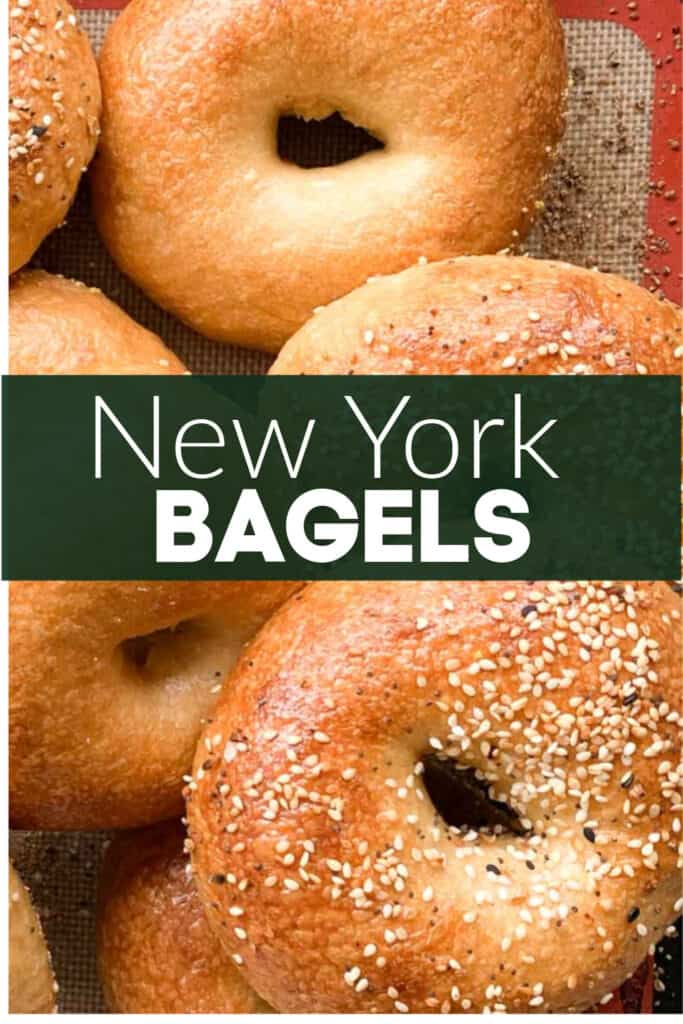
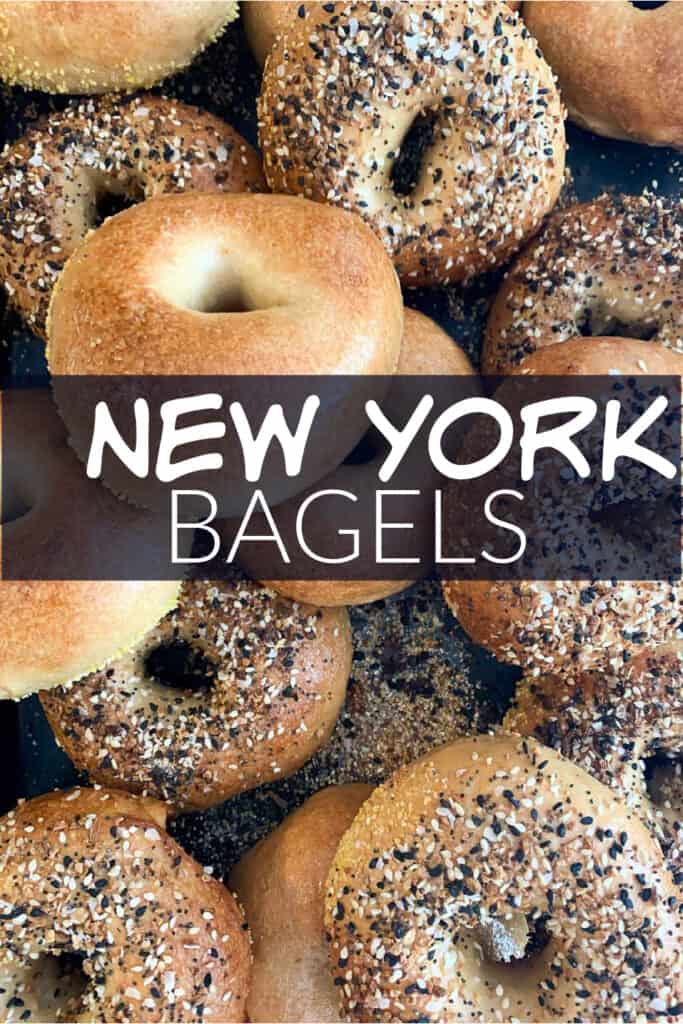
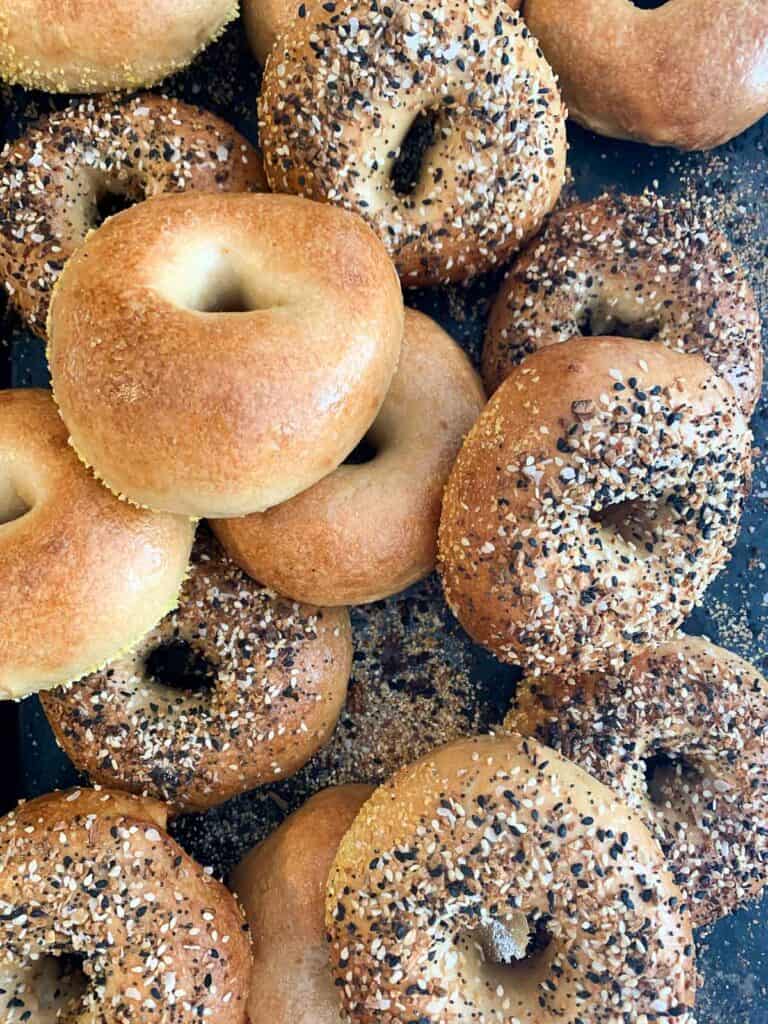
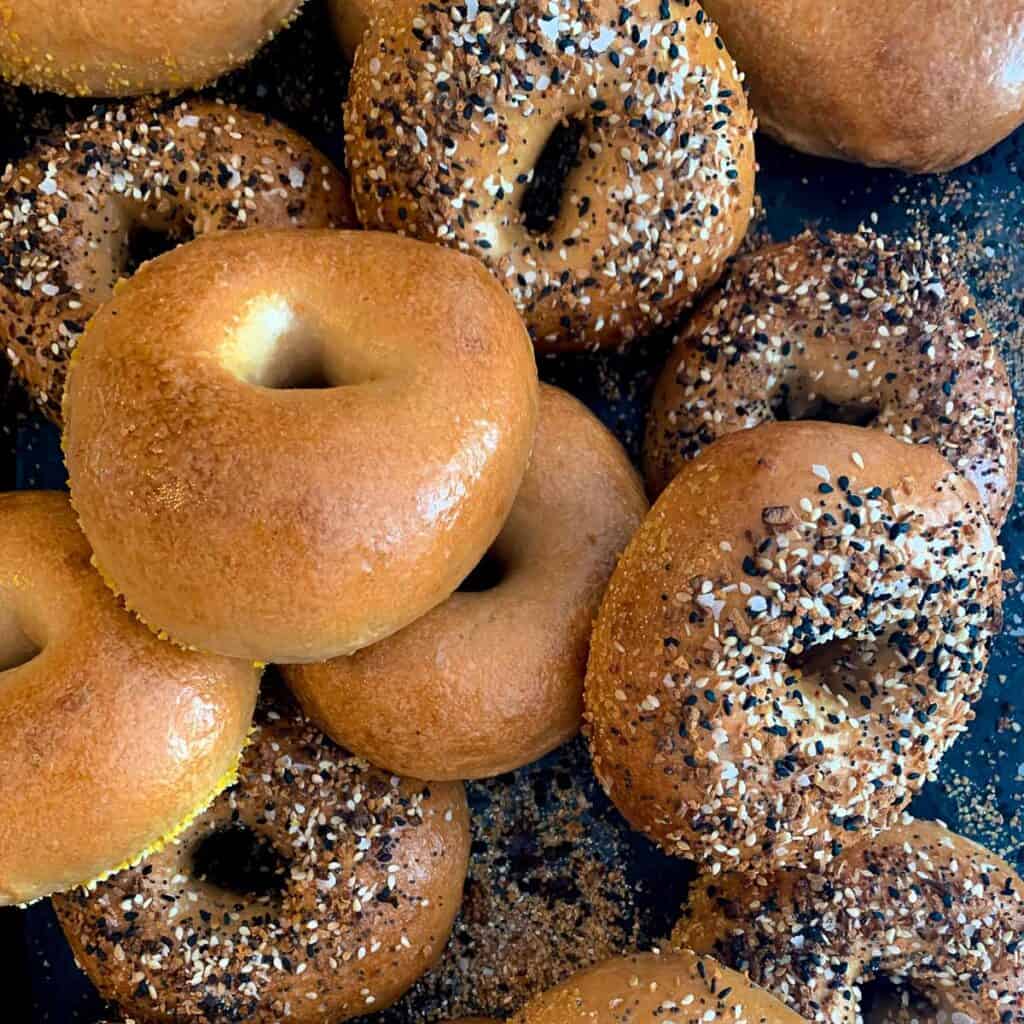
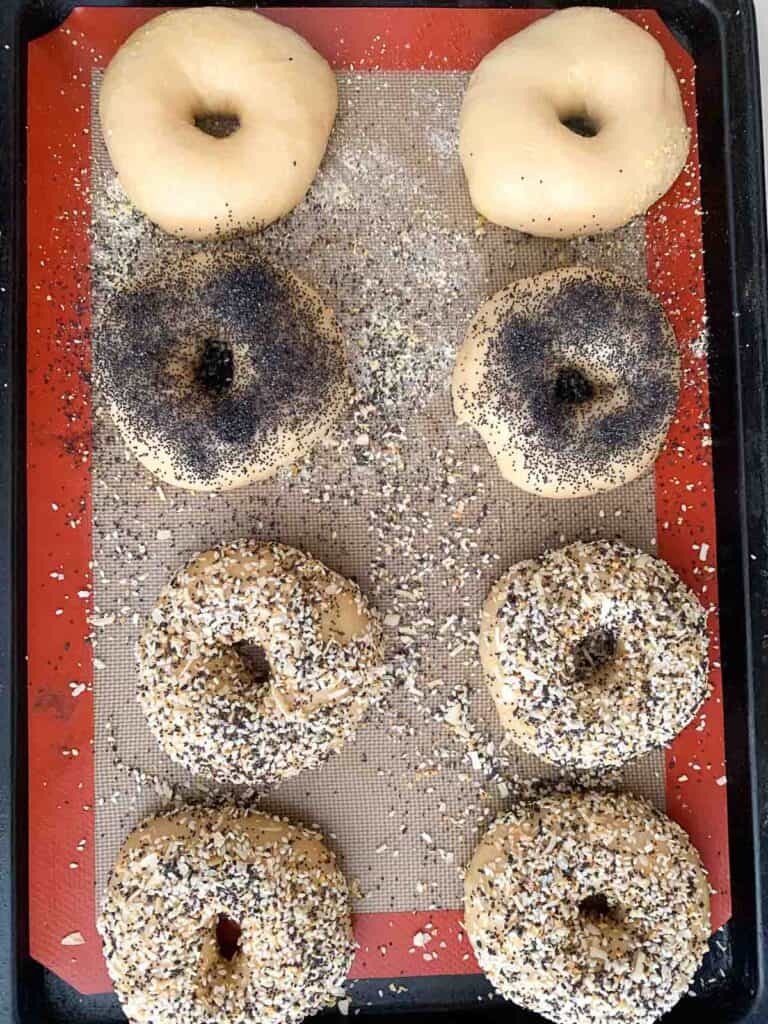
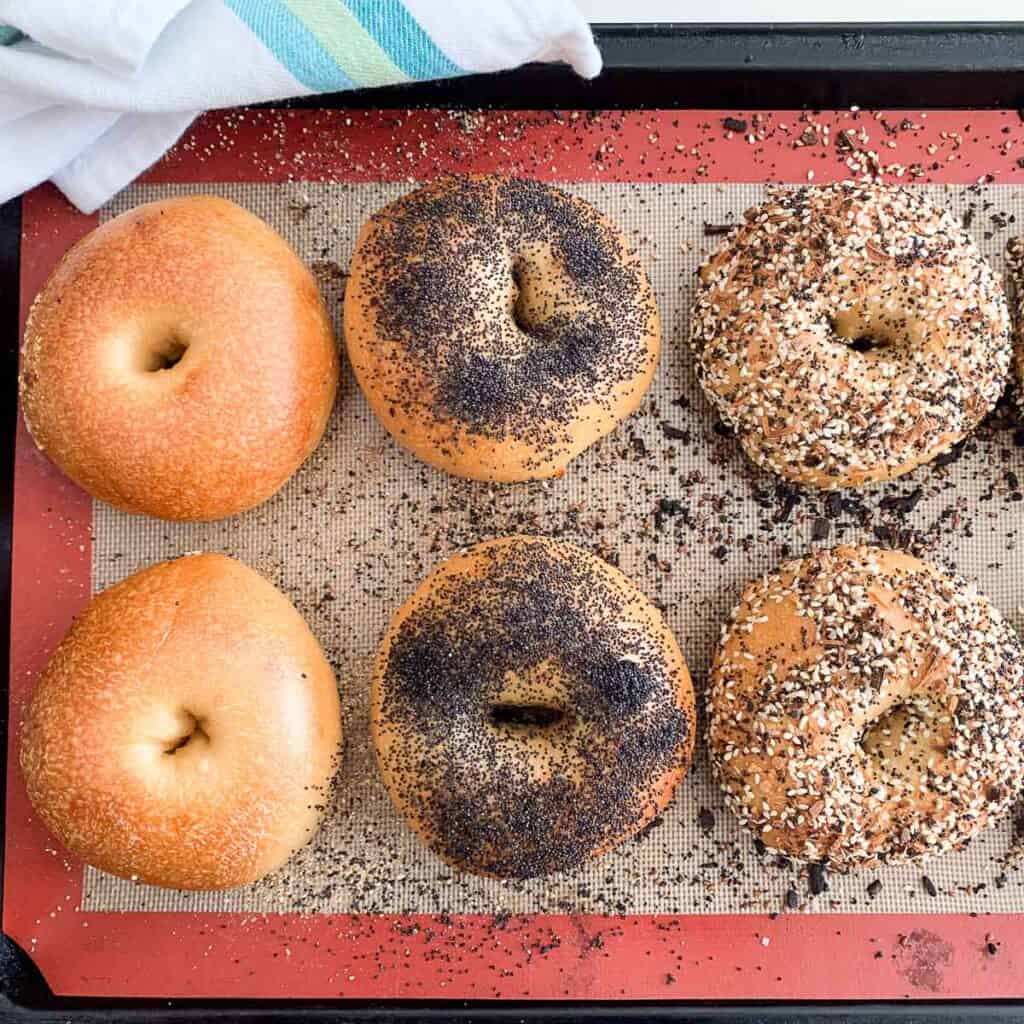
Here’s what my bagels looked like after the kettle bath and after topping. Pictured below are plain bagels, poppy seeds bagels, and “everything topping” bagels (poppy seeds, sesame seeds, dried minced garlic, dried minced onion, and coarse salt). There is also cornmeal sprinkled on bottom.
Barley Malt Syrup
This recipe uses (optionally!) barley malt syrup, which isn’t commonly found in grocery stores. I buy it at my local health food store or online. If you don’t have it on hand, don’t worry, there are substitutes!
Barley malt syrup is a thick, dark brown syrup made from sprouted barley grains. It is created through a process that involves soaking barley in water, allowing it to germinate, and then drying and grinding the sprouted barley. This mash is then cooked down to create a concentrated syrup.
Barley malt syrup is known for its distinctive malty flavor, which adds a unique depth to baked goods.
In baking, barley malt syrup serves several purposes and is widely used in various recipes, including bread, bagels, muffins, and cookies. Here are some of its most common uses in these baked goods:
Bread: Barley malt syrup is often added to bread dough to enhance flavor and contribute to a soft and tender texture. It helps retain moisture, promotes browning, and adds a subtle malty sweetness. Recipes like malted wheat bread, pumpernickel bread, and rye bread commonly feature barley malt syrup.
Bagels: Barley malt syrup is a key ingredient in traditional bagel recipes. It not only provides sweetness but also plays a crucial role in achieving the distinctive chewy texture and glossy appearance of bagels. It is used both in the dough and in the boiling water during the preparation process.
Muffins: Barley malt syrup can be found in some muffin recipes, particularly those that benefit from its unique malty flavor. It adds complexity and depth to flavors, making muffins like malted chocolate muffins or malted banana muffins stand out.
Cookies: Some cookie recipes, such as malted oatmeal cookies or malted chocolate chip cookies, utilize barley malt syrup to enhance their flavor profiles. The syrup contributes a subtle sweetness and a distinct malty taste that pairs well with other ingredients.
Substitutes for Barley Malt Syrup
The best substitutes for barley malt syrup when it’s unavailable or for those seeking alternatives are as follows:
Molasses: Molasses is a commonly recommended substitute for barley malt syrup. It is a thick, dark syrup produced during the sugar refining process. Although it has a slightly different flavor profile, molasses provides a similar depth and richness. Use molasses as a 1:1 replacement, adjusting liquid content if necessary.
Honey: Honey offers a natural sweetness and can be used as a substitute for barley malt syrup. While it has a distinct flavor, it complements baked goods well. Replace barley malt syrup with an equal amount of honey, considering the sweetness level and adjusting liquid content as needed.
Maple Syrup: Maple syrup is another viable option. It imparts a unique and pleasant flavor to recipes. Use it as a 1:1 substitute for barley malt syrup, considering the different consistency and adjusting liquid content accordingly.
Brown Sugar: Brown sugar, although not an exact substitute, can provide sweetness in place of barley malt syrup. Keep in mind that it lacks the malty flavor and enzymatic activity. Use brown sugar as a replacement based on desired sweetness, considering adjustments to moisture levels and other liquids in the recipe.
Top Tips
- Use a good quality flour; I always try to use bread flour but you can also use a good all-purpose flour (make sure it has at least 3 to 4 grams protein per serving on nutrition label). Higher is better.
- Consider using vital wheat gluten, which is widely available in supermarkets. Vital wheat gluten will increase the protein content of the flour and give you more crisp and chew.
- Make sure you knead the dough well; usually this dough is hand kneaded because it is a pretty tough to knead using conventional mixers. (However, this recipe is a bit easier to mix than other traditional doughs because it has a bit more water in it).
- When you get to the boiling stage, make sure your kettle/water bath is deep enough for the bagels to float in and replenish the water if it boils off too much for second batch (assuming you are boiling 3 or 4 at a time).
- Make sure your bagels float in water before the boiling stage, as this is a sign that they have risen enough! Fill a medium sized bowl with water, and drop one in, making sure it rises to the top! if it does, your ready to boil them.
- Make sure the kettle water reaches a rolling boil, otherwise, the bagels will not puff up a lot during this stage.
- If the water isn’t deep enough in the boiling pan, the bagels can stick to the bottom of the pan.
- You can boil the bagels for 45 seconds to 2 minutes on each side; taking care to flip them over gently. If the bagels deflate in the water, they proofed too long (risen too much).
- The longer boiling time will give you a thicker crust and shorter times result in thinner crust. To begin, use the shorter boiling times listed.
- Egg wash is NOT needed; the kettle bath gives these bagels a nice shiny finish.
- Barley malt syrup can be found on Amazon or at the health food store; if you can’t find it, don’t worry, use honey, molasses, or brown sugar.
- I use parchment or silicone baking sheets to prevent over browning on the bottom of bagels.
- More tips on making great bagels from New Yorker Bagels
- Also see Troubleshooting bagels from Serious Eats
Storage
Bagels keep for 1 day at room temperature when stored in a paper bag. After 1 day, slice bagels and freeze them in plastic bags for up to one month. Thaw or toast bagels after freezing.
To Refresh Bagels
If your bagels have lost a bit of their fresh-baked magic, they’re easy to revive. Quickly run the bagel under a light stream of water (yes, really!), then place it directly on the oven rack in a 350°F oven for about 5 to 7 minutes. The brief splash of water helps recreate steam in the oven, which refreshes the crust while warming the inside—bringing your bagel surprisingly close to that just-baked texture.
♥️ Loved this recipe? I’d be thrilled if you’d rate it ⭐️ and share your experience in the comments below! Your ratings and comments help other readers discover this recipe and keep this blog going. Did you add any special tweaks? Our community of home cooks would love to hear about it! ♥️
Recipe
📖 Recipe

Authentic New York-style Bagels
Click the heart icon ♡ above to save a recipe. To find your saved recipes later, click the heart icon on the right side of the screen near the search icon and select My Favorites.
Equipment
- baking sheets
- Large shallow pot (deep enough for at least 3 or 4 bagels to float in water.)
- Slotted spoon helpful to remove bagels from boiling water.
Ingredients
For The Dough:
- 4 1/3 cups (541.67 g) bread flour*
- 1 teaspoon dry yeast (overnight bagels) (1 tablespoon for same-day bagels)
- 1 tablespoon sugar
- 2 teaspoons honey, molasses, or barley malt syrup. updated from brown sugar
- 2 teaspoons salt
- 1 1/3 cups (315.45 g) warm water (overnight bagels) (add 3.5 tablespoons of water per batch for same day bagels)
- 1 tablespoon vegetable oil
- 1 tablespoon vital wheat gluten (*optional*) OPTIONAL, 1. to 1.5 tablespoons (increases the protein content of flour) (use this gluten calculator to figure out how much you need)
For the kettle water:
- (3 quarts) water (just use enough to allow at least 3 or 4 bagels to float without touching bottom of pan)
- (1 tablespoon) brown sugar, honey, or barley malt syrup** (enough to tint water golden color; can also simply use plain water)
- 1/2 teaspoon (1/2 teaspoon) salt
For baking:
- cornmeal enough to dust baking sheets
OPTIONAL "everything bagel topping" (or purchase already mixed)***:
- 2 tbsp Sesame seeds
- 2 tbsp Poppy seeds
- 1 tbsp Dried minced onion
- 2 tsp Dried minced garlic
- 1 tsp Coarse salt
Instructions
To Mix the Dough:
- Add all dry ingredients to a medium sized bowl or in the bowl of a standing mixer and blend.
- Note: Please see directions on your brand of yeast. If it requires activation by adding water and/or sugar, use some from the amounts stated in the recipe. RedStar/SAF (instant or active yeast) does NOT require activation but Fleishman's active dry yeast does.
- Add wet ingredients (oil, honey/barley malt syrup/molasses, water) to dry ingredients and knead until dough in smooth (10 to 12 minutes in mixer or as long as needed by hand; may also knead in food processor for up to 90 seconds and finish by hand kneading if needed). If using food processor, you may need to split dough into two batches depending on size of appliance.
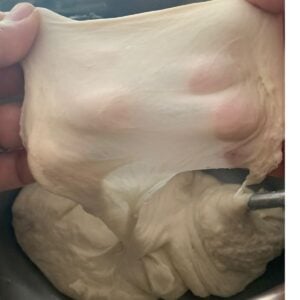
- Do a window pane test: take a small walnut-sized piece of dough and try to stretch it out very thinly until it is almost "transparent" – this suggests your dough has been kneaded enough. This may not be easy to obtain perfectly. Just do your best.

- Rest the dough for 10 minutes and then divide into eight pieces (if weighing about 115 grams or 4 ounces for each bagel). This is a low-hydration dough – you MUST keep the dough covered at all times.
- Shape dough pieces into balls by rolling on countertop using slight pressure from palm of your hand, and then let the balls rest on counter for 10 to 15 minutes.
- Spray a baking sheet with cooking spray, sprinkle with cornmeal, and set aside.
- Poke hole in center of each balls with your index finger and form into bagels by gently stretching the hole out to about 2 inches in width, and then place on prepared baking sheet.
For Same Day Baking
- Cover bagels with plastic wrap (spray tops of bagels or bottom of wrap so it doesn't stick to bagels) and let bagels rise for about 20 minutes in warmer weather or 30 minutes in cooler kitchens. (Float test: Bagels are ready for boil and bake if they float in a bowl of water.)
For Next Day Baking
- Spray top of bagels with cooking spray and top with plastic wrap, place in the refrigerator, and then proceed the next day by following "To Boil and Bake Bagels" section below. No need to bring bagels to room temperature after refrigerating. (Float test: Bagels are ready for boil and bake if they float in a bowl of water.)
To Boil and Bake the Bagels
- Preheat oven to 450 degrees (Do NOT use convection)
- In the meantime, bring kettle water to a boil in a large flat pan with deep sides (saute pan or broiler pan). Remember to do the float test (bagels are ready for boiling once they float in a bowl of water, and not sink to the bottom; you'll only need to test one.)
- When water is boiling, add bagels to water (enough to fit without crowding) and boil bagels for about 30 to 45 seconds and then flip them over and boil for another 30 to 45 seconds on the other side. (You can boil for up to 2 minutes per side but note that the bagels may be more apt to deflate during a longer boil or if they are slightly overproofed.)
- Drain bagels using slotted spoon and place onto a baking sheet that has been dusted with cornmeal.
- If desired, top with your favorite bagel topping (ie, everything seasoning) or leave them plain.
- Place bagels into the oven and bake for 15 to 20 minutes until golden (begin checking bagels at about 13 minutes). You can use parchment or silicone baking mat but I've often also used simply cornmeal dusted plain baking sheet.
Storage
- Bagels are best enjoyed the same day as baking. For leftovers, slice and freeze in airtight bag.
To Make the Everything Topping
- Mix all ingredients together and store extra in plastic bag.
Notes
- Use a good quality flour; I always try to use bread flour but you can also use a good all-purpose flour (make sure it has at least 4 grams protein per serving on nutrition label)
- Consider using vital wheat gluten, which is widely available in supermarkets. Vital wheat gluten will increase the protein content of the flour and give you such a beautiful crisp and chew. Use this calculator to increase your flour’s protein to 14% (by adding vital wheat gluten, which is available at many grocery stores).
- Make sure you knead the dough well; usually this dough is hand kneaded because it is a pretty tough to knead using conventional mixers. (This recipe is a bit easier to mix than other traditional doughs because it has a bit more water in it).
- When you get to the boiling stage, make sure your kettle/water bath is deep enough for the bagels to float in and replenish the water if it boils off too much for second batch (assuming you are boiling 3 or 4 at a time).
- Make sure the kettle water reaches a rolling boil, otherwise, the bagels will not puff up a lot during this stage.
- If the water isn’t deep enough in the boiling pan, the bagels can stick to the bottom of the pan.
- You can boil the bagels for 30 t0 45 seconds (up to 2 minutes) on each side; taking care to flip them over gently. If the bagels deflate in the water, they proofed too long (risen too much) or were boiled for too long.
- The longer boiling time will give you a thicker crust and shorter times result in thinner crust. To begin, use the shorter boiling times listed.
- Egg wash is NOT needed; the kettle bath gives these bagels a nice shiny finish (using convection setting will blow bagels dry and decrease shine).
- I sometimes use parchment or silicone baking sheets to prevent over browning on the bottom of bagels.
Nutrition
*Recipe updated on July 15th to add more detailed instructions and adjust yeast and water for overnight proofing.
Hi I used the same day recipe. Sprinkled minced onion before baking! Superb!!! They were even better the next day!!!
I’m so glad! If you ever do need to revive, I just saw a cool method – run quickly under water, and bake at 350F for 5 to 7 minutes.
One of the best home made bagel recipes. Thank you for sharing it. Made few batches so far and one of the twists I use is dehydrated onion (powder) in the water for the dough.
Ohhh, that sounds so amazing! I will have to try that, thanks!
Best recipe for bagels.
Great recipe. Don’t leave out the Barley Malt. I fold in chocolate chips but have also done blueberries. Kids love it. I make them almost every week now.
Hi!! I tried the same day version but they were a little flat. Any suggestions?
Flat bagels can happen for a few reasons, but if they pass the float test, they’re proofed enough, so not rising enough is not the reason. From there, I’d try adjusting the boiling time since “too puffy bagels” have weaker gluten, and a long boil can make them collapse. Try boiling only 30 seconds per side. Adding vital wheat gluten next time can also strengthen the dough and help prevent flattening after boiling.
So, I just put my “same day”dough together and noticed at the bottom of the page were notes.
The notes said to use more water and use instant yeast!? But at the top of the recipe in the ingredients list, it didn’t say instant and I followed what you wrote in ( )’s!
Will my bagels and rest time be off since I used active yeast in the “ same day” recipe? 😞
Active yeast and instant yeast can be used interchangeably in this recipe (active may take a little bit longer but nothing crazy). Just make sure your bagels pass the float test before you boil them and you will be fine. Hope you enjoy!
Am I able to add blueberries to the dough or will that ruin the texture?
Hello from Haïti. This recipe is excellent, loved the notes and most of the comments were helpful as well. My bagels (same day) came out parfaitement ! Kneaded in my Kitchen Aid for 12 minutes and passed the window pane test. I think I proofed too long for part of the batch as some bagels were puffier than others after the boil. Great chew, crispy top, and gone within an hour, my family was thrilled. Thank you!!!!