Crisp and Fluffy Sourdough Focaccia
This post may contain affiliate links. For more information, please see our disclosure policy.
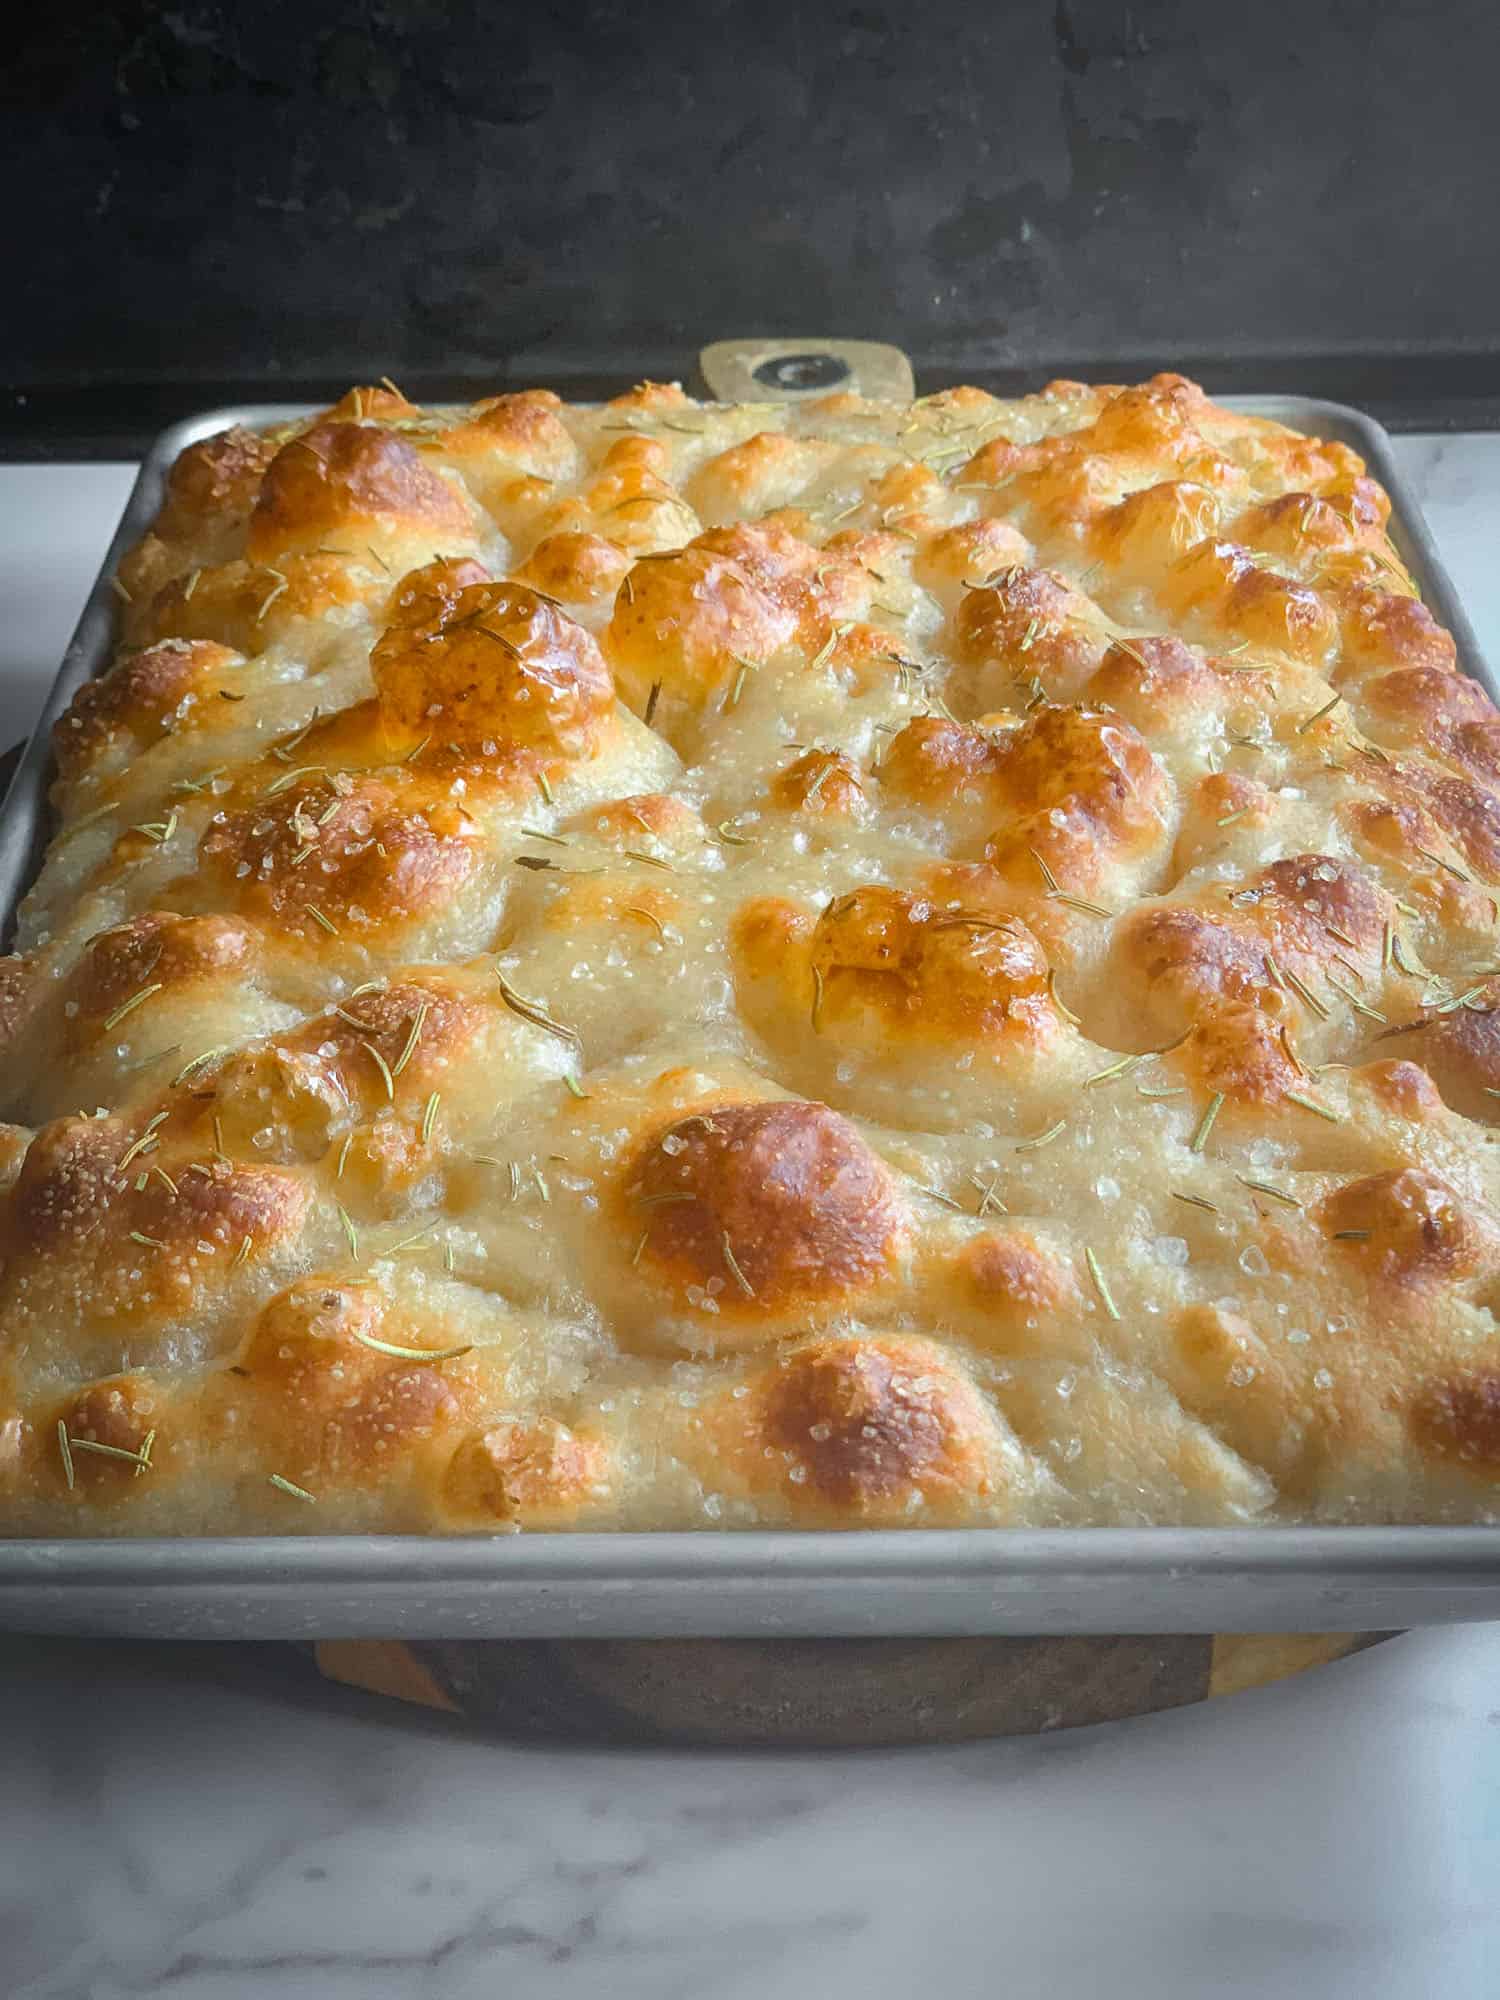
A very easy focaccia recipe made with sourdough starter. This sourdough focaccia is fluffy, crispy and very light. Switch up the toppings, turn it into a pizza, or even sandwiches! Very good!!
Like so many other recipes, focaccia making is almost more about technique than it is about ingredients.
Why Focaccia and What Makes a Good One?
Focaccia is an Italian rustic flatbread that is very versatile.
According to master baker Jeffrey Hamelman, it may have herbs and oil in the dough or it may be plain. Traditionally, people made it with whatever was in season or whatever they had on hand.
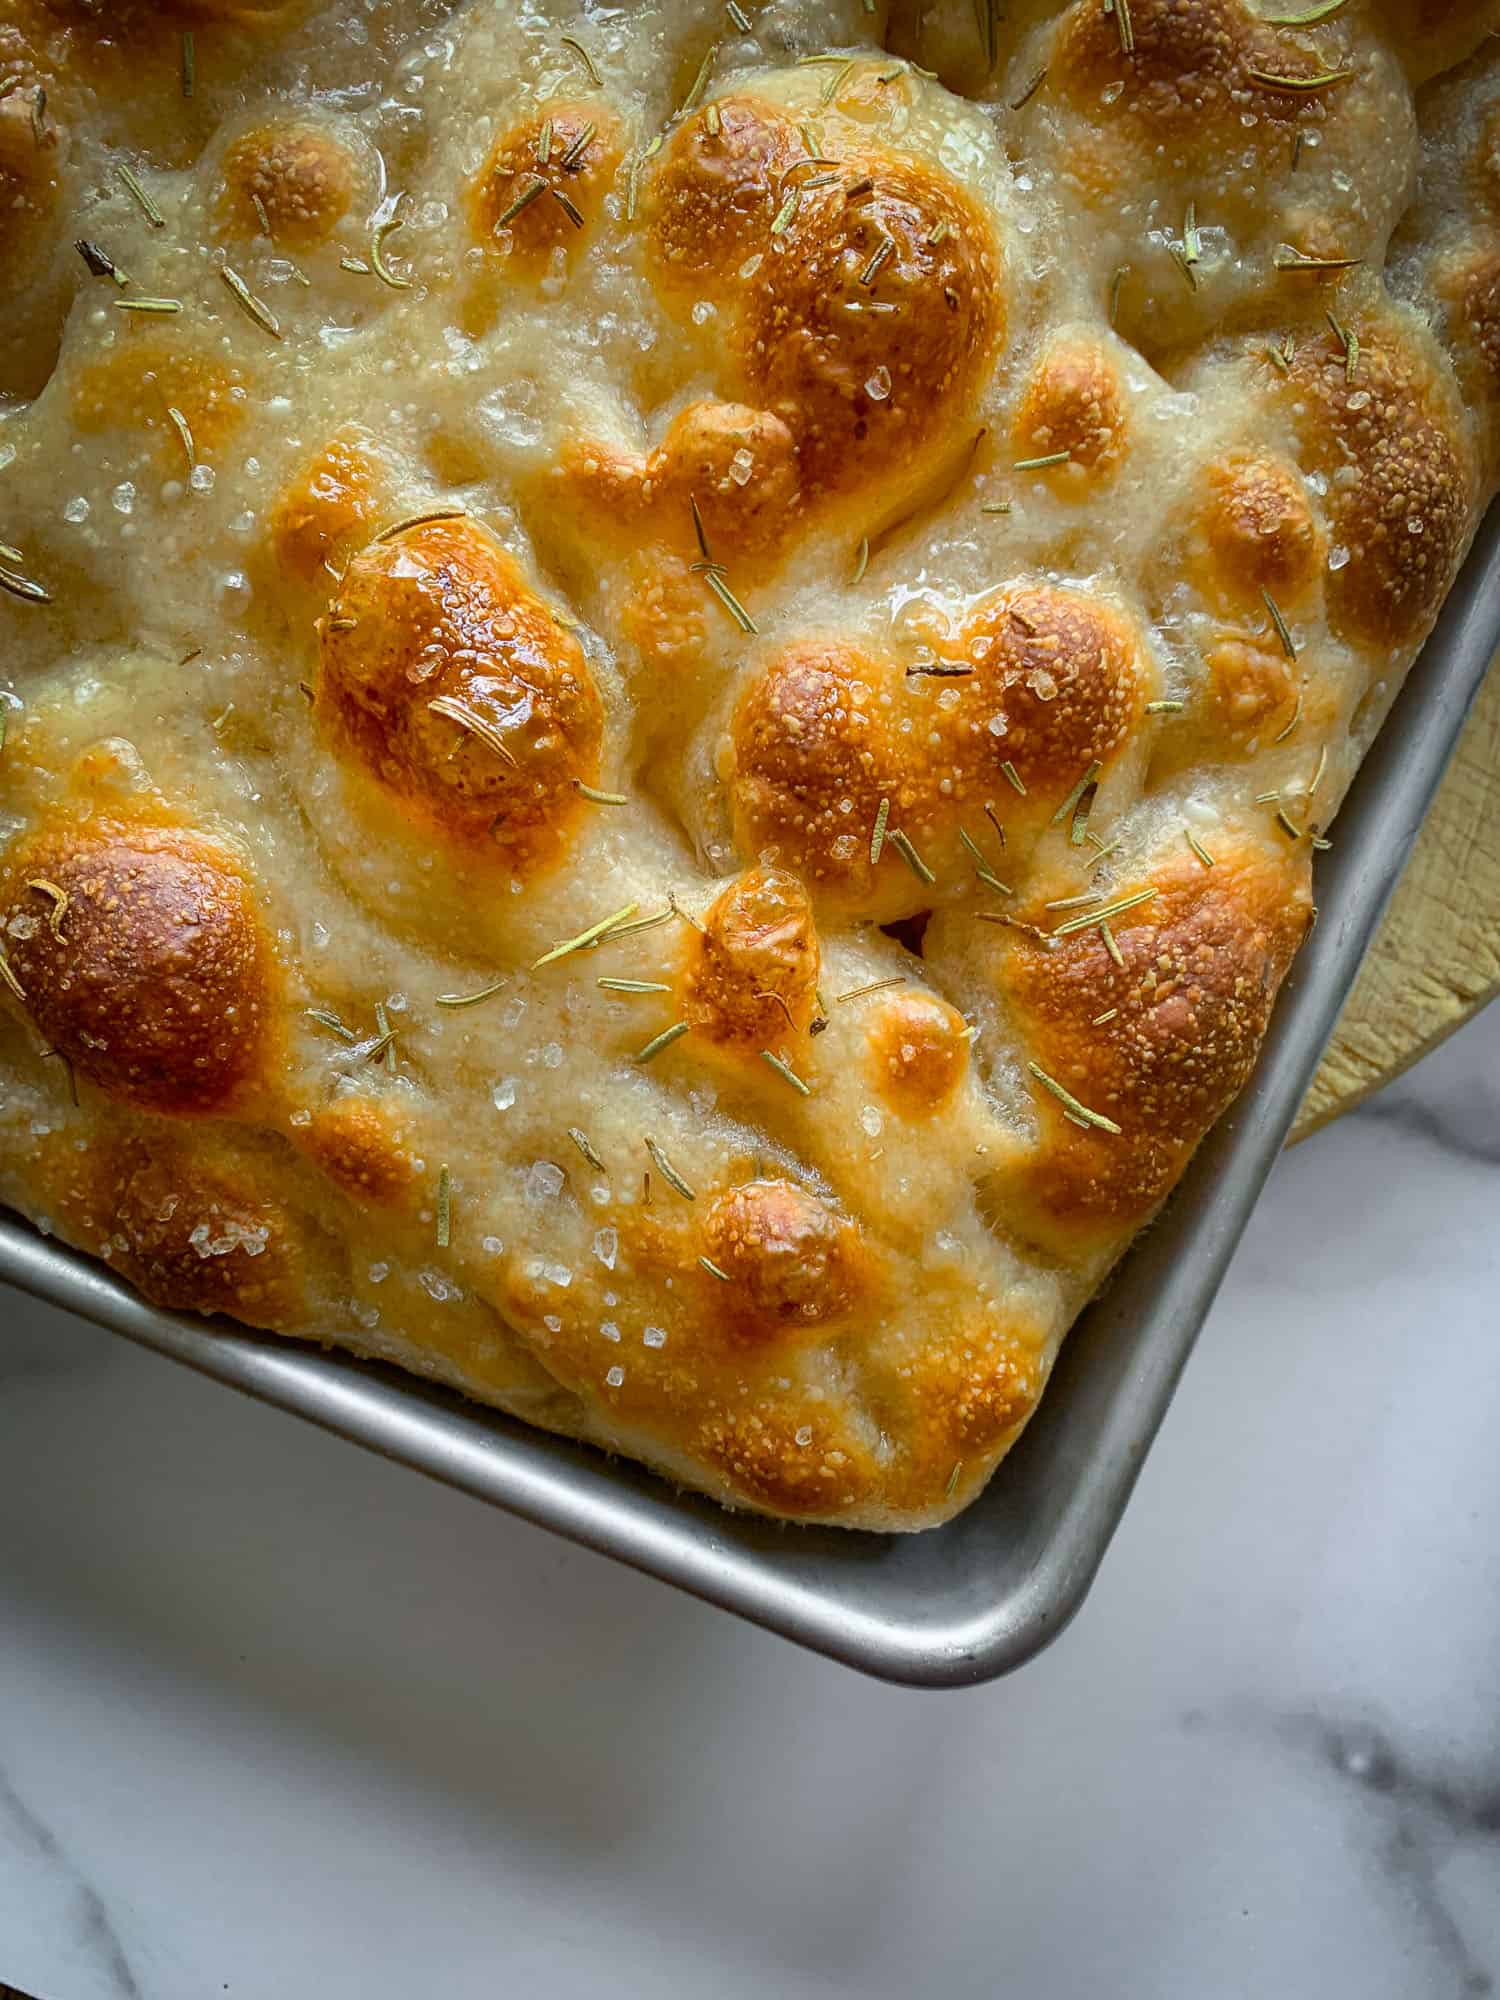
At its simplest and as is shown here, it is made with olive oil, rosemary, and a sprinkling of coarse salt. In Florence, it is popular to use grapes and fennel seeds (As described in “Bread, A Baker’s Book of Techniques and Recipes”).
Many suggestions are shown below under “Variations and Topping Ideas” – just make sure not to overload your focaccia with too much toppings and ensure that you do spread them evenly.
So…there are a million focaccia recipes out there, but what really makes a good focaccia?
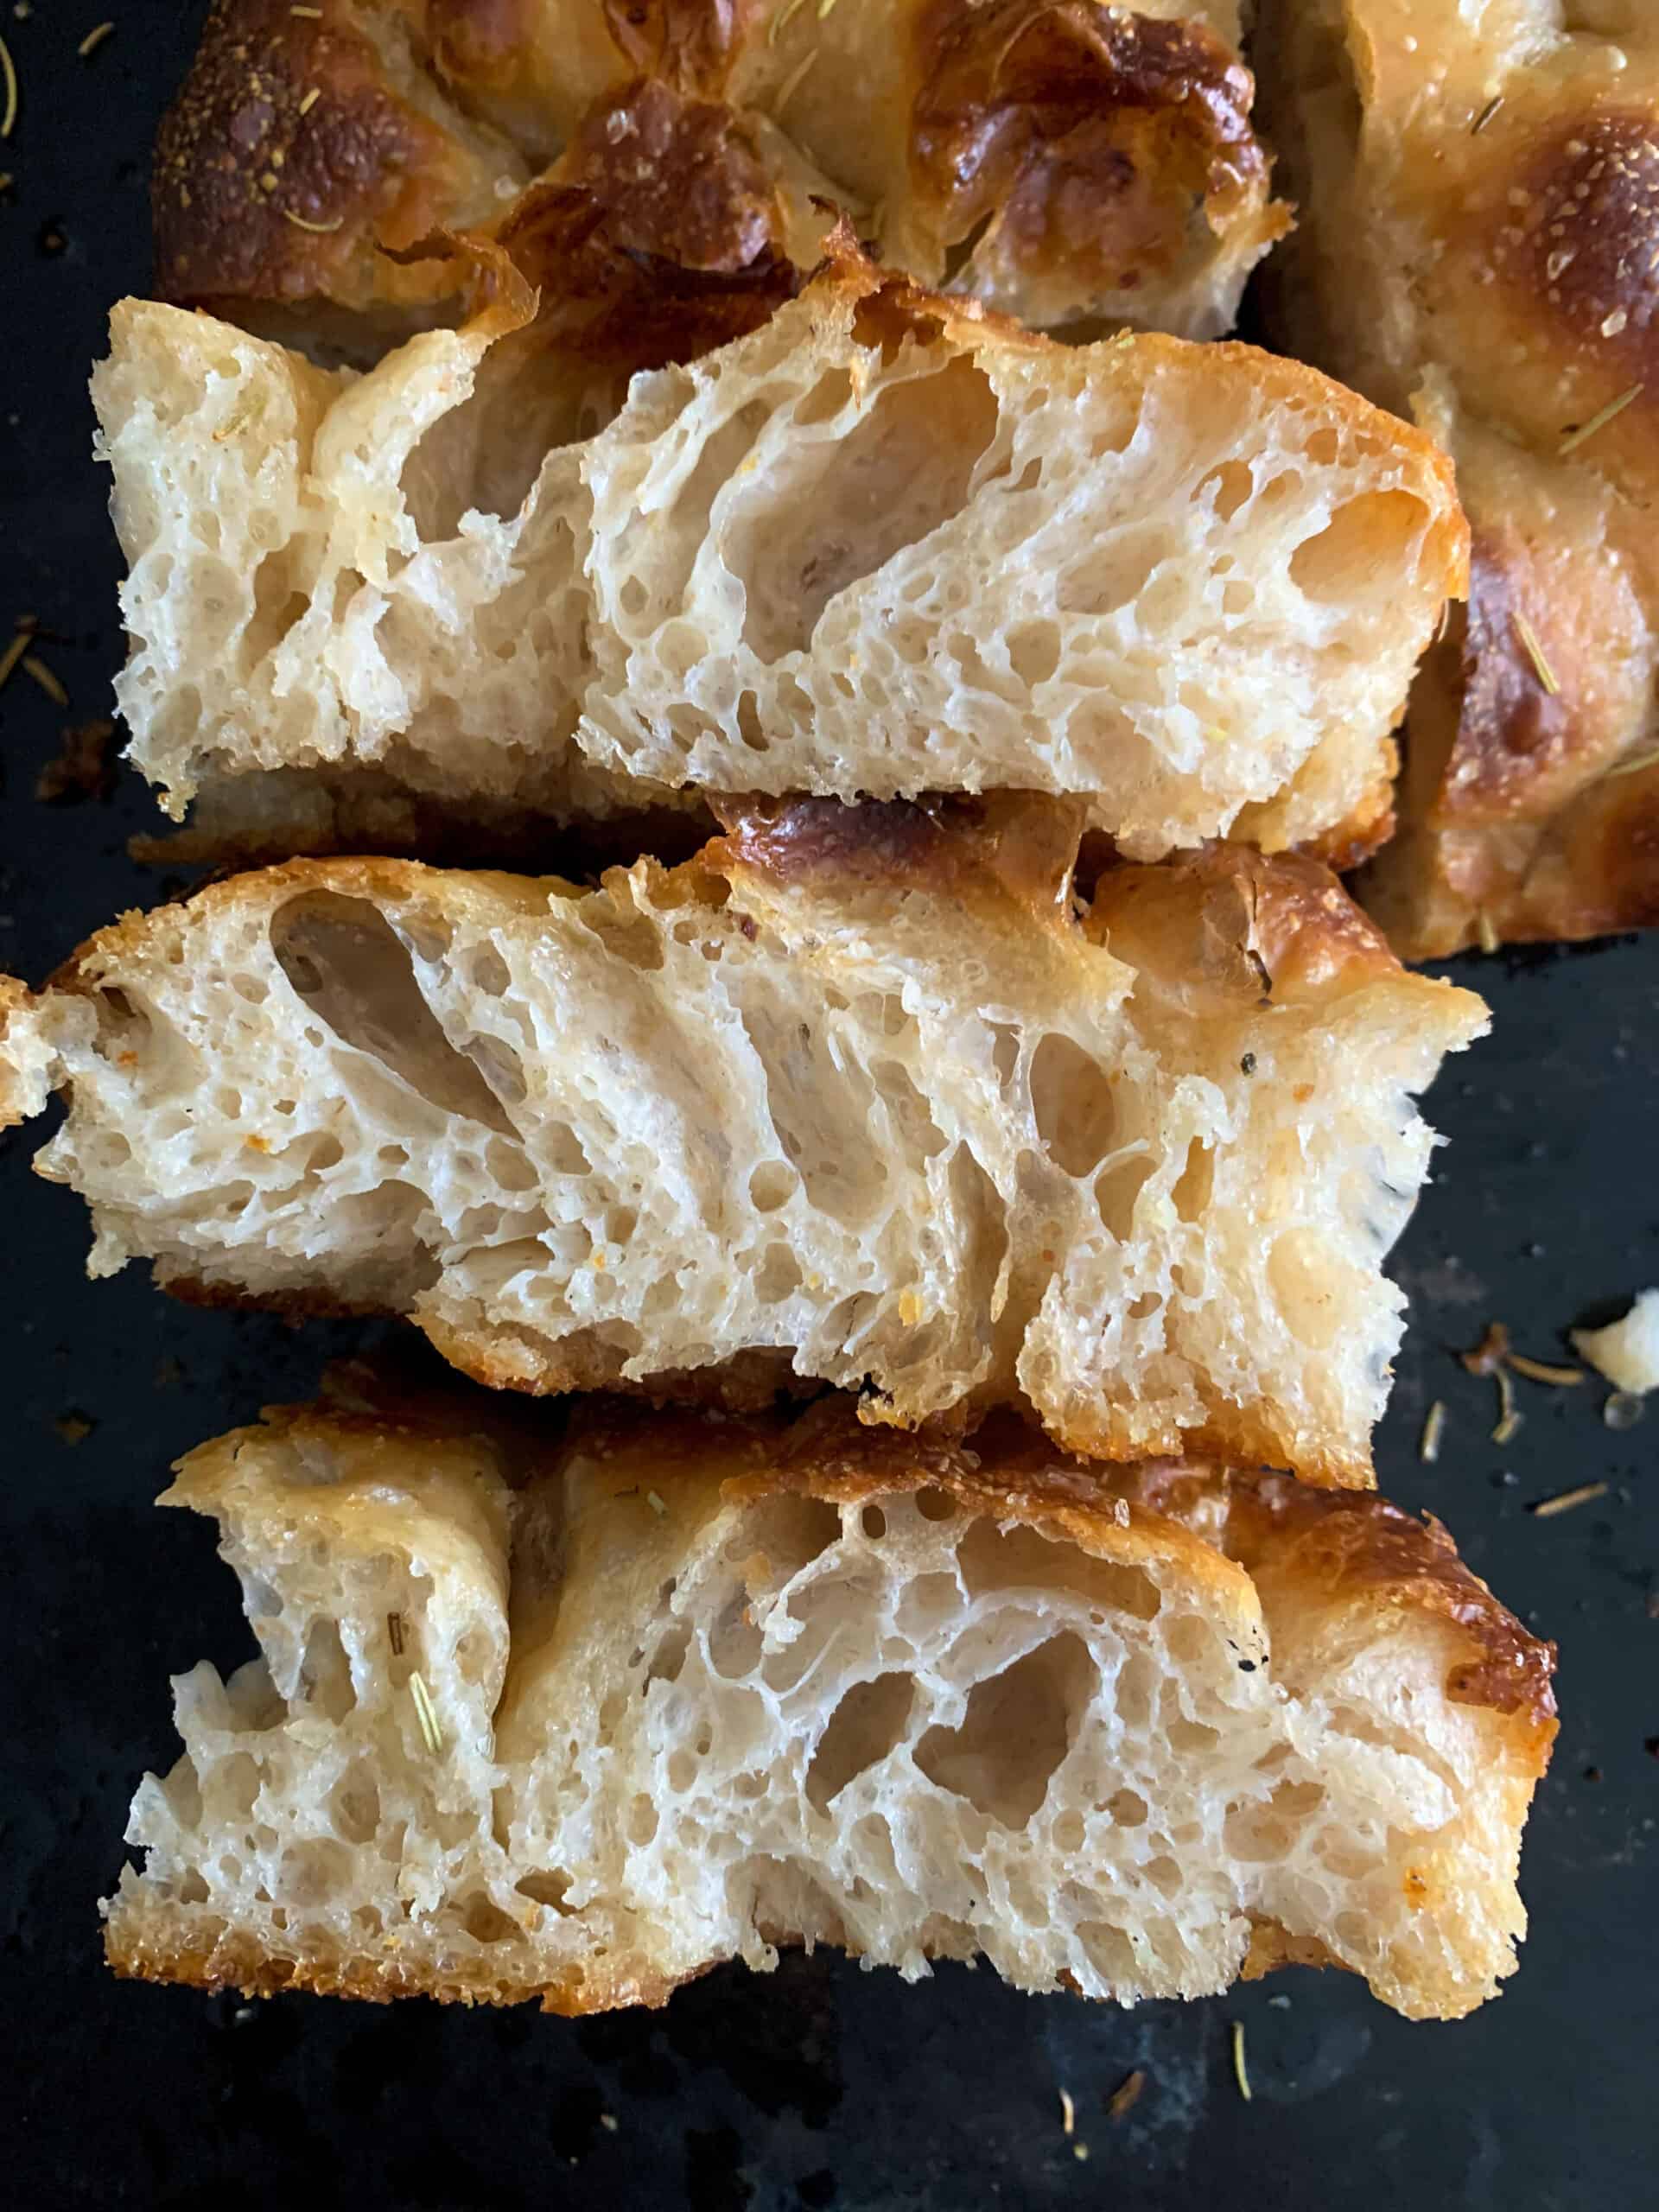
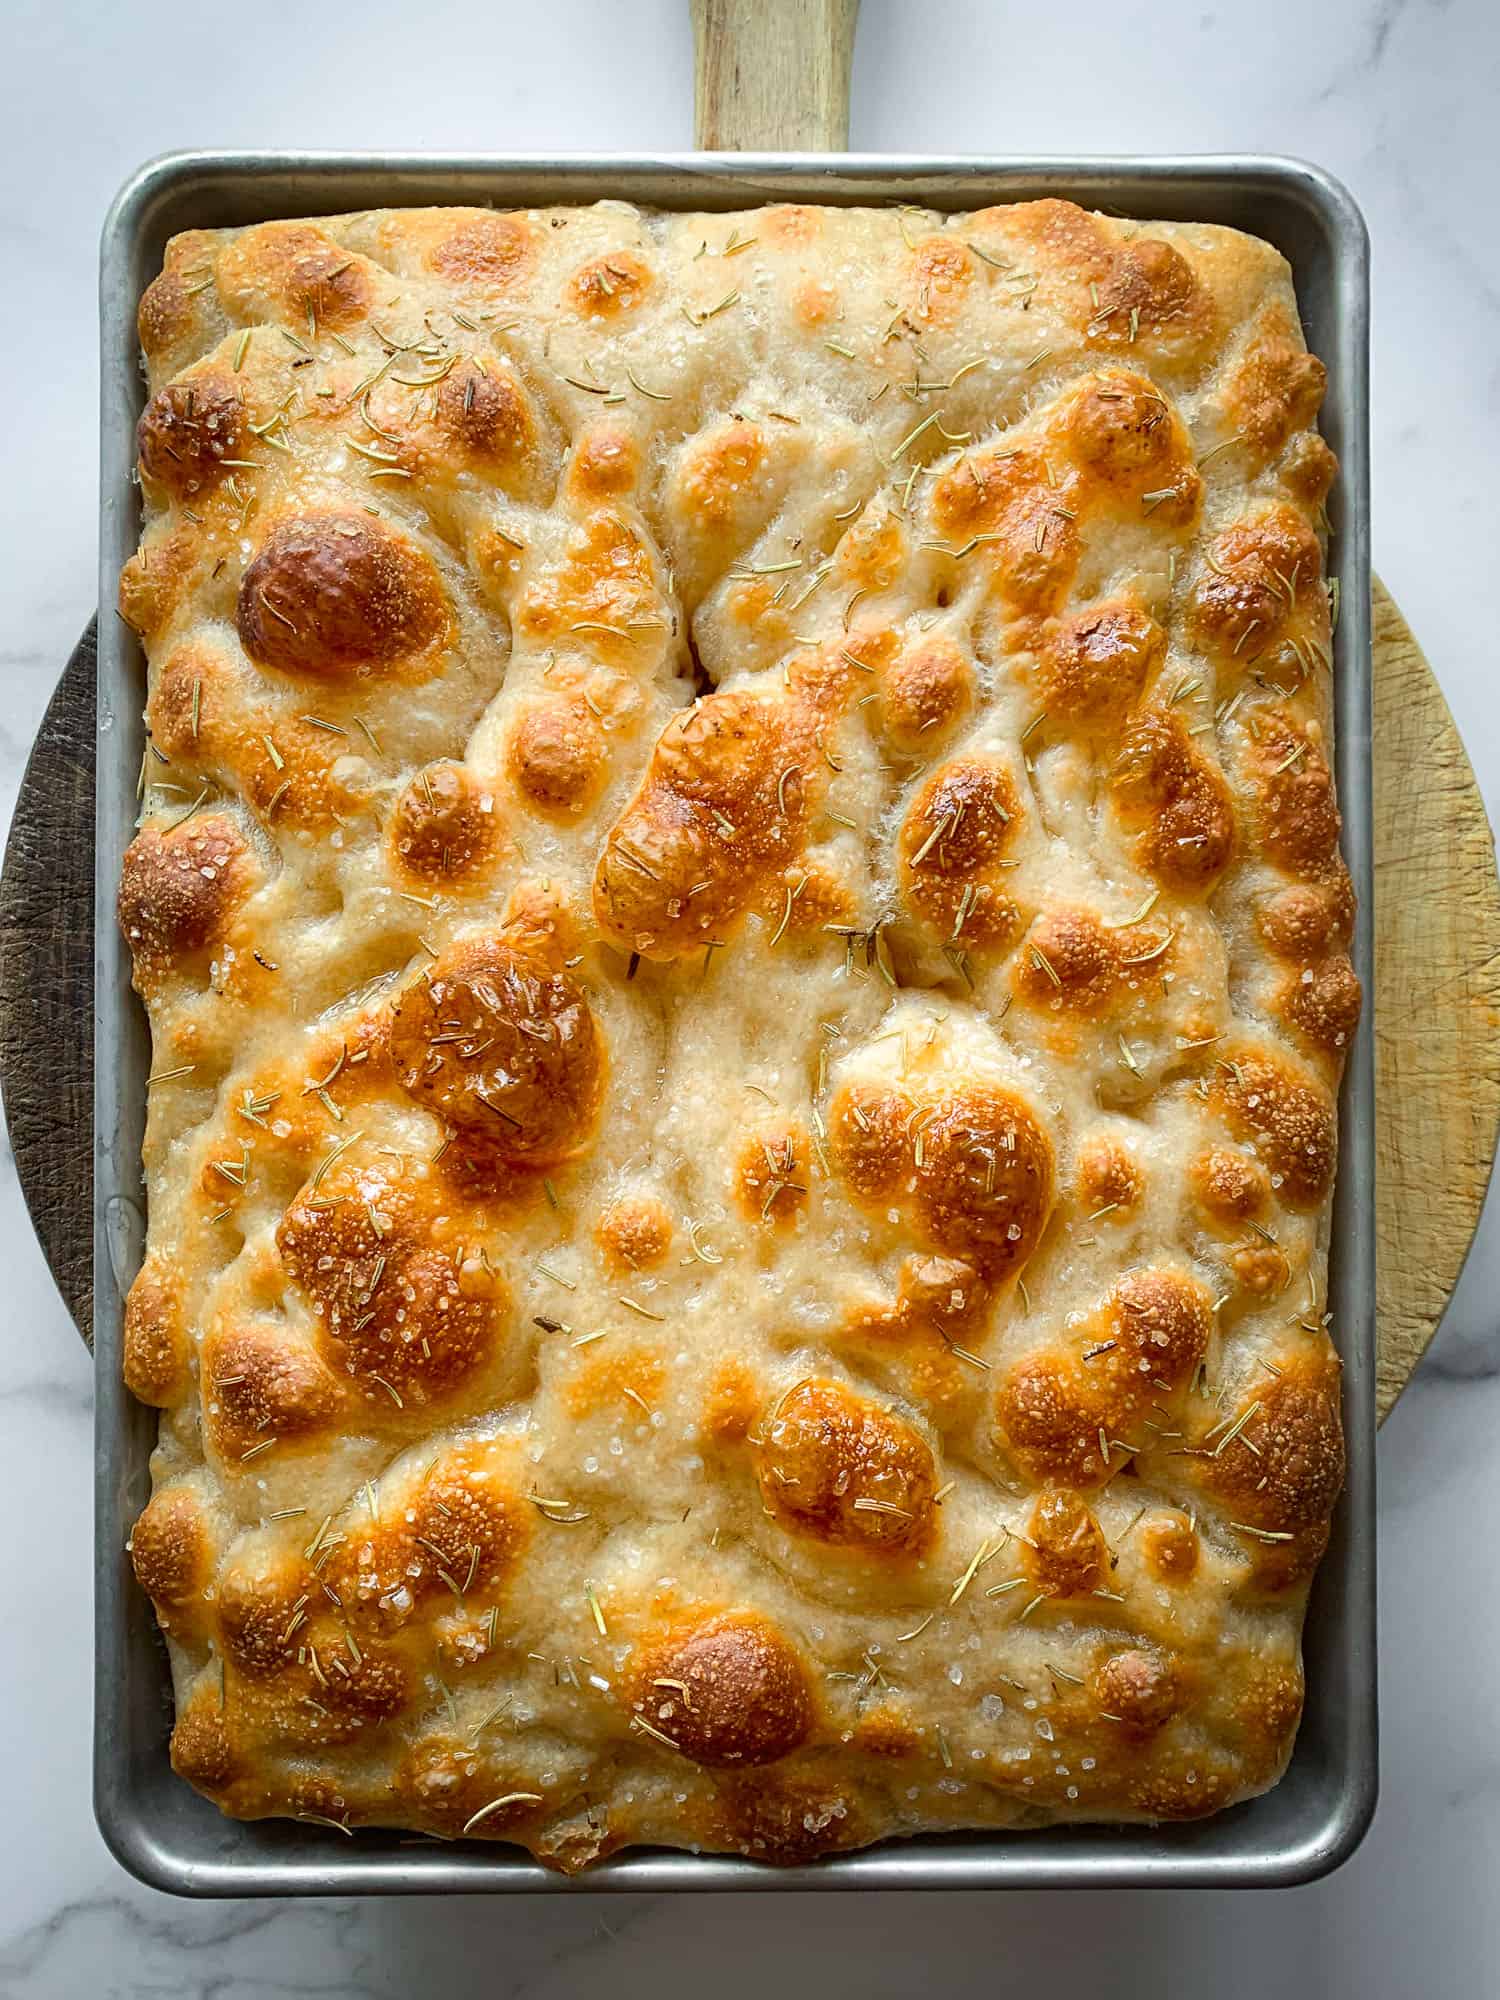
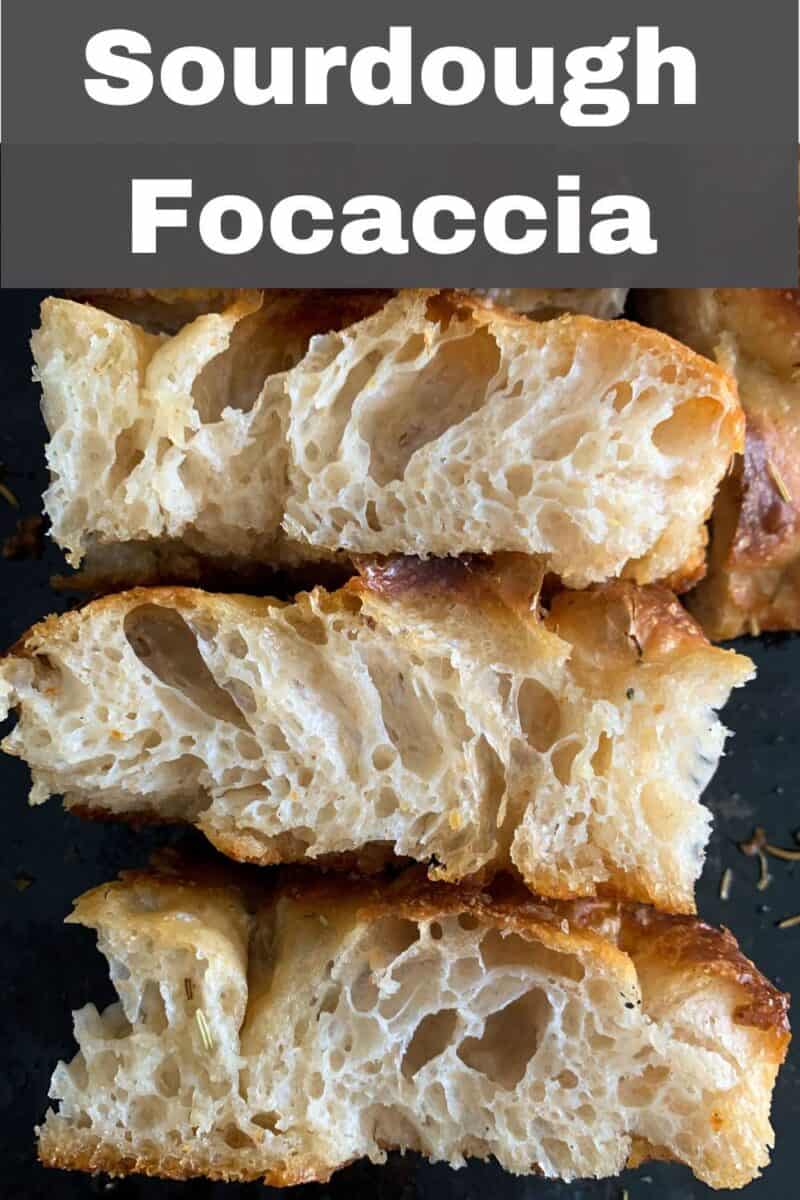
Well, my ideal focaccia it must be flavorful with a soft chewy fluffy interior yet crispy on the outside. I also prefer my focaccia on the thick side, but that’s not an absolute must.
A Few Important Tips!
- A long slow rise or overnight cold rise gives the dough that delicious taste that you can only get from a slow rise, much like my favorite NY Pizza dough. Some people may also use a preferment like a biga to get good flavor.
- To get a good crisp, you need the dough to be well developed (long rise) and also need to baking on a baking stone/steel OR in the bottom third of your oven.
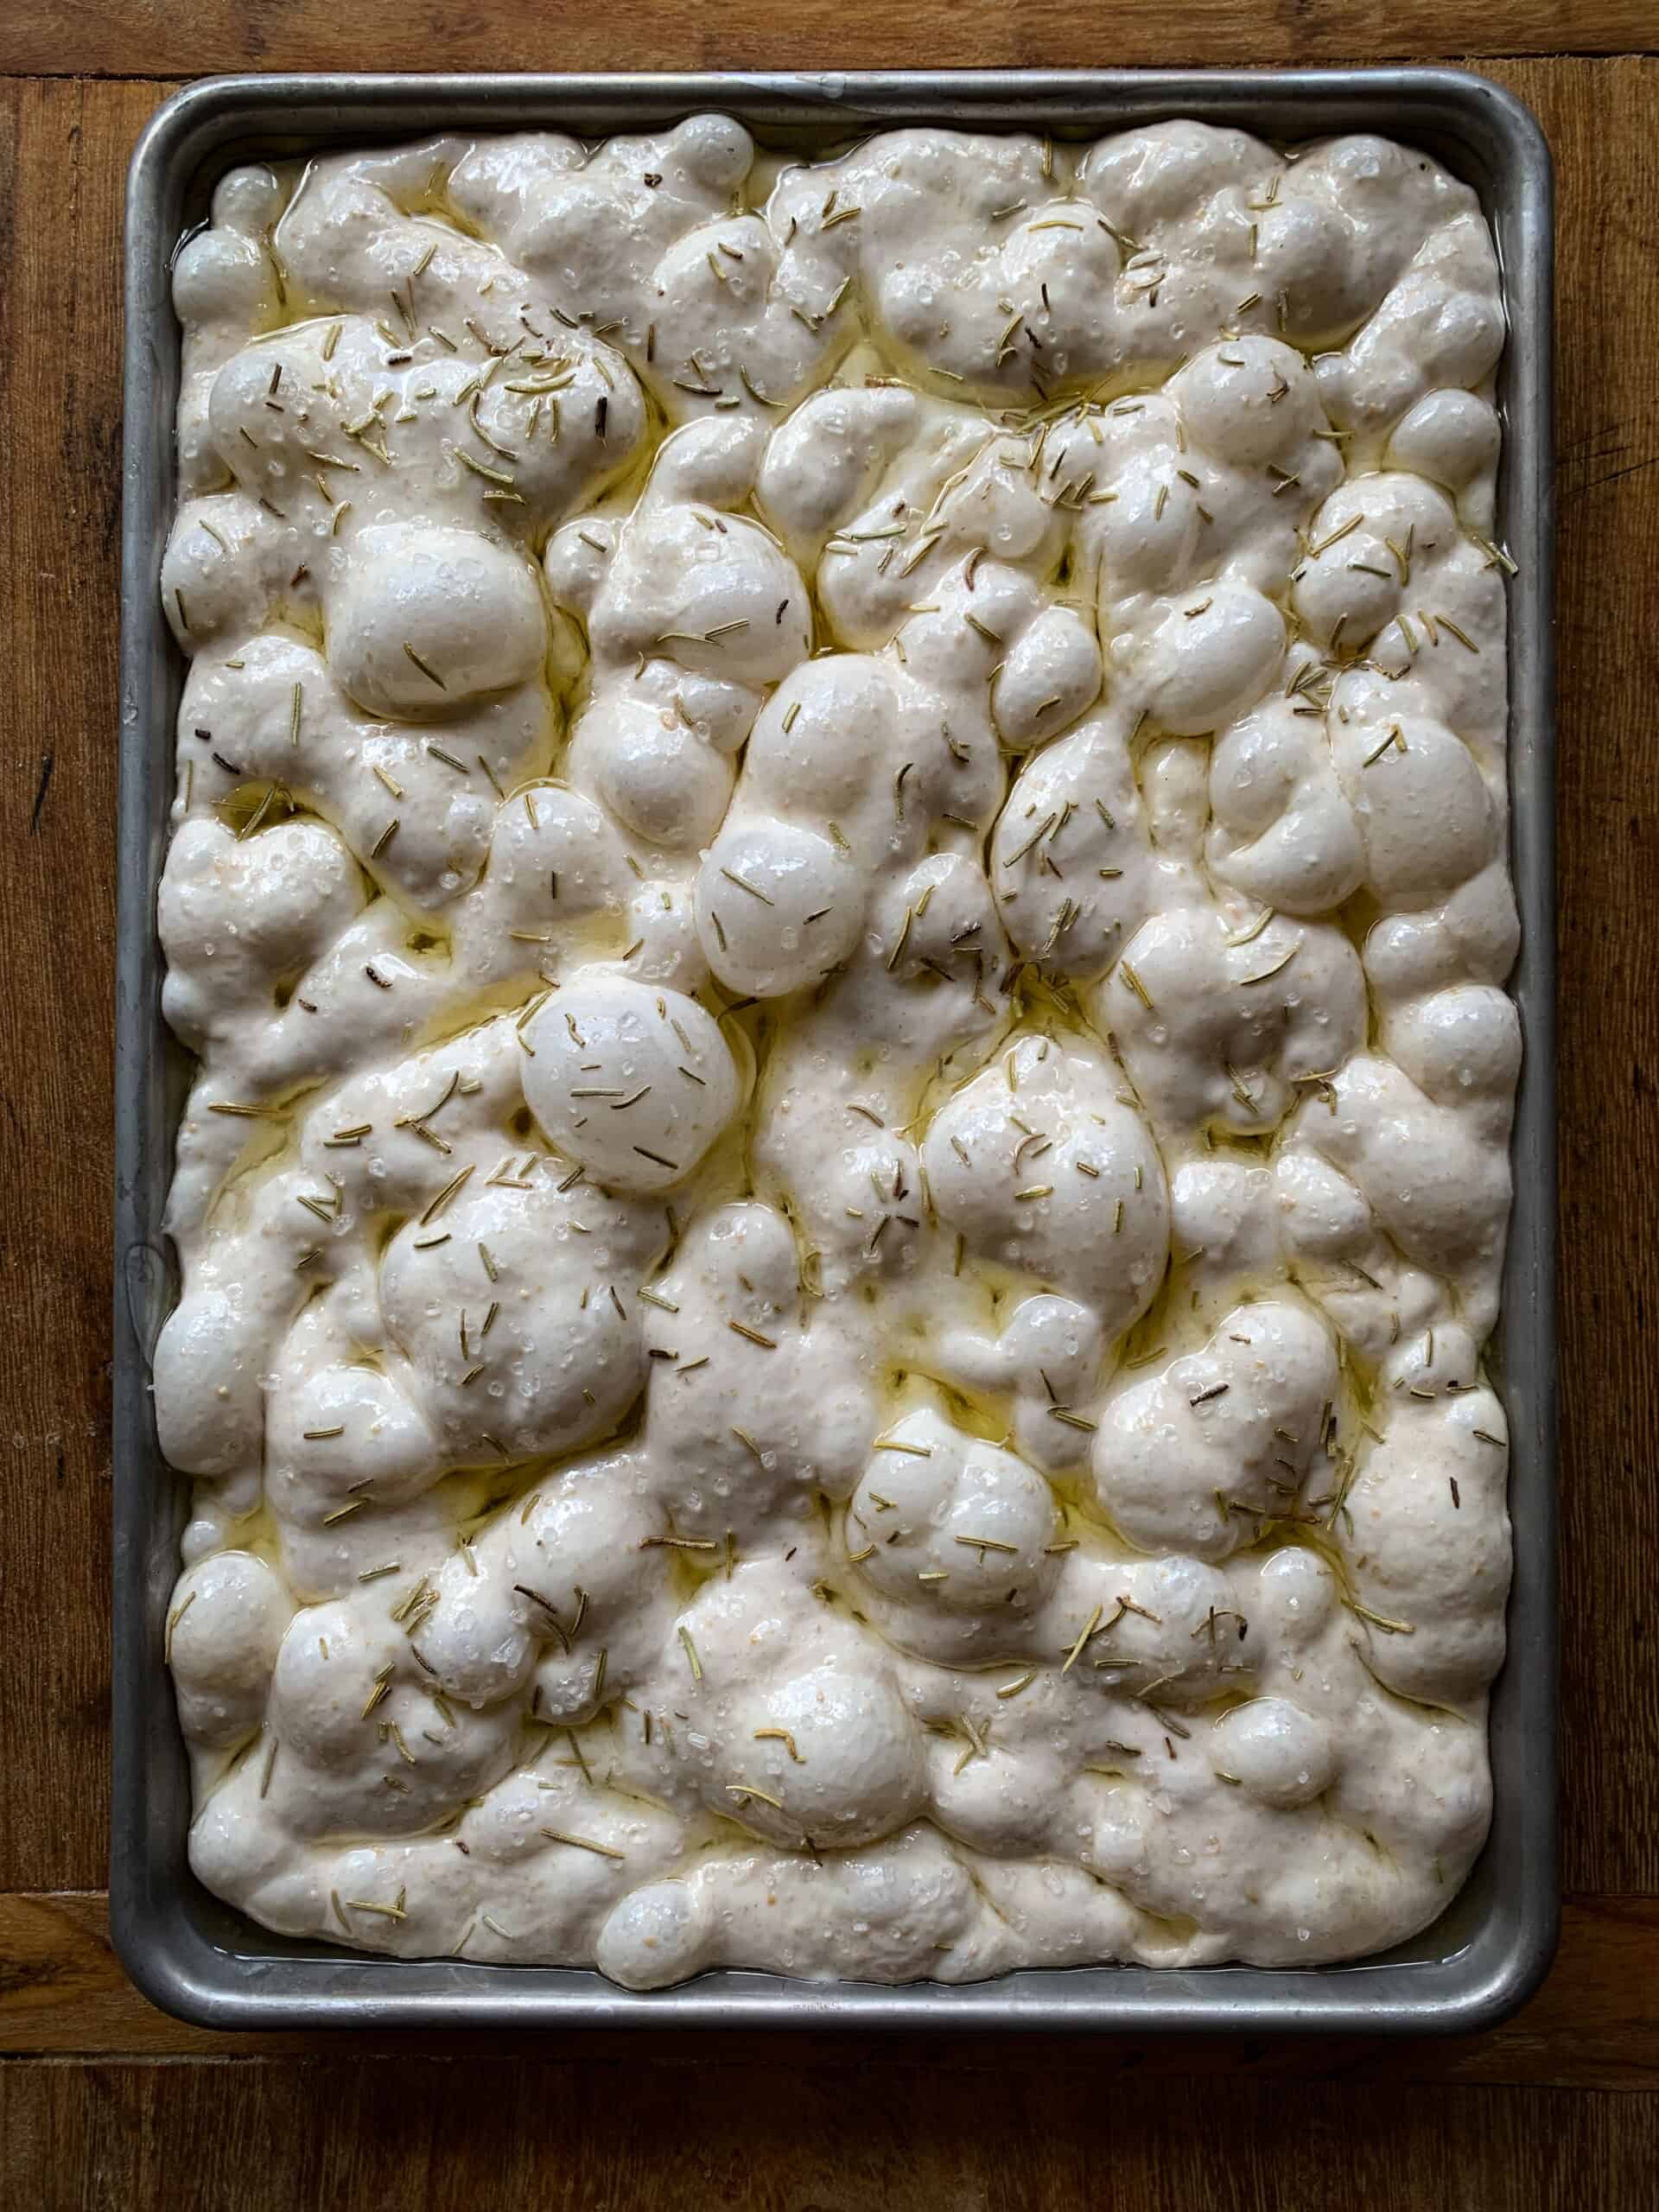
- A fluffy interior comes from a long final rise, and the right amount of starter or yeast (must be active)!
- Also, we can’t forget, a high amount of water is going to help give you that beautiful crumb inside.
- Using the right amount of dough for your pan will give you the desired thickness.
This recipe also contains a bit of oil in the dough for more of a chewy crumb.
I love focaccia because it is delicious, soft and chewy on the inside with a crispy crust, and it is so incredibly versatile. Change up the toppings or make it into a sandwich. The options are plentiful.
Read more tips from an Italian baker who shares a top 10 list of tips.
Variations and Toppings Ideas
Here are some focaccia topping ideas (always with salt and a drizzle of olive oil).
- Rosemary, coarse salt, and olive oil
- Red and green grapes with fennel seeds 🍇
- Pesto and chicken 🐓 (precooked chicken)
- Pizza sauce and cheese 🧀
- Olives and lemon zest 🫒
- Oregano, red pepper flakes 🌿
- Garlic, olive oil, and fresh herbs
- Tomatoes, olive, feta 🍅
- Roasted eggplant or zucchini (lightly roasted) 🍆
- Fresh tomatoes, cheese, basil
- Cherry tomatoes and pesto
- Sausage and cheese (precooked meat)
- Artichoke and spinach
- Caramelized onions 🧅
- Pepperoni and cheese
- Roasted garlic and oregano 🧄
- Balsamic reduction
- Thinly sliced potatoes and rosemary 🥔
Focaccia Sandwich Ideas
Thick sourdough focaccia can be easily sliced open to make a great sandwich or, for bigger appetites, use 2 pieces. You can also make paninis by grilling any of these sandwich combinations.
Some ideas for making a delicious focaccia sandwich include:
- Mixed cheeses
- Ham and cheese
- Caprese (tomato and cheese)
- Meatball sandwiches
- Italian meats (ie, proscuitto, capicola, salami, etc)
- Bacon, lettuce, and tomato
- Club sandwiches with turkey
- Grilled vegetables with pesto
- Egg salad or chicken salad
- Cuban sandwich
- Chicken breast with spinach, roasted peppers
Leftover Focaccia
I doubt you’ll have leftover, but just in case here are some ideas….
- Cut and use focaccia to make plain croutons or flavored croutons
- Dry the focaccia and make breadcrumbs (plain focaccia)
Storage, Make Ahead, Freezing
The dough can be made the night before and is best tasting after a long cold proof in the refrigerator.
After baking, the focaccia is best enjoyed the same day.
To freeze place slices in freezer bag for up to 1 to 3 months.
You can flash freeze sliced focaccia on a cookie sheet and then transfer the pieces to a freezer bag or you can wrap pieces in plastic wrap and then place in sealed contained in the freezer.
♥️ Loved this recipe? I’d be thrilled if you’d rate it ⭐️ and share your experience in the comments below! Your ratings and comments help other readers discover this recipe and keep this blog going. Did you add any special tweaks? Our community of home cooks would love to hear about it! ♥️
📖 Recipe

Thick Soft yet Crispy Sourdough Focaccia Recipe
Equipment
- 13 x 9, baking sheet, small sheet pan, casserole dish For rectangular focaccia (line with parchment)
- 10-inch cake pans (two) For round focaccia (line with parchment paper)
- large mixing bowl
- baking stone or steel optional but highly recommended
Ingredients
- 125 grams (0.5 cups) mature sourdough starter
- 375 grams (1 2/3 cups) water
- 10 grams (2.5 tsp) sugar
- 500 grams (4 cups) bread flour
- 15 grams (1 tbsp) olive oil
- 10 grams (1 3/4 tsp) salt
For the Topping
- 1/4 cup olive oil or as needed (and to drizzle after baked)
- 1 teaspoon salt coarse flaky salt is recommended for topping but use what you have on hand.
- rosemary (fresh or dried) as needed
Instructions
To Mix the Dough
- Mix the mature sourdough starter, sugar, water and flour into a shaggy mass of dough and set aside, covered, in a warm spot for 1 hour.
- After 1 hour has passed, add the salt and olive oil to the dough.
- Mix the dough well after the salt and oil have been incorporated. I like to scrunch/pinch it in, you can use your fingers to press it in and keep folding the dough until incorporated.
First Rise of the Dough
- Place dough in a covered container to let rise for a total of about 1.5 hours in a warm spot. Every 30 minutes, stretch and fold the dough. Try to form a square like shape – a square baking dish helps here. You can also coil fold the dough, which is a simple and very effective technique.
Final Rise of the Dough
- Place the dough on your baking sheet (which must be well-oiled; update: some bakers have reported sticky, so please use parchment paper if you are not using a well-seasoned baking sheet) and allow it to rest at room temperature in a warm location for 3 to 4 hours until it's nice and bubbly. It should spread out naturally on its own, but if it needs some help, gently stretch it.
- If you are using cake pans (10-inch), divide dough in half and gently place into the cake pans. (500 grams or 1 lb of dough in each one).
- Alternatively, instead of the 3 to 4-hour warm rise, place in the refrigerator overnight (or up to 2-3 days), cover loosely with oiled plastic wrap (so it doesn't stick to the dough), and bake the next day. The focaccia can be baked directly from the refrigerated state.
Baking the Focaccia
- Preheat your oven to 450 degrees and insert a baking stone or baking steel if you have one, in the center of the oven.
- Before baking, dimple the top of the focaccia heavily by pressing your fingers in the dough and pushing all the way down to the bottom. Do this repeatedly all over the top of the focaccia.
- Top your focaccia with olive oil, salt and rosemary (or whatever topping you'd like) and bake on the baking stone or steel for about 20 minutes until golden and the bottom is crispy.
- IMPORTANT: If you don't have a baking stone or steel, ensure you are baking the focaccia in the bottom third of your oven so the bottom gets nice and crispy.
- To finish, drizzle the baked focaccia with additional olive oil l

I’ve read through the questions & answers and am still a bit confused on the rest/1st rise. After mixed into the shaggy dough, and let set for 1 hr….is that 1 hr leaving it untouched? And then do the 1.5 hr rise with the folds? Or is that very 1st hr, consider the “1st rise” and the 3 stretch & folds are done during that time, before adding the salt & olive oil?
Your first statement is the correct approach – mix into a shaggy dough, cover, and let rest untouched for 1 hour in a warm spot. Then over the following 1.5 hours, you do the folds while letting it rise. And then when you put it in the pan, that is the second rise. Enjoy!
This focaccia is heaven-sent❣️As a basic bread it is unparalleled for sandwiches and toasting, dipped in olive oil with herbs… I added shredded sharp cheddar after the hour rest, as I add the salt and olive oil, now I’ve created a monster focaccia-lover who cannot get enough (my husband), and I’m getting adventurous with additions like olives, green chiles, more cheddar… honestly the only thing you can do wrong with this bread is not make it yourself❣️
am I to let the dough rest 1.5 hrs after folding the salt & oil, Then do an additional 3 folds every 30 min? Or is the 3 folds done during the 1.5 hr rest
during the 1.5 hour rest, you will perform folds every 30 mins and then there is the additional rest for 3 to 4 hours in the pan.
You do the stretch and folds during that 1 and 1/2 hour time, every 30 minutes.
Three folds at 30-minute intervals IS your 1.5 hours.
Delicious I have made a couple times, with the overnight ferment my focaccia doesn’t rise much so when I dimple there’s not many bubbles like the photo, any tips
I’d give it a little more time either before or after refrigerating — sometimes it just needs a longer window to get nice and puffy again. It’s always more reliable to watch the dough itself than the clock. Hope that helps!
I’ve tried a number of different recipes. Yours is now my absolute go to. Thank you for sharing.
Incredible recipe and one I have shared with friends! It was a hit at our last 58 person bbq as well!
Question for you, can it be frozen and at what stage? I would love to have this on hand to pop it in the oven when I would like it.
Thank you for my go to focaccia recipe!!
Is 2 1/2 a long enough rise time? I want to put it in the fridge overnight to do the final rise, and am worried about under proofing it
The first proof timing works well here – you may be comparing times to a country loaf, which needs stronger gluten development and is typically much longer.
I’ve used this recipe several times and we all love it!
Hi! I did a double batch and my dough is very dense, any ideas or should I just chuck it and start over?
Staci
Hi Staci, sorry i missed this – you could add more water early on not sure where you were in the process. Also, using a scale to weigh ingredients is a game changer! I like the OXO kitchen scale with the pullout display.
It turned out beautiful and DELICIOUS!
10/10 recipe. I top mine with caramelized onions and crème fraiche. I’ve shared your recipe with several people who’ve asked for it!
How would i make this into focaccia without the sourdough starter. I have tried and failed at many focaccia recipes. I know exactly how I wish for it to come out, and yours its the mark. I relocated from an area with a sandwich shop that had the absolute best I ever tasted, to an area that they have no clue! Please help!!
I have not tested this, but this is where I’d start (basically taking the flour and water from the sourdough and adding it to the flour and water in the ingredients list) and adding dry yeast (instant or active dry in place of the sourdough). The rising time would be much shorter – about 1 to 2 hours, depending on the ambient temperature -make sure that the final rise is nice and puffy:
435g (1 3/4 cups) water (375g original + 60g added)
10g (2.5 tsp) sugar
560g (4 1/2 cups) bread flour (500g original + 60g added)
15g (1 tbsp) olive oil
10g (1 3/4 tsp) salt
5.6g (1 3/4 tsp) active dry yeast (1% of total flour)
Delightful and very tasty !
Hi I followed your recipe x 2 and when I added flour it took 3 more cups to even begin to look shaggy. Your Water measurements was 3.3/3 so I assume that is 4 cups? Where have I gone wrong- I hate to toss out the dough and start over being I used so much flour!
I have no idea what could have happened but sounds like not enough water – I would try slowly adding enough water to get a nice dough and go from there.
Kitchen scales are really cheap. I love measuring by weight instead of using cups.
Have been trying different focaccia recipes for a while now, searching for the right blend of fluffiness, crispiness, one that uses my ripe starter without the need for commercial yeast, etc. This is it-hooray! I did the full 3 days of proofing in the refrigerator, topped with fresh grown sage and sea salt and it’s delicious-it will be my lunch today at work ❤️