
Neapolitan Sfogliatelle
This post may contain affiliate links. For more information, please see our disclosure policy.
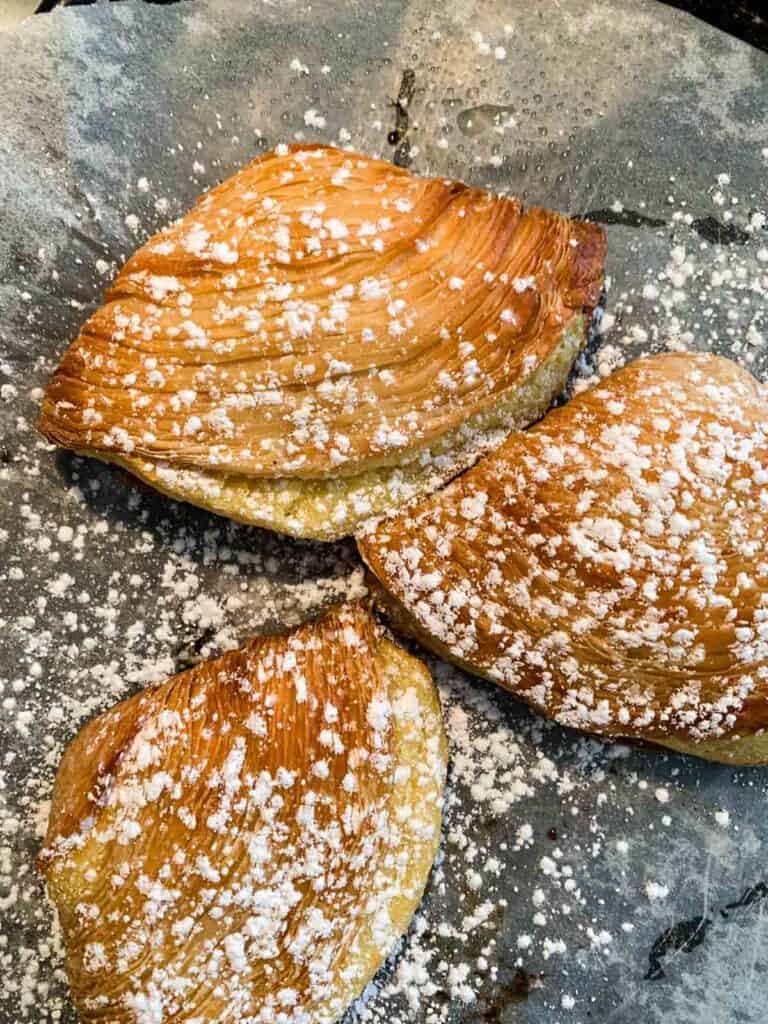
Sfogliatelle are classic Italian (Neapolitan) pastries that are typically served warm. On the outside, there are hundreds of buttery, crisp, and flaky layers; on the inside, a warm, rich citrus and vanilla filling thickened with semolina and ricotta. If you are up for a baking challenge, this recipe is for you! The results are very worthwhile!
In This Post
History and Background
Originally created by an Italian nun, the sfogliatelle have been in existence for over 400 years old!
The challenge in making sfogliatella lies in the many layers needed, created by proper lamination, that crisp up into a beautiful, crackly, multi-layered shell that holds the thick, flavorful, sweetened cheese and semolina filling.
A pasta machine is required to get the dough thin enough, before rolling it up into a tight cylinder to achieve all those beautiful layers!
A variation of this pastry is called a lobster tail pastry, which contains a different filling (sweetened whipped cream and ricotta) along with a choux dough (pate a choux, cream puff dough) inside the laminated layers, which puffs up and allows the baker to fill the pastries after they have been baked, much like a cream puff. It is off-the-hook delicious!
Overview
For crafting these pastries, prepare a thick filling and the dough for the outer shell. The robust consistency of the filling is crucial to ensure the pastries puff up, achieving their signature clam-like shape.
Sfogliatelle dough is rolled out extremely thin, almost paper-like, and then liberally greased before being rolled into a tight cylinder. This cylinder is then sliced into discs, flattened, and filled with a sweet ricotta mixture before baking.
Ingredients for the Filling
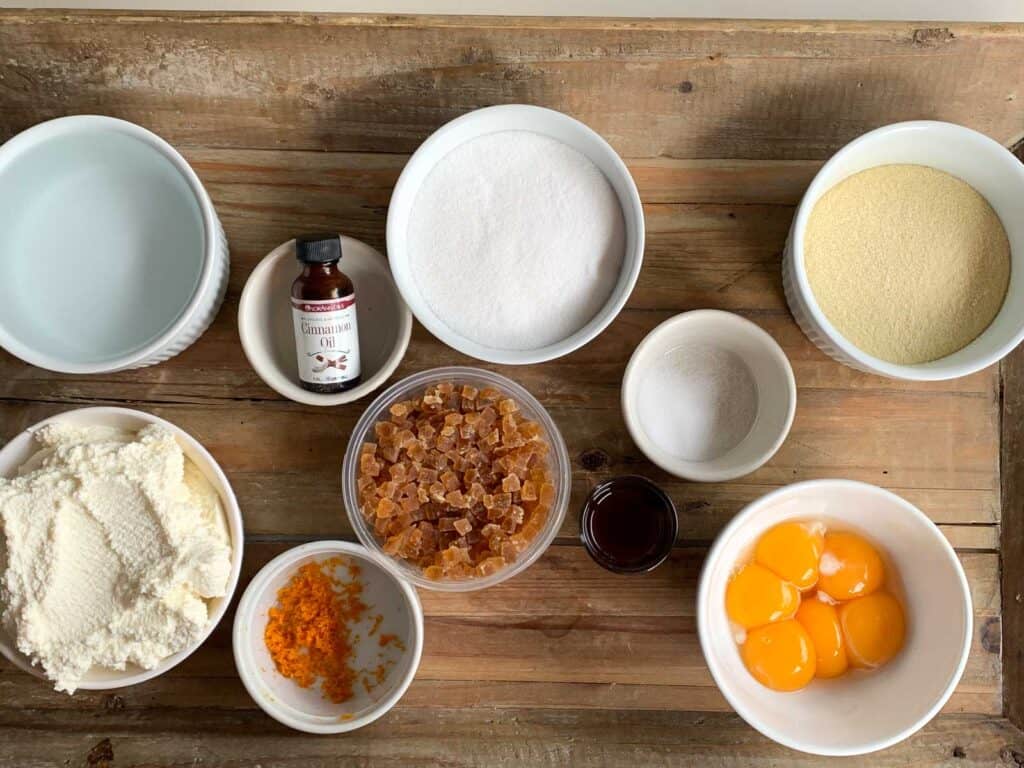
Making the Filling
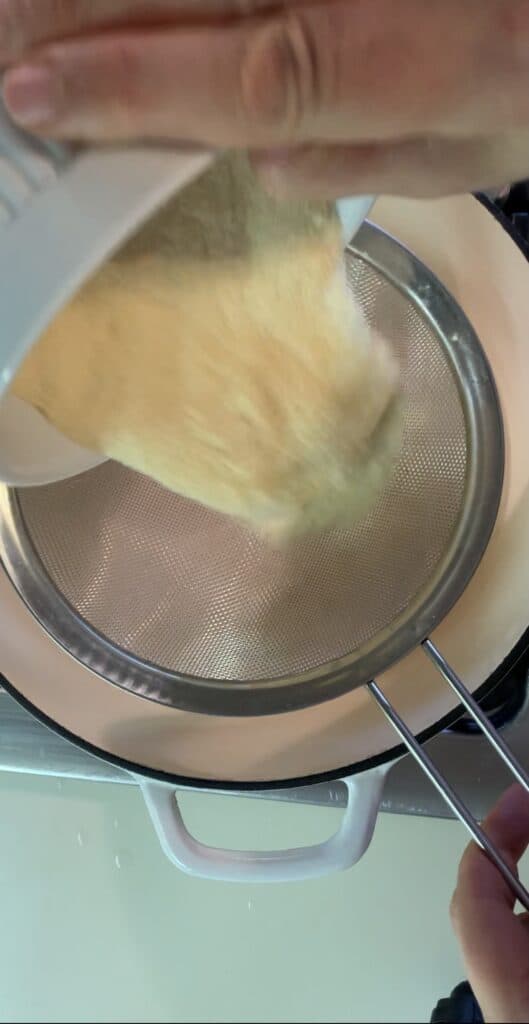
- Add water, salt, and sugar to a large sauce pan, simmer, and then sift semolina into the water mixture.
- Heat and stir until thickened.
- Afterwards, add the ricotta and continue cooking for a few minutes
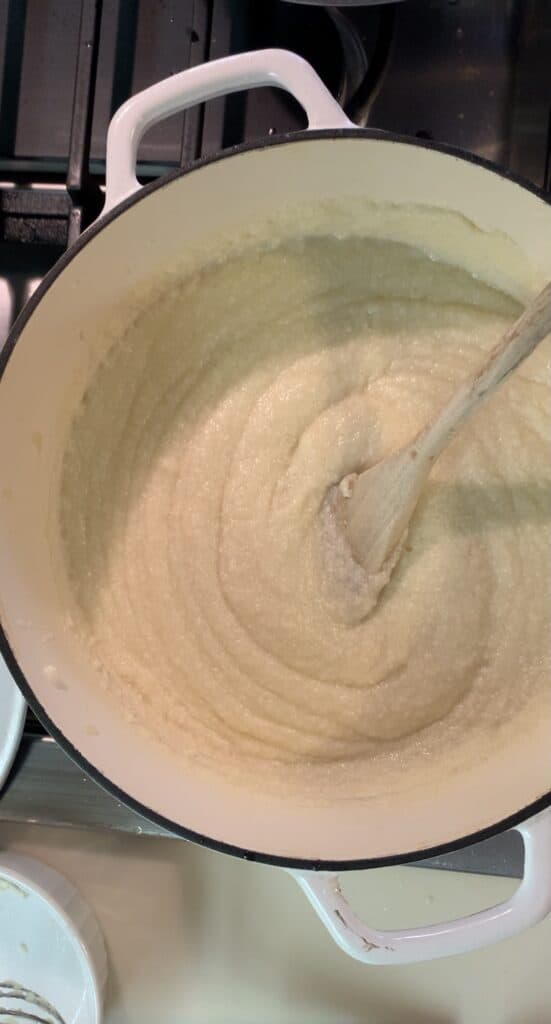
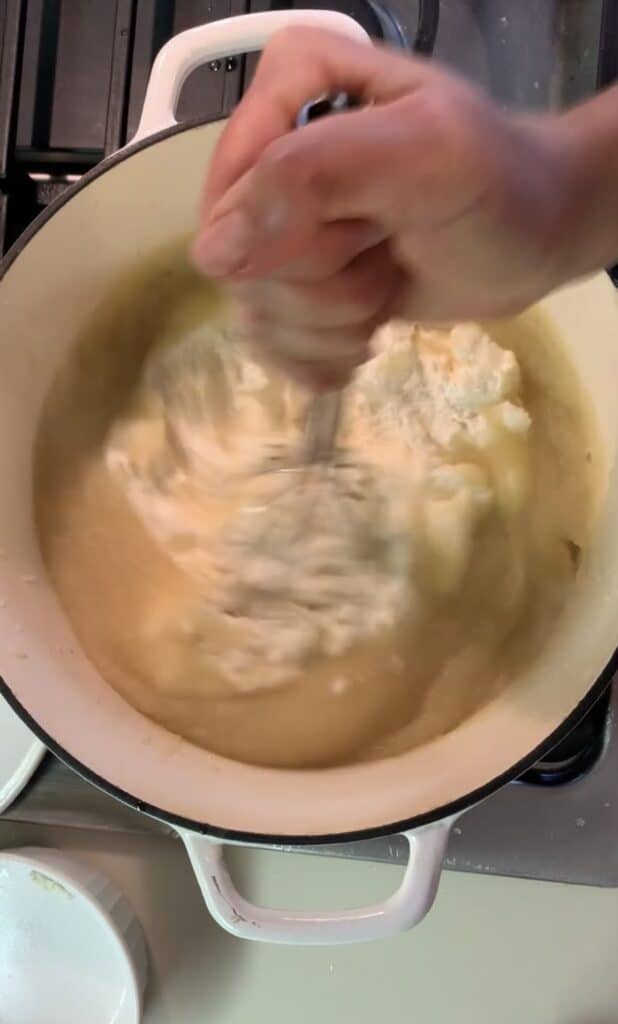
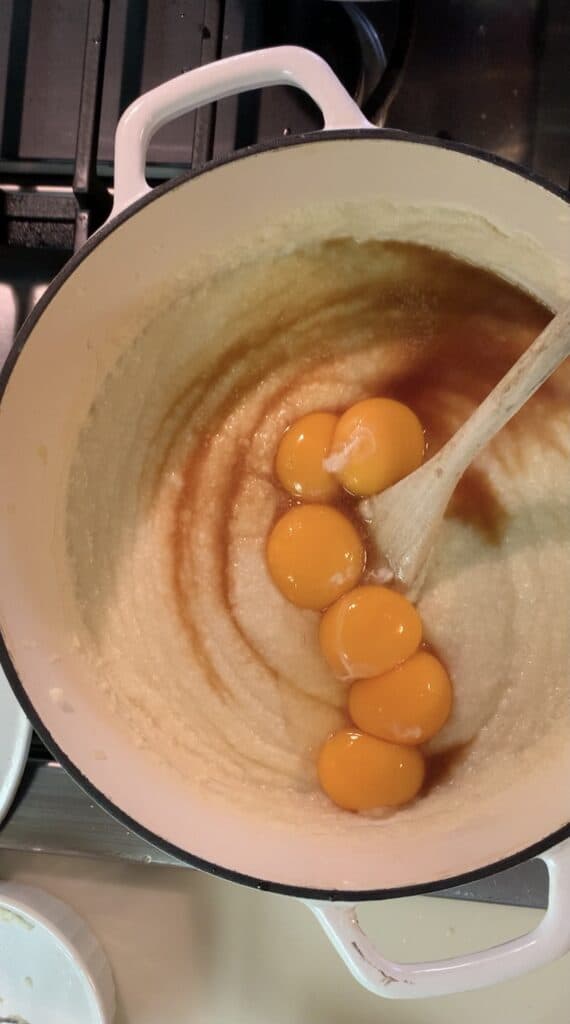

- Add the yolks, and the remaining ingredients.
- Stir and cook for a couple more minutes.
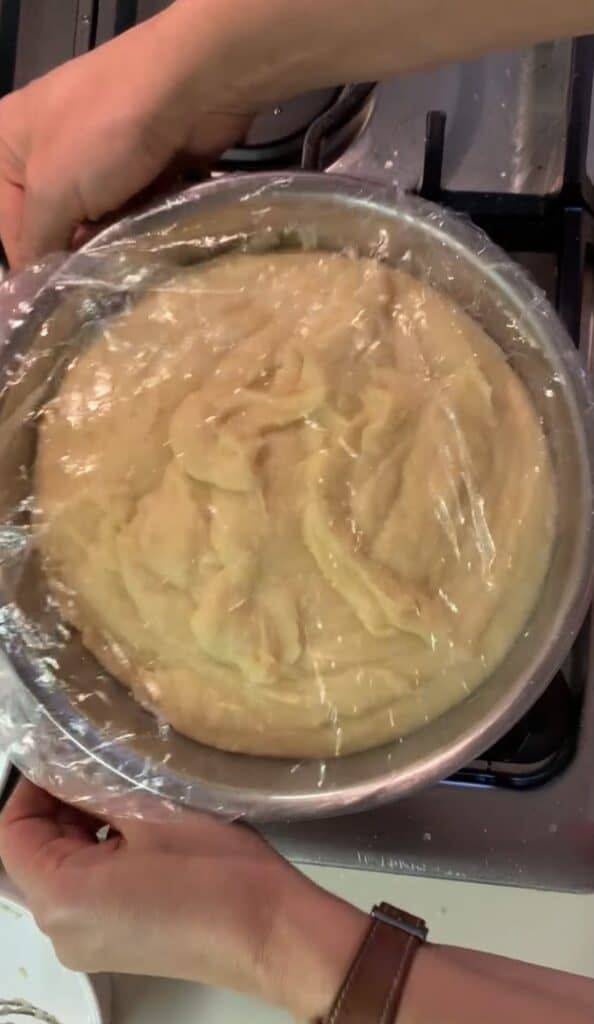
- Remove from heat, transfer to a bowl, cover with plastic, and store in the refrigerator after it has cooled down.
Ingredients for the Sfogliatelle Shell
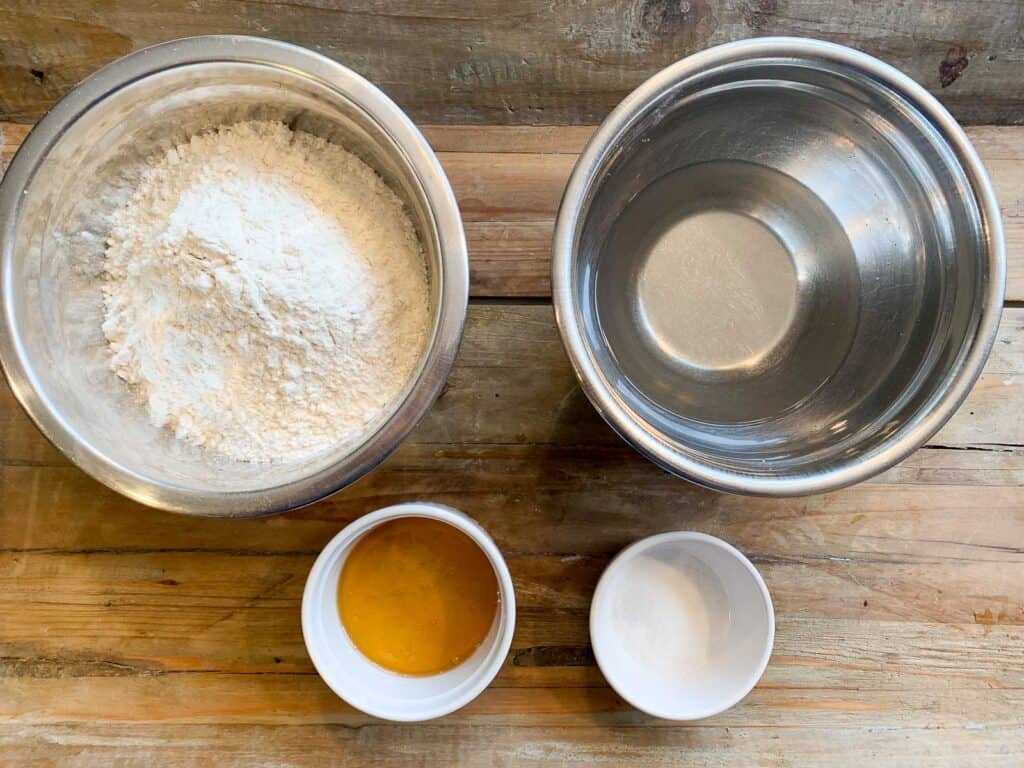
Overview of Making the Shell
Mixing
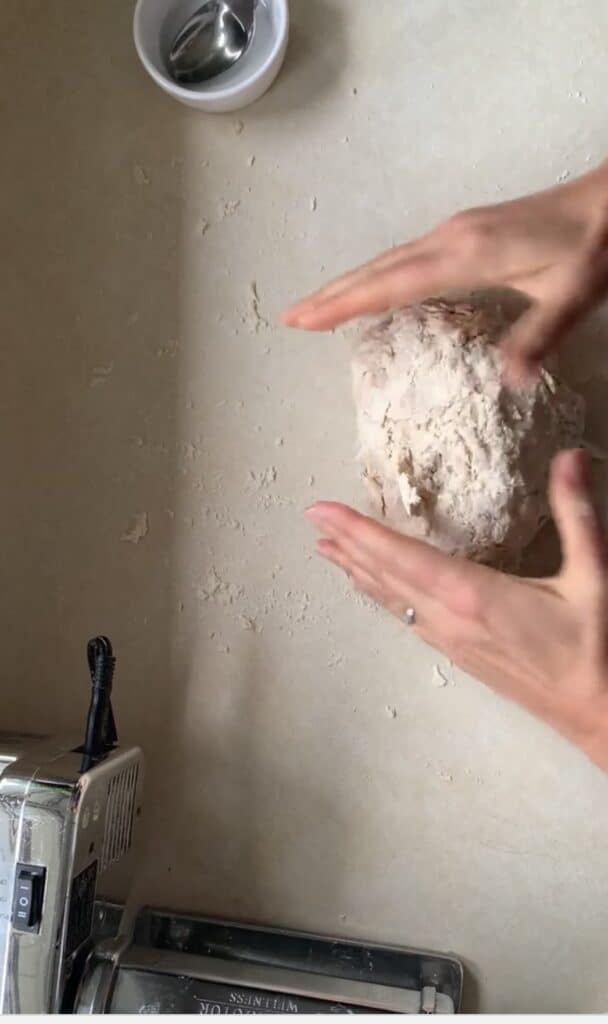
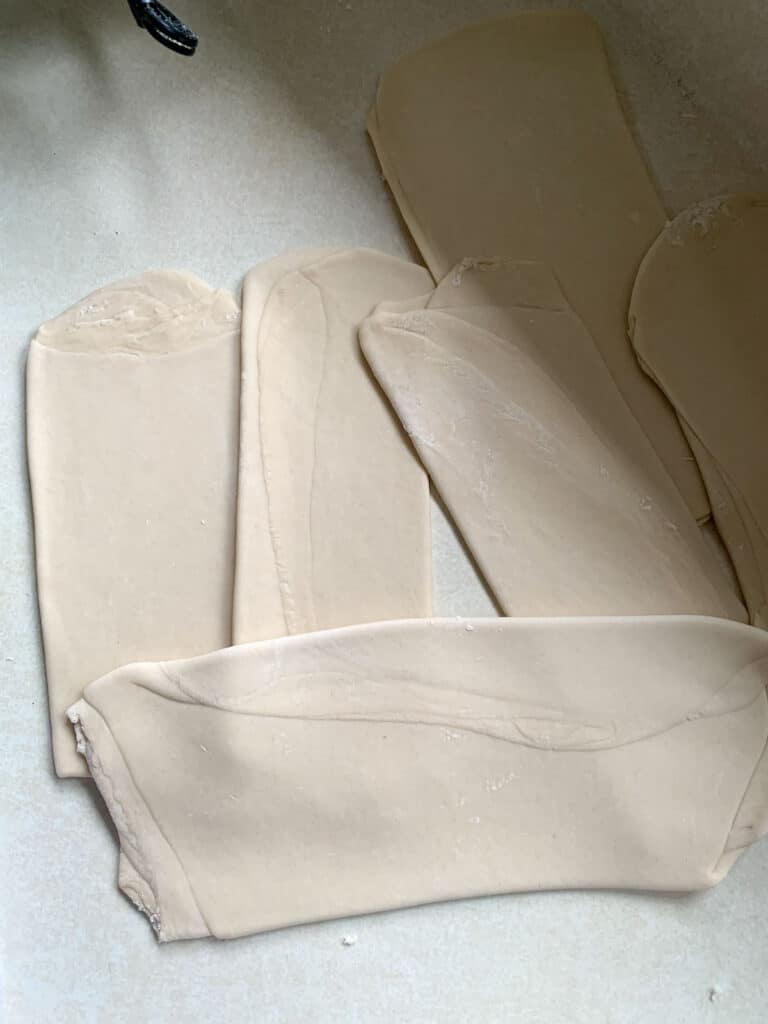
- This dough is very dry and stiff. This is intentional and will result in the crispy layers that make this pastry so special.
- Leaving it rest for a bit after mixing the ingredients will make kneading easier (which I do with the pasta machine).
- Speaking of kneading, you will need a rolling pin and a pasta machine to make these.
- After mixing the dough, let the dough rest, covered with a bowl or tea towel, for about 30 minutes.
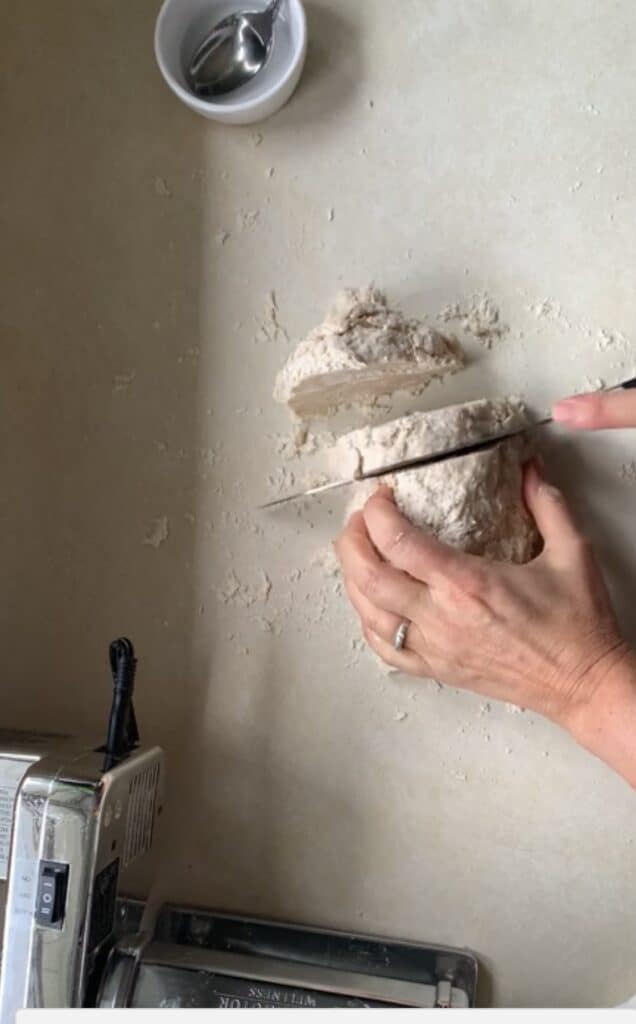
- Then, cut the dough into about 6 pieces and use the rolling pin to get each piece as smooth as you can before switching to the pasta machine to knead.
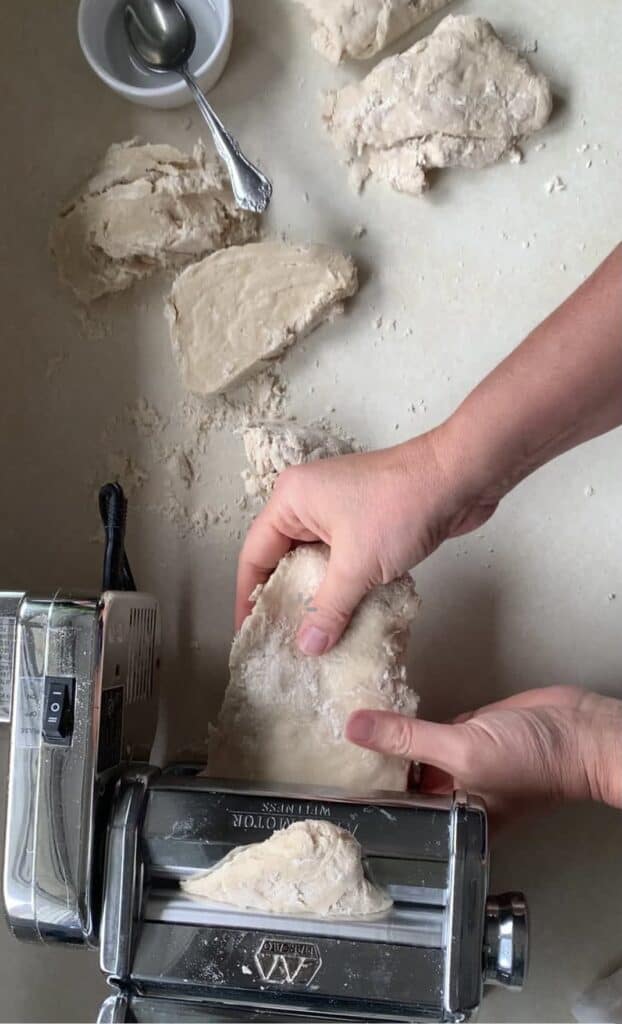
- Use the largest setting on your pasta machine and run each piece of dough through about 6 or 7 times until the dough is very smooth. Cover the dough to prevent drying out.
Making the Cylinder/Roll
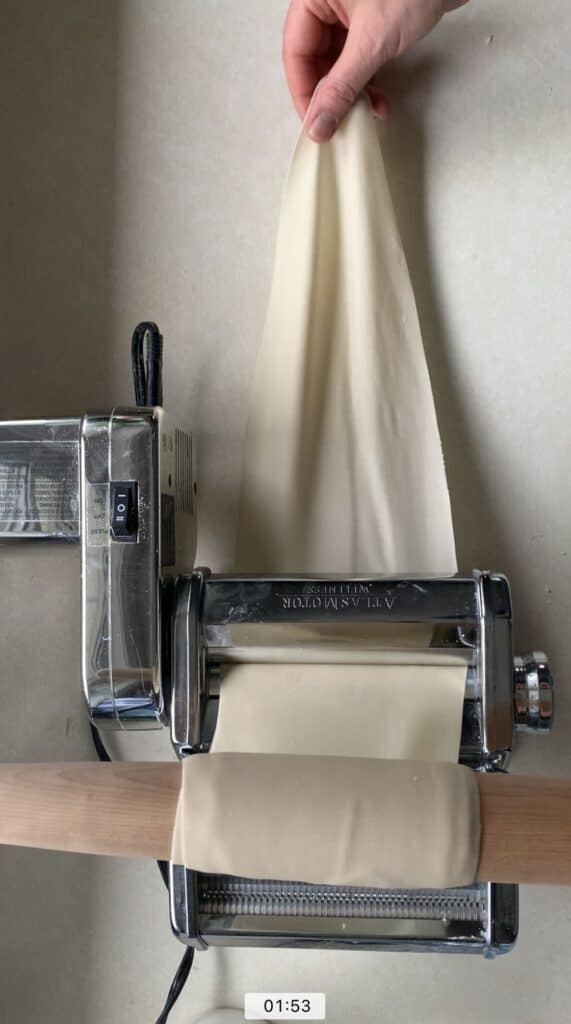
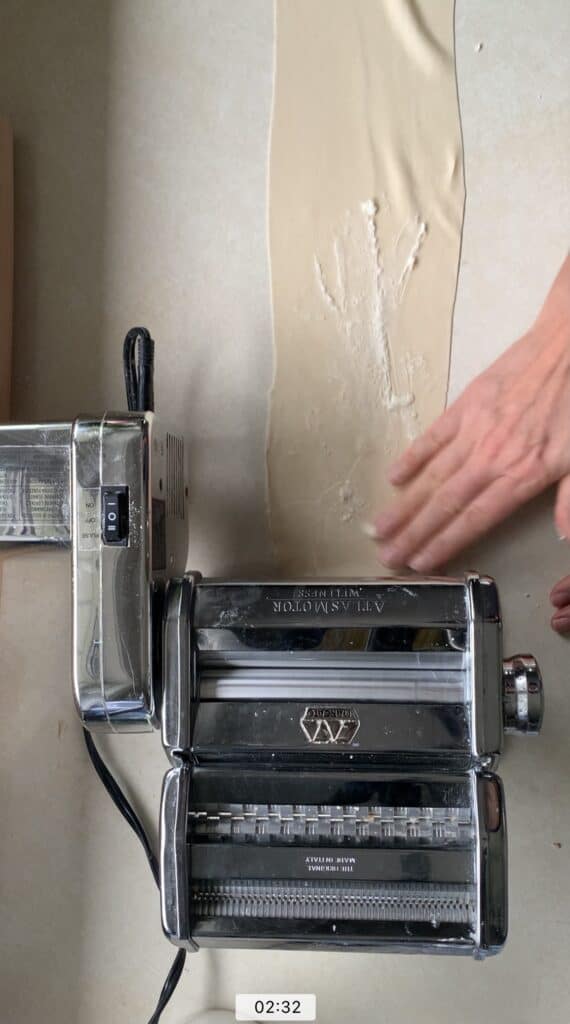
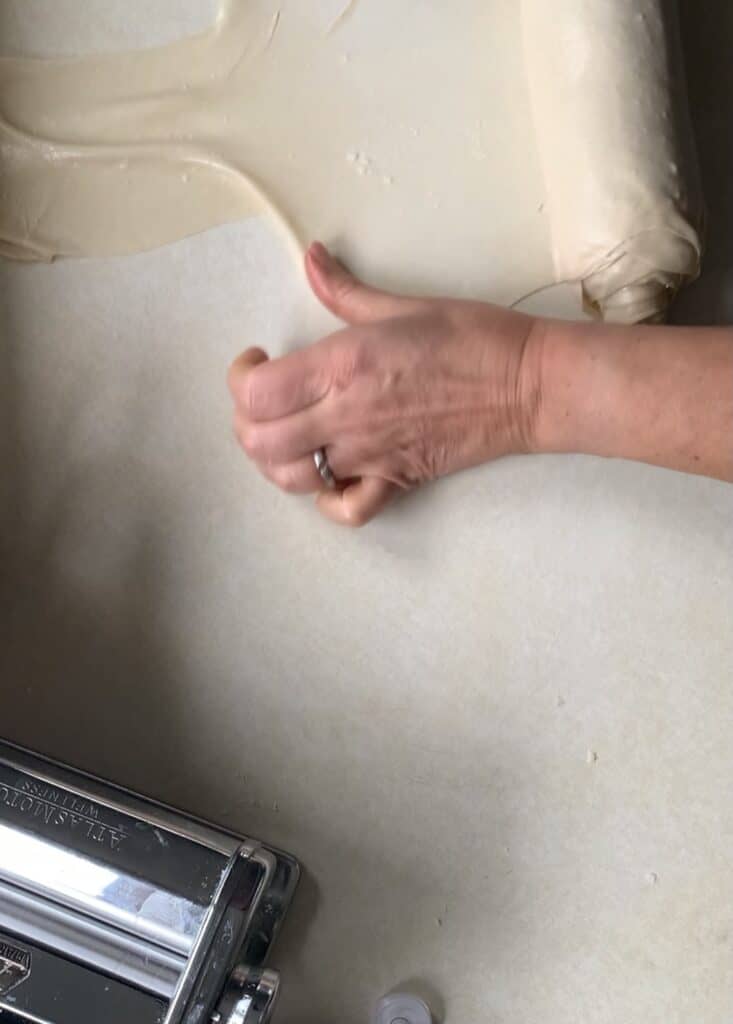
- Making the roll is the most laborious part of this recipe; make sure you have enough time and patience before you start!!!
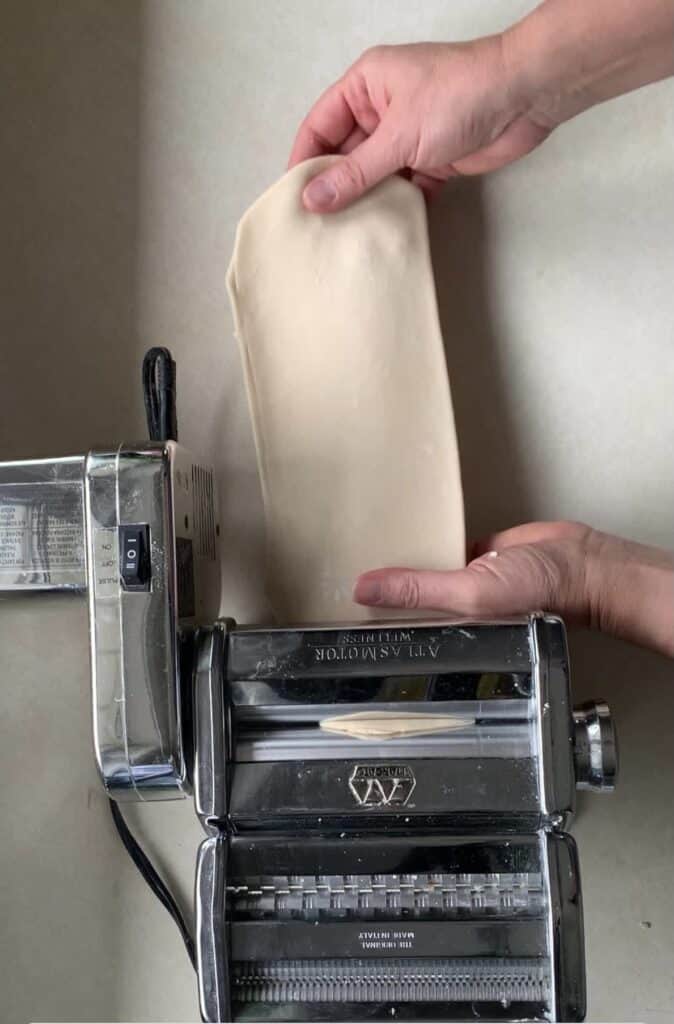
- You will run each of the 6 pieces of dough through the pasta machine from largest to smallest setting.
- On my pasta machine, I stop at the “6” setting (second to last/thinnest) but have also gone to the thinnest setting when using very strong flour (14% protein)
- After you have run the dough through the smallest setting, apply a thin layer of grease to the top side of the dough and then roll up, jelly roll style, to form a shape that looks like a cigar, taking care to keep roll as tight as possible.
- Before rolling, gently increase the width of each piece of dough (aim for 9 to 10 inches in width) by stretching it.
- Repeat this process for each of the 6 pieces of dough, and add the new layers onto the cylinder to make one large roll.
- Grease the outside of the roll generously and wrap with plastic wrap. Refrigerate overnight.
Cutting and Filling

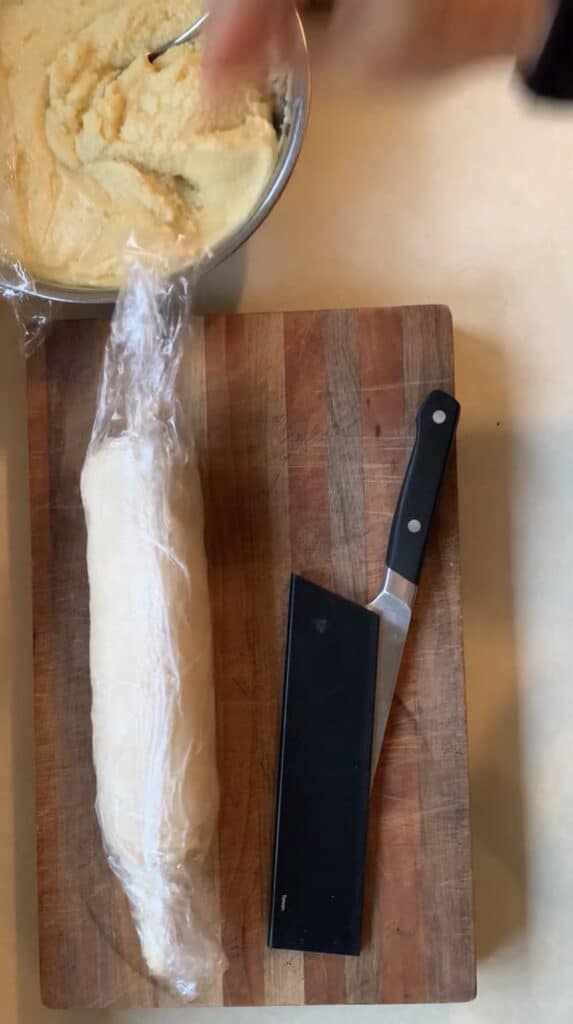
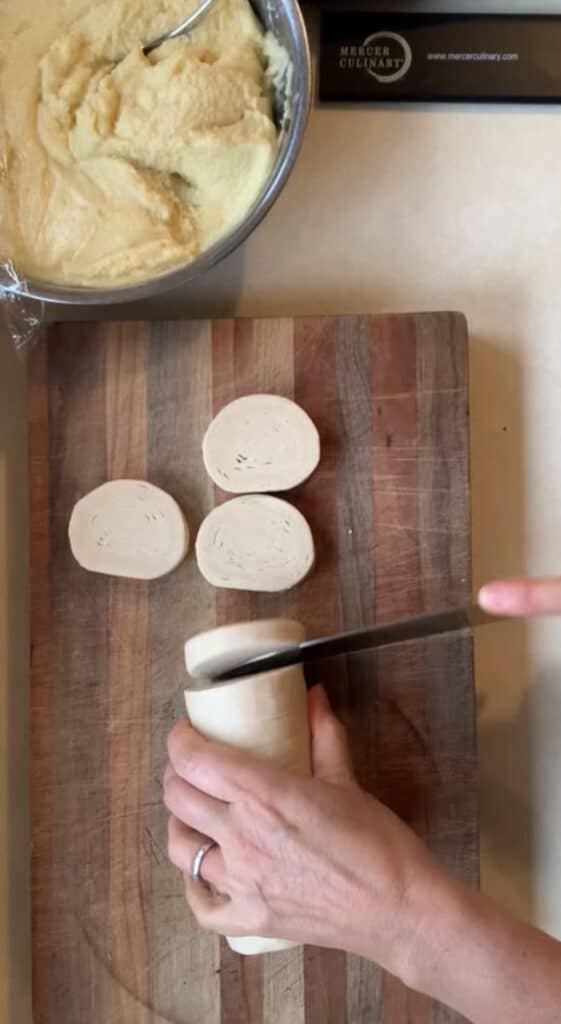
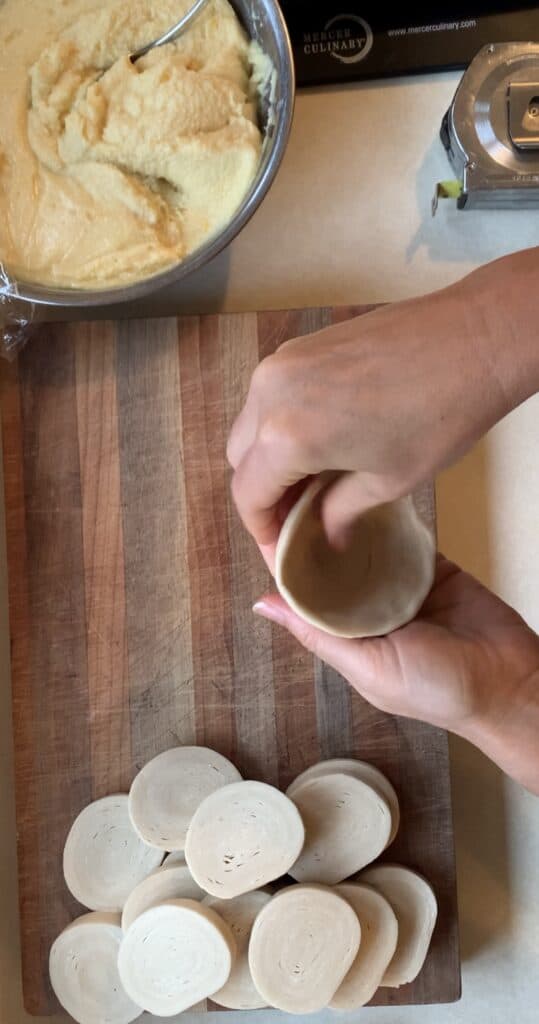
- Unwrap the dough roll and prepare to cut.
- Cut the ends off and then slice the roll into 1/2 inch thick slices. You should get about 16 to 18 from this recipe.
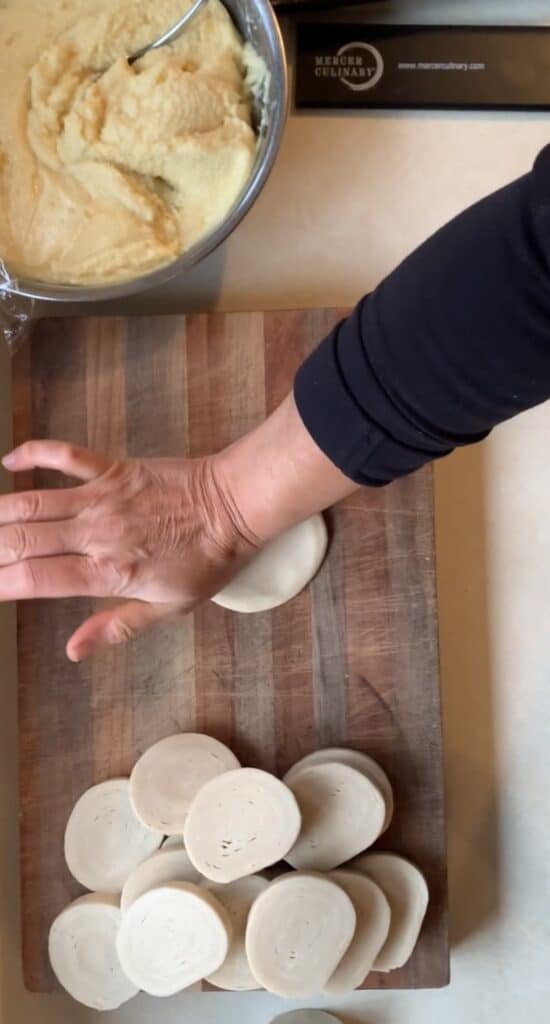
- Using the palm of your hand, gently flatten each circle from the center outward all around, until it is about 4 or 5 inches in diameter.
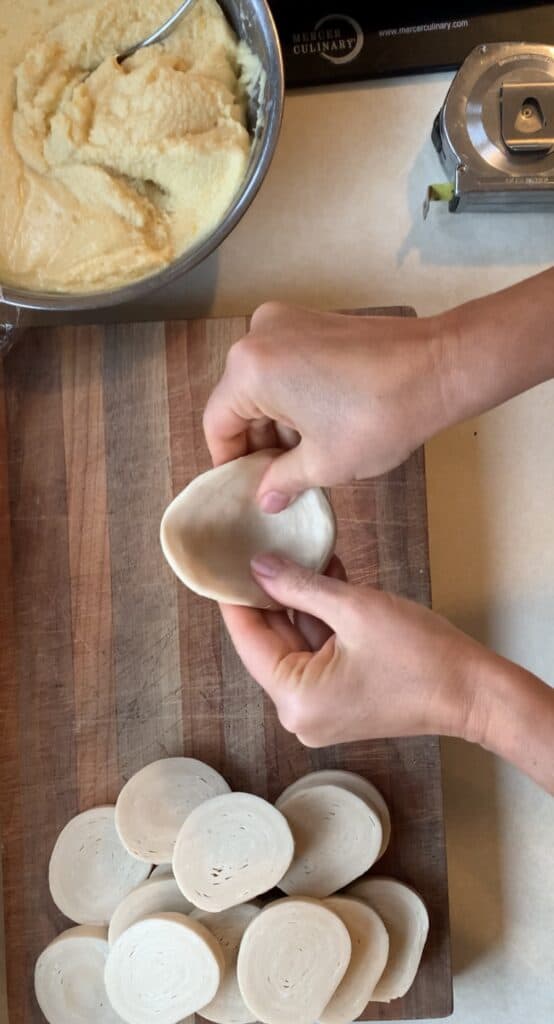
- Take each flattened circle and form into a cone shape by pressing thumbs into center and then around all edges while rotating. You may use extra shortening to help if desired.
- Fill each cone with the semolina-ricotta filling and place on parchment lined baking sheet.
- There is no need to seal the pastries, although I overfilled mine (don’t do this!)
Tips for Success
- Use bread flour or stronger (13% protein or higher)
- Let the dough rest if it is too difficult to roll. The gluten will relax as the dough rests making it easier to work.
- Definitely make this recipe in stages (day 1, day 2 at least); Making the filling is relatively easy as is cutting and filling the pastries. You will need lots of time, patience, and energy to make the cylinder/roll (which involves many many many rounds of running the dough through the pasta machine).
- Consider using a rolling pin to gather the dough as it comes off of the pasta machine during the thinning stage.
- Since we cut the dough into 6 pieces, the length of each shouldn’t be too too long but it helps to work on a large workspace (5 to 6 feet in length) if possible.
- You can use a mixture of butter and shortening to add flavor to shell. Others use lard in place of shortening.
- Make sure the filling is thick like a paste; the thickness is needed to prevent flat pastries. The filling will thicken as it cools, but feel free to add a few tablespoons extra of semolina if the mixture seems too thin.
♥️ Loved this recipe? I’d be thrilled if you’d rate it ⭐️ and share your experience in the comments below! Your ratings and comments help other readers discover this recipe and keep this blog going. Did you add any special tweaks? Our community of home cooks would love to hear about it! ♥️
Recipe
📖 Recipe

Neapolitan Sfogliatelle (Sfogliatelle Ricce)
Click the heart icon ♡ above to save a recipe. To find your saved recipes later, click the heart icon on the right side of the screen near the search icon and select My Favorites.
Video
Equipment
- Pasta machine required. I also have a motor on mine
- Rolling Pin
- Large work surface, 5 to 6 feet in length.
Ingredients
For the shells (dough)
- 500 grams high-gluten flour (I used Sir Lancet, King Arthur brand, but have also used bread flour at times)
- 50 grams sugar or honey
- 10 grams salt
- 185 grams water up to 200 grams
For the filling
- 225 mls water
- 200 grams sugar
- 5 grams salt
- 75 grams semolina
- 350 grams ricotta whole milk, drained overnight or squeezed dry in cheesecloth
- 3 large egg yolks
- 150 grams citron optional but traditional
- 1/4 tsp cinnamon or 1 tiny drop of cinnamon oil (this stuff is STRONG)
- 1 tbsp vanilla extract
- 1 small orange zest only
For laminating (greasing the dough layers)
- 100 grams shortening or lard if not using butter, double the shortening.
- 110 grams unsalted butter (1 stick)
To decorate
- powdered sugar
Instructions
To Make the Filling
- In a large pot, add water, salt, and sugar. Bring to a simmer.
- Sift the semolina over the simmering water and stir (I use a fine mesh strainer). Cook until smooth and thick (about 2 minutes). Reduce heat to low (mixture will bubble and splatter if not).
- Add ricotta and continue cooking for about 3 more minutes on low heat.
- Add egg yolks, citron (if using), cinnamon, vanilla, and orange zest and stir until combined and heat for another minute or two.
- Remove from heat, transfer to a bowl, and cover with plastic wrap to prevent a skin from forming. After filling has cooled, store in the refrigerator until needed. The filling will thicken more as it cools.
To Make the Dough
- Place flour and salt to a medium-sized mixing bowl; in a separate bowl, mix water and honey; then add honey water slowly to the salt-flour to encourage gluten formation.
- Mix with your hands to form a dough.
- After mixing dough as best as possible (it will be stiff and dry), rest the dough under a tea towel or cover with a bowl for 30 minutes.
- After the dough has rested, cut the dough into 6 pieces and then run each piece through the largest setting of your pasta machine about 8 to 10 times, folding the dough after each pass and then re-rolling it. Each piece should be smooth before moving on. Use a very slightly damp towel or plastic wrap to cover the dough pieces so they don't dry out while resting. It is best to let the dough rest covered in the refrigerator for 1 to 2 hours before the next step.
To Form the Dough Cylinder
- After you have 6 pieces of smooth dough, you will begin to roll the dough until it is super thin (1 mm).
- To do this, you will run each piece through the pasta machine on consecutively smaller and smaller settings until the dough is thin. I have gone to smallest setting when I use super strong flour (14%), or setting "6" when using bread flour (13% protein). You may also try using every other setting to save time, so rather than go from 1 to 6, use settings 1, 3, 6, and 8.
- As you finish each piece, you can consider using a rolling pin to 'stage' the dough as it comes off of the pasta machine. If it's too sticky, you can very very lightly dust with flour.
- After you finish the first piece, lay it flat on a long work surface. If using butter, whip it with the shortening, and then paint/grease the top of the dough sheet by smearing a thin layer of shortening all over it.
- After greasing, you will begin to roll it up into a cigar/cylinder shape by tightly rolling it starting from the short end. Gently stretch the width (aim for about 9 to 10 inches in width) and pull tightly as you roll to ensure there are no gaps.
- After you finish with the first piece, repeat this process with each of the remaining pieces of dough and add to the roll to make one large roll.
- You will end up with a cylinder that is about 8 to 9 inches long, excluding the pointy ends. The ends will be trimmed off after it has chilled.
To Form the Pastries
- Slice the dough log/cylinder into 1/2 inch slices. You should have about 16 to 18 slices.
- On a clean work surface, flatten each slice by gently pressing from the center outwards, in all directions. You should end up with a circle that is about 4 to 5 inches wide.
- Take each circle and form a small cone by pressing your thumbs in the center and up around all the sides; you should be gently sliding the layers away from each other.
- Place filling in a pastry bag with an inch round opening/tip, if desired, or simply spoon it into the cone. You fill the cone to the top.
- Place the filled pastry on the prepared baking sheet and continue the process with the remaining dough.
- There is no need to seal the ends of the pastries as the filling should be thick enough not to ooze out during baking.
To Bake the Pastries
- Preheat the oven to 400 degrees F and line two baking sheets with parchment paper.
- Place the filled pastries on a parchment lined baking sheet and bake them for 10 minutes and then reduce heat to 360F and continue baking until they are a deep gold color (a total of 25 minutes or so). Serve warm and sprinkle with powdered sugar if desired.
- You may baste one or twice with the remaining grease during baking if desired.
- To reheat place sfogliatelle in a 350 degree oven for about 10 min.
Storage/Make Ahead
- The rolled dough cylinder can be chilled for 2 days or frozen for 1 month.
- Filling can be stored for 1 day in refrigerator.
- Filled and unbaked sfogliatelle can be stored for 1 month frozen or 1 day ahead under refrigeration.
Notes
- Use bread flour or stronger (13% protein or higher)
- Let the dough rest if it is too difficult to roll. The gluten will relax as the dough rests making it easier to work.
- Definitely make this recipe in stages (day 1, day 2 at least); Making the filling is relatively easy as is cutting and filling the pastries. You will need lots of time, patience, and energy to make the cylinder/roll (which involves many many many rounds of running the dough through the pasta machine).
- Consider using a rolling pin to gather the dough as it comes off of the pasta machine during the thinning stage.
- Since we cut the dough into 6 pieces, the length of each shouldn’t be too too long but it helps to work on a large workspace (5 to 6 feet in length) if possible.
- You can use a mixture of butter and shortening to add flavor to shell. Others use lard in place of shortening.
- Make sure the filling is thick like a paste; the thickness is needed to prevent flat pastries. The filling will thicken as it cools, but feel free to add a few tablespoons extra of semolina if the mixture seems too thin.
How did the Nun do it. I don’t have a pastry machine. Would still like to try it.
sandi
Yes, you can make sfogliatelle without a pasta roller. The dough was rolled very thin with a rolling pin, rested, then gently stretched by hand (similar to traditional strudel dough) before being brushed with fat and rolled tightly into a log to create the layers. The keys are the degree of thinness, a strong dough (ie, that doesn’t tear easily) and a tight roll — the machine imo just makes it easier.
Hopefully a quick and easy question! The recipe says 3 yolks, but both of the pictures show 6 yolks. Have people used 3 or 6?? Thanks!
Good question! I originally made more than was needed for the filling so only 3 yolks needed for the adjusted recipe.
I made them. They tasted great but they were flat. Any idea why? I want to attempt making them again.
One common reason would be not stuffed enough or could your filing have been too thin?
Hi Marie,
I’m so excited to try this. My nephew is coming to help me tomorrow. Can I make the dough today and instead of refrigerating for 2 hours keep it over night in the fridge without causing any difficulty? Thank you!
Yes absolutely! Even better than the 2 hours
We made them, the recipe is wonderful! I especially like the easy but delish filling. So grateful for you because I’ve been excited to try it but had plenty of nay sayers telling me it was going to be too hard. All great except!… one of my pans, a cookie pan didn’t have rims, when the butter came out of the pastries it ran down to the bottom of the oven, causing a great smoke that set off the smoke detectors, 2 of them! I may have spread on too much butter. Next time I will probably just use unsalted butter, about 2/3 or 3/4 of a cup. What do you think? And thanks so much!!
Followed and they came out perfect!!! this one’s a keeper
Dough is wonderful to work with doughhook in KitchenAid