Italian Cannoli Shells
This post may contain affiliate links. For more information, please see our disclosure policy.

A perfect recipe for Authentic Sicilian cannoli shells: beautifully golden and crisp with all those delicate bubbles throughout, creating the ideal crunch that shatters beautifully with each bite!
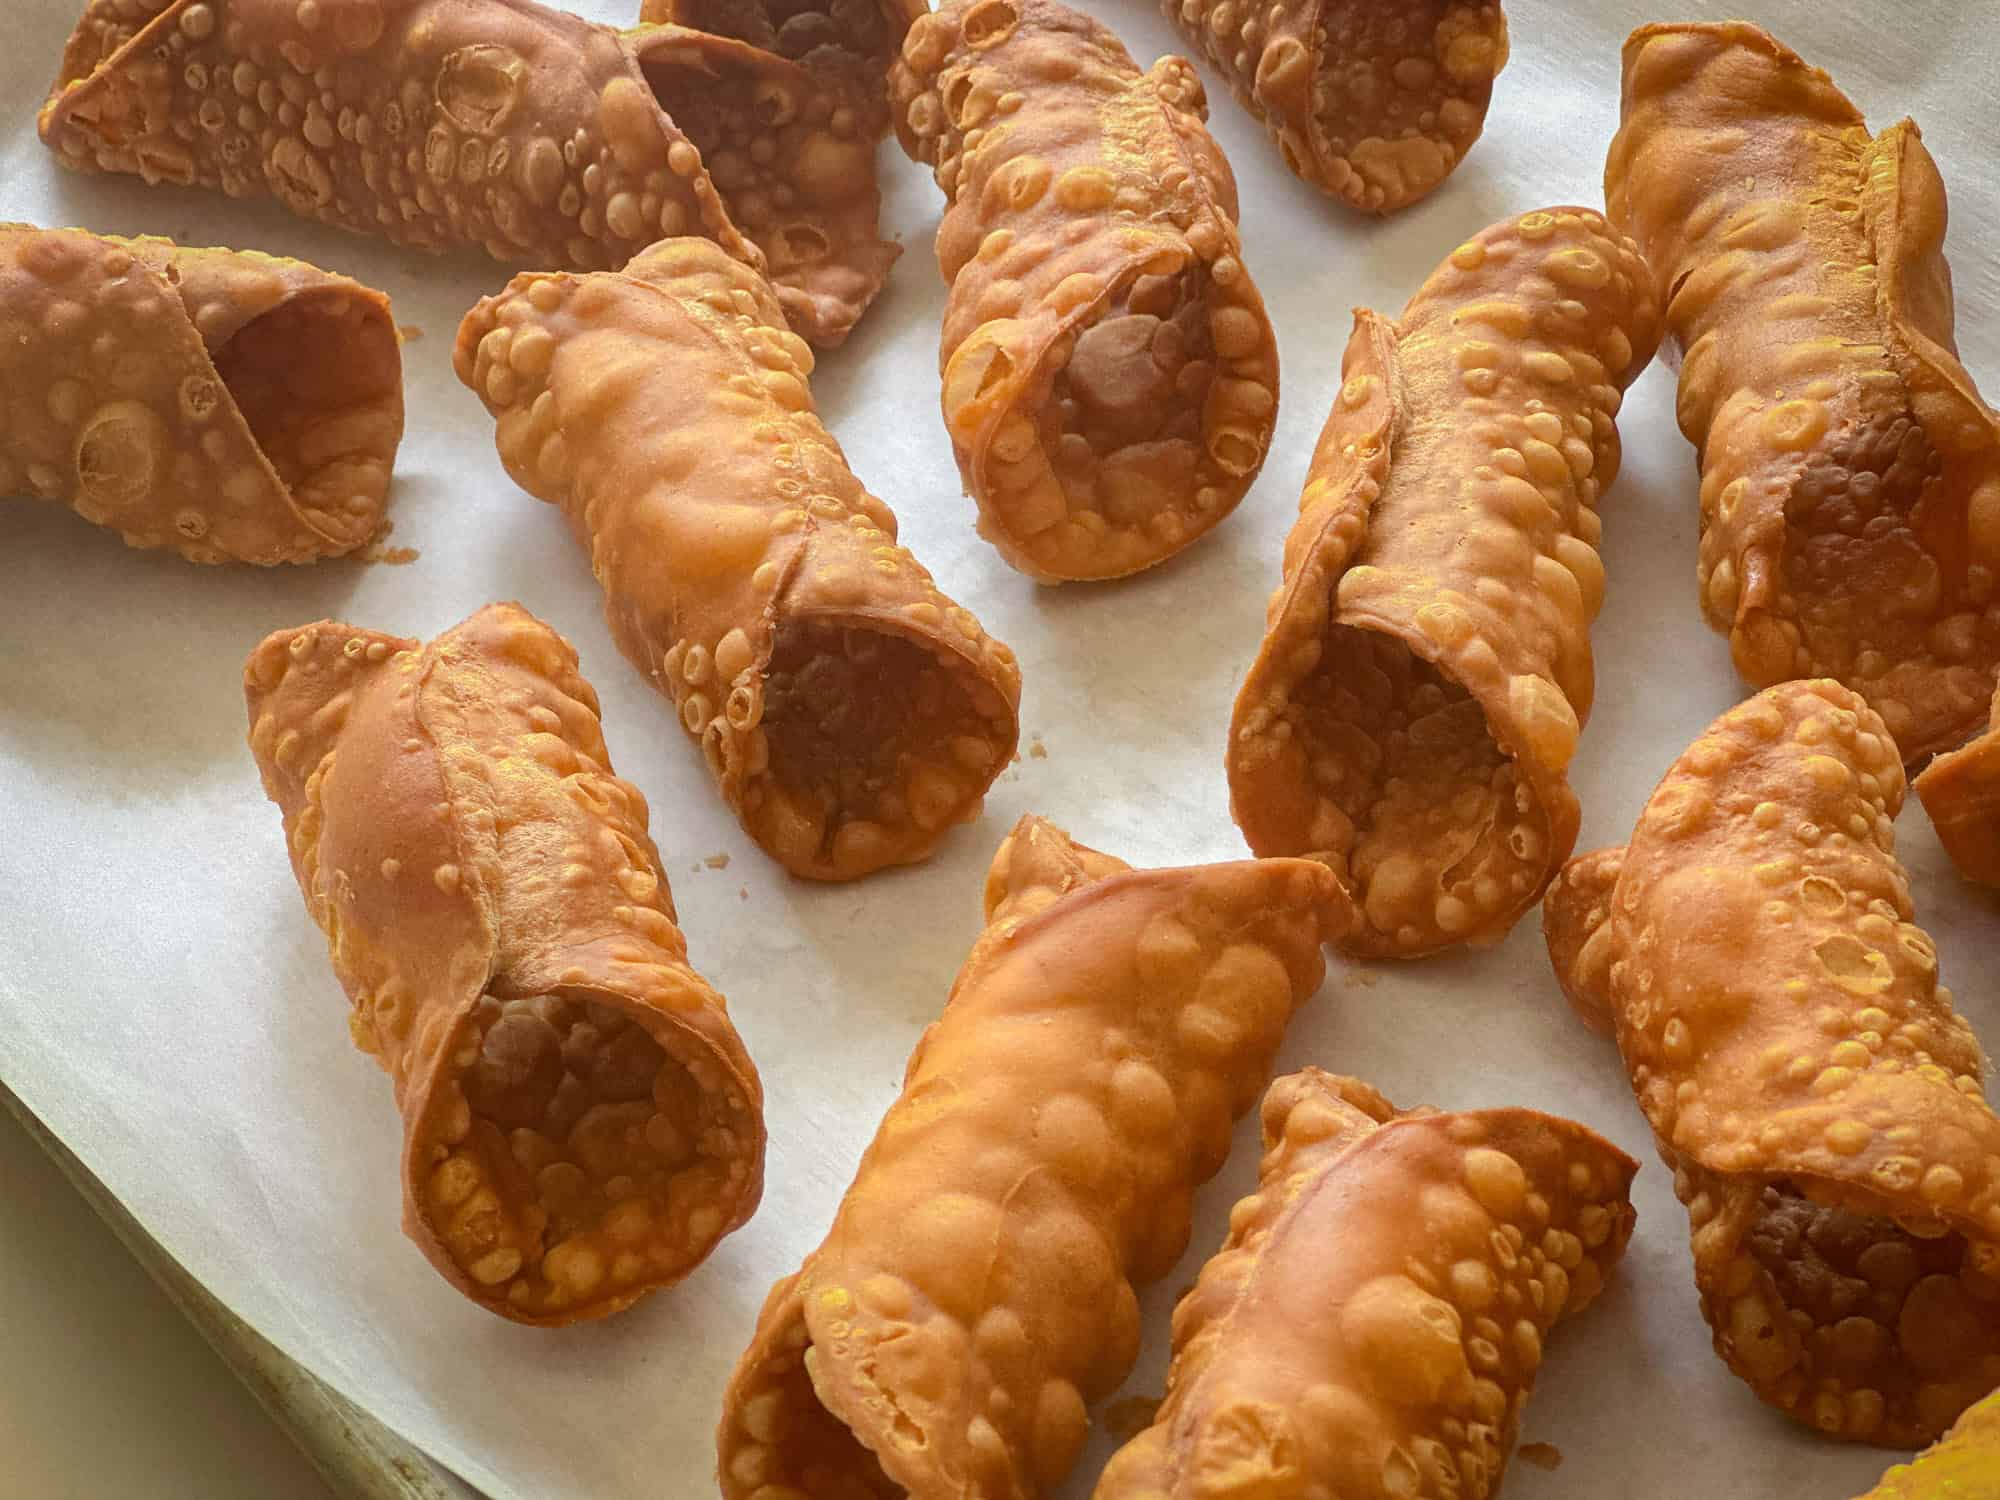
What makes authentic cannoli so special is the perfect contrast between the crispy, bubble-textured shell and the creamy, sweet ricotta filling. When done right, each bite delivers the ideal balance of crunchiness from the shell and smoothness from the ricotta cream.
I am so, so excited to share this recipe – these are amazing!
Watch How to Make
Equipment & Ingredient Notes
Equipment Needed: To make professional-looking cannoli shells you’ll need a few kitchen tools – a rolling pin, a pasta machine (to get the dough thin and even), cannoli tubes/molds (to form the cannoli), a strainer or slotted spoon (to remove the cannoli from the frying oil), and a deep pan for frying. You’ll also need a circular cookie cutter or lid or bowl (to cut the shapes), about 4 to 5 inches in diameter.
Traditional Ingredients: To make the dough, you should know the following (full list of ingredients is in the recipe card below):
- Flour: Weigh for best results; if measuring, spoon gently and level with knife – improper measuring can create tough, dry shells
- Cocoa powder: Unsweetened only; Dutch-processed or natural both work
- Wine: Marsala wine can be substituted with any dry white wine – adds acidity and flavor
- Vinegar: White wine vinegar can be replaced with regular white vinegar – helps create air bubbles for texture
- Sealing edges: Water works but egg white creates a stronger seal to prevent opening during frying
- Frying fat: Traditional lard; vegetable oil also works as a non-animal alternative. Lard creates a more authentic flavor; please read more on the use of lard below!
- Ricotta: Use ricotta impastata for best results; strain regular ricotta overnight if unavailable – proper draining prevents watery filling
- Decorations: Flexible options include powdered sugar, mini chocolate chips, candied fruits, and crushed pistachios. I’ve even seen the cannoli edges dipped in melted chocolate and then topped with nuts.
Why Should You Use Lard?
Now, if you’re anything like me, you are saying, “I’m not frying with lard! Where do I even buy lard?”
Trust me – lard makes a big difference with cannoli shells.
Unlike vegetable oils, lard doesn’t leave a greasy mouthfeel because it has a higher smoke point and solidifies as it cools. This creates cannoli shells that are:
- Crisp rather than oily when cooled
- Light and airy with distinctive bubbles in the shell
- More stable – shells maintain crispness longer without becoming soggy
- Traditional in flavor – lard imparts a subtle richness that complements the sweet filling
- Less likely to taste “fried” or greasy compared to shells fried in vegetable oil
- Better at forming a moisture barrier that keeps filling from softening the shell
If you are in the USA, use the InstantCart app to find lard – I found a nice size bucket of it at Walmart in the baking aisle!
Important Tips to Know Before Starting
- Frying Technique: Don’t fry too long – shells will continue to darken slightly as they cool. Monitor temperature with a thermometer (170-175°C/340-350°F) – if the oil is too hot, the shells will burn and they also tend to puff excessively sometimes coming completely apart, and if too cool, they’ll absorb too much fat.
- Traditional Lard: Try lard for authentic Italian flavor – you’ll be shocked at how much difference it makes. Unlike vegetable oils, lard creates crisp shells without a greasy mouthfeel as it solidifies when cooling.
- Working with Molds: Don’t wrap dough too tightly around cannoli tubes – you’ll have difficulty removing them after frying.
- The Golden Rule: Fill cannoli just before serving (within 30 minutes) to maintain the shell’s crispness. I like to store the filling in a pastry bag after everything is finished.
- Storage Solution: Unfilled shells can be stored for up to several weeks in airtight containers.
- Ricotta Quality: The quality of ricotta is crucial—look for ricotta impastata, a specially processed, denser and creamier version ideal for cannoli filling. It requires no draining and produces superior results. If you can’t find impastata, drain regular ricotta overnight in the refrigerator to remove excess moisture and achieve a similar consistency.
- Waste Not: Transform dough scraps into treats by frying and dusting with powdered sugar. Many use the same dough recipe for crostoli.
- Regional Variations: Experiment with traditional alternatives—add cinnamon or coffee to the dough instead of cocoa and Marsala, or try different garnishes like crushed pistachios.
♥️ Loved this recipe? I’d be thrilled if you’d rate it ⭐️ and share your experience in the comments below! Your ratings and comments help other readers discover this recipe and keep this blog going. Did you add any special tweaks? Our community of home cooks would love to hear about it! ♥️
📖 Recipe

Authentic Cannoli Shells Recipe
Click the heart icon ♡ above to save a recipe. To find your saved recipes later, click the heart icon on the right side of the screen near the search icon and select My Favorites.
Video
Equipment
- Rolling Pin
- pasta machine If you can splurge, buy the motor too. It makes things go much quicker!
- cannoli tube molds 5 inches in length for standard-sized cannoli
- circular cookie cutter 4 or 5 inch (or use similar sized small plastic bowl or container)
- slotted spoon to remove shells from oil
- large deep pan for frying
Ingredients
Dough Ingredients
- 300 g (2.5 cups) all-purpose flour For best results, weigh your flour using a kitchen scale. If using measuring cups, gently spoon the flour into the cup and level with a knife—never pack or scoop directly from the container. Using densely packed flour will negatively affect your recipe.
- 3 g (1 tbsp) unsweetened cocoa powder
- 30 g (2 tbsp) lard or vegetable oil, canola oil, peanut oil
- 30 g (2.5 tbsp) sugar
- 1 large egg room temperature, slightly whisked
- 1/8 teaspoon (0.02 tsp) salt
- 60 ml (4 tbsp) Marsala wine or dry white wine
- 1 tablespoon white wine vinegar or use white vinegar
Optional Ingredients for Dough
- 1 teaspoon cinnamon
- 1 small orange zest only
For Assembly and Frying
- Water or egg white for sealing edges
- 4 pounds (1.81 kg) lard or vegetable oil
Instructions
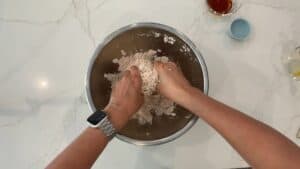
Preparing the Dough (I do this by hand)
- Sift the flour and cocoa powder together in a large bowl.
- Add the lard and sugar.
- Using your fingertips, work the lard into the flour until the mixture resembles coarse sand.

- Add the lightly beaten egg and incorporate by stirring or squeezing the dough, and turning it.
- Add salt, then gradually incorporate the vinegar and Marsala wine.
- If you are using cinnamon and orange zest add it now.
- Knead until you achieve a smooth, elastic, non-sticky dough. I squeeze and smash the dough and turn it intermittently. It helps to cover the dough and let it rest for about 10 minutes to allow it to absorb the ingredients. I will also roll it with a rolling pin, fold it, and repeat for several minutes.
- When it has mostly come together, form it into a rectangle, wrap it in plastic, or place it in an airtight container and let it rest for 30 minutes to 2 hours. You may also freeze the dough in a plastic bag until ready to use.
How to Roll and Shape
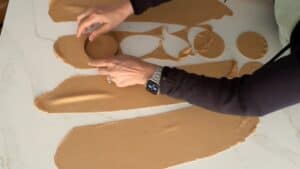
- Cut the rested dough into four pieces. Work with one piece at a time and keep the rest of the dough covered with a slightly damp cloth.
- Begin by gently flattening a dough portion with your palms, then use a rolling pin to flatten it to about 1/4 inch thick.
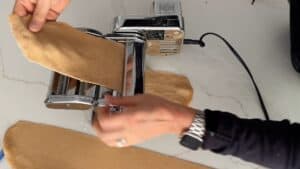
- Next, begin running through a pasta machine. Start at the widest setting (0) – For professional-looking results, fold and reprocess the dough through the first setting (0) until you get clean, uniform edges before proceeding to your final thickness.
- Methodically work through each number—#1, #2, #3, #4, #5—until setting #6, which is about 1 mm in thickness.
- Cut the dough into 4 to 5 inch rounds using a round cookie cutter – I used a small plastic bowl that I flipped upside down.
- To form the cannoli, gently stretch two opposite sides to create an oval shape.
- Place the cannoli tube diagonally across the oval dough. If your mold has a seam, don't position this seam where the dough edges will meet (to prevent sticking).
- Moisten the top edge of the dough with water or egg, and then wrap the dough loosely around the tube. Press to seal the edge, avoiding the seam of the cannoli tube.
- Ensure the dough isn’t stretched too tightly around the tube—it should have room to expand during frying.
Frying the Cannoli
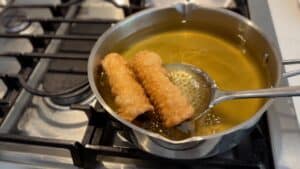
- Heat the oil or lard in a deep pan to 340-350°F (170-175°C ).
- Fry the cannoli 2-3 at a time, turning gently with a slotted spoon.
- Cook for about 3 minutes or until lightly golden and visible bubbles form on the surface. The cannoli will darken as they cool, so don't overbrown them.
- Remove and drain on paper towels.
- When still warm (not hot), gently slide the shells off the tubes. I like to grab the mold with tongs and gently twist to loosen.
- Allow the shells to cool completely. Cannoli shells can be stored in an airtight container for up to 10 days (some say several weeks).
Storage of Dough or Shells (not filled)
- Cannoli dough should be frozen for extended storage. The cannoli shells should not be frozen. Keep cannoli shells in an airtight container for up to 10 days (some say a few weeks).
Notes
Nutrition
Frequently Asked Questions
Do I need special equipment to make cannoli shells? Yes, the most essential equipment includes cannoli tubes (metal cylinders) around which you’ll wrap the dough before frying. A pasta machine is highly recommended for achieving the proper thickness (setting #6, which is approximately 1 mm thick) which is difficult to achieve consistently with just a rolling pin. A thermometer or deep fryer is also recommended to regulate oil temperature properly.
How thin should I roll the dough? The dough should be rolled extremely thin – typically about setting #6 on a pasta machine (approximately 1 mm thick). This specific thickness ensures the shells will be crisp and light with the proper texture. Achieving this consistent thinness is much more difficult with just a rolling pin.
How do I prevent the shells from sticking to the tubes?
Use the correct cannoli molds (tubes) and DO NOT wrap the dough too tightly around them. Wrapping too tightly causes the dough to contract during frying and stick to the tubes, making removal difficult.
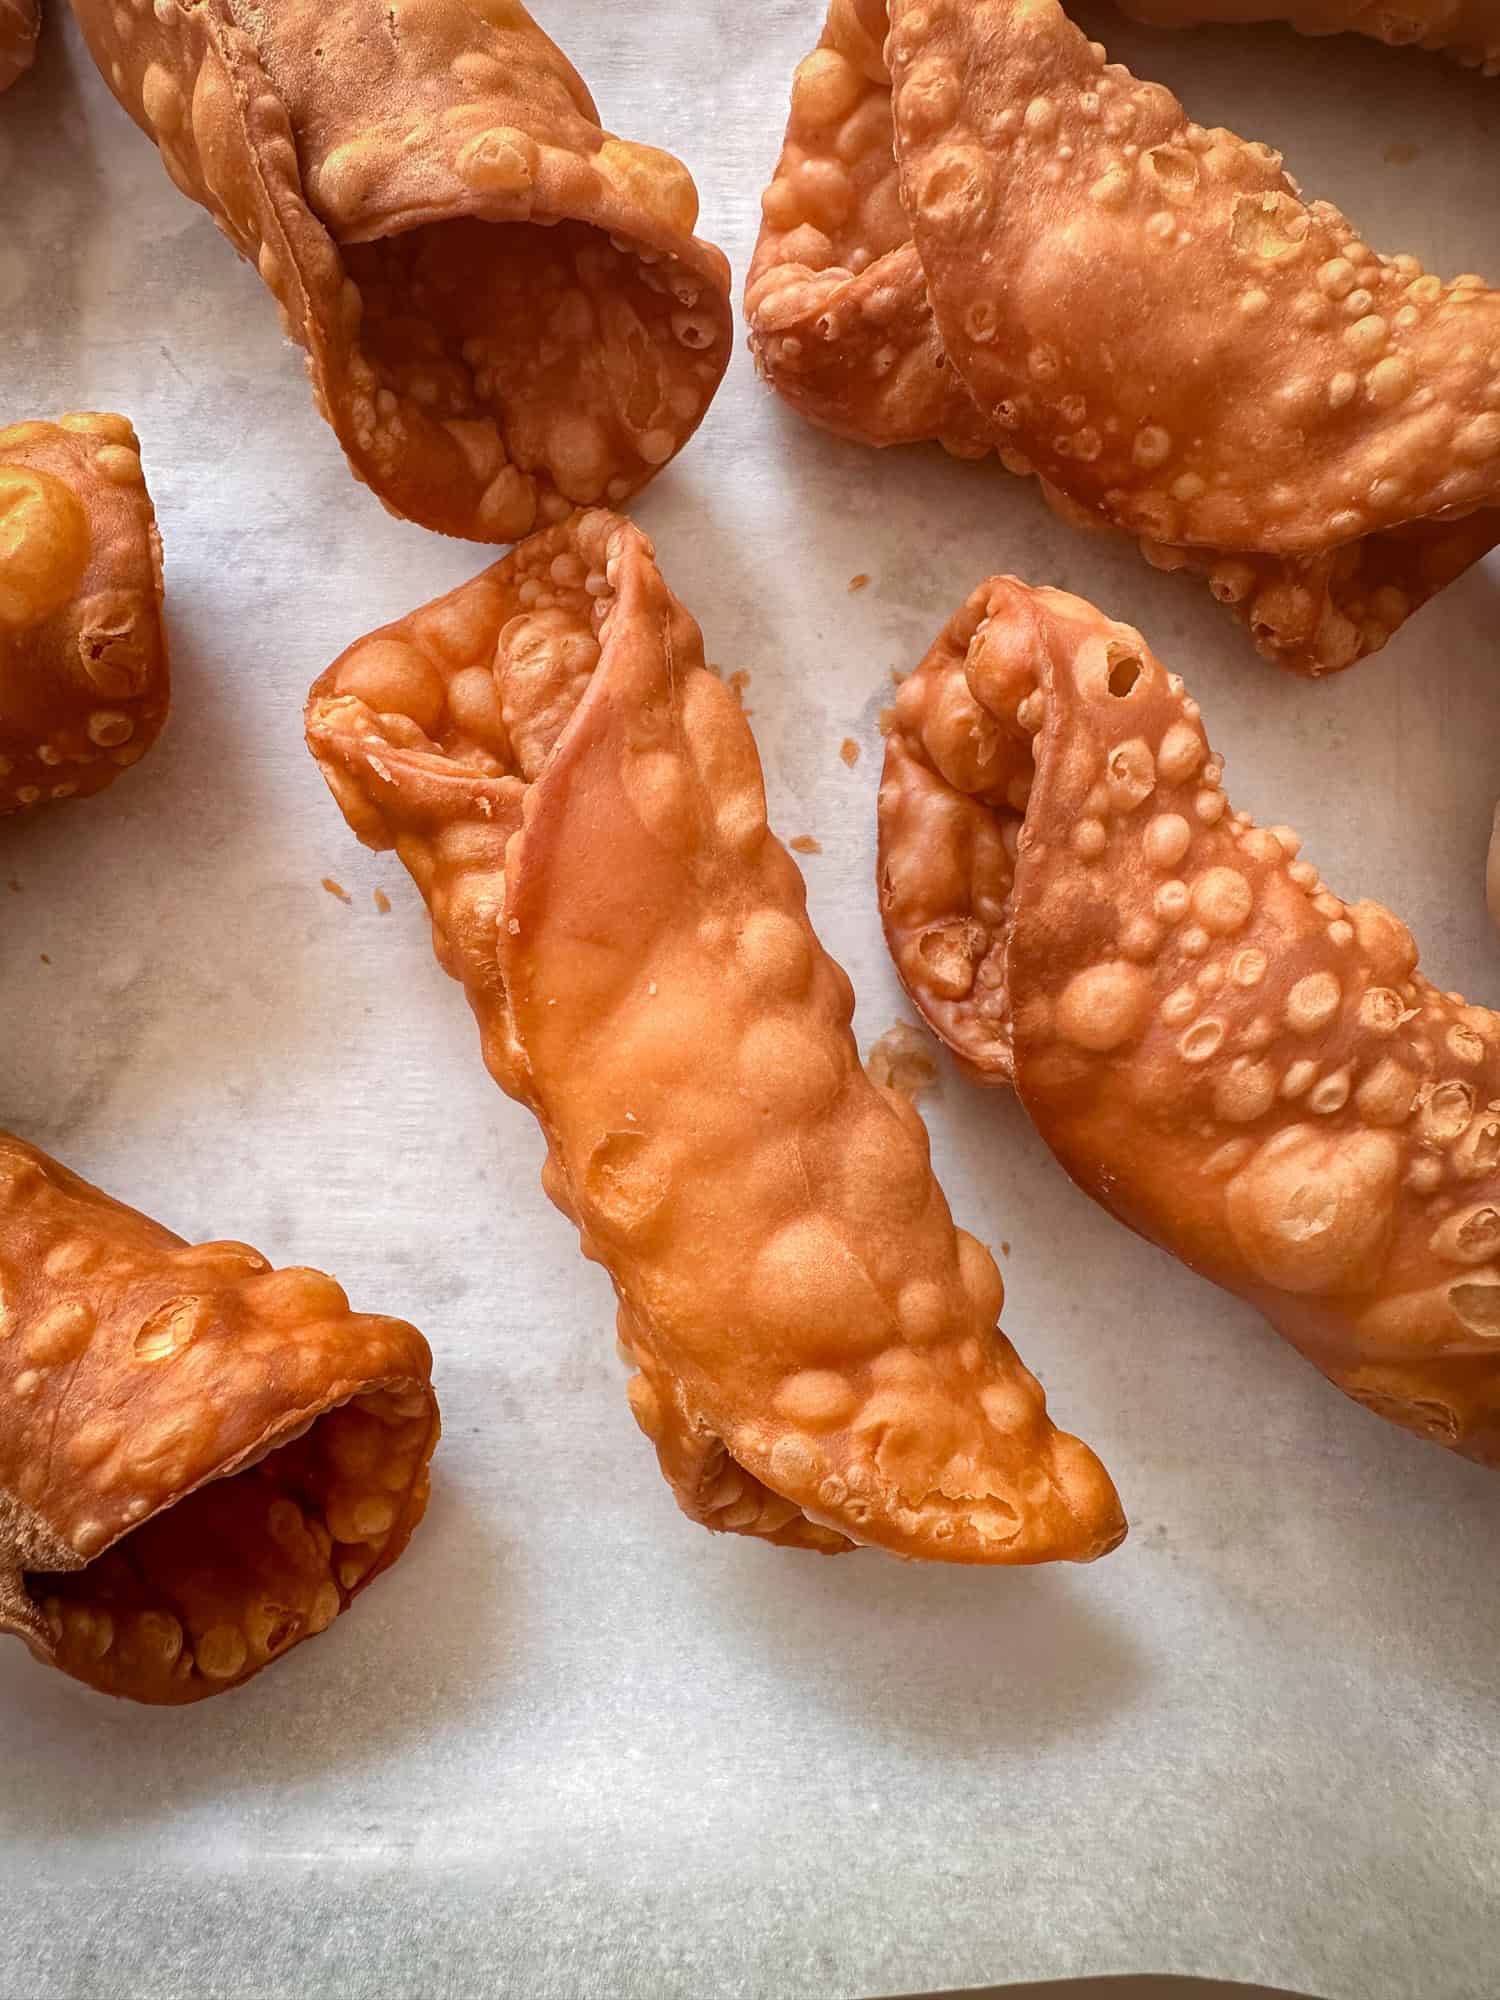
Why do my cannoli shells bubble during frying?
Bubbles are actually the trademark of a good cannoli shell! They create that characteristic blistered appearance and crispy texture. The bubbling occurs as moisture in the dough turns to steam during frying.
How do I prevent the shells from sliding off the tubes during frying?
Make sure to seal the overlap of dough with a bit of egg white, which acts as a glue. Also, maintain the proper frying temperature of 340-350°F. If the oil is too hot (above 350°F), the shells can puff too quickly and slide off the tubes.
How can I tell when the shells are done frying?
Properly fried cannoli shells should be golden brown with a nicely blistered appearance. This typically takes about 2-3 minutes in oil at 340-350°F.
How do I remove the shells from the metal tubes?
Allow the fried shells to cool slightly (but not completely) before attempting removal. Gently twist the shell in the opposite direction as the mold, while gently wiggling or pulling the tube with tongs. It is helpful to place the hot shells on paper towels for a minute before attempting removal.
Can I make cannoli shells in advance?
Absolutely! Cannoli shells keep very well in an airtight container at room temperature for 10 days to a few weeks. This makes them perfect for preparing well ahead of time. Just be sure they’re completely cool before storing.
Why are my cannoli shells soft instead of crispy?
Soft shells can result from several issues: the dough might be too thick, the frying temperature incorrect (maintain 340-350°F), or they may have been filled too far in advance and absorbed moisture from the filling. For crispy shells, ensure proper dough thickness with a pasta machine, correct oil temperature with a thermometer, and fill shells just before serving.